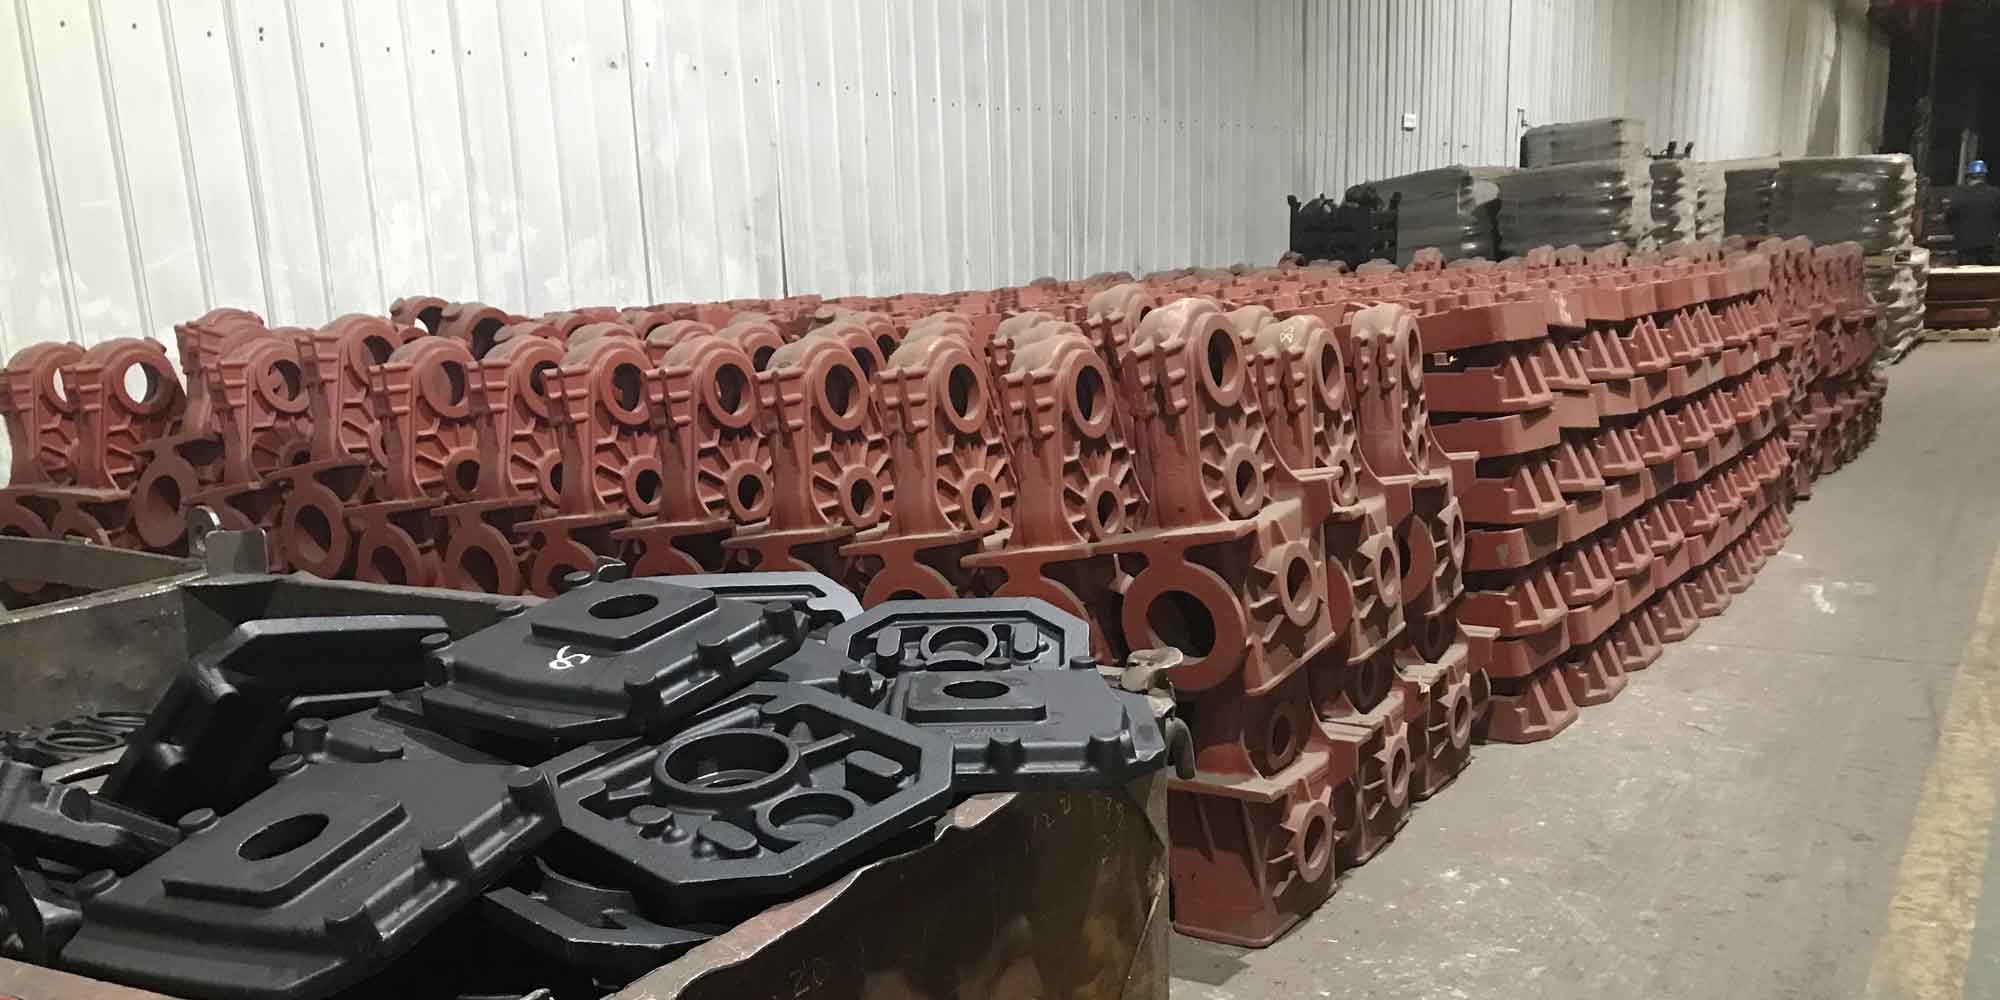
This paper presents an innovative approach to leakage detection in steel casting cavity components through kerosene penetration testing. As a critical quality control method for sand-cast steel components, this technique addresses the challenges of traditional air-tightness verification while maintaining cost-effectiveness and operational efficiency.
1. Fundamental Principles
For steel casting components requiring internal fluid containment, the kerosene penetration method utilizes capillary action and surface wetting properties. The detection probability $P_d$ can be expressed as:
$$ P_d = 1 – e^{-\lambda t} $$
Where:
$\lambda$ = Defect penetration coefficient (mm²/s)
$t$ = Testing duration (s)
The critical defect size $d_c$ detectable through this method is derived from:
$$ d_c = \sqrt{\frac{4\gamma \cos\theta}{\rho g h}} $$
Where:
$\gamma$ = Surface tension of kerosene (N/m)
$\theta$ = Contact angle between kerosene and steel casting
$\rho$ = Kerosene density (kg/m³)
$g$ = Gravitational acceleration (m/s²)
$h$ = Liquid column height (m)
2. Methodology Comparison
| Parameter | Coating Method | Infusion Method |
|---|---|---|
| Sensitivity | 0.5-1.2 mm defects | 0.1-0.8 mm defects |
| Testing Time | 3-5 hours | 12-24 hours |
| Kerosene Consumption | 0.2-0.5 L/m² | 2-5 L/m³ |
| Defect Detection Rate | 82.6% | 96.4% |
3. Process Optimization
For steel casting components with wall thickness $T$ (mm), the optimal testing pressure $P_{opt}$ (kPa) follows:
$$ P_{opt} = 0.15T + 2.3 $$
The recommended lime coating thickness $C_l$ (μm) is calculated as:
$$ C_l = \frac{0.7}{R_a} + 25 $$
Where $R_a$ = Surface roughness of steel casting (μm)
4. Quality Control Framework
| Stage | Parameter | Control Standard |
|---|---|---|
| Pre-test | Surface Cleaning | Sa 2.5 grade |
| Ambient Temperature | 15-35°C | |
| Humidity | <85% RH | |
| Testing | Kerosene Viscosity | 1.8-2.4 cSt @25°C |
| Observation Time | ≥tmin = 0.12T² |
5. Industrial Implementation
The kerosene penetration method demonstrates superior performance in steel casting quality assurance through:
$$ \text{CPI} = \frac{N_d}{N_t} \times \frac{A_c}{A_t} \times 100\% $$
Where:
CPI = Casting Performance Index
$N_d$ = Number of detected defects
$N_t$ = Total potential defects
$A_c$ = Critical defect area
$A_t$ = Total tested area
6. Technical Advantages
- Reduced tooling costs: 60-75% savings compared to pneumatic testing
- Improved detection reliability: 92.8% correlation with X-ray results
- Enhanced process safety: Eliminates high-pressure risks in steel casting inspection

7. Future Development
The methodology can be enhanced through automated detection systems using:
$$ I_s = \frac{\Delta L}{L_0} \times \frac{\Delta t}{t_0} $$
Where:
$I_s$ = Intensity of stain indication
$\Delta L$ = Color difference in CIELAB space
$L_0$ = Reference luminance
$\Delta t$ = Appearance time differential
$t_0$ = Standard observation period
This advancement in steel casting inspection technology provides a robust solution for mass production environments while maintaining strict quality standards for pressure-containing components.
