
The production of high-integrity components via the lost wax casting process is a cornerstone of modern precision manufacturing for industries ranging from aerospace to medical implants. However, the very complexity that allows for the creation of intricate, near-net-shape parts also makes the process susceptible to a variety of defects. As a practitioner deeply involved in this field, I find that a systematic, analytical approach to defect identification and root-cause analysis is not merely beneficial but essential for maintaining quality, controlling costs, and ensuring project timelines. The multi-step nature of lost wax casting—encompassing pattern assembly, shell building, dewaxing, firing, pouring, and cleaning—introduces numerous variables at each stage, any of which can manifest as a flaw in the final casting.
Defects can range from surface irregularities like veining and metal penetration to internal and external discontinuities such as shrinkage porosity, gas holes, inclusions, and hot tears. The financial impact of scrap parts, especially for high-value alloys, underscores the necessity of a robust defect analysis protocol. This article, drawn from extensive hands-on experience, details a structured methodology for defect investigation and focuses particularly on the pervasive challenge of hot cracking, offering practical solutions grounded in process metallurgy and foundry engineering principles.
The Defect Analysis Protocol: A Systematic Journey from Symptom to Solution
When a defective casting is identified, a haphazard investigation leads nowhere. A disciplined, step-by-step procedure is critical. The journey begins with a thorough visual and macroscopic examination. The location, morphology, color, and texture of the defect offer the first and often most telling clues. Is the defect on the surface or subsurface? Is it linear or rounded? Does it appear oxidized? Following this initial assessment, a logical decision tree guides the analyst toward the appropriate diagnostic tools. The core philosophy is to proceed from non-destructive, broad-scope techniques to more localized, potentially destructive ones, always correlating findings back to the process parameters. The fundamental workflow can be encapsulated in the following sequence:
1. Macroscopic Documentation & Context: Photograph the defect in situ. Record all relevant process data: alloy composition, heat number, shell type (silica sol, ethyl silicate, hybrid), firing temperature, pouring temperature, and shell temperature at pour.
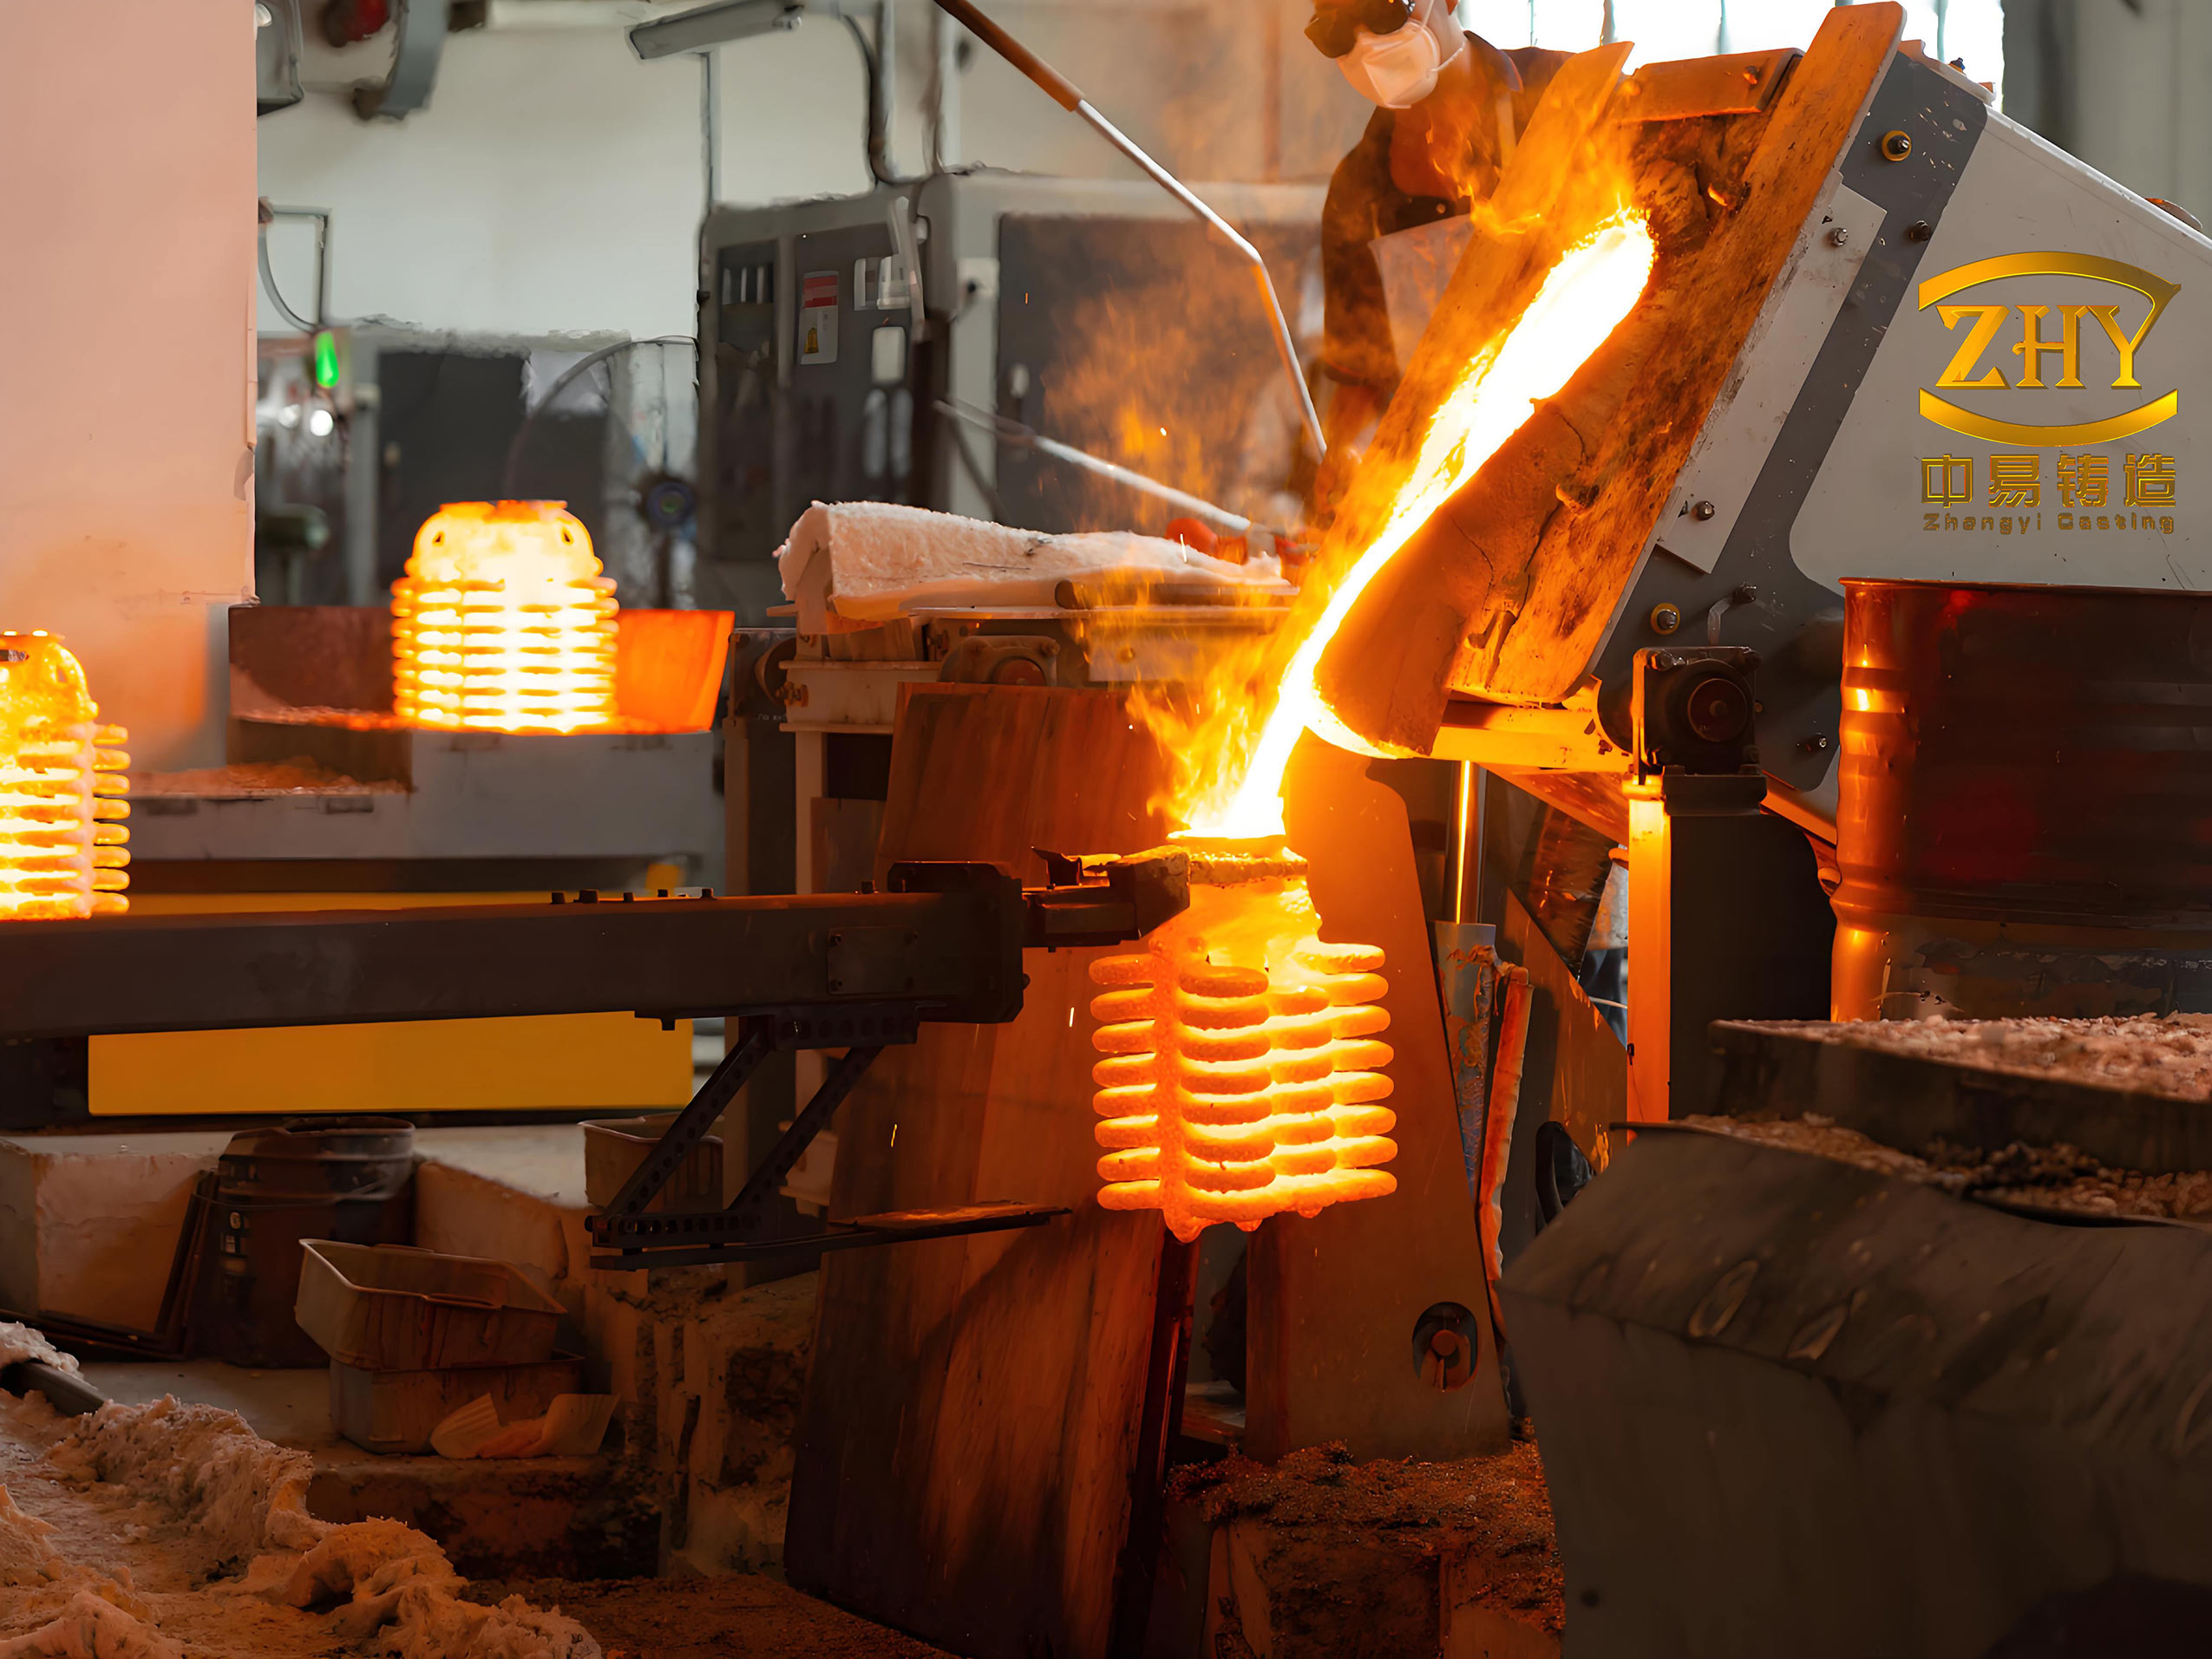
2. Non-Destructive Evaluation (NDE): Employ techniques like visual testing (VT), liquid penetrant testing (PT), magnetic particle testing (MT for ferromagnetic alloys), radiographic testing (RT), or ultrasonic testing (UT) to determine the defect’s extent, depth, and overall characteristics without altering the part.
3. Sectioning & Microscopic Examination: If permissible, section the defective area. Prepare metallographic samples through mounting, grinding, polishing, and etching. Examine under optical microscopy (OM) and scanning electron microscopy (SEM) to reveal the microstructural nature of the defect—e.g., intergranular vs. transgranular crack propagation, presence of secondary phases at grain boundaries, or the morphology of porosity.
4. Compositional Analysis: Use techniques like energy-dispersive X-ray spectroscopy (EDS) in the SEM or optical emission spectroscopy (OES) to check for local or bulk compositional anomalies, such as trace element segregation or incorrect alloy.
5. Data Correlation & Root Cause Hypothesis: Synthesize all findings from steps 1-4. Compare the defect’s signature to known defect catalogs for lost wax casting. Formulate a hypothesis linking the defect to a specific stage in the process (e.g., wax pattern, shell building, melting, pouring).
6. Corrective Action Implementation & Verification: Implement process changes based on the root cause. Produce a validation batch and rigorously inspect for the recurrence of the defect.
Advanced Analytical Techniques for Defect Identification
While some defects like obvious surface slag or large shrinkage cavities are readily identifiable, many require scientific tools for definitive diagnosis. In lost wax casting, the following techniques are indispensable.
Metallographic (Microstructural) Analysis
This is arguably the most powerful tool. It reveals the intimate relationship between the defect and the alloy’s microstructure. For instance, a brittle fracture surface might appear granular (sugary) to the naked eye. Microscopic examination at high magnification could reveal continuous films of a secondary phase along the grain boundaries. In nickel-based superalloys, this might be carbides or topologically close-packed (TCP) phases; in steels, it could be sulfides or aluminum nitrides. The confirmation often requires complementary chemical analysis. A classic example is aluminum-induced brittleness in steel castings. The allowable residual aluminum for deoxidation is typically very low (e.g., 0.03-0.07%). If analysis reveals a level of 0.27%, and OM/EDS confirms Al-rich phases at grain boundaries, the cause of hot tearing or brittle failure is conclusively identified. The microstructure holds the unbiased record of the solidification and post-solidification history.
Chemical Methods for Distinguishing Defects
Some defects have similar appearances but different origins. A prime example is distinguishing between metal penetration (mechanical adhesion of metal in shell pores) and chemical burn-on (a reaction between metal oxide and the shell). A simple chemical test can differentiate them:
Take a 3-5g sample from the affected area. Immerse it in concentrated hydrochloric acid (HCl).
- Metal Penetration: Vigorous bubbling (H₂ evolution from dissolved metal) occurs. The acid solution turns colored (e.g., green for Fe²⁺ ions). After reaction, clean sand grains remain at the bottom of the vessel.
- Chemical Burn-on: Minimal bubbling. The acid color change is slight. A porous, honeycomb-like silica residue (from the reacted silicate binder) remains at the bottom.
The reaction for chemical burn-on often involves the reduction of silica by metal oxides, forming a friable, fused layer:
$$ 2FeO_{(in\ slag)} + SiO_{2(shell)} \rightarrow 2FeO\cdot SiO_{2(slag)} $$
$$ \text{or more simply: } MO + SiO_2 \rightarrow M\cdot SiO_2 $$
Macro-Etching (Acid Immersion) Technique
Surface depressions or sinks can result from shrinkage or from external shell distortion (mold wall movement). Sectioning the casting and macro-etching the suspect area in a hot (70-80°C) 1:1 HCl solution for 15-20 minutes can reveal the truth. After washing and drying:
- A shrinkage cavity will show a dendritic, spongy, or pipe-like interior structure upon etching.
- A shell-induced depression will reveal a smooth, dense metallic surface with no internal porosity, confirming the metal was sound but displaced by mold movement.
This test is crucial because the corrective actions differ fundamentally: addressing feeding for shrinkage vs. improving shell strength or support for mold movement.
Stereo Microscopy and Low-Power Optical Microscopy
For defects at the meso-scale, such as clustered porosity in a re-entrant corner, stereo microscopy is ideal. It helps determine if the pores are rounded (suggesting gas) or irregular and interconnected (suggesting shrinkage). At slightly higher magnifications (e.g., 10x-50x), the morphology becomes even clearer. Rounded, shiny-walled cavities are typical of gas porosity (often from air entrapment or shell gases), while jagged, dendritic-walled cavities are hallmark shrinkage. This visual distinction directly points to the root cause: venting/gas generation for the former, and feeding/thermal gradient control for the latter.
Non-Destructive Testing (NDT) Suite
NDT methods are vital for screening production castings and for precisely locating subsurface defects before sectioning. Their applications in lost wax casting quality control are summarized below:
| NDT Method | Primary Principle | Defects Detected in Lost Wax Casting | Key Advantages & Limitations |
|---|---|---|---|
| Radiographic Testing (RT) | Differential absorption of X/Gamma rays. | Shrinkage, porosity, inclusions, core shift, cracks (if oriented correctly). | Provides a permanent 2D image. Excellent for volumetric defects. Limited by thickness and crack orientation. Safety concerns. |
| Ultrasonic Testing (UT) | Reflection/attenuation of high-frequency sound waves. | Internal cracks, shrinkage, lack of fusion, measures wall thickness. | Great for depth sizing. Requires couplant and smooth surface. Operator skill-dependent. |
| Liquid Penetrant Testing (PT) | Capillary action draws dye into surface-breaking flaws. | Hot tears, cold cracks, surface porosity, lack of fusion. | Inexpensive, portable, sensitive to fine surface defects. Only detects surface openings. |
| Magnetic Particle Testing (MT) | Flux leakage at surface/near-surface flaws in ferromagnetic materials. | Surface & slightly subsurface cracks, seams. | Faster than PT for ferromagnetic alloys. Only applicable to magnetic materials. |
In-Depth Case Study: The Perennial Challenge of Hot Tears
Hot tearing, or hot cracking, is one of the most serious and complex defects in lost wax casting. It occurs in the late stages of solidification, when the alloy has developed a coherent solid skeleton but still contains liquid films at grain boundaries. Tensile stresses arising from constrained thermal contraction can then pull this mushy zone apart. The crack surfaces are typically oxidized and intergranular.
Fundamental Mechanisms and Contributing Factors
The formation of a hot tear requires the simultaneous occurrence of two conditions: (1) a vulnerable microstructure and (2) sufficient tensile stress.
1. Microstructural Vulnerability (Low Coherence Strength):
The strength of the semi-solid material is critically low. Factors that worsen this include:
– Alloy Chemistry: Wide freezing range alloys (e.g., some aluminum bronzes, high-alloy steels) are more prone as they spend more time in the vulnerable mushy state. Trace elements like sulfur (S) and phosphorus (P) in steels form low-melting-point eutectics (e.g., Fe-FeS, melting point ~988°C) that wet grain boundaries, severely reducing hot strength. Excessive aluminum for deoxidation can lead to AlN or Al2O3 films on boundaries.
– Grain Structure: Coarse, columnar grains provide a continuous path for crack propagation along weak boundaries, whereas fine, equiaxed grains can blunt crack progression.
The susceptibility can be conceptualized by the “Brittle Temperature Range” (BTR), the temperature interval over which the alloy’s strength is less than the induced stress. A wider BTR implies greater hot tearing risk.
2. Tensile Stress Development:
Stress arises from constrained contraction. Key sources in lost wax casting are:
– Geometric Constraint: Complex part geometry with sharp changes in section thickness, “hot spots,” and features that create internal (self-) constraint. A thin section solidifies first, acting as a rigid brace that pulls on a still-mushy thicker section.
– Thermal Constraint: Non-uniform cooling due to poor gating/risering design, leading to large thermal gradients and differential contraction rates.
– Mold Constraint: The investment shell itself restricts contraction. Shells with low “collapsibility” or “yield” (e.g., dense, highly sintered silica-based shells) impart significant mechanical resistance.
The fundamental stress during cooling can be related to thermal strain:
$$ \sigma_{thermal} = E \cdot \alpha \cdot \Delta T $$
Where $\sigma_{thermal}$ is the induced thermal stress, $E$ is Young’s modulus (temperature-dependent), $\alpha$ is the coefficient of thermal expansion, and $\Delta T$ is the temperature drop under constraint. In the mushy zone, $E$ is very low but the strain rate ($\dot{\varepsilon}$) is high, leading to failure at low stress.
A Practical Example: Analysis and Resolution of a Handle Hot Tear
Consider a carbon steel (e.g., ZG45) handle casting produced in clusters of four using a water-glass bonded shell system. The initial process used a shell pre-heat (pouring) temperature of 180-200°C, resulting in a catastrophic scrap rate sometimes exceeding 95%, primarily due to hot tears originating at a junction between a thicker boss and a thinner arm.
Initial Analysis:
Macroscopic inspection showed an oxidized, intergranular crack at the stress-concentrating re-entrant corner. Microstructural analysis of a section through the crack confirmed it was intergranular, with no evidence of low-melting phases, suggesting the primary driver was stress, not extreme embrittlement.
Root Cause Investigation:
1. Geometric Stress Raiser: The design featured a sharp internal corner at the junction, a classic stress concentrator. The boss (Section A) was a thermal mass (hot spot) that solidified last, while the thinner arm (Section B) solidified first. During cooling, the contraction of the boss was severely restrained by the already-solid arm.
2. Shell Restraint: The low shell pre-heat temperature was critically important. A cold silica-based shell undergoes a rapid, disruptive phase transformation (β-quartz to α-quartz) at around 573°C, accompanied by a sharp volume expansion of approximately 1.4%. When molten metal at >1500°C enters a cold shell, the shell’s inner surface is rapidly heated through this transformation zone, causing a sudden, non-yielding expansion that aggressively grips the solidifying casting, drastically increasing the mold constraint stress.
3. Thermal Stress: The large temperature difference between the metal and the mold exacerbates the cooling rate and thermal gradients, increasing $\Delta T$ and thus the thermal stress.
The initial “solution” of simply raising the pouring temperature to 1540-1560°C and using a “hot shell” (860-880°C pre-heat) was only partially successful. While it eliminated the phase-transformation shock from the shell, it shifted the tear location to the thinner arm (Section B), because the hotter metal delayed solidification in the boss even further, increasing the differential contraction.
Ultimate Corrective Actions:
A holistic approach addressing both geometry and process was required. The solution set is a perfect illustration of integrated lost wax casting engineering.
| Corrective Action Category | Specific Measure | Mechanism of Effect |
|---|---|---|
| Design Modification | 1. Eliminate the small core in the boss (make it solid). 2. Increase the fillet radius at the arm-boss junction significantly. |
1. Removes a thermal mass/hot spot, promoting more uniform section size. 2. Reduces stress concentration factor ($K_t$). The stress at a notch is approximated by: $$ \sigma_{max} = K_t \cdot \sigma_{nom} $$ Increasing the radius decreases $K_t$, lowering peak stress. |
| Process Optimization | 1. Use “hot shell” pouring (shell at 860-880°C). 2. Control shell cooling time before pour (6-8 min post-furnace extraction). |
1. Eliminates the detrimental quartz inversion shock, improves fluidity, and reduces thermal gradient. 2. Ensures a consistent, high mold temperature that minimizes initial cooling rate and promotes better shell yield. |
| Solidification Control | Gate into the thinner section, not the boss. | Promotes directional solidification from the boss (hot spot) towards the gate/feeder. This ensures the boss is fed liquid and remains “soft” and stress-free until the end, reversing the detrimental stress state. |
Result: Implementing the design change in conjunction with the optimized hot-shell pouring process reduced the scrap rate from >95% to a consistent range of 2-3%, validating the analysis and solution.
Comprehensive Defect Mitigation Framework for Lost Wax Casting
Extending from the hot tear case, a proactive defect mitigation strategy must be built into the entire lost wax casting process flow. The table below synthesizes common defects, their likely causes, and preventive measures across key process stages.
| Process Stage | Common Defect(s) | Primary Root Causes | Preventive & Corrective Measures |
|---|---|---|---|
| Pattern/Wax | Dimensional inaccuracy, surface folds, bubbles. | Poor tooling, incorrect wax injection parameters (temp, pressure, time), wax quality. | Optimize injection cycle; use qualified wax blends; maintain tooling; implement statistical process control (SPC) on pattern dimensions. |
| Shell Building | Metal penetration, fins, cracks, shell mold shift, inclusions. | Inadequate slurry viscosity/coating, poor drying, sand inclusion, weak stucco bonding, incorrect layer count. | Control slurry parameters (density, viscosity); ensure complete inter-coat drying; use clean stucco; design adequate shell thickness via simulation. The drying rate is key: $$ \text{Drying Rate} \propto \frac{T_{air} – T_{wax}}{RH} \cdot Air\ Flow $$ Control temperature ($T$), humidity ($RH$), and airflow. |
| Dewaxing & Firing | Shell cracking, residual ash. | Too rapid steam generation during dewaxing; insufficient firing time/temperature. | Use controlled autoclave or flash fire dewaxing; ensure complete firing to burn out wax/ polymer and develop shell strength. Firing must achieve full ceramic sintering. |
| Melting & Pouring | Gas porosity, shrinkage, slag inclusions, oxide films, hot tears. | High gas content (H₂, N₂, O₂), poor deoxidation, incorrect pouring temperature/speed, turbulent filling. | Proper melting practice under protective atmosphere; effective deoxidation (e.g., Al, CaSi); vacuum melting for critical alloys; optimize pouring temperature ($T_{pour}$) using thermal models; design gating for laminar fill. The Chvorinov’s rule reminder: $$ t_s = B \left(\frac{V}{A}\right)^n $$ where $t_s$ is solidification time, $V$ is volume, $A$ is cooling surface area. Risers must have $t_s$ > casting section. |
| Solidification & Cooling | Shrinkage porosity, hot tears, residual stress, distortion. | Inadequate feeding, high thermal gradients, geometric constraints. | Implement directional solidification via chills, risers, and gating design. Use simulation to predict hot spots and feeding paths. Consider alloy’s solidification characteristics (freezing range). Annealing to reduce residual stress may be required. |
Conclusion: The Analytical Mindset in Lost Wax Casting
The journey through defect analysis in lost wax casting underscores that there are rarely simple, one-size-fits-all solutions. Each defect is a symptom pointing to an imbalance in the complex interplay between alloy behavior, part geometry, and process physics. Success lies in adopting a rigorous, scientific methodology that moves from observation to hypothesis to validation. Tools like metallography, chemical tests, and NDT are the extensions of the analyst’s senses, allowing them to interrogate the defect and uncover its origin.
Particularly for insidious problems like hot tearing, a multi-pronged strategy is essential. One must simultaneously consider metallurgical purity, geometric design to minimize stress concentration and promote favorable solidification patterns, and process parameters that manage thermal gradients and mold restraint. The investment shell is not a passive container but an active participant in the stress development; its thermal and mechanical properties must be engineered accordingly.
Ultimately, mastering defect analysis in lost wax casting transforms the practice from an art into a controlled engineering discipline. It enables the consistent production of high-reliability components, ensuring that the remarkable capabilities of the lost wax casting process are fully realized in the quality of the final product. This continuous cycle of analysis, learning, and process refinement is what drives excellence in the foundry, turning failures into the foundational knowledge for future success.