
In the specialized field of precision investment casting, the creation of large-scale, thin-walled, and geometrically intricate components represents the pinnacle of technical challenge. Success hinges not only on advanced metallurgical and process control but, fundamentally, on the initial tooling: the die used to produce the precise wax patterns. My extensive experience has taught me that for such demanding castings, the mold design is not merely a preliminary step but a critical engineering project that dictates the feasibility, quality, and efficiency of the entire production run. This article delves into the core principles and innovative strategies employed in designing molds for complex castings, drawing upon a deep, first-hand understanding of the practical constraints and solutions required to transform a digital model into a flawless physical pattern.
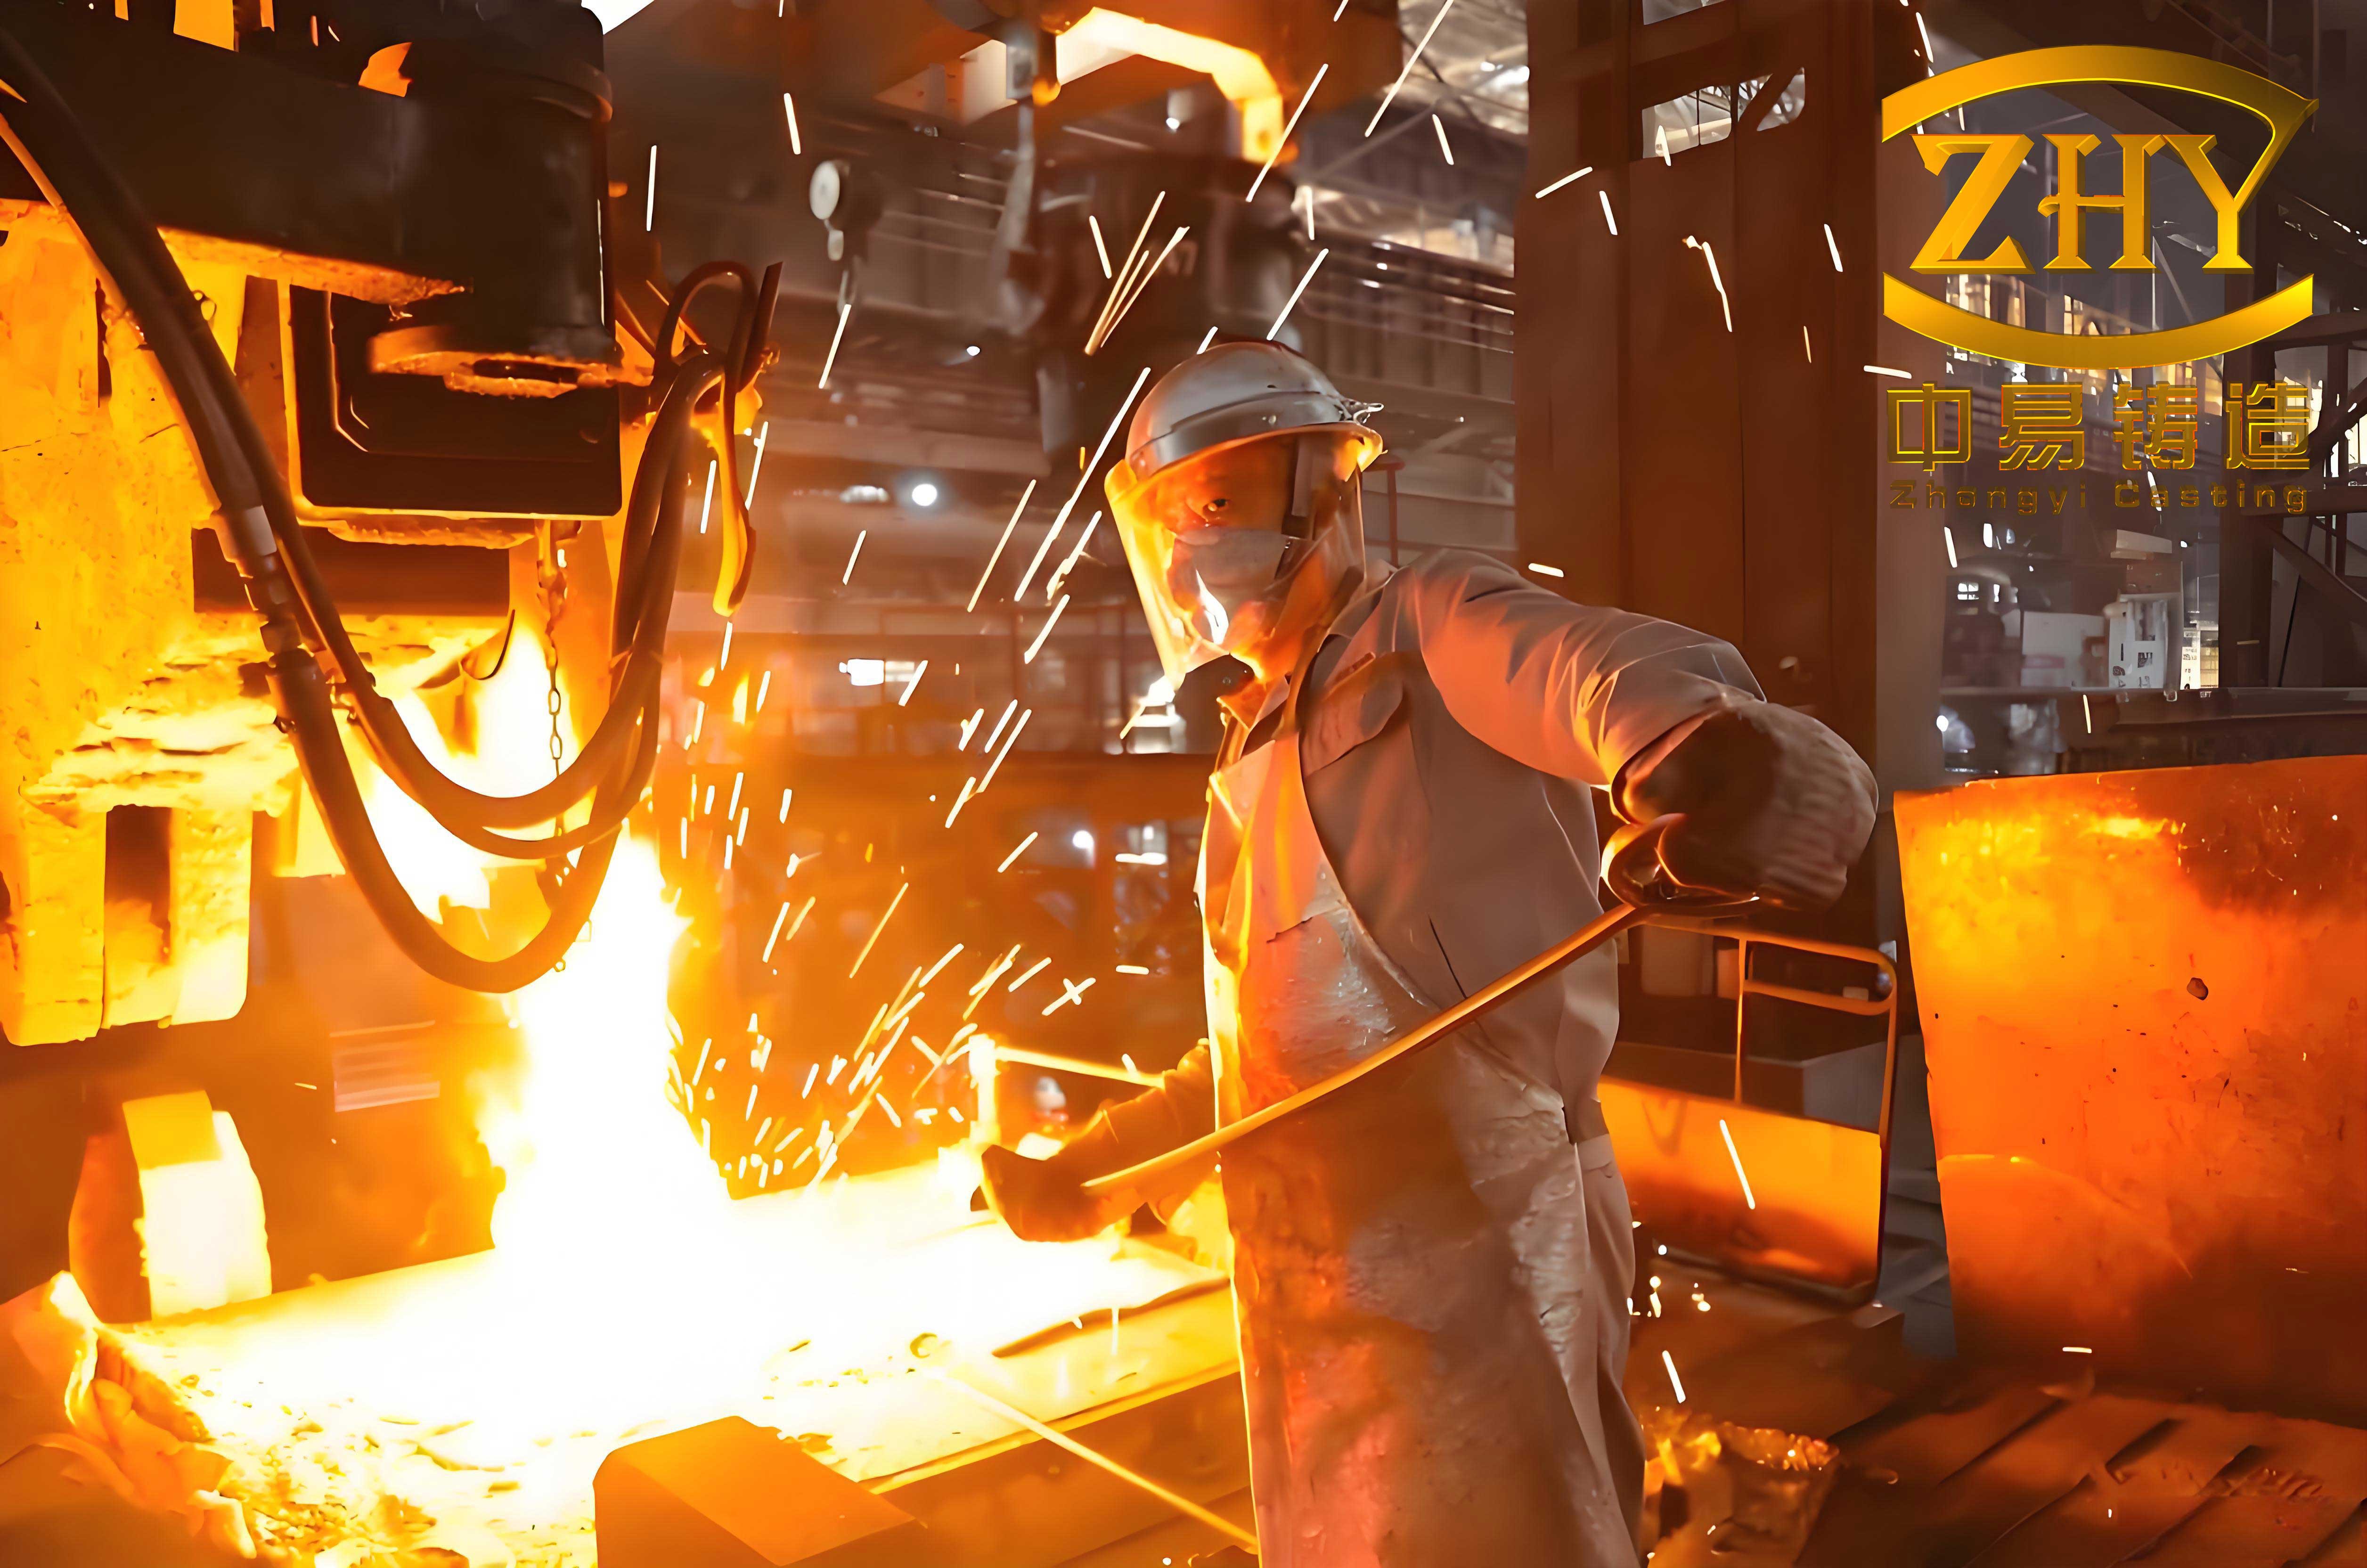
The fundamental process of precision investment casting begins with a master die. Into this die, molten wax is injected under pressure to form a replica of the final part—the wax pattern. This pattern is then assembled into a cluster, repeatedly dipped in ceramic slurry to build a shell, de-waxed, and fired to create a hollow ceramic mold. Molten metal is poured into this mold, and after solidification, the ceramic is broken away to reveal the metal casting. The dimensional accuracy and surface finish of the final metal part are directly inherited from the wax pattern, which in turn is a perfect negative of the die cavity. Therefore, any imperfection, misalignment, or poor segmentation in the die is irrevocably transferred to the casting. For large components, such as the cabin body structure discussed herein, the challenges multiply: managing wax flow for consistent thin walls, ensuring feasible ejection of the fragile wax pattern, maintaining alignment across massive die components, and keeping the tooling itself manageable for operators.
Consider a representative challenge: a large cabin body casting measuring approximately 700mm x 650mm x 500mm, with a dominant wall thickness of only 2.5mm across a height of 640mm. The geometry is closed except for two open ends, featuring internal flanges, numerous lugs, and a network of external strengthening ribs. From a molding perspective, this shape presents a classic “drum” form—wider in the middle than at the openings—making core extraction exceptionally difficult if approached as a monolithic cavity. The primary design imperative is to dissect this geometry into a set of manageable, manufacturable, and operable die components (often called inserts or blocks) that can be assembled with micron-level precision and disassembled without damaging the delicate wax pattern.
The cornerstone of solving this puzzle is strategic parting. A purely axial split would be impossible due to the undercuts from internal features. My approach is a multi-directional, layered parting strategy. The primary split is a vertical plane bisecting the casting, creating left and right master halves that form the major external surfaces. However, the internal cavity, spanning the 640mm depth, cannot be a single piece due to the internal lugs and flanges. Therefore, a secondary, radial parting is employed within this volume. The internal cavity is decomposed into two distinct groups of inserts: an upper set forming the internal lugs and top flange details, and a lower set forming the main 2.5mm wall cavity. This segmentation is not arbitrary; it follows a golden rule: each insert must have a straight, unobstructed path of withdrawal. The following table summarizes the core design drivers for such a project.
| Design Challenge | Core Principle | Implementation Strategy |
|---|---|---|
| Wax Pattern Extraction | Zero mechanical interference during disassembly. | Radial segmentation of deep cores; strategic use of draft angles (3-5°). |
| Dimensional Integrity (e.g., 2.5mm wall) | Absolute alignment of opposing cavity surfaces across all parting lines. | Multi-stage, interlocking定位 systems between insert groups and master halves. |
| Management of Complex Internal Features | Isolate complexity into dedicated, smaller inserts. | Separate insert groups for lugs/flanges vs. primary walls. Hierarchical assembly. |
| Operator Safety & Ergonomics | Minimize insert weight and complexity of handling sequence. | Hollow-core insert design; integrated吊装 points; logical, numbered extraction sequence. |
| Die Rigidity Under Injection Pressure | Prevent flash formation and dimensional drift. | Robust external locking frames (top/bottom, left/right); large locating surfaces. |
The heart of the mold’s functionality lies in its定位 and locking architecture. For a die with over twenty individual components that must coalesce into a single perfect cavity, a haphazard approach to alignment is a recipe for failure. The system I employ is hierarchical and redundant. The foundation is set by the master base plate, which features precision-machined registers. The lower main wall inserts locate directly onto this plate. A central “location block” is then placed amongst these lower inserts. This block serves a dual purpose: it positively positions the upper lug-forming insert group, and it acts as a massive internal spacer, ensuring the lower inserts cannot shift inward under injection pressure. This relationship can be conceptualized by the stability condition it creates. The locking force from the external frame must counteract the net outward force vector from injection pressure on the projected area of the cavity. The central block ensures the reaction forces are distributed through solid metal, not just through the contact points between adjacent fragile inserts.
$$ F_{lock} \ge P_{injection} \times A_{projected} \times C_{safety} $$
Where \( F_{lock} \) is the total force from clamping mechanisms, \( P_{injection} \) is the wax injection pressure, \( A_{projected} \) is the area of the cavity as seen from the injection direction, and \( C_{safety} \) is a safety factor (typically 1.5-2).
The upper inserts are located via the top clamping plate, which is doweled to the master halves. Thus, the final, critical wall thickness dimension is not controlled by the fit between numerous small inserts but by the hard, machined stops between the large, stable master components (base plate, master halves, top plate). The small inserts are merely “floating” within this rigid, pre-aligned exoskeleton. This is the quintessential design philosophy for precision investment casting dies: use large, stable components to define critical dimensions and use smaller inserts only to form geometric complexity, relieving them of primary alignment duty.
| Insert Group | Primary Function | Parting Direction | 定位 Reference | Key Feature |
|---|---|---|---|---|
| Left/Right Master Halves | Form external walls & ribs. | Horizontal, lateral. | Base Plate & Top Plate. | Provides main structural frame. |
| Lower Main Wall Inserts | Form the 2.5mm internal wall surface. | Radial, inward toward center. | Base Plate & Central Location Block. | Long, slender segments; hollow-core design. |
| Upper Lug/Flange Inserts | Form internal lugs and flange details. | Radial, inward toward center. | Top Plate & Central Location Block. | Smaller, complex geometry; first to be extracted. |
| Central Location Block | Positions upper/lower inserts; resists injection pressure. | Vertical, upward. | Base Plate. | Critical for stability and alignment; removable. |
Ejecting the wax pattern from such a complex assembly is a carefully choreographed process. The sequence is reversed from assembly and is designed to progressively release the wax from the greatest areas of constraint first. After cooling, the top clamps and plate are removed, exposing the upper insert group. These are extracted first in a predetermined radial sequence (labeled, for instance, A, B, C…). Their draft angles and modest size make this manageable. Next, the central location block is lifted out via integrated eye-bolts. Now, the lower main wall inserts are accessible. These are longer and have greater surface area contact with the wax. To initiate ejection, strategically placed jack screws on the first two opposing inserts are turned, applying a breaking force to overcome the initial adhesion and shrinkage force. Once loosened, all inserts can be sequentially withdrawn radially inward. Finally, with all internal cores removed, the wax pattern, now completely free, rests on the base plate within the opened master halves, ready for careful manual removal. This process underscores that in precision investment casting, the demolding sequence is as much a part of the design as the mold itself.
The force required to initiate ejection of a large, thin-walled wax pattern is significant and must be anticipated. It is a function of the wax’s shrinkage onto the core, the surface area in contact, and the coefficient of friction. An approximate calculation for the required breakaway force per insert can be considered:
$$ F_{break} \approx \sigma_{wax} \cdot \mu \cdot A_{contact} $$
Where \( \sigma_{wax} \) is the tensile stress developed in the wax due to thermal contraction (a material property), \( \mu \) is the coefficient of friction between wax and the mold surface (affected by draft and finish), and \( A_{contact} \) is the surface area of the insert in contact with the wax. For long, slender wall-forming inserts, this \( A_{contact} \) is large, justifying the need for mechanical ejection aids like jack screws.
Beyond functionality, advanced mold design must address manufacturability and ergonomics. Machining a solid block of steel to create the deep, slender cavities for the lower wall inserts is time-consuming, wasteful of material, and results in a prohibitively heavy component for an operator to handle safely. My solution is the adoption of a hollow-core design for these large inserts. The functional cavity is machined only into a shell of sufficient thickness for strength and heat transfer, while the bulk of the backside is pocketed out. This can reduce the weight of such an insert by 40-50% or more. The weight reduction is not linear with volume removed, as the remaining structure must be analyzed for stiffness under injection pressure. The deflection \( \delta \) of a simplified plate section of the insert under uniform injection pressure must be kept minimal to avoid flash:
$$ \delta_{max} = \frac{\alpha \cdot P \cdot b^4}{E \cdot t^3} $$
Where \( \alpha \) is a constant depending on plate edge conditions, \( P \) is injection pressure, \( b \) is an unsupported span, \( E \) is Young’s modulus for the die steel, and \( t \) is the effective wall thickness of the hollow insert. This calculation guides the design of internal ribs within the pocket to ensure \( \delta_{max} \) is within acceptable limits (often less than 10-20 microns).
| Objective | Problem | Design Strategy | Benefit |
|---|---|---|---|
| Reduce Machining Time/Cost | Deep, complex 3D cavities are slow to machine. | Hollow-core insert design; simplify insert shapes where possible. | Dramatically reduces roughing and semi-finishing time; saves material. |
| Enable Measurement & Verification | Internal surfaces of a monolithic core are un-inspectable. | Radial segmentation creates open, measurable features on each insert. | Allows for CMM verification of each cavity segment before assembly. |
| Facilitate Handling & Safety | Solid steel inserts can weigh >50 kg, posing a risk. | Integrated吊装 holes (tapped for eyebolts) on every major component. | Enables safe, controlled handling with hoists; reduces operator fatigue. |
| Ensure Reliable Operation | Wax seepage into small gaps can lock inserts. | Use of hardened wear plates on sliding interfaces; optimized clearance fits. | Extends mold life, ensures consistent operation, and minimizes maintenance. |
The selection of materials and treatments for the die is another critical layer. The cavity surfaces require high polishability (to achieve a smooth wax pattern surface), wear resistance (to withstand abrasive ceramic slurries during subsequent shelling if needed), and good thermal conductivity (for efficient wax cooling). Typically, pre-hardened tool steels like P20 or stainless grades like 420 are used, often with chrome plating or nitriding to enhance surface hardness and release properties. For components like ejector jack screws and wear plates, harder materials like H13 or even carbide are employed. The thermal management of the die is also crucial; while not always actively cooled like plastic injection molds, the mass and design must allow for reasonably consistent thermal cycling to maintain dimensional stability and cycle time.
Every design decision is ultimately validated through the lens of the precision investment casting process chain. For instance, the placement of the injection gate (where wax enters the cavity) is determined by the need to fill the thin, extensive walls without causing flow lines or air entrapment. Often, multiple gates are used for large parts. The gate design also influences how the wax pattern will be attached to the central wax sprue for shell building, which in turn affects metal feeding during pouring. The mold designer must maintain a systems-level view, understanding that the die is the genesis of a chain of events concluding with a solidified metal component. The goal is to produce a wax pattern that is not only dimensionally accurate but also readily shellable, easily de-waxed, and conducive to producing a sound casting.
In conclusion, the mold design for large, complex components in precision investment casting is a sophisticated discipline blending mechanical design, materials science, process engineering, and practical ergonomics. It moves far beyond simple cavity creation into the realm of designing a precise, robust, and operator-friendly system. The key tenets—strategic multi-directional parting, a hierarchical and redundant定位 system, choreographed ejection sequencing, and deliberate lightweighting for manufacturability—form the blueprint for success. When executed with rigor and foresight, such a die becomes more than a tool; it becomes the reliable foundation upon which the entire, demanding art of producing near-net-shape, high-integrity castings rests. The ultimate validation is a mold that, from its first trial, produces salable wax patterns and requires minimal adjustment, enabling the rapid and reliable production of castings that would be impossible or prohibitively expensive to make by any other means.
| Parameter | Formula / Relationship | Design Significance |
|---|---|---|
| Cavity Dimension Compensation | $$ D_{die} = D_{casting} \times (1 + \alpha_{metal} + \alpha_{wax}) $$ Where \( \alpha \) are linear shrinkage factors. |
Die must be oversized to account for wax & metal contraction. Critical for final casting size. |
| Injection Locking Force | $$ F_{lock} \ge P_{inj} \times A_{proj} $$ | Determines the required strength of mold frames and clamps to prevent die opening and flash. |
| Wax Ejection Force (Approx.) | $$ F_{eject} \propto \sigma \cdot \mu \cdot A_{contact} / \cos(\theta) $$ \( \theta \) = draft angle. |
Informs the need for and sizing of ejector mechanisms (e.g., jack screws) on large cores. |
| Insert Deflection (Simplified) | $$ \delta \propto \frac{P \cdot L^4}{E \cdot t^3} $$ | Guides the design of hollow-core inserts and internal ribbing to maintain stiffness and avoid flash. |
| Projected Area | $$ A_{projected} = \int_{cavity} \cos(\phi) \, dA $$ \( \phi \) = angle between surface normal and opening direction. |
Critical calculation for determining locking force and evaluating undercuts. |