
In my extensive experience within the investment casting industry, I have consistently observed that the quality of the wax pattern is the foundational determinant of the final cast component’s integrity. The process of investment casting relies on the precise replication of a disposable pattern, and any imperfection in this wax model is faithfully transferred to the ceramic shell and, ultimately, to the metal casting. Defects such as deformation, cracks, shrinkage depression, gas holes, ejector pin marks, misplaced loose pieces, and inclusions not only result in significant wastage of labor, materials, and production time but can also critically impact project schedules and delivery commitments. Therefore, a systematic understanding and preemptive control of these defects are paramount for any successful investment casting operation. This analysis delves into the characteristics, root causes, and most effective corrective and preventive measures for the common defects encountered in wax patterns, particularly those made from widely used paraffin-stearic acid blends.
The successful production of a defect-free wax pattern is a complex interplay of material science, tooling design, and process control. Each defect type signals a specific breakdown in one or more of these areas. The following sections provide a detailed breakdown based on practical shop-floor observations and metallurgical principles.
Overview of Common Wax Pattern Defects
Before analyzing each defect individually, it is useful to categorize them. Primarily, defects arise from three core areas: Wax Material Properties (e.g., shrinkage, thermal stability), Tooling & Design Issues (e.g., mold design, venting), and Process Parameter Violations (e.g., temperature, pressure, time cycles). The table below summarizes the seven key defects addressed in this analysis.
| Defect Name | Primary Characteristic | Main Category of Cause |
|---|---|---|
| Deformation | Wax pattern shape deviates from drawing specifications. | Process, Design, Material |
| Cracks/Fissures | Localized fractures, often on parting lines or thin sections. | Material, Process |
| Shrinkage Depression | Local concave sink marks in thick sections. | Process, Design, Material |
| Gas Holes (Blows) | Smooth-surfaced cavities on the pattern surface. | Process, Tooling |
| Ejector Pin Marks | Indentations corresponding to ejector pin locations. | Tooling, Process |
| Misplaced Loose Pieces | Excess wax flash in areas corresponding to movable core parts. | Tooling, Process |
| Inclusions | Foreign particles embedded in the wax pattern surface. |
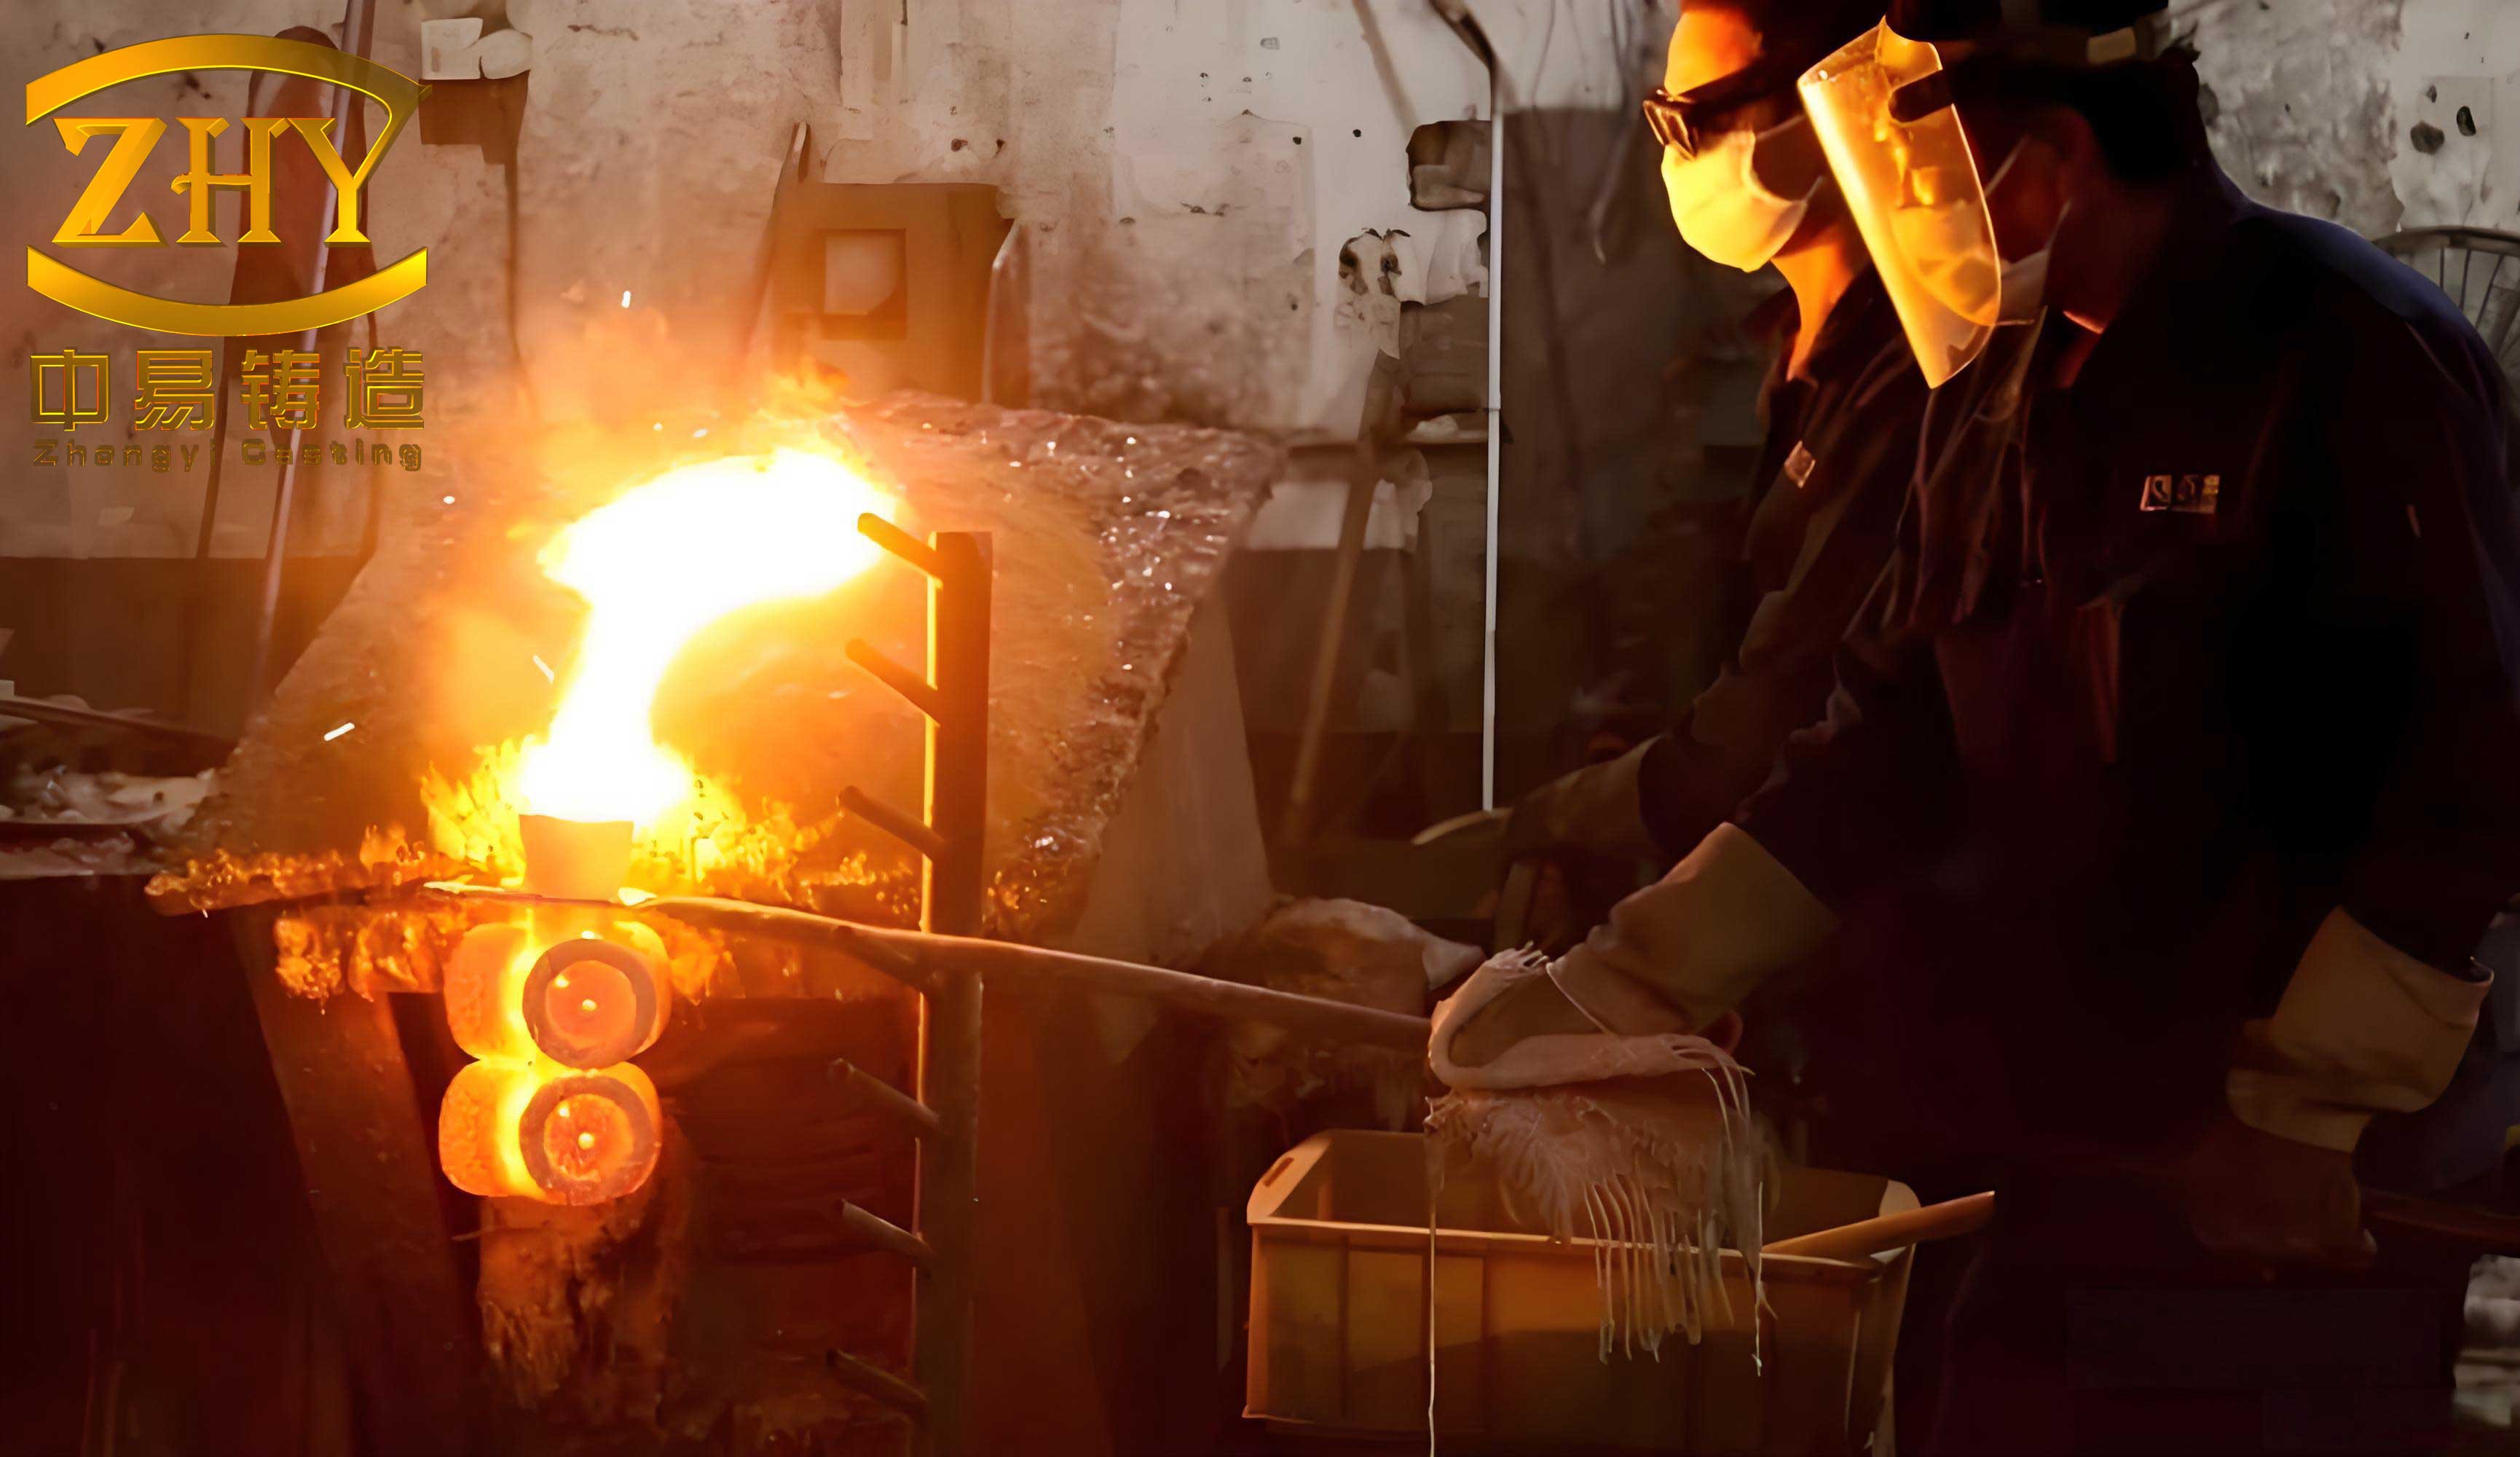
Detailed Analysis of Defects: Causes and Corrections
1. Deformation
Deformation is a geometric distortion of the wax pattern, making it unsuitable for assembling into a cluster that will yield a dimensionally accurate investment casting. In my practice, this is one of the most frequent issues, especially with large, flat, or slender features.
Primary Causes:
- Inadequate Mold Design: Large, unsupported planar surfaces without reinforcing ribs or strategic knockout pins lack the structural integrity to resist warping during ejection and handling. Insufficient draft angles increase ejection stresses.
- Premature Ejection & Improper Cooling: Removing the pattern from the die before it has developed sufficient mechanical strength (green strength) is a direct cause. Subsequent cooling in water that is too warm or without proper supporting fixtures allows creep and sagging.
- Poor Handling and Storage: Placing delicate, unsupported patterns on flat surfaces or in stacks applies uneven stress. High storage temperatures (above 22-24°C) accelerate stress relaxation and deformation over time.
- Suboptimal Wax Properties: A wax blend with excessive linear shrinkage, low softening point, or poor thermal stability is inherently prone to deformation.
Preventive & Corrective Actions:
- Tooling Modification: Incorporate strategic strengthening ribs, “mouse holes,” or increased draft angles in the die design. Ensure robust, well-distributed ejection systems.
- Process Optimization: Establish and strictly control the in-mold cooling time (dwell time). This is a function of section thickness and wax temperature. The relationship can be approximated for initial setup:
$$ t_d = k \cdot (T_{inject} – T_{mold}) \cdot \frac{V}{A} $$
Where \( t_d \) is dwell time (s), \( k \) is a wax-specific constant, \( T_{inject} \) and \( T_{mold} \) are injection and mold temperatures (°C), and \( V/A \) is the volume-to-surface-area ratio of the pattern (a measure of thickness). Follow with immediate cooling in controlled-temperature water (18-20°C). For critical parts, use dedicated cooling jigs or fixtures. - Storage Protocol: Implement a “First-In-First-Out” (FIFO) system for wax patterns. Store them in climate-controlled areas (18-20°C) on dedicated supports or nests that match their geometry.
- Wax Formulation Improvement: Upgrade from a 58°C paraffin to a higher-melting-point 60°C paraffin to reduce shrinkage and increase rigidity. Alternatively, modify the blend ratio or introduce additives like low-molecular-weight polyethylene (LMW PE). For example, a blend of 95% 60°C paraffin and 5% LMW PE can reduce shrinkage to approximately 1.0%, significantly improving stability.
2. Cracks or Fissures
Cracks manifest as sharp, linear discontinuities, frequently along parting lines or in areas of abrupt section change. They compromise the pattern’s structural integrity and create fatal flaws in the final investment casting.
Primary Causes:
- High Wax Shrinkage & Poor Ductility: The classic 50/50 paraffin-stearic acid blend has a free contraction of about 2.0%. If the stearic acid content exceeds roughly 80%, the wax becomes brittle and prone to cracking under stress.
- Excessive Cooling Rate: A combination of low mold temperature (below 18°C), low room temperature, and cold cooling water causes the surface layer to solidify and contract rapidly while the core is still soft. This creates internal thermal stresses that exceed the wax’s tensile strength.
- Restricted Shrinkage: Poor tooling design with features that mechanically lock the contracting pattern (e.g., undercuts without collapsible cores, or trapped metal inserts/cores removed too late) induces tensile cracking.
Preventive & Corrective Actions:
- Material Reformulation: Use higher-melting-point base waxes and ensure stearic acid content is controlled. Blends incorporating microcrystalline wax or polymers enhance toughness and reduce shrinkage-induced stress.
$$ S_{blend} = \sum (w_i \cdot S_i) $$
Where \( S_{blend} \) is the total linear shrinkage, and \( w_i \) and \( S_i \) are the weight fraction and shrinkage of component \( i \). Aim for a blend with \( S_{blend} < 1.5\% \). - Temperature Control: Maintain mold temperature at 20-25°C, room temperature at 18-20°C, and cooling water at 18-20°C. This ensures a moderated, uniform cooling rate.
- Design for Stress Relief: Incorporate generous fillet radii at junctions and avoid drastic thickness transitions. Design collapsible cores or side actions to be retracted at the earliest possible moment in the cycle to avoid restricting shrinkage.
3. Shrinkage Depression
This defect appears as a localized surface depression, typically in heavy cross-sections or isolated thick zones. It results from volumetric shrinkage during solidification without adequate compensatory material feed.
Primary Causes:
- Insufficient Injection Pressure or Holding Time: Low pressure fails to pack the cavity densely, and short holding time does not allow the injection system to feed liquid wax to compensate for solidification shrinkage in thick areas.
- Poor Gating Design: If the injection gate is too small or poorly located relative to the heavy section, it freezes off prematurely, isolating that section from the pressure source and preventing feed.
- Non-Uniform Section Thickness: Isolated heavy masses are inherent sinks unless specifically fed.
- Excessive Wax or Mold Temperature: Higher temperatures increase the total volumetric shrinkage \( \beta \) of the wax, where \( \beta \approx 3\alpha \) and \( \alpha \) is the linear shrinkage coefficient. This larger volume deficit is harder to feed.
Preventive & Corrective Actions:
- Process Parameter Adjustment: Increase injection pressure within the range of 0.3-0.6 MPa and extend holding time significantly. Holding pressure must be maintained until the gate freezes. The required holding time \( t_h \) can be estimated based on gate solidification:
$$ t_h > \frac{d_g^2}{4 \cdot \alpha_{thermal}} $$
Where \( d_g \) is the gate diameter and \( \alpha_{thermal} \) is the thermal diffusivity of the wax. - Gating Optimization: Re-locate gates to feed heavy sections directly or increase gate cross-sectional area to extend its feeding range.
- Design Modification & Process Aids: Redesign the part to avoid isolated heavy sections if possible. If not, incorporate “cooling cores” or “chill inserts” in the die at the thick location to accelerate solidification there and shift the shrinkage to a less critical area, or use external cooling jets.
- Temperature Discipline: Strictly control wax temperature to 48-52°C and mold temperature to 20-25°C.
4. Gas Holes (Blows)
These are smooth, round cavities on the pattern surface, caused by trapped air or vaporized volatiles. They differ from shrinkage porosity in their shape and surface texture.
Primary Causes:
- Entrapped Air in Wax Stock: Vigorous mechanical stirring of the liquid wax blend introduces air bubbles. If the wax is not allowed to “degas” or “mature” in a quiet state before use, these bubbles remain.
- Poor Die Venting: Inadequate venting at the last areas of the cavity to fill prevents displaced air from escaping.
- Turbulent Filling: A gate design that causes a high-velocity jet or turbulence in the cavity entraps air instead of pushing it smoothly towards vents.
Preventive & Corrective Actions:
- Wax Preparation Protocol: Implement a mandatory “maturation” or “aging” period for newly prepared wax. After stirring, hold the wax at 5-10°C above its use temperature in a quiet tank for a minimum of 30-60 minutes to allow buoyant air bubbles to rise and escape.
- Die Venting: Add or enlarge vent channels (typically 0.05-0.15 mm deep) at the end of fill locations and along parting lines.
- Laminar Fill Promotion: Re-design gates to be thicker and wider to reduce injection velocity, promoting laminar, front-wise filling. Using a stepped injection profile (slow start to fill the gate, then fast fill, then packing) can also help.
5. Ejector Pin Marks
These are undesirable indentations or protrusions on the pattern surface at the points where ejector pins contact the pattern.
Primary Causes:
- Pin Not Fully Retracted: If an ejector pin fails to return to its flush position before the next cycle, it creates a cavity that fills with wax, resulting in a protruding mark or, conversely, an indentation if it is partially protruding.
- Premature Ejection: Ejecting the pattern before it has fully hardened allows the pins to deform the soft surface.
- Insufficient Pin Contact Area: Small-diameter pins exert very high pressure on a localized area, easily causing indentation.
Preventive & Corrective Actions:
- Tooling Maintenance: Implement a pre-production check to ensure all ejector pins, cores, and slides are correctly positioned and moving freely. Regular die maintenance is crucial.
- Cycle Timing: Ensure the ejection sequence only begins after the prescribed in-mold cooling time has elapsed, guaranteeing adequate surface hardness.
- Pin Design: Specify ejector pins with the largest possible diameter practical for the pattern geometry to reduce contact pressure. Consider using blade ejectors or sleeve ejectors for large, flat surfaces.
6. Misplaced Loose Pieces (Core Shift)
This defect results in flash or an irregular shape in an area formed by a movable core or loose piece in the die.
Primary Causes:
- Loose Piece Not Secured: Failure to properly lock or clamp the loose piece in place before injection allows it to be displaced by the incoming wax stream.
- Wear and Clearance: Over time, loose pieces and their locating slots wear, creating play that leads to movement during injection.
- Excessive Injection Pressure: Very high pressure can force a marginally secured loose piece to shift.
Preventive & Corrective Actions:
- Operational Discipline: Enforce a standard operating procedure (SOP) that includes a visual and tactile check of all loose pieces and core pulls before each die closure.
- Preventive Maintenance: Periodically inspect dies for wear on loose pieces and their seats. Re-machine or replace components that no longer provide a precise, tight fit.
- Pressure Calibration: Use the minimum injection pressure required to fill the cavity and achieve a good surface, typically within the 0.2-0.5 MPa range, to minimize shifting force.
7. Inclusions
Inclusions are foreign particles (sand, dust, dirt, unmelted wax lumps) embedded in or adhering to the pattern surface.
Primary Causes:
- Contaminated Raw Materials or Storage: Impurities in the incoming paraffin or stearic acid, or wax stored in unclean, open containers.
- Unclean Production Environment: Dust or debris in the pattern-making area settling on open dies or patterns. Inadequate cleaning of the die cavity between cycles.
- Carryover from Shell Building: If the primary ceramic coat has low viscosity, fine stucco sand grains can penetrate it and become embedded in the wax surface during shell building.
- Poor Wax Reclamation Practices: Insufficient settling time during the recovery of wax from dewaxing (autoclave or flash fire) leaves suspended ceramic particles in the recycled wax.
Preventive & Corrective Actions:
- Material & Housekeeping Control: Source wax from reputable suppliers and store it in sealed containers. Maintain a clean, positive-pressure environment in the injection room. Institute a disciplined die-cleaning procedure using filtered air blasts before each shot.
- Process Control in Shelling: Monitor and control the viscosity of the primary slurry. Ensure stuccoing is done with appropriate grain size and technique to avoid penetration.
- Robust Reclamation Process: After dewaxing, allow the recovered wax to settle in a heated settling tank for a minimum of 2-4 hours. Decant only the clean wax from the top layer for filtration and reuse. Regularly clean sludge from the bottom of settling and holding tanks. Employ fine filtration (e.g., 50-100 micron) before the wax enters the production feed system.
Integrated Process Summary for Defect Prevention
To achieve consistent, high-quality wax patterns in investment casting, a holistic approach is necessary. The following table consolidates the key recommended process parameters and checks that form the backbone of a robust wax injection process, serving as a practical guide for process engineers and operators.
| Process Stage | Key Parameter / Activity | Recommended Standard / Value | Purpose & Defect Prevention Link |
|---|---|---|---|
| Wax Preparation | Melting Temperature | 65 – 80 °C (≤ 90 °C max) | Prevents degradation, minimizes gas generation. |
| Maturation / Degassing Time | ≥ 30 minutes after stirring | Reduces gas holes (blows). | |
| Wax Use Temperature | 48 – 52 °C | Optimizes fluidity and shrinkage balance. | |
| Blend Formulation (Example) | 60°C Paraffin (95%) + LMW PE (5%) | Reduces shrinkage (~1.0%), improves strength. | |
| Pattern Injection | Injection Room Temperature | 18 – 20 °C | Ensures consistent cooling rate, prevents cracks/deformation. |
| Mold Temperature | 20 – 25 °C | Balances fill ability and cooling. | |
| Injection Pressure | 0.2 – 0.6 MPa | Adequate packing without causing flash or core shift. | |
| Holding (Packing) Pressure Time | 3 – 10+ seconds | Feeds shrinkage, prevents shrinkage depression. | |
| In-Mold Cooling (Dwell) Time | 20 – 100+ seconds (pattern-dependent) | Ensures sufficient green strength, prevents deformation/ejector marks. | |
| Pre-Shot Die Inspection | Clean cavity, secured loose pieces, retracted pins | Prevents inclusions, misplaced pieces, and pin marks. | |
| Post-Ejection | Cooling Medium & Temperature | Water bath at 18 – 20 °C | Final uniform cooling, stabilizes dimensions. |
| Cooling Time | ≤ 60 minutes (until handling safe) | Completes solidification. | |
| Handling & Support | Use dedicated fixtures/nests for critical parts | Prevents deformation under its own weight. | |
| Storage & Quality Control | Storage Area Temperature | 18 – 20 °C | Prevents long-term creep and deformation. |
| Storage Principle | FIFO (First-In, First-Out) | Minimizes time-dependent deformation. | |
| Inspection | 100% Visual, Dimensional sampling per AQL | Catches defects before costly shell building. |
In conclusion, the path to excellence in investment casting begins with a flawless wax pattern. Each defect is not a random failure but a symptom with a logical root cause in material, tooling, or process. By adopting a scientific approach—characterizing the wax properties, designing tooling with an understanding of wax behavior, and establishing, controlling, and auditing precise process parameters—these defects can be systematically eliminated. This requires unwavering discipline in daily operations, from the receipt of raw materials to the final inspection of the wax cluster. The implementation of the corrective and preventive actions detailed here will lead to a significant reduction in scrap, rework, and variability, thereby enhancing the overall efficiency, cost-effectiveness, and reliability of the investment casting process. The consistent production of high-integrity wax patterns is the most critical step in ensuring that the final metal casting meets the stringent quality demands of industries such as aerospace, medical, and energy.