
In my extensive experience within foundry operations, I have consistently observed that the occurrence of cracks in cast components is often hastily attributed to inadequacies in gating system design. While gating is undoubtedly crucial, a factor frequently overlooked or oversimplified is the pouring temperature. This oversight is particularly pronounced in the realm of precision lost wax casting, where dimensional accuracy and structural integrity are paramount. The prevailing practice in many foundries, including those I have worked with, involves setting pouring temperature ranges based broadly on component size—such as high temperatures for thick-walled large castings, medium for ordinary parts, and lower for thin-walled small pieces. This generalized approach is not only incomplete but often impractical, as it ignores the intricate interplay between a component’s specific geometry, its gating system, and the thermal dynamics during solidification. Furthermore, operational practices often exhibit significant deviation from these specifications, making it difficult to objectively assess the true impact of pouring temperature on defect formation. Through rigorous analysis and hands-on experimentation, I have concluded that for a given component design in precision lost wax casting, where modifying the gating system might be constrained, the strategic control of pouring temperature becomes an exceptionally powerful and efficient tool for eliminating hot tearing, often yielding results that far exceed expectations achieved through other modifications.
The mechanism of hot crack formation is fundamentally tied to the thermal stresses developed during the late stages of solidification, when the alloy exists in a mushy, semi-solid state with limited strength and ductility. In precision lost wax casting, the ceramic shell acts as a rigid mold, imposing significant restraint on the contracting metal. The thermal gradient established during cooling is a primary driver of these stresses. Pouring temperature directly and profoundly influences this gradient. The common, simplistic belief that lowering pouring temperature universally prevents hot tearing is dangerously misleading. My investigations reveal a more nuanced reality: an improperly high pouring temperature can exacerbate thermal gradients in certain geometries, while an improperly low temperature can be equally detrimental for others, depending on the designed solidification mode—be it directional or simultaneous.
From a theoretical standpoint, the susceptibility to hot tearing ($S_{ht}$) can be conceptualized as a function of several variables, including the alloy’s brittle temperature range ($\Delta T_{br}$), the strain rate ($\dot{\varepsilon}$) imposed by restraint, and the coherency of the solid network. Pouring temperature ($T_p$) influences the initial thermal condition. A key relationship is the local cooling rate and the temperature gradient ($G$) established. For a simple plate-like section, the thermal gradient can be approximated as related to the pouring temperature and the mold interface temperature:
$$ G \approx \frac{T_p – T_{mold}}{L} $$
where $L$ is a characteristic length related to section thickness. A higher $T_p$ can lead to a steeper initial gradient in certain configurations. Furthermore, the time ($t_{mushy}$) spent in the critical mushy zone where strength is minimal is extended by higher superheat:
$$ t_{mushy} \propto \frac{(T_p – T_{liquidus})}{(\dot{T}_{cooling})} $$
where $\dot{T}_{cooling}$ is the cooling rate. Prolonged time in this vulnerable state increases the probability of crack initiation if tensile strains are present.
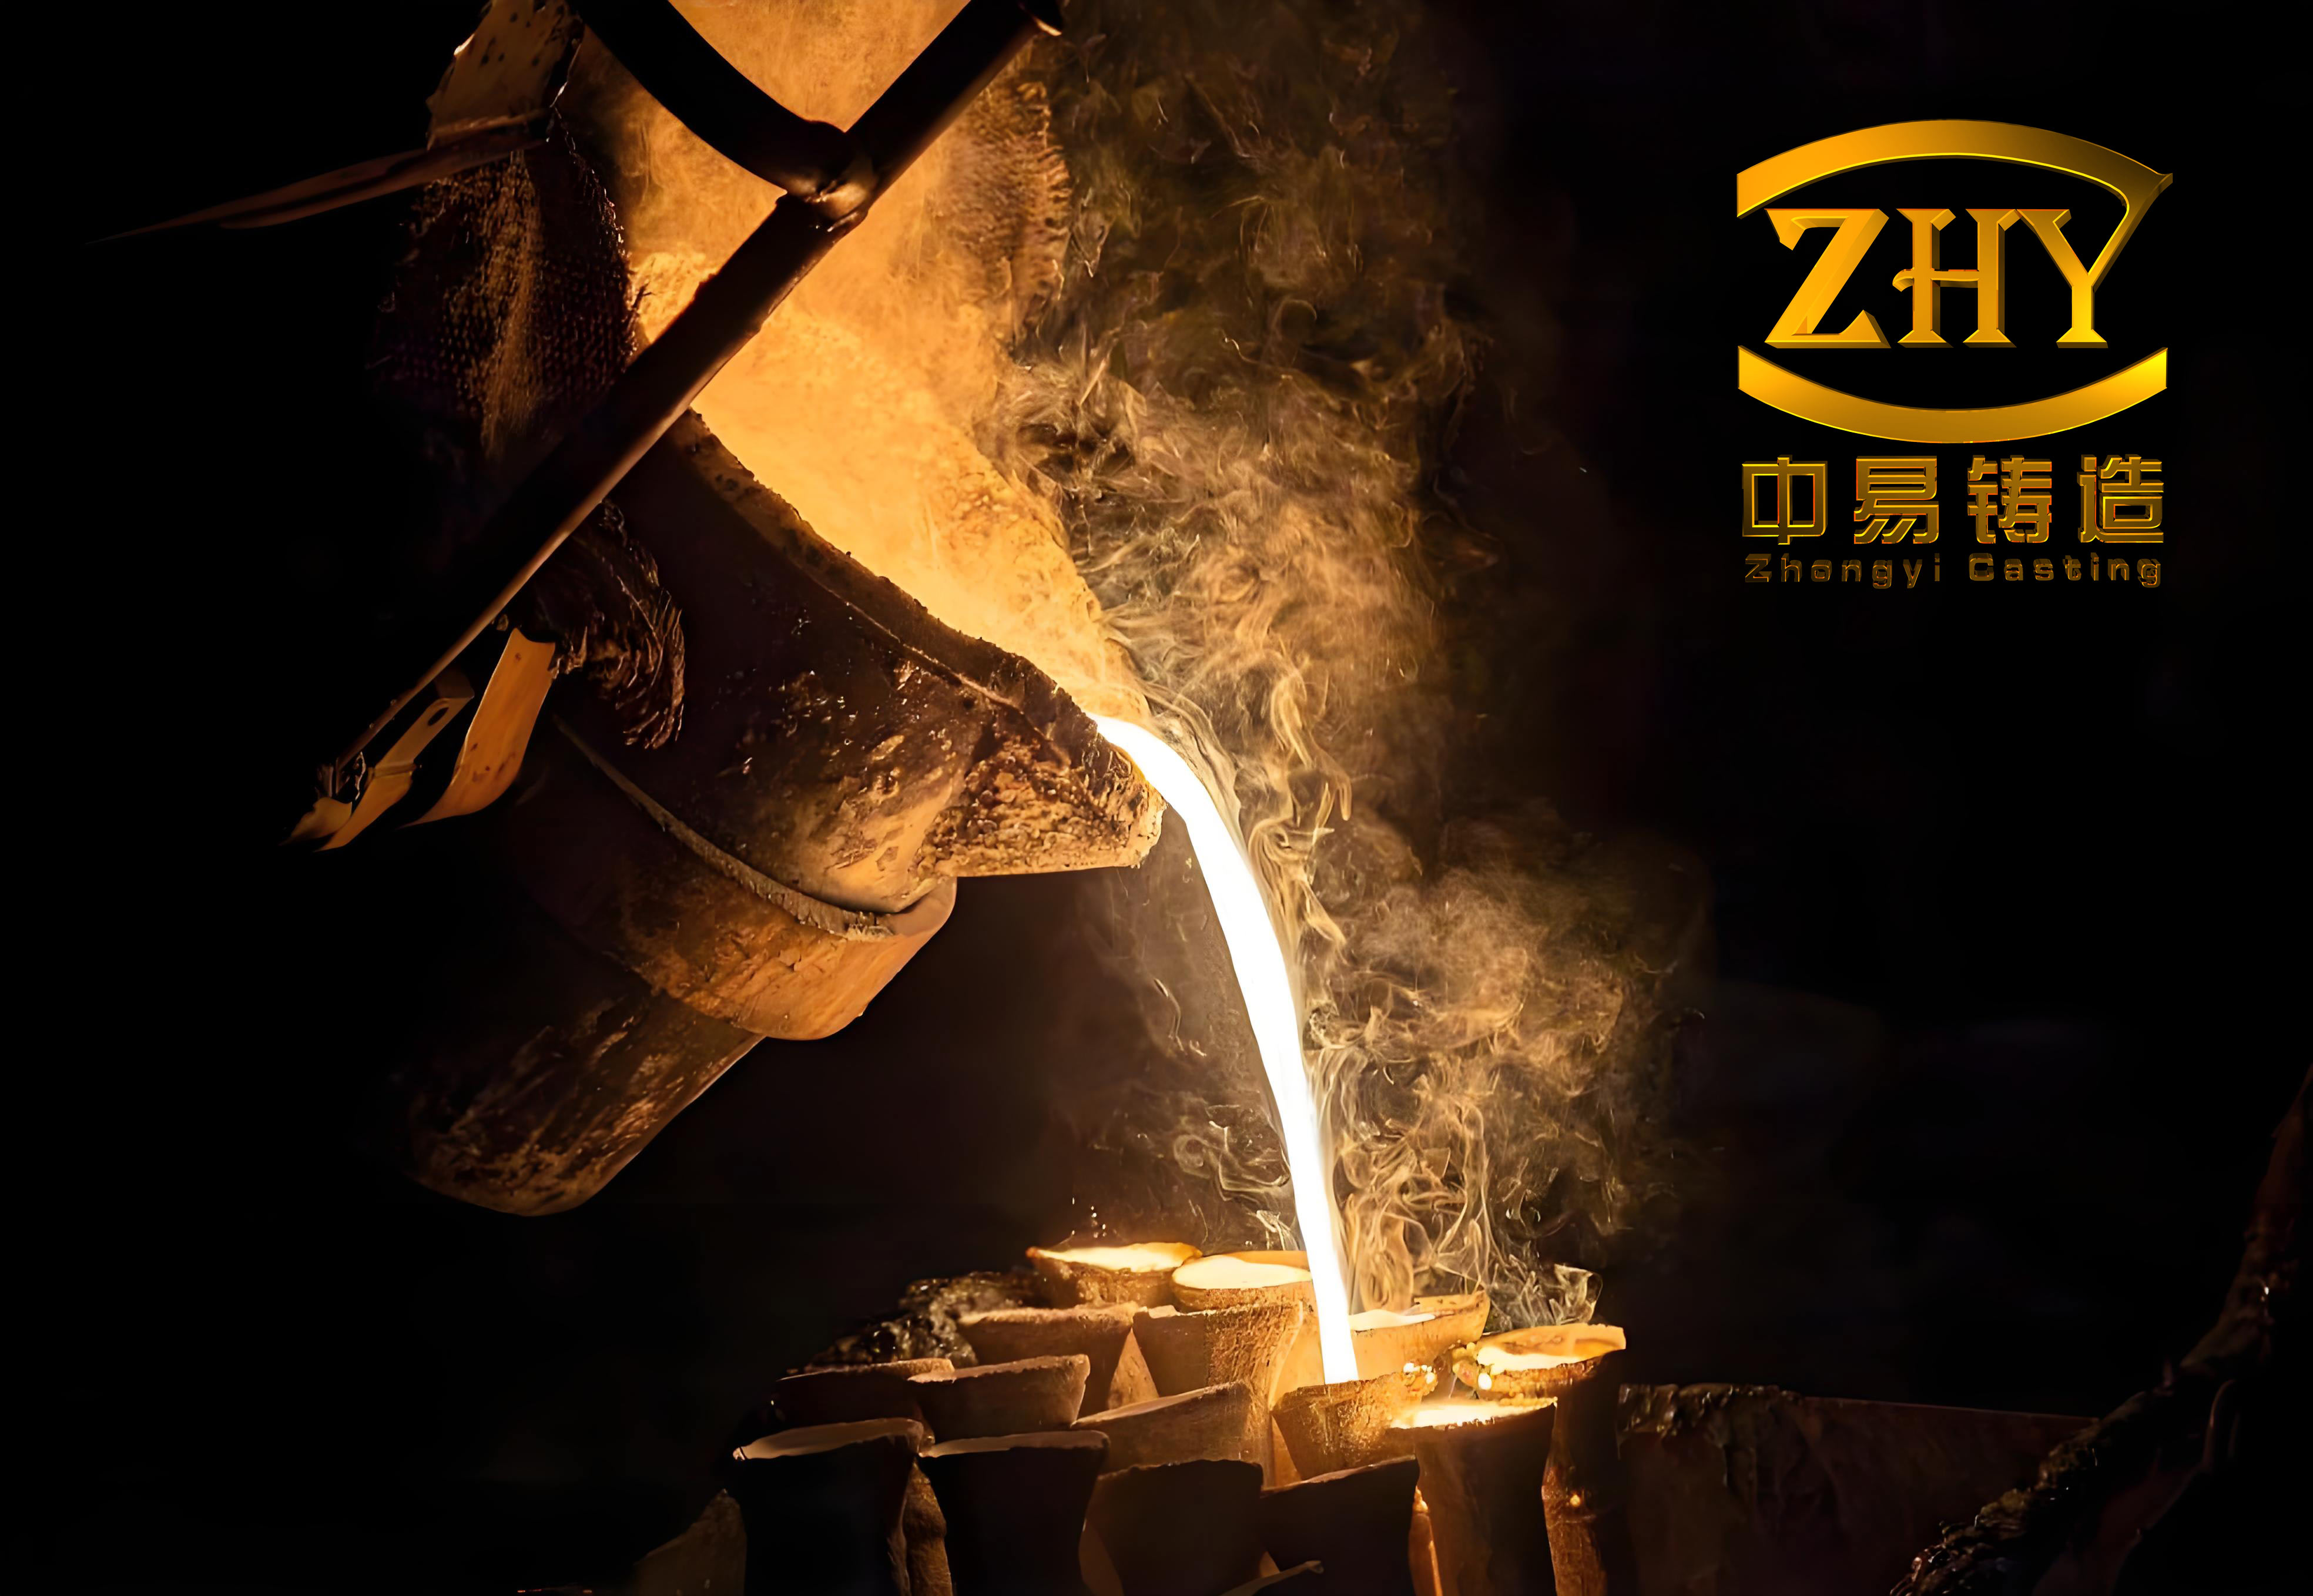
Let me illustrate this with concrete examples from production. The first case involves a track vehicle wheel nut, a carbon steel casting with significant variation in wall thickness. The gating was designed to promote directional solidification from the thick sections toward the thin ones. The standard process specified a pouring temperature of 1560-1580°C. However, in practice, metal was often poured directly from the transfer ladle at temperatures exceeding 1600°C. Macroscopic examination of fracture surfaces from these parts revealed coarse dendritic structures, indicative of high superheat and slow cooling within the mold. Visual and magnetic particle inspection confirmed a high incidence of cracks. A systematic study was conducted, and the results are summarized in the table below, clearly linking elevated pouring temperatures to high scrap rates due to cracking in this precision lost wax casting component.
| Heat Batch | Number of Castings | Pouring Temperature Range (°C) | Number Scrapped for Cracks | Scrap Rate for Cracks (%) | Overall Yield (%) |
|---|---|---|---|---|---|
| 1-5 (Uncontrolled) | Approx. 2000 | > 1600 | 453 | 22.65 | 77.35 |
| 6-9 (Controlled) | Approx. 2000 | 1570 – 1590 | 41 | 2.05 | 97.95 |
For this component, the high pouring temperature increased the thermal differential between the thick and thin sections at the moment of coherency. The thin sections, acting as stress concentrators, solidified and gained strength first, while the thicker, hotter sections continued to contract, pulling the already solid thin areas apart. The solution was strict adherence to the lower end of the specified range, which reduced the thermal shock and the gradient, aligning with the intended directional solidification and drastically improving integrity in this precision lost wax casting process.
The second, more revealing case concerns a large, complex track link for a beach operation vehicle, made from a low-alloy steel. Its geometry featured thick lugs and a central thin plate. The standard pouring temperature for such a “large” casting was set at 1540-1560°C. Following this specification resulted in a catastrophic scrap rate, with hot tears consistently appearing at the junctions between the thick lugs and the thin body. Initial analysis suggested that the low pouring temperature, intended to promote feeding, was actually causing the problem. The metal flow path was such that it passed through the thin section before reaching the second thick lug. With a low pouring temperature, the thin section cooled too rapidly, creating a severe thermal barrier and a large temperature difference ($\Delta T_{thick-thin}$) between sections. This induced high strain at the junction during the vulnerable solidification period. The hypothesis was that a *higher* pouring temperature could reduce this gradient by pre-heating the mold in the thin section and slowing its initial cooling rate, promoting more simultaneous solidification. The data from implementing this counterintuitive approach was compelling.
| Production Period | Pouring Strategy | Target Pouring Temp. (°C) | Castings Produced | Acceptable Castings | Crack-Related Scrap (%) | Overall Yield (%) |
|---|---|---|---|---|---|---|
| Prior (Standard Practice) | Single ladle, lower temp | 1540-1560 | 1560 | 1040 | 15.38 | 66.67 |
| Intervention (Modified Practice) | Dual ladle, higher temp | 1580-1600 | 4800 | 4224 | 1.25 | 88.00 |
Mechanical testing of castings produced with the higher temperature regime showed no degradation in properties, dispelling the myth that higher temperatures always lead to inferior mechanical strength in precision lost wax casting. The key insight is that the optimal pouring temperature is not a fixed number for a given alloy or size, but a variable that must be tuned to the specific thermal profile created by the component’s geometry and its gating. This can be formalized by considering a “Thermal Harmony Index” ($\Theta$) for a casting:
$$ \Theta = \frac{\int_{V} G_{ideal}(x) \, dV}{\int_{V} G_{actual}(T_p, x) \, dV} $$
where $G_{ideal}$ is the desired thermal gradient for defect-free solidification (positive for directional, near-zero for simultaneous), $G_{actual}$ is the achieved gradient dependent on pouring temperature $T_p$ and location $x$, and $V$ is the casting volume. The goal in precision lost wax casting is to adjust $T_p$ to make $\Theta$ as close to 1 as possible.
Achieving such precise control over pouring temperature in a production environment is a significant challenge. A major issue is thermal drop during transfer and pouring. For instance, measurements showed that a standard transfer ladle could lose temperature at a rate of 2-3°C per minute, while a smaller pouring ladle could lose 5°C per minute. If a single ladle is used for an extended pouring sequence, the last castings are poured at a significantly lower temperature than the first, introducing uncontrollable variation. To combat this, we implemented a dual-ladle system for simultaneous pouring, drastically reducing the total pouring time and the temperature delta between first and last molds. The relationship between ladle hold time ($t_{hold}$) and temperature drop ($\Delta T_{drop}$) can be modeled linearly for a short duration:
$$ \Delta T_{drop} = k_{ladle} \cdot t_{hold} $$
where $k_{ladle}$ is the cooling rate coefficient specific to the ladle lining and geometry. For our setup, $k_{transfer-ladle} \approx 2.5$ °C/min and $k_{pouring-ladle} \approx 5.0$ °C/min.
Accurate temperature measurement is the cornerstone of control. Relying solely on furnace tap temperature is insufficient. We correlated optical pyrometer readings and thermocouple measurements with the visual “skin” or oxide film formation on the steel surface in the ladle. Empirical correlations were established: a large, wrinkled film indicated temperatures around 1520-1540°C; a smaller, tighter film corresponded to 1550-1570°C; and a “sparkling” or dappled film appeared around 1580-1600°C. This provided a quick, secondary check for operators. The target tap temperature ($T_{tap}$) must therefore be calculated backward from the desired pouring temperature ($T_{pour}$), accounting for all losses:
$$ T_{tap} = T_{pour} + (k_{transfer} \cdot t_{transfer}) + (k_{pour} \cdot t_{pour}) + \Delta T_{deoxidation} $$
Here, $t_{transfer}$ and $t_{pour}$ are the durations, and $\Delta T_{deoxidation}$ accounts for any temperature change during final alloy adjustments. For a typical precision lost wax casting cycle aiming for a $T_{pour}$ of 1580°C, the tap temperature might need to be set at 1620-1630°C.
The economic and quality implications of mastering pouring temperature are profound. In precision lost wax casting, where the unit cost of a complex shell and wax pattern is high, a reduction in scrap rate directly translates to major savings. Let’s quantify the benefit using a simple cost model. The total cost per good casting ($C_{good}$) is:
$$ C_{good} = \frac{C_{fixed} + C_{variable}}{Y} $$
where $C_{fixed}$ is the pattern and shell cost per mold, $C_{variable}$ is the metal and processing cost per casting, and $Y$ is the yield fraction (0 < Y ≤ 1). If improving pouring temperature control increases yield from $Y_1$ to $Y_2$, the percentage cost reduction is:
$$ \text{Cost Reduction} = \left(1 – \frac{C_{good}(Y_1)}{C_{good}(Y_2)}\right) \times 100\% \approx \left(1 – \frac{Y_2}{Y_1}\right) \times 100\% $$
if $C_{fixed}$ is dominant. For the track link, yield improved from ~67% to ~88%, implying a potential cost reduction of approximately 24% per salable part. This underscores that precise thermal management is not just a technical concern but a critical business imperative in competitive precision lost wax casting operations.
Beyond immediate crack prevention, optimized pouring temperature influences the final microstructure, which governs mechanical properties. The secondary dendrite arm spacing (SDAS, $\lambda_2$), a key microstructural parameter inversely related to strength and toughness, is influenced by local solidification time ($t_f$), which in turn depends on the initial superheat. A classic relationship is:
$$ \lambda_2 = A \cdot (t_f)^n $$
where $A$ and $n$ are material constants, and $t_f$ is proportional to the temperature difference between liquidus and solidus divided by the cooling rate. An excessively high $T_p$ can increase $t_f$ in the thermal center, leading to coarser $\lambda_2$ and potentially lower properties, but as our mechanical tests showed, this effect can be offset by the benefits of reduced stress if the temperature is optimized for the geometry. Therefore, the goal in precision lost wax casting is not to minimize or maximize $T_p$, but to find the value that produces the most favorable combination of low stress and acceptable microstructure for the specific part.
In conclusion, through decades of practice and analysis, I have become firmly convinced that pouring temperature is a variable of equal, if not greater, importance than gating design in the prevention of hot tears in precision lost wax casting. The industry’s tendency to relegate it to a simple, size-based chart is a significant oversight. The correct pouring temperature is a dynamic target, intricately linked to the casting’s geometry and the intended solidification mode. For components requiring directional solidification, a lower temperature is generally beneficial, whereas for those needing simultaneous solidification to balance thermal stresses—often complex parts with varying sections—a higher temperature may be the key to success. The implementation of robust temperature control protocols, including accurate measurement, minimization of thermal losses during transfer, and operator training, is essential. By embracing this nuanced understanding of thermal dynamics, foundries can unlock substantial improvements in yield, quality, and cost-effectiveness, solidifying the reputation of precision lost wax casting as a reliable method for producing high-integrity, complex metal components. The journey toward zero-defect casting in precision lost wax casting inevitably passes through the precise control of this fundamental process parameter.