
In my extensive experience with precision lost wax casting, also known as investment casting, I have found it to be an invaluable method for producing complex, high-accuracy metal components. This process is particularly effective for parts with intricate geometries, such as the swing-rod for a shearing machine, which served as the focal point of my recent practical investigation. The goal of this practice was to master the entire precision lost wax casting workflow, from pattern creation to final casting, ensuring the production of defect-free components. Throughout this endeavor, the principles of precision lost wax casting were rigorously applied and optimized.
The core of precision lost wax casting lies in creating a sacrificial wax pattern, building a ceramic shell around it, removing the wax, and then pouring molten metal into the resulting cavity. My practice utilized a low-temperature wax pattern material and a water glass binder system for shell construction. The following sections detail each step, enriched with technical data, formulas, and tables derived from my hands-on work.
Wax Pattern Manufacturing: The Foundation of Precision
The initial and critical phase in any precision lost wax casting operation is the fabrication of the wax pattern. For this practice, I employed a standard low-temperature wax blend composed of 50% paraffin wax and 50% stearic acid by mass. The quality of the wax pattern directly dictates the surface finish and dimensional accuracy of the final metal casting.
Wax Composition and Melting Dynamics
The thermophysical properties of the wax mixture are paramount. The melting point range for this blend is approximately 50-60°C. To prevent thermal degradation or “carbonization,” indirect heating via a water jacket is essential. The maximum temperature in the melting vessel should not exceed 90°C. The viscosity of the molten wax is a key parameter for injection. I maintained the wax in a paste-like state at 45-48°C for injection. The viscosity \(\eta\) can be related to temperature by an Arrhenius-type equation:
$$ \eta = A \exp\left(\frac{E_a}{RT}\right) $$
where \(A\) is a pre-exponential factor, \(E_a\) is the activation energy for flow, \(R\) is the gas constant, and \(T\) is the absolute temperature. Maintaining the correct viscosity ensures the wax fills the intricate details of the die without causing surface defects like folds or short shots.
| Process Parameter | Optimal Range | Notes |
|---|---|---|
| Wax Melting Bath Temperature | 70 – 75 °C | Prevents localized overheating |
| Injection Wax Temperature | 45 – 48 °C | Paste consistency for optimal flow |
| Injection Pressure | 0.2 – 0.4 MPa | Balances fill and avoids turbulence |
| Die Temperature | 20 – 25 °C | Ensures rapid and uniform solidification |
| Pattern Room Ambient Temperature | 18 – 27 °C | Critical for dimensional stability |
| Cooling Water Temperature | 15 – 25 °C | With 0.1% HCl to prevent saponification |
After injection, the patterns are cooled in a controlled water bath. The cooling rate influences internal stresses. A simplified model for heat transfer during cooling can be expressed using Newton’s law of cooling:
$$ \frac{dT}{dt} = -k (T – T_{env}) $$
where \(T\) is the wax temperature, \(t\) is time, \(k\) is a cooling constant, and \(T_{env}\) is the water temperature. Keeping the pattern submerged for no more than 20 minutes prevents excessive water absorption and distortion.
Pattern Assembly and Preparation
Individual wax patterns are then assembled onto a central wax gating system using a heated tool. The welding temperature must be carefully controlled around 80°C to create a smooth, strong joint without causing local melting or “wax boils.” The spacing between patterns on the assembly, or tree, must be greater than 5 mm to allow for proper ceramic coating and subsequent shell drainage during dewaxing. Following assembly, the entire wax tree undergoes a thorough cleaning process. It is immersed in a neutral soap solution (0.2-0.3% concentration) at 20-25°C to remove any lubricants or release agents, followed by a clean water rinse. This step is vital for achieving good adhesion of the first ceramic coat, a cornerstone of successful precision lost wax casting.
Ceramic Shell Building: Creating the Mold
The construction of a strong, permeable, and stable ceramic shell is the next critical stage in precision lost wax casting. I used a water glass (sodium silicate) binder system, which involves alternating layers of ceramic slurry and stucco sand.
Slurry Formulation and Rheology
The slurry is a suspension of refractory flour in the water glass binder. The properties of the binder are crucial. The modulus \(M\) of water glass, defined as the molar ratio of SiO₂ to Na₂O, significantly affects shell strength and stability. For precision lost wax casting shells, I used binders with a modulus between 3.0 and 3.5.
$$ M = \frac{\text{moles of SiO}_2}{\text{moles of Na}_2\text{O}} $$
The density of the binder solution is also controlled. The slurry formulation requires a precise balance between the liquid binder and refractory powder. I added surfactants (like JFC) to reduce surface tension and improve wetting of the wax, and defoamers to eliminate air bubbles that could create shell defects.
| Layer Type | SiO₂ Content (%) | Na₂O Content (%) | Modulus (M) | Density (g/cm³) |
|---|---|---|---|---|
| Primary/Face Coat | 21 – 23 | 6.5 – 7.0 | 3.0 – 3.4 | 1.265 – 1.310 |
| Reinforcement Coats | 23 – 27 | 7.5 – 9.0 | 3.0 – 3.5 | 1.30 – 1.34 |
| Layer | Binder Modulus | Binder Density (g/cm³) | Refractory Flour | Binder:Flour Ratio (by weight) | Surfactant (%) | Defoamer (%) |
|---|---|---|---|---|---|---|
| Primary Coat | 3.0-3.4 | 1.25-1.28 | Fine Silica (270-320 mesh) | 1 : 1.0 – 1.3 | 0.1 – 0.3 | 0.05 – 0.1 |
| Secondary & Reinforcement Coats | 3.0-3.4 | 1.30-1.34 | Alumino-Silicate (200-270 mesh) | 1 : 1.1 – 1.5 | 0.1 | – |
The slurry viscosity, which must be monitored closely, governs the coating thickness. A common model for the thickness \(\delta\) of a layer drained from a dipped pattern is derived from Landau-Levich theory:
$$ \delta \propto \left( \frac{\eta U}{\rho g} \right)^{1/2} $$
where \(\eta\) is slurry viscosity, \(U\) is withdrawal speed, \(\rho\) is slurry density, and \(g\) is gravity. In practice, I achieved a uniform coat by manually controlling the withdrawal and rotation speed.
Stuccoing, Hardening, and Drying Cycle
Immediately after dipping, the wet slurry layer is coated with granular refractory stucco by rainfall sieving or fluidized bed. The stucco provides mechanical keying and creates porosity for gas escape. The sequence of stucco sizes is critical for building a robust shell in precision lost wax casting.
| Shell Layer Number | Layer Designation | Stucco Sand Mesh Size | Key Function |
|---|---|---|---|
| 1 | Primary Face Coat | 50/100 or 40/70 | Provides final surface finish |
| 2 | Transition Coat | 40/70 or 20/40 | Intermediates between fine and coarse |
| 3 | First Reinforcement | 20/40 | Begins building bulk strength |
| 4-7 | Reinforcement Coats | 12/20 | Provides primary structural strength |
| Final | Seal Coat (optional) | None (slurry only) | Seals outer layer to prevent sand loss |
After stuccoing, each layer must be chemically hardened. For the primary coats, I used an ammonium chloride (NH₄Cl) solution as the hardening agent. The reaction with sodium silicate gel forms silica gel and sodium chloride, strengthening the bond. The hardening reaction can be simplified as:
$$ \text{Na}_2\text{O} \cdot n\text{SiO}_2 + 2\text{NH}_4\text{Cl} \rightarrow 2\text{NaCl} + 2\text{NH}_3 \uparrow + n\text{SiO}_2 \cdot \text{H}_2\text{O} $$
For the reinforcement coats, I often switched to aluminum chloride (AlCl₃) solutions for faster and more complete hardening. Each hardened layer required a natural drying period of approximately 30 minutes to allow for further moisture evaporation and diffusion of the hardening agent. The total shell thickness built was typically 6-8 layers, which is standard for steel castings in precision lost wax casting.
Dewaxing and Shell Drying
Once the shell is built, the wax must be removed to create the mold cavity. I employed autoclave dewaxing, where the shell is exposed to pressurized steam. However, in this practice, a hot water bath method was used. The shell is immersed in water maintained at 90-95°C for 15-35 minutes. The wax melts and floats out of the shell. To neutralize soap residues from the wax and improve shell properties, additives are dissolved in the dewaxing water: 2-3% ammonium chloride and 1% boric acid (H₃BO₃). The boric acid helps remove saponified compounds. The heat transfer during dewaxing must be rapid to avoid shell cracking from wax expansion. The time \(t_{dw}\) required can be estimated by considering the conduction of heat through the shell thickness \(L\):
$$ t_{dw} \approx \frac{L^2}{2\alpha} $$
where \(\alpha\) is the thermal diffusivity of the ceramic shell. After dewaxing, the shell is drained and dried thoroughly, preferably for over 16 hours with the pour cup facing down, to eliminate all residual moisture—a vital step before the high-temperature firing.
Shell Firing: The Final Preparation
Firing, or calcining, the ceramic shell is a decisive thermal operation in precision lost wax casting. The objectives are multifold: to burn out any remaining volatile organics (wax, binders), to remove crystalline water, to sinter the ceramic particles for increased strength, and to reduce residual sodium oxide (Na₂O) content. For water glass-based shells, I fired them at 850°C with a holding time of 0.5 to 2.0 hours. The high temperature promotes the following beneficial changes:
- Volatile Removal: Eliminates gases that could cause porosity in the casting. The total gas volume \(V_g\) evolved can be related to the initial organic content \(m_{org}\) and firing temperature \(T\):
$$ V_g \propto m_{org} \cdot f(T) $$
- Strength Development: The high temperature causes sintering. The shell strength \(\sigma_s\) after firing increases with temperature and time, following an Arrhenius relationship for the sintering process:
$$ \sigma_s = \sigma_0 \exp\left(-\frac{Q_s}{RT}\right) t^{m} $$
where \(\sigma_0\) is a constant, \(Q_s\) is the activation energy for sintering, \(t\) is time, and \(m\) is a time exponent typically around 1/3 to 1/2.
- Na₂O Reduction: Further reduces the alkaline content, minimizing the risk of metal-mold reactions and improving hot strength.
The fired shell must be strong enough to withstand the metallostatic pressure of the molten metal but sufficiently permeable to allow air escape. This balance is key to precision lost wax casting.
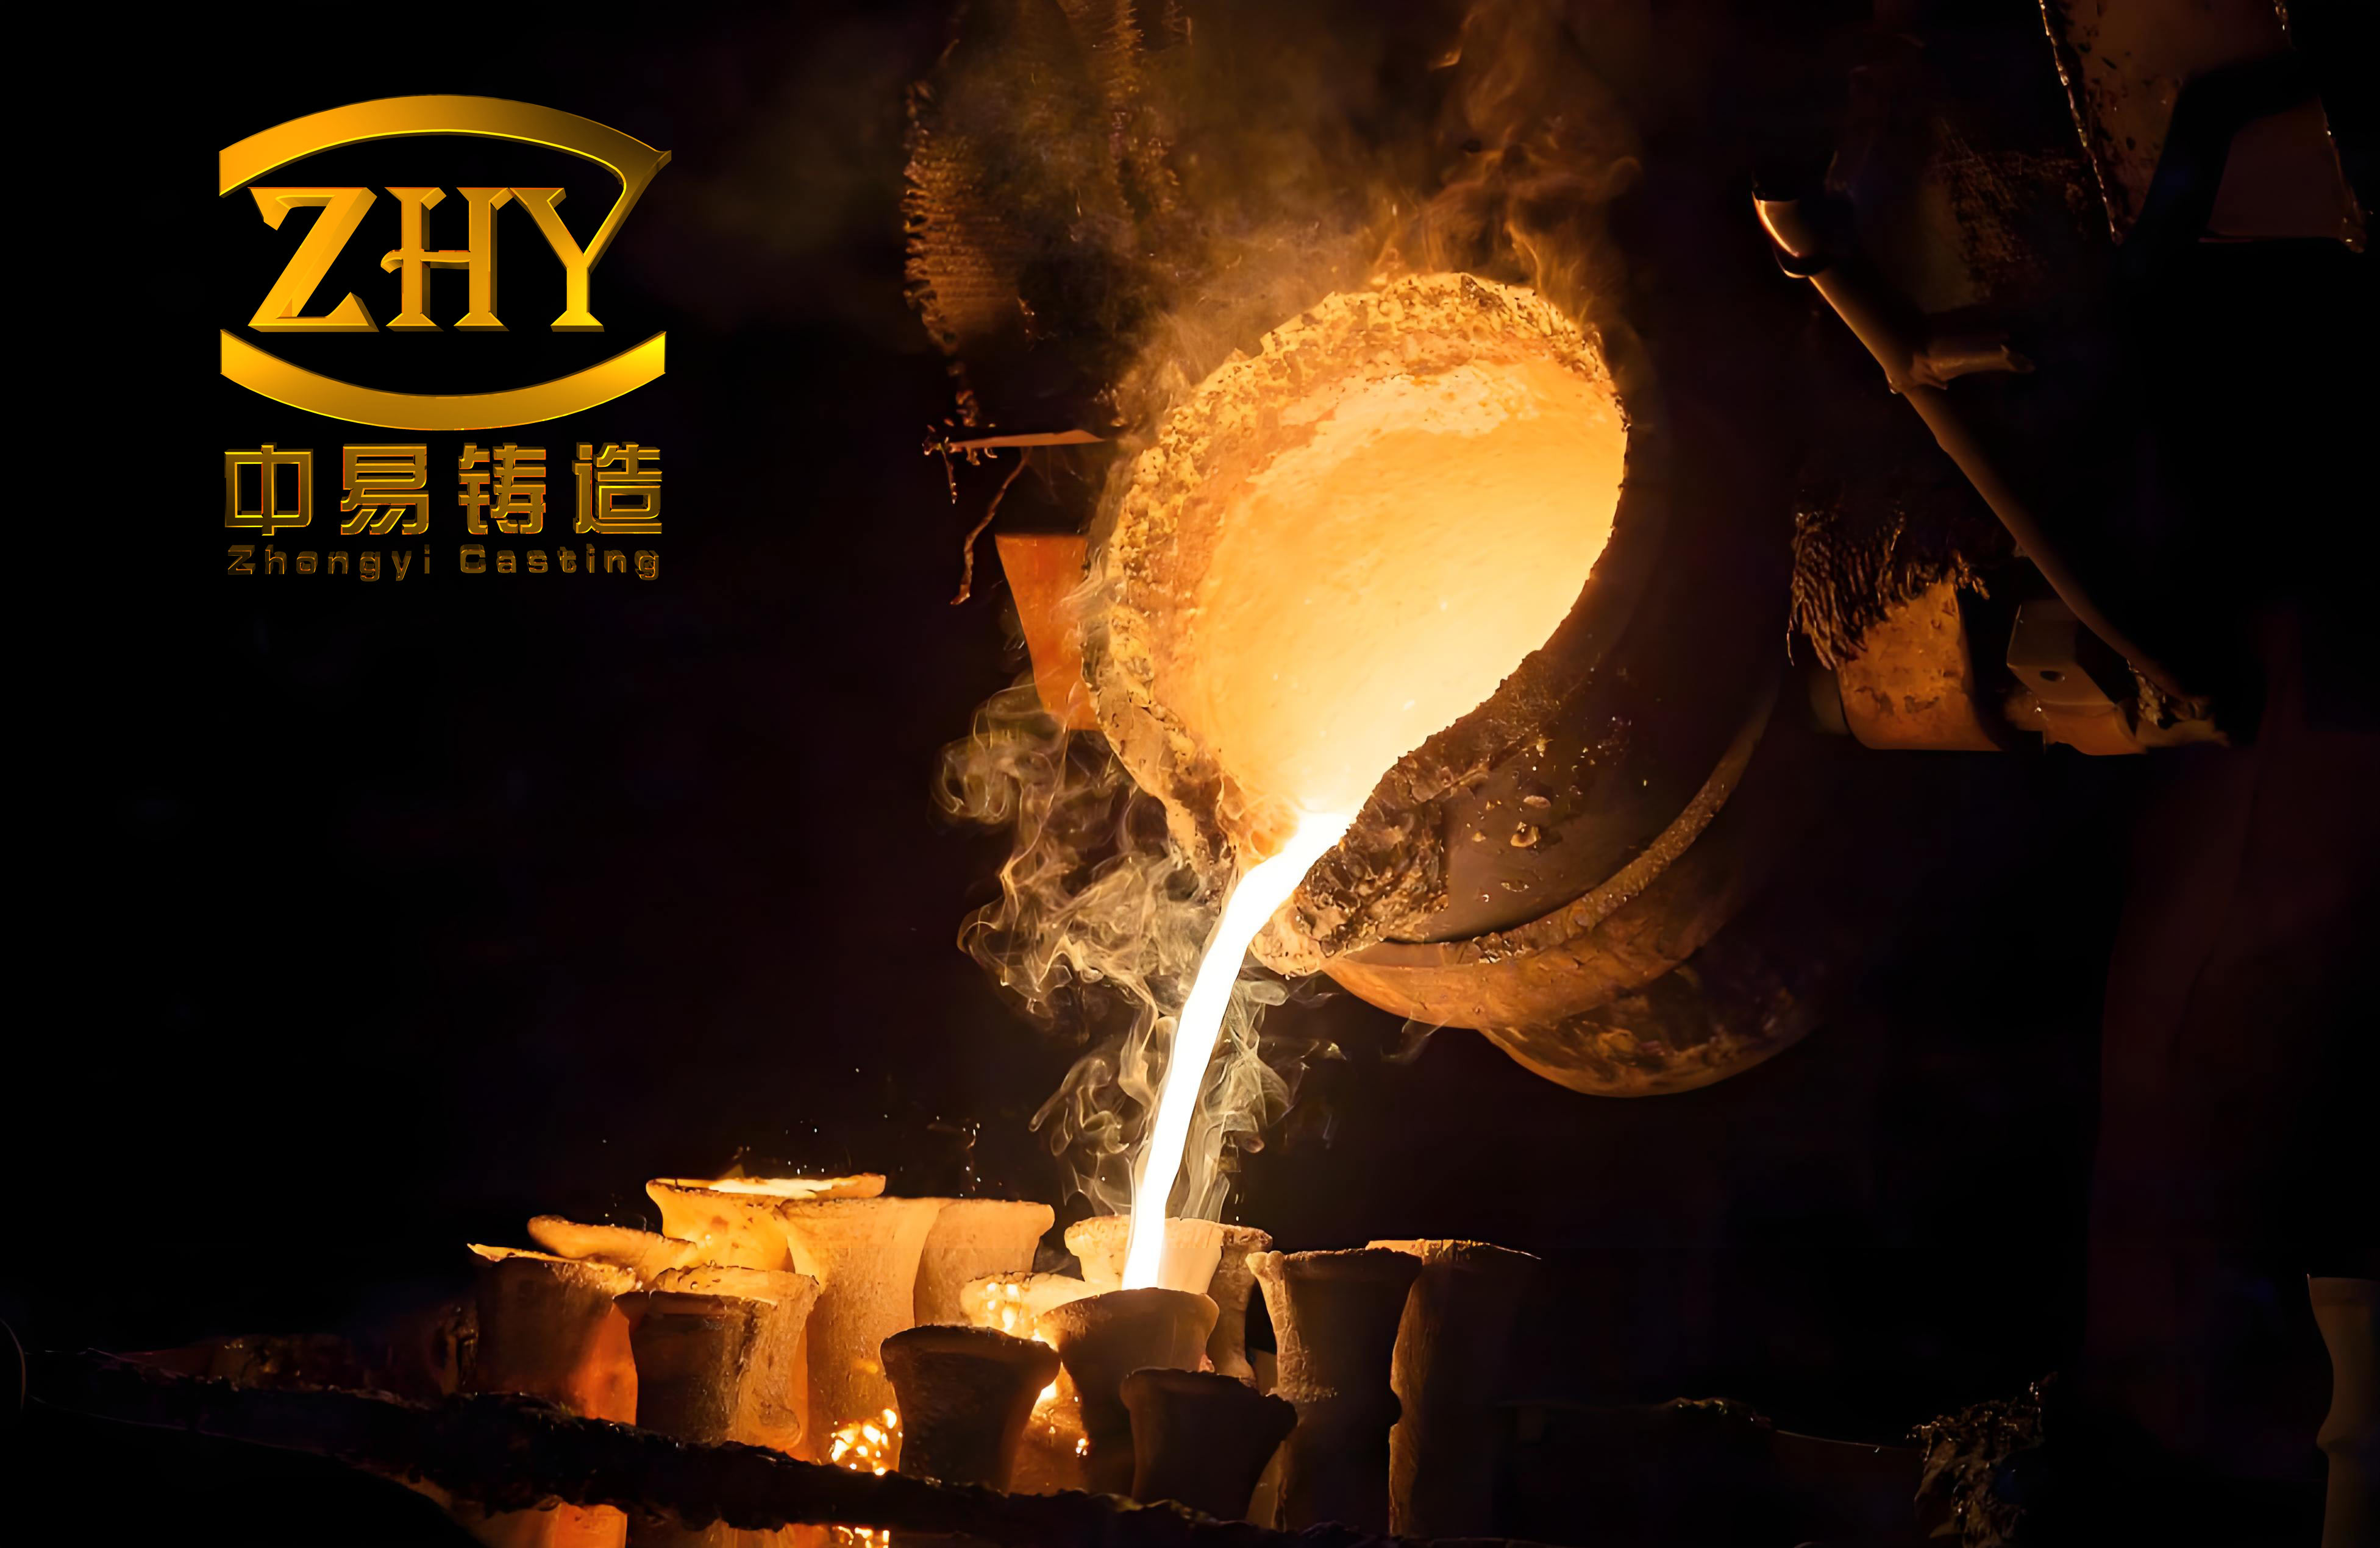
Metal Melting, Pouring, and Casting Results
For this practice, the alloy specified was a bearing steel similar to GCr15. The target composition is provided below. Melting was conducted in a medium-frequency induction furnace under a protective atmosphere to prevent excessive oxidation.
| Element | C | Si | Mn | Cr | S | P | Cu | Ni | Fe |
|---|---|---|---|---|---|---|---|---|---|
| Content | 0.95-1.05 | 0.15-0.35 | 0.20-0.40 | 1.30-1.65 | ≤0.020 | ≤0.027 | ≤0.025 | ≤0.030 | Bal. |
The pouring temperature is critical. Too high a temperature can cause erosion of the ceramic shell, while too low a temperature can lead to misruns. For this steel, I aimed for a superheat of approximately 150°C above the liquidus temperature, which can be estimated from the composition using thermodynamic models like the Scheil-Gulliver approximation for solidification path. The fluidity length \(L_f\) of the molten metal, important for filling thin sections, is related to superheat \(\Delta T\) and viscosity:
$$ L_f \propto \frac{\Delta T}{\eta_m} $$
where \(\eta_m\) is the dynamic viscosity of the molten metal. After pouring, the castings were left to solidify within the shell. The solidification time \(t_s\) for a casting of volume \(V\) and surface area \(A\) can be estimated using Chvorinov’s rule, a fundamental principle in casting and precision lost wax casting:
$$ t_s = B \left( \frac{V}{A} \right)^n $$
where \(B\) is a mold constant dependent on mold material and metal properties, and \(n\) is an exponent typically close to 2.
Process Optimization and Defect Analysis
A significant part of my practice involved troubleshooting and optimizing the precision lost wax casting process. Common defects and their mitigation strategies were studied empirically.
| Defect Type | Potential Causes | Corrective Actions in Practice |
|---|---|---|
| Surface Roughness/Scabs | Improper primary slurry viscosity; Inadequate stucco embedding; Sand inclusions. | Filter primary slurry; Control dipping and stuccoing speed; Ensure clean sand. |
| Wax Pattern Distortion | High injection pressure; Inadequate cooling; Poor handling. | Optimize injection parameters; Use controlled cooling jigs; Automate handling. |
| Shell Cracks (Dewaxing) | Too rapid heating; Insufficient shell strength before dewaxing. | Moderate dewaxing bath temperature; Ensure proper hardening/drying of all layers. |
| Metal Penetration | High pouring temperature; Low shell refractoriness; Coarse primary coat stucco. | Control superheat; Use finer face coat flour and stucco; Apply zirconia-based primary. |
| Shrinkage Porosity | Inadequate feeding; Incorrect gating design. | Implement feeder heads; Use simulation software to optimize gating and risering. |
| Gas Porosity | Incomplete shell firing; Moisture in shell; Turbulent filling. | Ensure complete firing cycle; Prolong shell drying; Design gating for laminar flow. |
To quantitatively assess shell permeability—a factor critical to preventing gas defects—I considered Darcy’s law for flow through a porous medium, which is highly relevant in precision lost wax casting:
$$ Q = \frac{k A \Delta P}{\mu L} $$
where \(Q\) is the volumetric flow rate of gas, \(k\) is the intrinsic permeability of the shell, \(A\) is the cross-sectional area, \(\Delta P\) is the pressure drop across the shell thickness \(L\), and \(\mu\) is the gas viscosity. The permeability \(k\) is influenced by the particle size distribution and packing of the stucco sand.
Advanced Considerations and Modeling
To deepen the understanding of the precision lost wax casting process, I explored several analytical and empirical models. The stress development in the ceramic shell during cooling of the metal casting is a complex thermo-mechanical problem. The thermal stress \(\sigma_{th}\) can be approximated by:
$$ \sigma_{th} = E \alpha \Delta T $$
where \(E\) is the Young’s modulus of the shell, \(\alpha\) is its coefficient of thermal expansion, and \(\Delta T\) is the temperature difference causing stress. This stress must remain below the shell’s fracture strength to avoid hot tearing or cracking of the casting.
Furthermore, the dimensional accuracy of the final part is a chain of tolerances from pattern to casting. The total dimensional variation \(\Delta D_{total}\) can be expressed as a root sum square of contributions from various stages:
$$ \Delta D_{total} = \sqrt{(\Delta D_{die})^2 + (\Delta D_{wax})^2 + (\Delta D_{shell})^2 + (\Delta D_{metal})^2} $$
where the terms represent variations from the die, wax pattern shrinkage, shell expansion/contraction, and metal shrinkage, respectively. Controlling each factor is the essence of precision lost wax casting.
Conclusion and Industrial Validation
This comprehensive practice in precision lost wax casting encompassed every critical step: from formulating and injecting wax patterns, through engineering multi-layered ceramic shells with precise chemistry, to firing and pouring. The iterative process of parameter optimization—documented through tables, governed by physical and chemical principles expressed in formulas—led to the successful production of high-integrity castings. The swing-rod components produced met all dimensional, surface finish, and metallurgical specifications. This success underscores the reliability and capability of the precision lost wax casting process for manufacturing critical, geometrically complex parts. The knowledge gained, particularly in balancing the interdependent parameters of slurry rheology, hardening kinetics, and thermal processing, is directly transferable to a wide range of alloys and component designs. The precision lost wax casting method, when executed with rigorous control and deep process understanding as detailed in this account, remains an unmatched technique for achieving near-net-shape accuracy in metal component fabrication.
In reflection, the entire discipline of precision lost wax casting is a symphony of materials science, fluid dynamics, and thermal engineering. Each variable, from the wax’s viscoelastic properties to the shell’s fired permeability, plays a part in determining the final outcome. Future work could involve integrating real-time process monitoring and advanced computational simulation to further predict and control outcomes, pushing the boundaries of what is possible with precision lost wax casting. The pursuit of perfection in this ancient yet continually evolving craft is what makes precision lost wax casting a fascinating and essential field of modern manufacturing.