
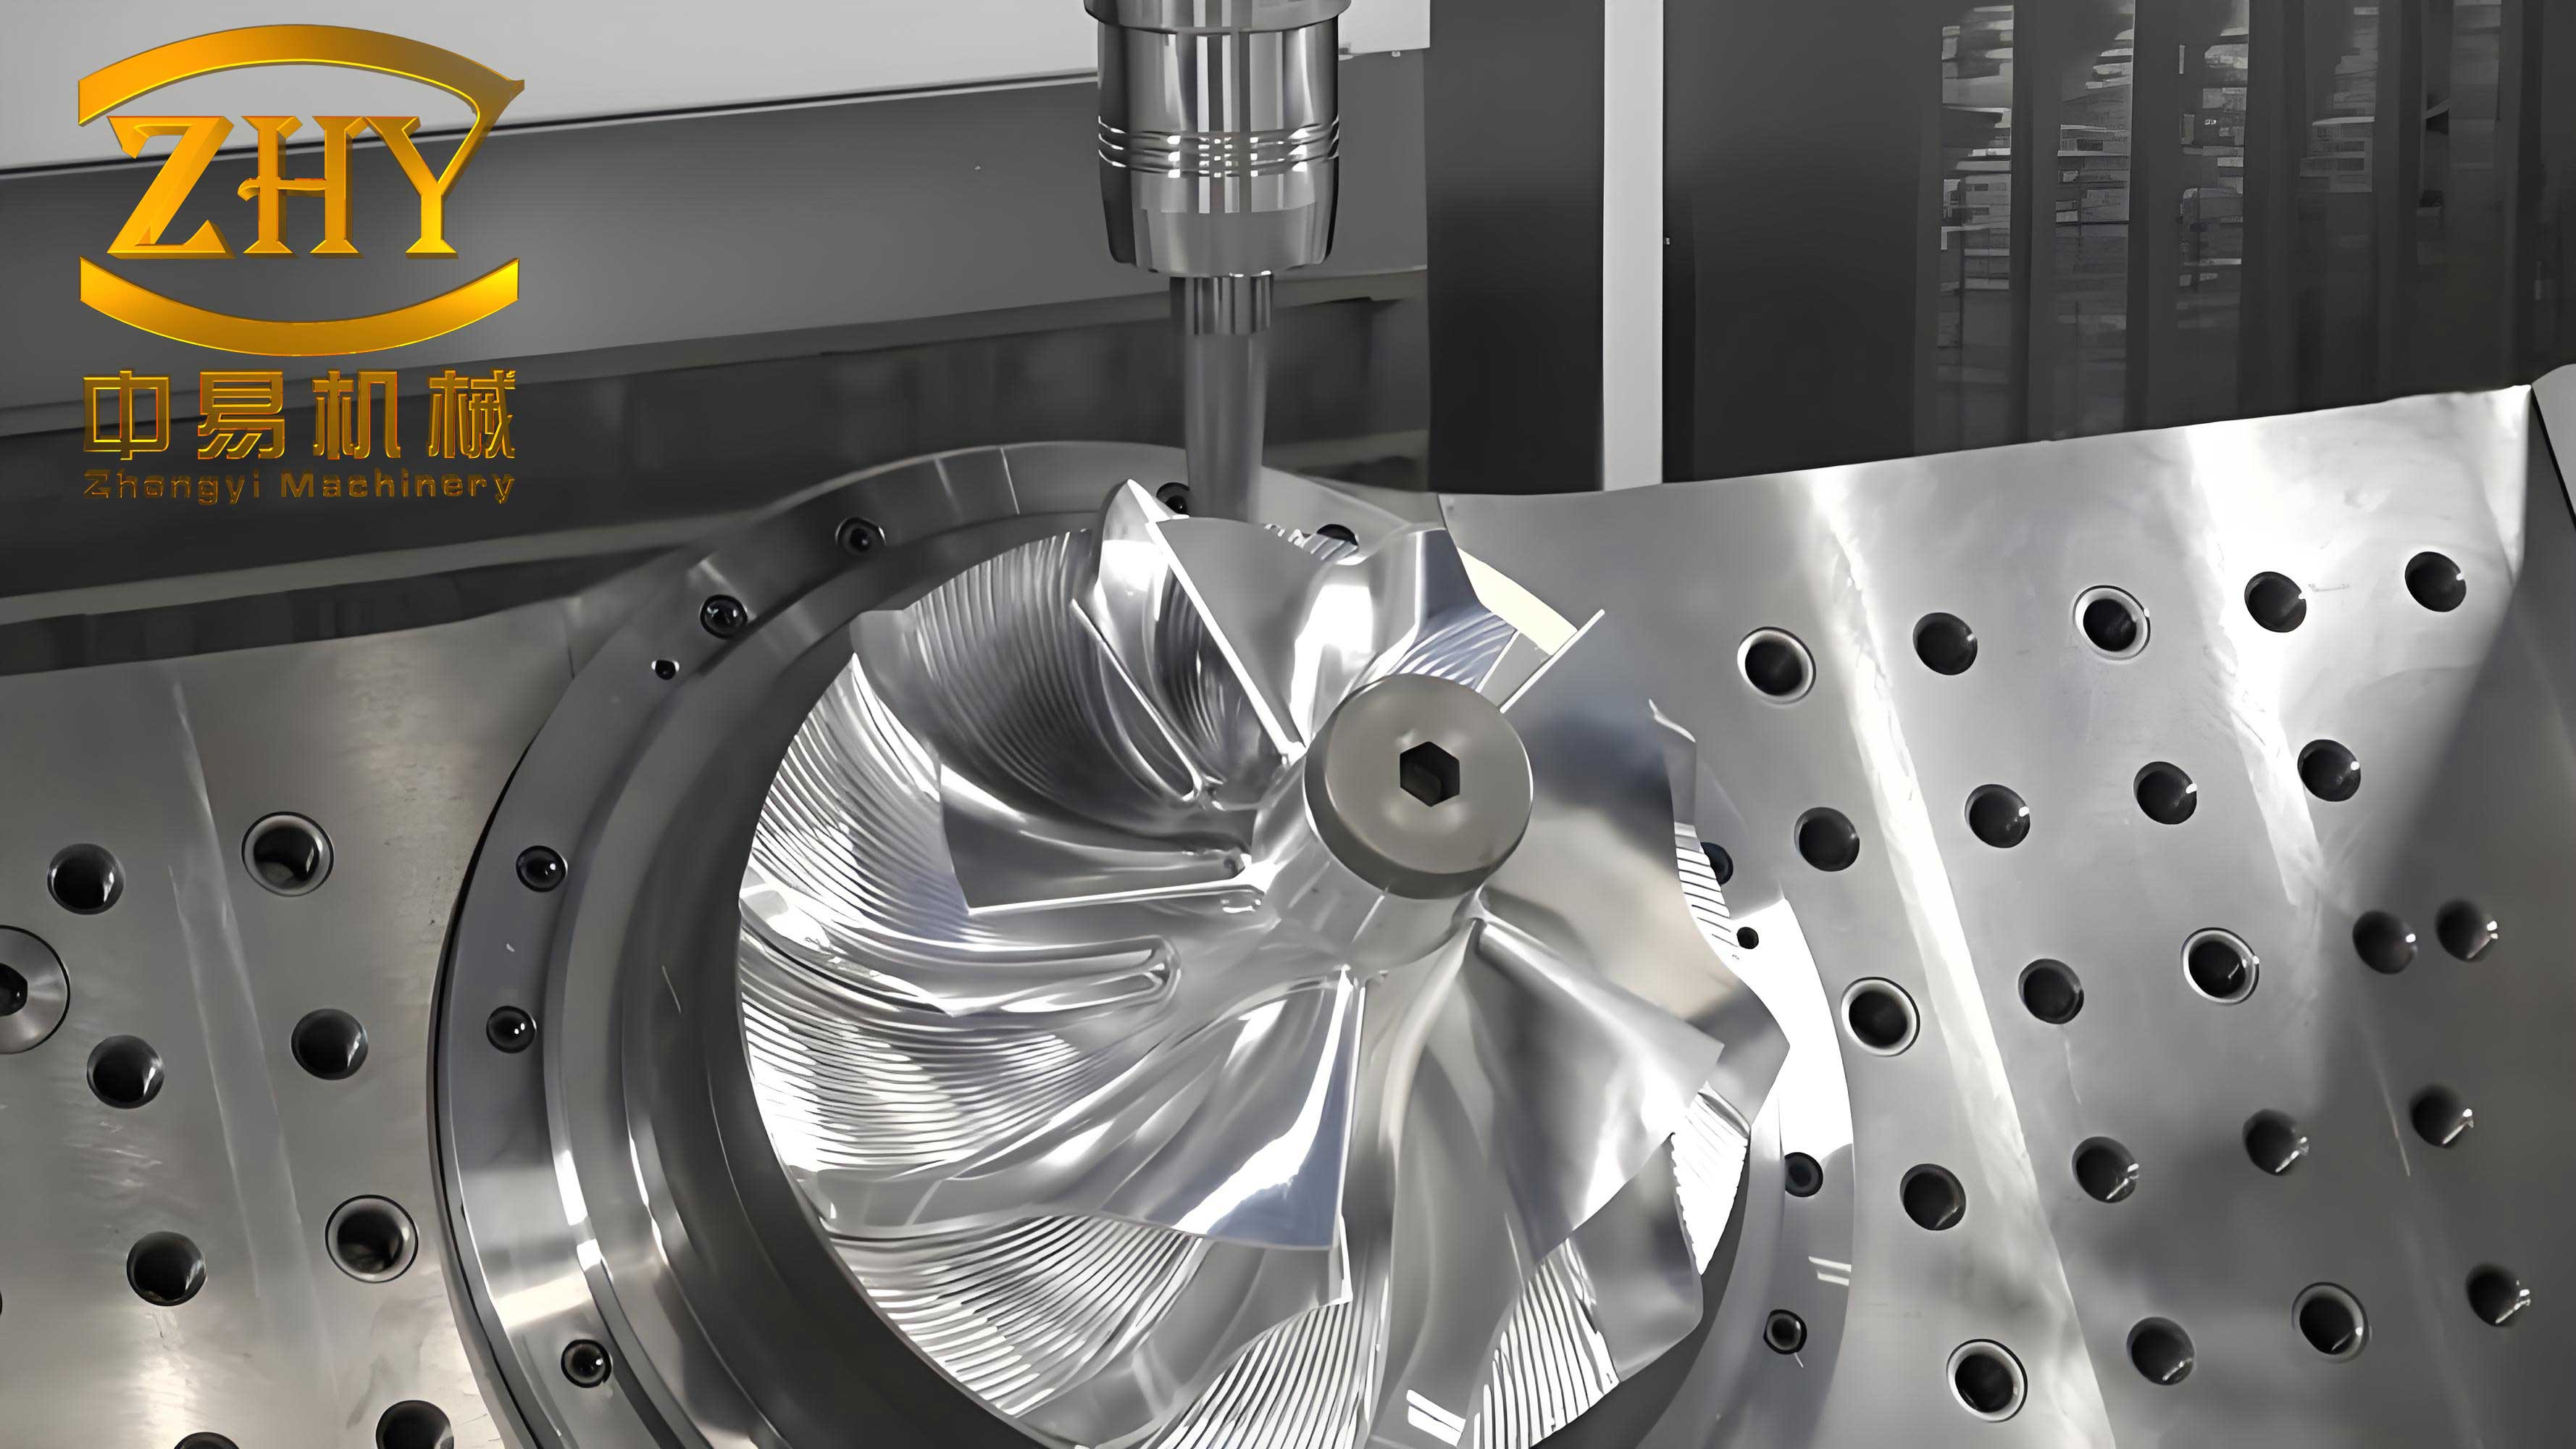
In the modern foundry industry, the application of 3D digital models has become indispensable. For machine tool casting components, which are often large, geometrically complex, and require high structural integrity, 3D models form the backbone of the entire production workflow. My experience has shown that these models are critical from the initial feasibility review and 3D casting process design, through MAGMA simulation and mold fabrication, to CNC programming and final 3D inspection. This article consolidates a practical methodology for efficiently constructing accurate 3D models of large machine tool casting parts, leveraging the capabilities of modern CAD software.
The foundation of an efficient modeling process is a structured, top-down approach. Attempting to model a massive machine tool casting haphazardly leads to errors, rebuilds, and immense difficulty in managing design changes. The core principle is to deconstruct the component logically, build its primary volume, and then methodically add features. The process can be systematically broken down into distinct phases, as summarized in the following table.
| Phase | Core Objective | Key Activities |
|---|---|---|
| 1. Analysis & Decomposition | Understand and segment the overall geometry. | Study 2D drawings; Identify homogeneous main body sections; Plan modeling sequence. |
| 2. Primary Volume Creation | Construct the dominant solid mass of the casting. | Define cross-section sketches for each segment; Perform extruded boss/base operations. |
| 3. External Feature Addition | Add all protruding structures like ribs, pads, and bosses. | Use sketches on faces of the main body; Employ extrude, revolve, or sweep commands. |
| 4. Internal Cavity & Core Definition | Create the negative internal spaces of the casting. | Use extruded cuts or the shell command; Define core prints and parting lines. |
| 5. Detailing & Finalization | Add small features like holes, fillets, and drafts. | Add cosmetic and functional details; Perform final validation against 2D drawings. |
Phase 1: Strategic Decomposition of the Casting
The first step upon receiving the 2D drawings for a machine tool casting is not to start sketching immediately, but to perform a thorough structural analysis. Large castings are rarely uniform blocks; they consist of sections with differing cross-sectional profiles, wall thicknesses, or functional purposes. The goal is to segment the main body logically.
If the primary structure is uniform over a significant length, it can be modeled as a single continuous feature. However, more often, the machine tool casting will have distinct regions. For instance, a bed might have a consistent cross-section for its central length but transition into a differently shaped headstock or tailstock end. The modeling strategy must identify these segments (Segment A, B, C, etc.) to be built independently before being united. This modular approach simplifies sketch creation, makes the model history tree more manageable, and allows for easier future modifications.
Phase 2: Constructing the Primary Volume from Sections
Once segmented, the focus shifts to the most critical task: defining the cross-sectional profile for each segment. This involves meticulously examining the 2D drawing’s sectional views (e.g., Section A-A, B-B). For each segment, one must identify the defining cross-section(s). Sometimes a single section suffices; other times, the segment tapers or changes, requiring sketches at its start and end, with a loft operation connecting them.
The sketch for the cross-section must be a single, closed, and fully-defined profile. This profile represents the outer boundary of that segment of the machine tool casting. Using geometric and dimensional constraints is paramount here to ensure design intent is captured and the sketch remains robust against changes. The fundamental operation to create the 3D solid from this 2D profile is the Extrude.
The extrude operation can be mathematically described. Given a closed planar curve \( C \) defined in the sketch plane, and an extrusion distance \( d \) along a unit vector \( \hat{n} \) normal to the plane, the resulting solid \( V \) is the set of all points swept by \( C \).
$$ V = \{ \vec{p} + t \cdot \hat{n} \ | \ \vec{p} \in C, \ 0 \le t \le d \} $$
By sequentially extruding the identified cross-sectional profiles for each segment to their specified lengths, the basic, monolithic volume of the machine tool casting is formed. Features like feet or base pads, which are integral to the main volume, are often created at this stage by extruding additional closed profiles from the main body faces.
Phase 3: Methodical Addition of External Structures
With the primary volume established, the next phase is adding the numerous external features: reinforcing ribs, mounting pads, bosses, and connection flanges. The guiding principle for this phase is “one feature at a time, clearly related to a datum.” Each auxiliary structure should be treated as an independent feature but built in context.
The process for any external feature follows a consistent pattern, which can be codified into a repeatable workflow. The table below outlines this general procedure.
| Step | Action | Description & Software Command |
|---|---|---|
| 1. Isolate & Locate | Identify the feature in all 2D views. | Find its top, front, and side views to understand its 3D shape and locate it relative to the main body datums. |
| 2. Define Sketch Plane | Select the face on the main body from which the feature originates. | This face becomes the sketch plane (z=0 reference for the new feature). Use Sketch on Face. |
| 3. Project & Draw Geometry | Create the feature’s base profile. | Project relevant edges from the main body for reference. Draw the closed profile of the new structure. |
| 4. Dimension & Constrain | Fully define the sketch. | Apply dimensions from the 2D drawing and geometric constraints (parallel, perpendicular, concentric). |
| 5. Generate 3D Form | Extrude, revolve, or sweep the profile. | Use Extrude for prismatic shapes, Revolve for cylindrical ones, or Sweep for guides along a path. |
For example, to add a vertical reinforcing rib, one would select the appropriate vertical face of the main body as the sketch plane. The sketch would be a rectangle representing the rib’s cross-section, its bottom edge coincident with the main body’s bottom edge (ensuring “footprint” contact), and its height and thickness dimensioned per the drawing. A simple extrusion of this rectangle to the specified rib width completes the feature. This systematic, view-driven approach (“long alignment, height leveling, width equality”) ensures accuracy for every protruding element on the machine tool casting.
Phase 4: Defining Internal Cavities and Core Geometry
Most machine tool casting components are not solid but have complex internal cavities to reduce weight, create channels for coolant, or house other components. These internal volumes are just as critical as the external shape. The modeling sequence is crucial: external features first, then internal cavities. This prevents accidental removal of material needed for external structures.
Internal cavities are typically created using the Extrude Cut or Shell operations. For a through-cavity or a clearly defined pocket, sketching its profile on a relevant face or plane and extruding it as a cut is efficient. For creating a uniform wall thickness throughout a large portion of the machine tool casting, the Shell command is unparalleled. It works by removing a selected face (or faces) and hollowing out the solid, leaving walls of a specified thickness \( t_{wall} \).
If \( V_{solid} \) is the original solid volume and \( F_{removed} \) is the area of the face(s) selected for removal, the shell operation essentially performs a volumetric offset inward. The resulting cavity surface \( S_{cavity} \) is approximately an offset surface from the internal walls:
$$ S_{cavity} \approx \text{Offset}( S_{internal}, -t_{wall} ) $$
After shelling or cutting the primary cavity, internal ribs and walls are added using the same feature-addition technique from Phase 3, but now the sketches are drawn on planes within the hollowed volume or on the inner faces of the cast walls.
Phase 5: Detailing, Validation, and Completion
The final phase involves adding small but essential details: bolt holes, draft angles for mold release, fillets and rounds to reduce stress concentration, and machining allowances. These are typically added using dedicated hole wizard, draft, and fillet commands. The order here is also important: add draft before fillets, and add fillets before holes where possible, to avoid complex feature interactions and rebuild failures.
The culmination of the modeling process is a comprehensive validation against the original 2D drawings. This involves using the software’s measurement tools to check critical distances, generating cross-sectional views of the 3D model to compare with the provided 2D sections, and ensuring all specified geometry is present. The completed 3D model of the machine tool casting now serves as the single source of truth for all downstream engineering activities.
Summary of Foundational Modeling Principles
Throughout this detailed process, several overarching principles ensure a robust and efficient workflow for any machine tool casting project. Adhering to these maxims prevents common pitfalls and saves significant time during both modeling and revision cycles.
| Principle | Rationale & Benefit |
|---|---|
| Decompose, then Build | Breaking down a complex casting into logical main-body segments makes the problem manageable and the model history tree clean. |
| Master the Cross-Section | The accuracy of the entire model hinges on correctly defined, fully-constrained, closed sectional sketches. |
| External before Internal | Building protruding structures first guarantees material exists for them before hollowing out the core, preventing feature failures. |
| Feature Independence with Context | Modeling each auxiliary structure as a separate feature, but referenced to the main body datums, allows for easy suppression, modification, and understanding. |
| Orderly Detailing | Applying draft, then fillets, then holes (where feasible) follows the logical manufacturing sequence and avoids complex geometry rebuild errors. |
In conclusion, building a high-quality 3D model for a large machine tool casting is a systematic engineering discipline, not merely a drafting exercise. It requires a deep understanding of the part’s function, a methodical approach to geometry decomposition, and disciplined use of CAD software capabilities. By following the phased methodology of strategic decomposition, primary volume creation, external feature addition, internal cavity definition, and final detailing—all while adhering to core modeling principles—one can develop accurate, robust, and reusable digital models. These models are the critical link that enables advanced simulation, precise mold making, efficient machining, and reliable quality control in the production of high-performance machine tool casting components.