
I have spent considerable time studying how digital manufacturing can be merged with traditional metal forming. My main interest is the integration of 3D printing with lost wax casting, because this combination creates a practical bridge from a computer model to a functional metal component. Lost wax casting, also known as investment casting, is a near-net-shape process. It relies on a pattern, usually made of wax or a wax-like material, which is coated with refractory layers. After the pattern is removed, a hollow ceramic shell remains. Molten metal is poured into that shell, and a precise casting is obtained after cooling and finishing. In my view, lost wax casting remains one of the most elegant methods for producing complex metal parts with fine surface detail and good dimensional control.
From my own experiments, lost wax casting offers high accuracy, smooth surface finish, and the ability to form thin walls and intricate internal passages. However, I have also observed its limitations. Pattern production can take several days, tooling costs are high, and small-batch production is often uneconomical. Traditional pattern making also struggles with undercuts, deep cavities, and highly customized geometries. These limitations are exactly where 3D printing becomes valuable. By building a pattern layer by layer directly from a digital file, I can bypass many tooling steps. This shortens the development cycle, reduces cost for prototypes and small batches, and enables shapes that conventional molds cannot easily produce. Therefore, the combination of 3D printing and lost wax casting is not merely an additive step; it is a rethinking of the entire rapid manufacturing chain.
1. The fundamentals of lost wax casting
In lost wax casting, the pattern is the starting point. The pattern defines the external and internal geometry of the final part. In conventional practice, I would inject wax into a metal die, assemble wax patterns onto a tree, dip the tree into ceramic slurry, stucco it with refractory sand, and allow the shell to dry. This cycle is repeated until the shell reaches the required thickness. Then the wax is melted out, the shell is fired, and metal is poured. The lost wax casting route is capable of producing parts with complex shapes, non-uniform wall thickness, and high dimensional precision. It is widely used in aerospace, automotive, electronics, medical, and energy industries.
I classify pattern materials according to their melting range, strength, thermal stability, flowability, and ash content. The choice of pattern material affects pattern removal, shell integrity, and final casting quality. The following table summarizes common pattern materials used in lost wax casting.
| Material type | Main components | Melting range / °C |
|---|---|---|
| Wax-based pattern material | Paraffin, stearic acid | 60–70 |
| Resin-based pattern material | Natural resins | 70–120 |
| High-temperature pattern material | Rosin, ozokerite, polystyrene | >120 |
| Medium-temperature rosin-based | Rosin, waxes | 90–110 |
| Medium-temperature wax-based | Paraffin, other additives | 80–100 |
In my work, I pay close attention to the thermal behavior of the pattern because lost wax casting depends on clean pattern removal. If the pattern expands too much during heating, it can crack the ceramic shell. If it leaves ash or residue, the casting surface may be contaminated. The linear thermal expansion of the pattern can be approximated as:
$$ \Delta L = \alpha L \Delta T $$
where \(\Delta L\) is the change in length, \(\alpha\) is the coefficient of thermal expansion, \(L\) is the original length, and \(\Delta T\) is the temperature change. I use this relationship to estimate whether a pattern material can be removed safely from a ceramic shell without generating excessive stress. The shell itself must also resist the pressure of molten metal. For a thin-walled cylindrical shell, I estimate the hoop stress using:
$$ \sigma_{\theta} = \frac{P r}{t} $$
where \(\sigma_{\theta}\) is the hoop stress, \(P\) is the internal pressure, \(r\) is the shell radius, and \(t\) is the shell thickness. This simple formula helps me judge whether the shell thickness is sufficient for a given casting. In lost wax casting, the shell is usually built up in multiple layers. Each layer adds strength but also adds thermal resistance and permeability effects. I have found that a balanced shell design is essential for reliable lost wax casting.
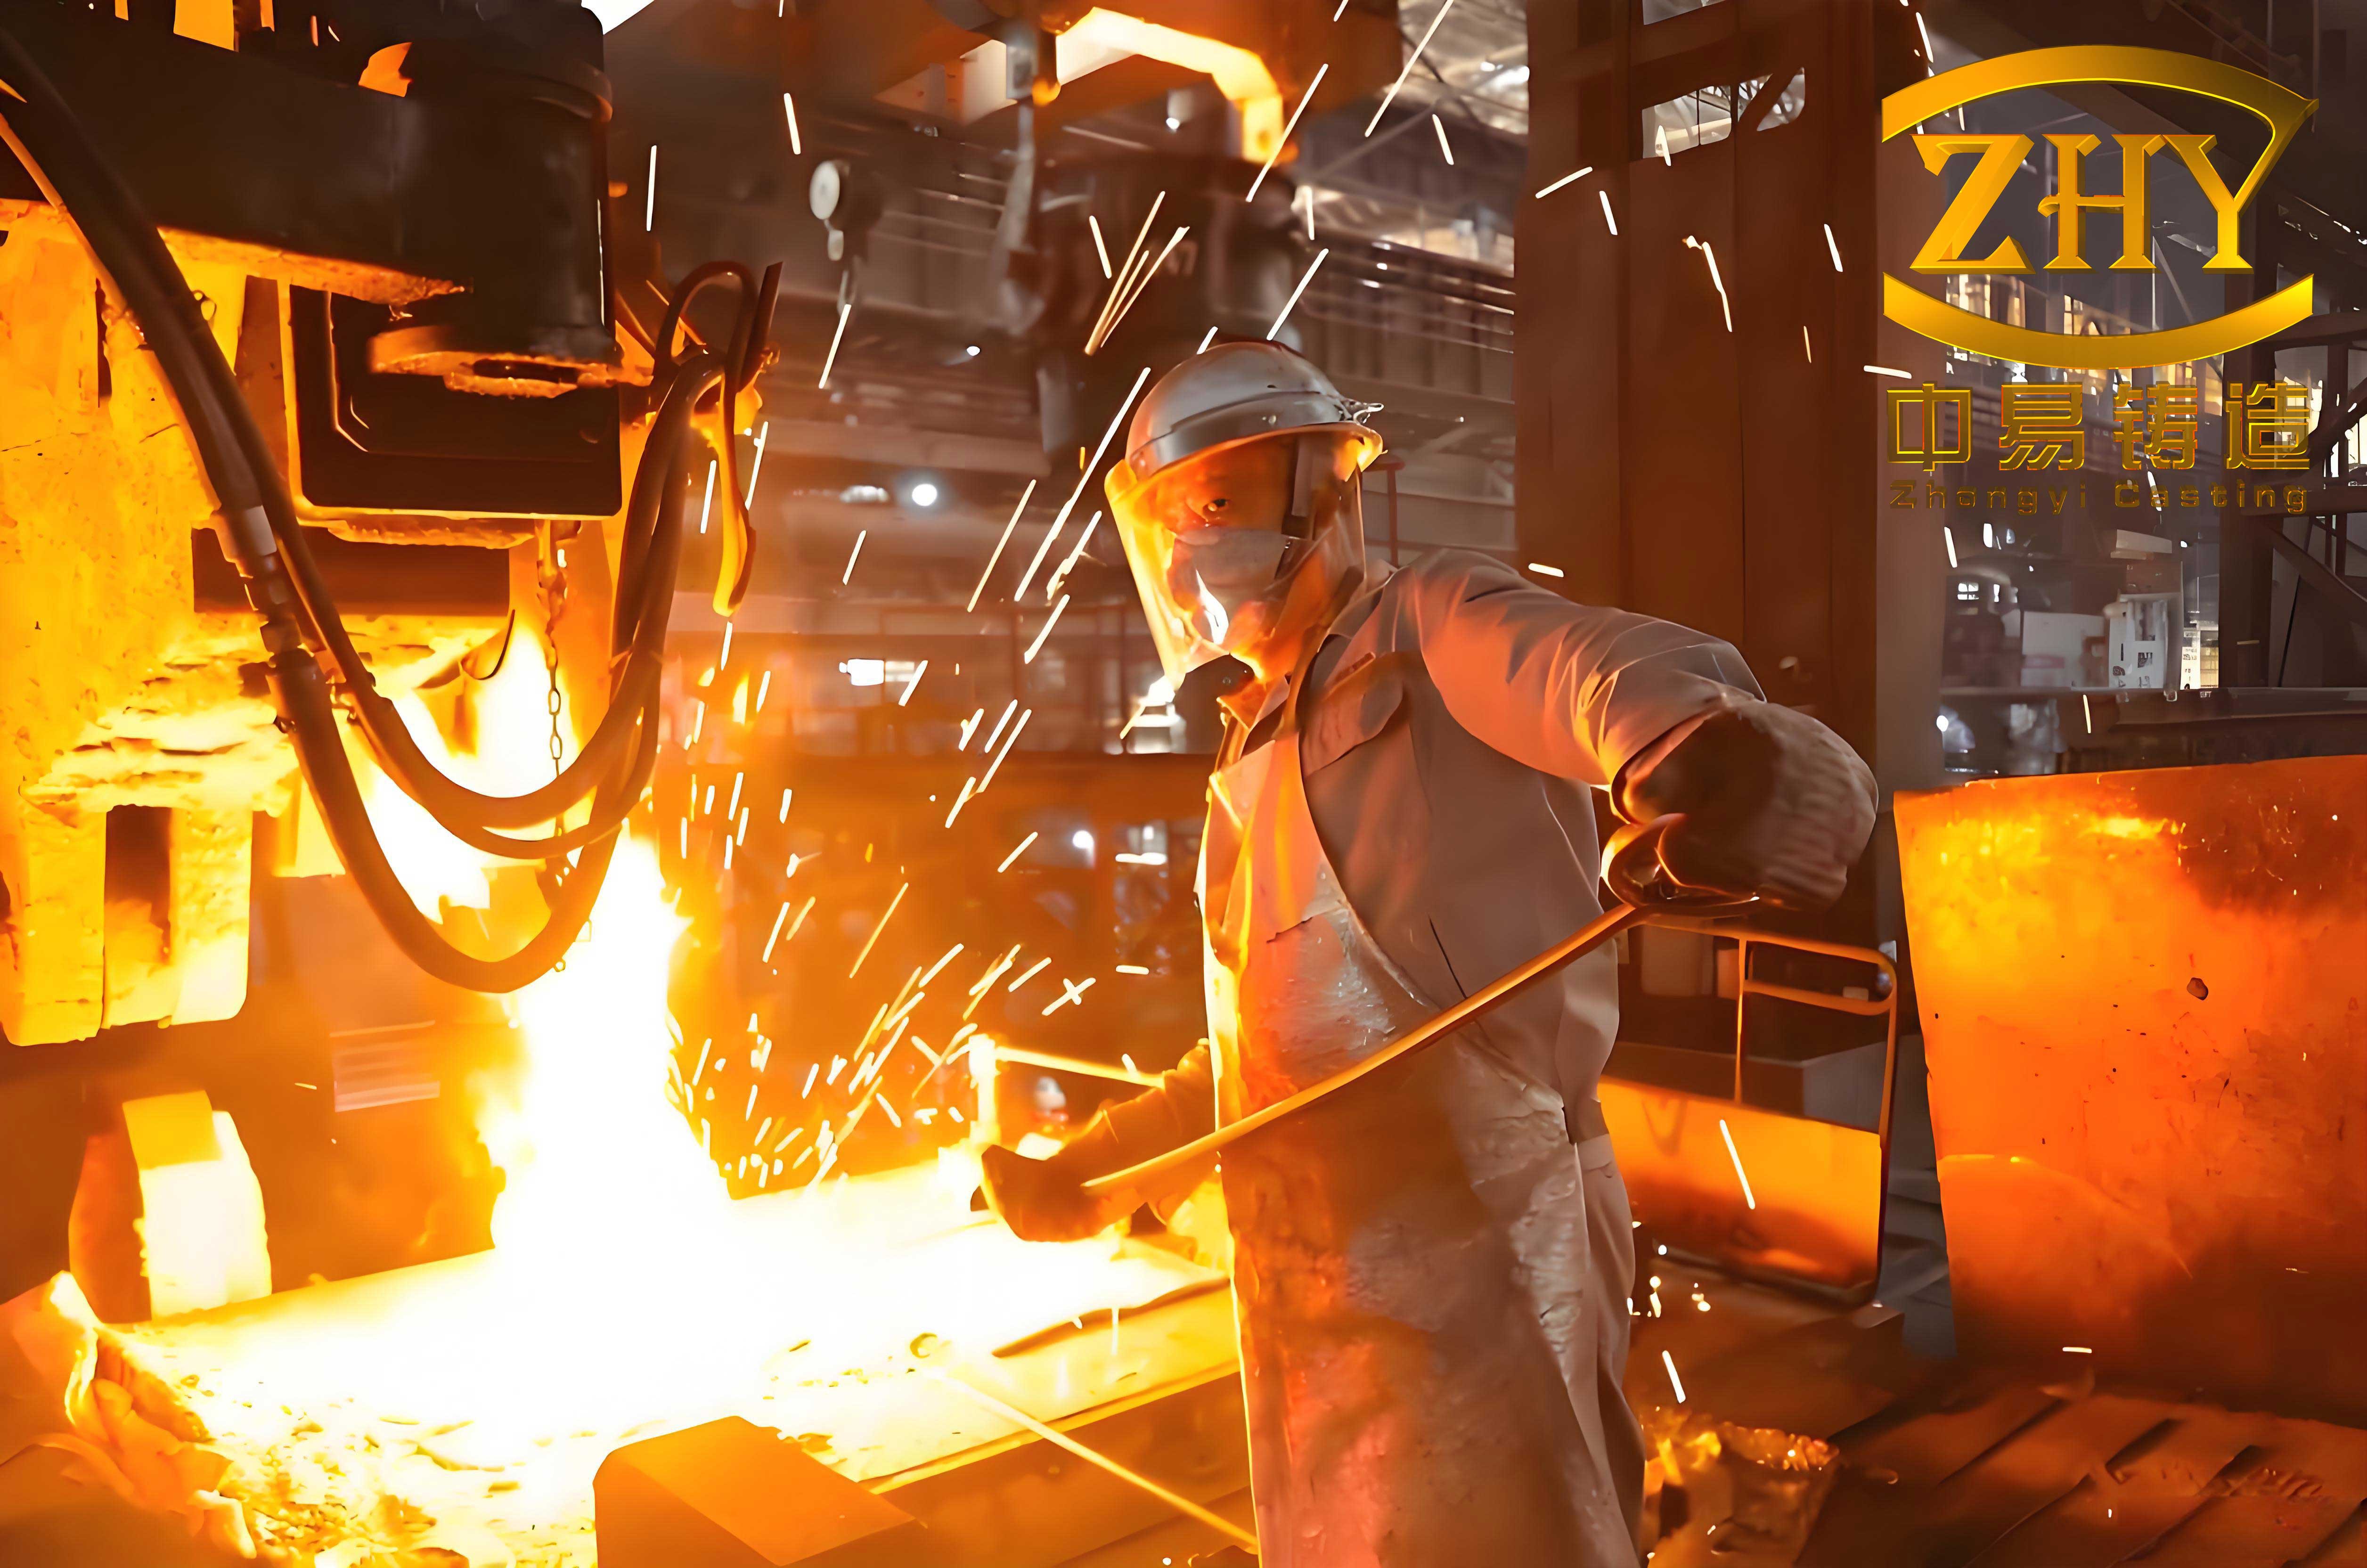
When I build the shell, I follow a repeated sequence of slurry dipping, sanding, drying, and hardening. This creates a ceramic shell around the pattern. The shell must have enough strength to withstand pouring, and enough permeability to allow gases to escape. The drying and hardening steps are strongly influenced by temperature and humidity. I control these variables carefully because they affect shell cracking, surface finish, and dimensional stability. The following figure shows a representative setup for the casting environment I use in my rapid lost wax casting work.
After the shell is dry, I remove the pattern by heating. In traditional lost wax casting, the wax melts and flows out. In my 3D printing assisted route, I use a photopolymer resin pattern that melts at a relatively low temperature. The shell is then fired at high temperature to remove residual material and to sinter the ceramic. Finally, molten metal is poured into the hot shell. The entire sequence can be represented as a cycle time:
$$ T_{cycle} = t_{model} + t_{print} + t_{shell} + t_{dewax} + t_{burnout} + t_{pour} + t_{finish} $$
I use this equation to compare traditional lost wax casting with the 3D printing assisted route. In my experience, the largest savings come from eliminating the metal die and shortening the pattern production stage. The lost wax casting steps after pattern creation remain similar, but the upstream flexibility is dramatically improved.
2. 3D printing materials for pattern replacement
3D printing is an additive process. It builds objects from a digital model by depositing or solidifying material layer by layer. This is fundamentally different from subtractive manufacturing. In my research, I use computer-aided design or reverse engineering to create a three-dimensional model. The model is converted into a standard tessellation language file, sliced into two-dimensional layers, and then printed. The process improves material utilization, shortens product development, and reduces trial-and-error cost. For lost wax casting, the most important question is whether a 3D printed pattern can replace a traditional wax pattern. The answer depends on the melting range, ash content, surface quality, and thermal expansion of the printed material.
The table below lists common 3D printing materials and their melting ranges. I use this table when I select a material for rapid lost wax casting.
| Material | Melting range / °C |
|---|---|
| ABS (acrylonitrile butadiene styrene) | 210–240 |
| PLA (polylactic acid) | 170–220 |
| PETG (polyethylene terephthalate glycol) | 220–250 |
| TPU (thermoplastic polyurethane) | 190–230 |
| Photopolymer resin | 60–90 |
| Nylon | 235–270 |
From this table, I can see that nylon has the highest melting range among the common materials, but its maximum is still only around 270 °C. Photopolymer resin melts at 60–90 °C, which is close to the melting range of wax-based pattern materials. This makes photopolymer resin an attractive substitute for wax in lost wax casting. In my experiments, I have used stereolithography, also called SLA, because it provides high resolution and smooth surfaces. The resin pattern can be removed by immersion in hot water or by low-temperature heating, leaving a clean cavity for the ceramic shell. This approach works well for small and medium-sized parts with fine features.
I also consider the curing behavior of photopolymers. The depth of cure in SLA can be approximated using a logarithmic model:
$$ C_d = D_p \ln\left(\frac{E}{E_c}\right) $$
where \(C_d\) is the cure depth, \(D_p\) is the penetration depth, \(E\) is the exposure energy, and \(E_c\) is the critical exposure energy. This formula helps me select exposure time and layer thickness. If the cure depth is too small, the layer will not bond properly. If it is too large, excess resin may cure and reduce dimensional accuracy. I have found that a layer thickness between 0.05 mm and 0.1 mm provides a good balance between surface quality and build speed. The build time can be estimated as:
$$ t_{build} = \frac{V_{part}}{Q_{deposition} \cdot \eta_{material}} + n_{layers} t_{layer} $$
where \(V_{part}\) is the part volume, \(Q_{deposition}\) is the volumetric deposition rate, \(\eta_{material}\) is the material efficiency, \(n_{layers}\) is the number of layers, and \(t_{layer}\) is the time per layer. I use this equation to compare printing strategies before I commit to a lost wax casting trial.
3. Integration workflow for rapid lost wax casting
I structure the 3D printing assisted lost wax casting workflow into several stages: digital modeling, support generation, printing, post-curing, shell building, pattern removal, burn-out, pouring, and finishing. Each stage has its own parameters. I have learned that the greatest benefits come from front-loading the digital work. If the model is clean, watertight, and properly oriented, the downstream lost wax casting steps become much more predictable.
The first stage is digital modeling. I create the part in CAD software or obtain it through 3D scanning. I then convert the model to a printable format and slice it. During slicing, I define layer thickness, exposure time, support structure, and orientation. The orientation is critical because it affects surface finish, build time, and the amount of support material. For lost wax casting, I prefer orientations that minimize support contact on critical surfaces. I also add shrinkage compensation at this stage. The compensation factor can be expressed as:
$$ S_c = \frac{L_{mold}}{L_{final}} $$
where \(S_c\) is the shrinkage compensation factor, \(L_{mold}\) is the mold dimension, and \(L_{final}\) is the desired final dimension. I apply this factor to the digital model so that the final casting meets the target size. In lost wax casting, shrinkage occurs at several stages: pattern cooling, shell firing, metal solidification, and final cooling. I therefore use a combined compensation factor that reflects the entire process.
After printing, I clean and post-cure the pattern. Post-curing improves stiffness and thermal stability. Then I attach the pattern to a wax tree or a printed tree. I dip the assembly into ceramic slurry, stucco it with refractory sand, and allow it to dry. I repeat this cycle several times. The table below shows a typical shell building schedule that I use for small parts.
| Layer | Slurry type | Stucco material | Drying time / h |
|---|---|---|---|
| Primary | Fine zircon slurry | Fine zircon sand | 4–6 |
| Secondary | Alumina slurry | Alumina sand | 6–8 |
| Backup 1 | Mullite slurry | Mullite sand | 8–10 |
| Backup 2 | Mullite slurry | Mullite sand | 8–10 |
| Seal | Seal slurry | None | 12–24 |
Once the shell is dry, I remove the pattern. For resin patterns, I place the shell in hot water at 85–95 °C. The resin softens and flows out. I then fire the shell at approximately 900 °C for 1–2 hours. This step removes moisture, residual pattern material, and volatile impurities. It also strengthens the ceramic shell. After firing, I support the shell with dry sand to prevent deformation or cracking during pouring. Then I pour molten metal into the cavity. The casting cools, the shell is broken away, and the part is cut from the tree. Finally, I grind, sand, and polish the casting to the required finish.
4. Case study: small impeller in rapid lost wax casting
To evaluate the feasibility of my approach, I designed a small impeller for a rapid lost wax casting trial. The impeller had a bottom diameter of 100 mm, a top diameter of 26 mm, and a side width of 45 mm. I selected a photopolymer resin with a melting range of approximately 70 °C. I printed the pattern on an SLA machine, built the ceramic shell, removed the pattern in hot water, fired the shell, and poured metal. The entire process was completed in a shorter time than a conventional lost wax casting route.
The measured dimensions of the final casting are shown in the table below. I compared the actual dimensions with the theoretical dimensions to quantify the accuracy.
| Feature | Theoretical / mm | Actual / mm | Deviation / mm | Relative error / % |
|---|---|---|---|---|
| Bottom diameter | 100 | 99.80 | -0.20 | -0.20 |
| Top diameter | 26 | 26.12 | +0.12 | +0.46 |
| Side width | 45 | 45.23 | +0.23 | +0.51 |
I calculated the relative error using:
$$ \epsilon_d = \frac{D_{actual} – D_{nominal}}{D_{nominal}} \times 100\% $$
The results show that the deviations are small. The bottom diameter was under by 0.20 mm, while the top diameter and side width were slightly over by 0.12 mm and 0.23 mm. These values are within the expected tolerance for many industrial castings. I concluded that the combination of SLA printing and lost wax casting can produce an impeller with good dimensional accuracy and acceptable surface quality. The lost wax casting process remained reliable, and the 3D printed pattern performed well as a sacrificial pattern.
I also observed that the surface finish of the casting depended on the shell face coat and the pattern surface. Since SLA produces smooth layers, the pattern surface was good. The ceramic shell replicated that surface, and the final metal part required only light finishing. In my view, this is a major advantage for rapid lost wax casting: the digital model can be translated into a metal part without a long tooling cycle.
5. Advantages of 3D printing in rapid lost wax casting
The advantages of combining 3D printing with lost wax casting are both technical and economic. I summarize them in the following table.
| Advantage | Effect in my work |
|---|---|
| Fast pattern formation | Traditional wax pattern production averages about 5 days; 3D printing can complete a pattern in 1–2 days. |
| High precision | Dimensional accuracy can reach 0.5 mm or better. |
| Strong customization | More than 90% of individualized design needs can be met. |
| High material utilization | Material utilization can exceed 80%, compared with about 50% for conventional methods. |
| Lower tooling cost | No metal die is required for small-batch production. |
| Better design freedom | Complex internal channels and undercuts become feasible. |
I have found that the cost model for a 3D printed pattern in lost wax casting can be written as:
$$ C_{part} = C_{design} + C_{material} + C_{machine} + C_{labor} + C_{post} $$
where \(C_{design}\) is the design and simulation cost, \(C_{material}\) is the material cost, \(C_{machine}\) is the machine and energy cost, \(C_{labor}\) is the labor cost, and \(C_{post}\) is the post-processing cost. For small batches, the absence of a metal die makes this total much lower than traditional lost wax casting. For large batches, the traditional route may still be more economical because the die cost can be amortized over many parts. The break-even point can be estimated as:
$$ N_{break} = \frac{C_{die}}{C_{3D} – C_{traditional}} $$
where \(N_{break}\) is the break-even quantity, \(C_{die}\) is the die cost, \(C_{3D}\) is the cost per part with 3D printing, and \(C_{traditional}\) is the cost per part with traditional lost wax casting. I use this formula to decide whether additive manufacturing is the right choice for a given production volume.
Another advantage is manufacturing flexibility. In traditional lost wax casting, a design change often requires a new die. In my 3D printing workflow, I can modify the digital model and print a new pattern immediately. This is especially useful for iterative design, custom implants, prototype turbine blades, and low-volume automotive parts. The lost wax casting step remains the same, but the pattern creation becomes agile. I can also print multiple patterns in one build, which improves throughput and reduces unit cost.
6. Challenges and limitations
Although I am optimistic about this technology, I also recognize its challenges. The table below lists the main issues I have encountered and the mitigation strategies I use.
| Challenge | Description | Mitigation |
|---|---|---|
| Equipment cost | 3D printers and post-curing units require capital investment. | Use service bureaus for low-volume work; lease equipment. |
| Material limitations | Some resins leave ash or have poor thermal stability. | Select low-ash, clean-burning photopolymers. |
| Dimensional shrinkage | Pattern and metal shrink at different rates. | Apply combined shrinkage compensation. |
| Large-batch economics | Cost per part may remain higher than die casting. | Use 3D printing for prototypes and small batches. |
| Operator skill | SLA and shell building require process knowledge. | Standardize parameters and train operators. |
| Shell cracking | Rapid pattern expansion can damage the shell. | Control heating rate and use hot-water removal. |
In my experience, the biggest technical risk in rapid lost wax casting is shell cracking during pattern removal. When the pattern is heated, it expands before it melts. If the expansion is too high, the ceramic shell may crack. Photopolymer resin has a lower melting range than many thermoplastics, and it can be removed in hot water before significant expansion occurs. This is one reason I prefer SLA resin over higher-melting filaments such as nylon. I also control the heating rate and use a gradual temperature ramp during burn-out. The thermal stress in the shell can be estimated as:
$$ \sigma_{thermal} = E \alpha \Delta T $$
where \(E\) is the elastic modulus of the shell, \(\alpha\) is its thermal expansion coefficient, and \(\Delta T\) is the temperature difference. By reducing \(\Delta T\) per unit time, I lower the thermal stress and reduce the chance of cracking. This is a simple but effective way to improve yield in lost wax casting.
7. Quality control and precision
Quality control is essential in lost wax casting, and 3D printing adds new variables. I monitor dimensional accuracy, surface roughness, porosity, shell thickness, and pattern removal completeness. The table below shows typical quality targets I use for rapid lost wax casting.
| Quality metric | Target value |
|---|---|
| Dimensional tolerance | ±0.2 mm |
| Surface roughness Ra | 1.6–3.2 µm |
| Porosity | <1% |
| Shell thickness | 5–8 mm |
| Shrinkage compensation | 1–2% |
| Pattern residue | Minimal, no visible ash |
I measure surface roughness using the arithmetic mean deviation:
$$ Ra = \frac{1}{L} \int_0^L |z(x)| dx $$
where \(L\) is the evaluation length and \(z(x)\) is the profile height. A lower \(Ra\) indicates a smoother surface. In my trials, the SLA pattern produced a smoother surface than a traditional wax pattern in some cases, because the layer thickness was small and the resin cured uniformly. However, support marks and stair-stepping can increase roughness if the orientation is poor. I therefore optimize orientation and support placement before printing.
Porosity is another important issue. Gas entrapment, shell permeability, and pouring temperature all affect porosity. I use a simple gas flow estimate:
$$ Q = \frac{k A \Delta P}{\mu L} $$
where \(Q\) is the gas flow rate, \(k\) is permeability, \(A\) is the cross-sectional area, \(\Delta P\) is the pressure difference, \(\mu\) is the gas viscosity, and \(L\) is the flow length. If the shell permeability is too low, gases cannot escape, and porosity increases. I therefore balance shell thickness and permeability by using a porous backup layer and a dense face coat. This is a standard practice in lost wax casting, and it becomes even more important when the pattern is printed rather than wax.
8. Process optimization
I optimize the rapid lost wax casting process by adjusting printing parameters, shell building parameters, and casting parameters. The table below shows a range of parameters I have tested and the values that worked best for small impeller castings.
| Parameter | Tested range | Preferred value |
|---|---|---|
| Layer thickness | 0.05–0.15 mm | 0.08 mm |
| Exposure time | 6–14 s | 9 s |
| Post-cure time | 20–60 min | 30 min |
| Shell drying time | 4–12 h | 8 h |
| Burn-out temperature | 800–1000 °C | 900 °C |
| Burn-out time | 1–2 h | 1.5 h |
| Pouring temperature | Alloy dependent | Above liquidus by 50–100 °C |
I also use statistical methods to optimize the process. For example, I can model the response \(Y\) as a function of process variables:
$$ Y = \beta_0 + \sum_{i=1}^{k} \beta_i x_i + \sum_{i<j} $$="" +=""
where \(Y\) is the response, such as dimensional deviation or surface roughness, \(x_i\) are the process variables, \(\beta\) are the coefficients, and \(\epsilon\) is the error. By fitting this model to experimental data, I can identify the most influential parameters. In my work, layer thickness, exposure time, and burn-out temperature had the strongest effects on final quality. The interaction between layer thickness and exposure time was also significant for surface finish. This kind of optimization is valuable because it reduces trial-and-error and makes rapid lost wax casting more predictable.
9. Industrial applications
The combination of 3D printing and lost wax casting is relevant to many industries. I summarize several applications in the table below.
| Industry | Typical components | Benefit of rapid lost wax casting |
|---|---|---|
| Aerospace | Turbine blades, impellers, structural brackets | Complex cooling channels and lightweight designs |
| Automotive | Engine parts, manifolds, suspension components | Fast iteration and reduced tooling cost |
| Electronics | Heat sinks, housings, connectors | Fine features and good thermal performance |
| Medical | Implants, surgical instruments, dental crowns | Patient-specific geometry and biocompatible alloys |
| Energy | Pump parts, valves, turbine components | Corrosion-resistant alloys and complex shapes |
| Research | Prototypes, experimental components | Low-cost iteration and rapid validation |
In aerospace, I see strong potential because lost wax casting is already a preferred process for high-temperature alloys. The ability to print a pattern means that a new blade design can be tested without waiting for a die. In automotive, the benefit is speed. A bracket or manifold can be redesigned, printed, cast, and tested in a short cycle. In medical applications, the customization is unmatched. A patient-specific implant can be designed from scan data, printed as a pattern, and cast in a biocompatible alloy. This is a clear example of how digital manufacturing and lost wax casting can work together.
10. Economic and environmental considerations
I also evaluate the economic and environmental impact of rapid lost wax casting. The table below compares traditional and 3D printing assisted routes.
| Metric | Traditional lost wax casting | 3D printing assisted lost wax casting |
|---|---|---|
| Setup cost | High | Low |
| Cost per part, small batch | High | Low |
| Cost per part, large batch | Low | Medium |
| Lead time | Long | Short |
| Material waste | High | Low |
| Design flexibility | Limited | High |
The material utilization can be expressed as:
$$ \eta_{material} = \frac{m_{part}}{m_{feed}} \times 100\% $$
where \(m_{part}\) is the mass of the final part and \(m_{feed}\) is the mass of the feedstock. In my trials, the 3D printing route achieved material utilization above 80%, while traditional pattern making was closer to 50%. This reduces waste and lowers material cost. Energy consumption is more complex. The 3D printer consumes electricity, but it eliminates several tooling steps. The shell firing and metal melting steps remain. I estimate the total energy as:
$$ E_{total} = E_{print} + E_{post} + E_{shell} + E_{burnout} + E_{melt} $$
where each term represents the energy for printing, post-processing, shell drying, burn-out, and metal melting. For small batches, the avoided die manufacturing energy can be significant. For large batches, the balance shifts. I therefore recommend rapid lost wax casting for prototypes, custom parts, and low-to-medium volume production.
11. Future trends
I expect the integration of 3D printing and lost wax casting to continue evolving. The table below lists trends that I believe will shape the future.
| Trend | Expected impact |
|---|---|
| AI-assisted design | Optimized patterns, reduced support, improved yield |
| Digital twin | Real-time monitoring of printing and casting |
| IoT sensors | Better control of shell drying and burn-out |
| Multi-material printing | Functional gradients and composite patterns |
| Automated shelling | Lower labor cost and higher consistency |
| High-temperature resins | Cleaner removal and broader alloy compatibility |
In my opinion, the most promising direction is the closed-loop digital twin. If I can simulate the entire lost wax casting process from printing to pouring, I can predict shrinkage, porosity, and residual stress before the metal is melted. This would reduce the number of physical trials and improve first-time yield. I also expect new photopolymer resins to be developed specifically for lost wax casting. These resins will have low ash, controlled expansion, and clean burn-out. They will make the 3D printed pattern even more competitive with traditional wax.
Another trend is the use of artificial intelligence in pattern orientation and support generation. I currently rely on experience and trial-and-error to choose orientation. An AI system could analyze the part geometry and predict the best orientation for surface finish, dimensional accuracy, and pattern removal. This would make rapid lost wax casting more accessible to non-experts. Combined with automation in shell building and pouring, the entire process could become more repeatable and scalable.
12. Conclusion
I have found that 3D printing, especially SLA with photopolymer resin, can be successfully integrated with lost wax casting. The printed pattern can replace a traditional wax pattern, and the resulting casting can achieve good dimensional accuracy and surface quality. In my impeller case study, the measured dimensions were close to the theoretical values, with relative errors below 0.6%. This confirms that the combination is practical for rapid manufacturing.
The main benefits I observed are shorter lead time, lower tooling cost, greater design freedom, and higher material utilization. The main challenges are equipment cost, material selection, shrinkage control, and large-batch economics. I address these by optimizing process parameters, using low-ash resins, applying shrinkage compensation, and selecting the right production volume. The lost wax casting route remains the core metal-forming process, but 3D printing makes it faster and more flexible.
Looking forward, I believe that rapid lost wax casting will become even more important as digital design tools, new materials, and automation mature. The ability to move directly from a digital model to a functional metal part is a powerful capability. It supports innovation in aerospace, automotive, medical, energy, and many other fields. For me, the most valuable aspect is not simply the speed, but the freedom to design and test complex geometries that were previously impractical. This is why I continue to study and apply 3D printing in rapid lost wax casting.
In summary, the integration of 3D printing and lost wax casting is a practical and forward-looking manufacturing strategy. It respects the precision and material advantages of lost wax casting while removing its tooling bottleneck. I am convinced that this hybrid approach will play a growing role in high-quality, flexible, and sustainable metal production.