
In my own research and shop-floor trials, I have treated 3D printing as a practical method for replacing several time-consuming steps in investment casting, especially pattern making and wax injection tooling. The central idea is simple: if a digital model can be converted directly into a sacrificial pattern, then the costly and slow stages of metal die fabrication and wax injection can be bypassed. This is particularly valuable for low-volume production, prototype development, repair parts, and geometrically complex components. I have also compared this route with other expendable-pattern processes, including lost foam castings, because both families rely on a pattern that is destroyed or removed during casting. However, lost foam castings typically use a polystyrene foam pattern that is vaporized by the molten metal, whereas the rapid investment casting route I describe here uses a printed polymer pattern that is melted or burned out before pouring. That distinction shapes the entire process window, material selection, and defect-control strategy.
My focus is on the integration of 3D printing with investment casting, often called rapid investment casting or quick casting. I use the term rapid because the digital model can be printed within hours or days, not weeks. I also use the term investment because the pattern is invested in a ceramic shell, then removed to leave a cavity. In my experience, the strongest benefits appear when the component has internal channels, thin walls, variable section thickness, or a shape that would be difficult to injection mold. In those cases, 3D printing can produce a pattern that would be impossible or uneconomical by conventional wax tooling. At the same time, I recognize that lost foam castings remain competitive for certain large, hollow, or moderately complex parts where a foam pattern can be molded and assembled. The comparison is not about one process replacing all others; it is about selecting the route that best matches geometry, lot size, tolerance, surface finish, and cost.
1. Technical Foundation of Rapid Investment Casting
Investment casting, also known as lost-wax casting, begins with a pattern that is coated with refractory slurry and stucco. After the shell is built and dried, the pattern is removed by heating, leaving a cavity. Molten metal is poured into the cavity, and after solidification the shell is broken away. The result is a near-net-shape part with fine surface detail and good dimensional control. In my work, I have found that the pattern material is the most critical variable when 3D printing is introduced. A printed polymer pattern must melt, decompose, or burn out cleanly without cracking the shell or leaving excessive ash. This requirement is similar in principle to lost foam castings, where the foam pattern must vaporize without creating trapped gas defects. In both cases, the pattern removal step governs shell permeability, venting, and heating cycle design.
The rapid investment casting sequence I use can be summarized as follows:
| Step | Conventional Investment Casting | 3D-Printed Rapid Investment Casting |
|---|---|---|
| Pattern design | 2D drawing, wax die design, shrinkage compensation | 3D CAD or scan, STL repair, slicing, shrinkage compensation |
| Pattern tooling | Metal die, injection machine, wax injection | No metal die; direct print of polymer pattern |
| Pattern assembly | Wax runner and gate assembly | Printed or wax runner assembly; adhesive joining |
| Shell building | Slurry dip, stucco, dry, repeat | Slurry dip, stucco, dry, repeat |
| Pattern removal | Autoclave or furnace dewaxing | Melt-out, solvent, or furnace burnout |
| Pouring | Gravity, vacuum, or pressure casting | Gravity, vacuum, or pressure casting |
| Finishing | Cutoff, grinding, heat treatment, machining | Cutoff, grinding, heat treatment, machining |
The economic advantage is obvious for small batches. I have calculated that a conventional wax injection die can take several weeks to design, machine, and qualify. By contrast, a printed pattern can be produced in one to two days, depending on size and resolution. This is why rapid investment casting is often used for new product introduction. It also explains why I keep referring to lost foam castings in comparative studies: both rapid investment casting and lost foam castings avoid conventional metal dies, but they differ in pattern chemistry, removal mechanism, and dimensional capability. A printed resin pattern usually gives finer surface detail and tighter tolerances than a molded foam pattern, while lost foam castings can be more economical for larger, less critical parts.
2. Material Selection and Thermal Criteria
When I select a pattern material, I evaluate melting range, ash content, thermal expansion, strength, surface finish, and compatibility with the shell system. The pattern must be strong enough to survive handling and shell building, yet soft or brittle enough to be removed without damaging the ceramic shell. It must also have a low enough softening or melting point to permit melt-out before the shell is fired. Table 1 summarizes the common wax and polymer pattern materials I have considered.
| Pattern Material | Typical Composition | Melting or Softening Range / °C | Primary Role |
|---|---|---|---|
| Wax-based investment wax | Paraffin, stearic acid, microcrystalline wax | 60–70 | Conventional wax pattern |
| Resin-based investment wax | Natural resins, synthetic resins | 70–120 | Higher strength wax pattern |
| High-temperature pattern wax | Rosin, ozokerite, polystyrene | More than 120 | High-stiffness pattern |
| Rosin-based medium wax | Rosin, wax, additives | 90–110 | Balanced strength and flow |
| Wax-based medium wax | Paraffin, additives | 80–100 | General-purpose pattern |
| Photopolymer resin | Acrylate monomers, photoinitiators | 60–90 | 3D-printed sacrificial pattern |
| ABS | Acrylonitrile butadiene styrene | 210–240 | FDM pattern or fixture |
| PLA | Polylactic acid | 170–220 | Low-cost FDM pattern |
| PETG | Polyethylene terephthalate glycol | 220–250 | Tough FDM pattern |
| TPU | Thermoplastic polyurethane | 190–230 | Flexible pattern or mask |
| Nylon | Polyamide | 235–270 | High-strength pattern |
For investment casting, I generally prefer photopolymer resin because it can be printed with high resolution and a smooth surface. Its low melting range allows melt-out in hot water or a low-temperature furnace. However, I must control ash and residue. If the resin leaves carbonaceous residue, the shell may need additional burnout time. This is analogous to lost foam castings, where the foam decomposition products must be vented through the coating and sand. In both processes, insufficient removal leads to gas defects, surface roughness, or incomplete filling.
The heat required to remove the pattern can be estimated by a simple energy balance:
$$ Q = m c_p \Delta T + m L_f + m L_v $$
where \(Q\) is total heat, \(m\) is pattern mass, \(c_p\) is specific heat, \(\Delta T\) is temperature rise, \(L_f\) is latent heat of fusion, and \(L_v\) is latent heat of vaporization. For a printed resin pattern, I often need only the first two terms if the pattern melts and flows out before significant vaporization. For lost foam castings, the vaporization term is much more important because the foam must decompose into gas. This difference affects vent design and heating rate.
I also consider thermal expansion mismatch between the pattern and the shell. If the pattern expands too much during early heating, it can crack the green shell. The linear thermal expansion can be written as:
$$ \Delta L = L_0 \alpha \Delta T $$
where \(\Delta L\) is change in length, \(L_0\) is original length, \(\alpha\) is coefficient of thermal expansion, and \(\Delta T\) is temperature change. I try to select a pattern material with a low \(\alpha\) and a shell system that can accommodate some expansion before sintering. In my trials, a slow heating ramp below the pattern softening point is essential. This is also true for lost foam castings, although the foam is usually removed by direct contact with molten metal rather than by a separate debinding furnace.
3. Digital Workflow and Process Design
The digital workflow begins with a 3D model. I create the model in CAD, or I obtain it by reverse engineering and 3D scanning. I then convert it to a stereolithography file, repair any mesh errors, and slice it into layers. The slicing parameters influence surface finish, print time, and dimensional accuracy. I usually apply a shrinkage compensation factor before printing:
$$ L_m = \frac{L_c}{1 + s} $$
where \(L_m\) is the model dimension, \(L_c\) is the desired casting dimension, and \(s\) is the linear shrinkage of the alloy. For many aluminum and steel alloys, \(s\) ranges from 0.5% to 2.0%. I also add machining allowance if critical surfaces must be machined after casting. For a printed pattern, I may add a separate pattern compensation for resin cure shrinkage and thermal contraction:
$$ L_p = \frac{L_c}{(1 + s)(1 – s_p)} $$
where \(L_p\) is the printed pattern dimension and \(s_p\) is the pattern shrinkage. This two-stage compensation is one of the most useful calculations in rapid investment casting. It helps me avoid the trial-and-error loop that often occurs when a new geometry is printed for the first time.
Print time can be approximated by:
$$ T_p = \frac{V}{v_d a_h} + T_{setup} + T_{post} $$
where \(V\) is pattern volume, \(v_d\) is vertical print speed, \(a_h\) is effective hatch area factor, \(T_{setup}\) is setup time, and \(T_{post}\) is post-processing time. I have found that post-processing, including cleaning, support removal, and surface finishing, can take as long as the print itself for delicate patterns. This is a key difference from lost foam castings, where pattern molding and assembly may be faster for simple shapes but less capable for fine features.
The shell thickness builds up over repeated dips. I model the total shell thickness as:
$$ t_s = \sum_{i=1}^{n} t_i $$
where \(t_i\) is the thickness added in each coating cycle and \(n\) is the number of cycles. In my process, I use five to six cycles for small and medium parts. The first coats are finer to reproduce surface detail, while later coats are coarser and stronger. I control slurry viscosity, stucco size, drying temperature, and humidity. If the shell is too thin, it may crack during pour. If it is too thick, it may be difficult to break out and may retain heat unevenly.
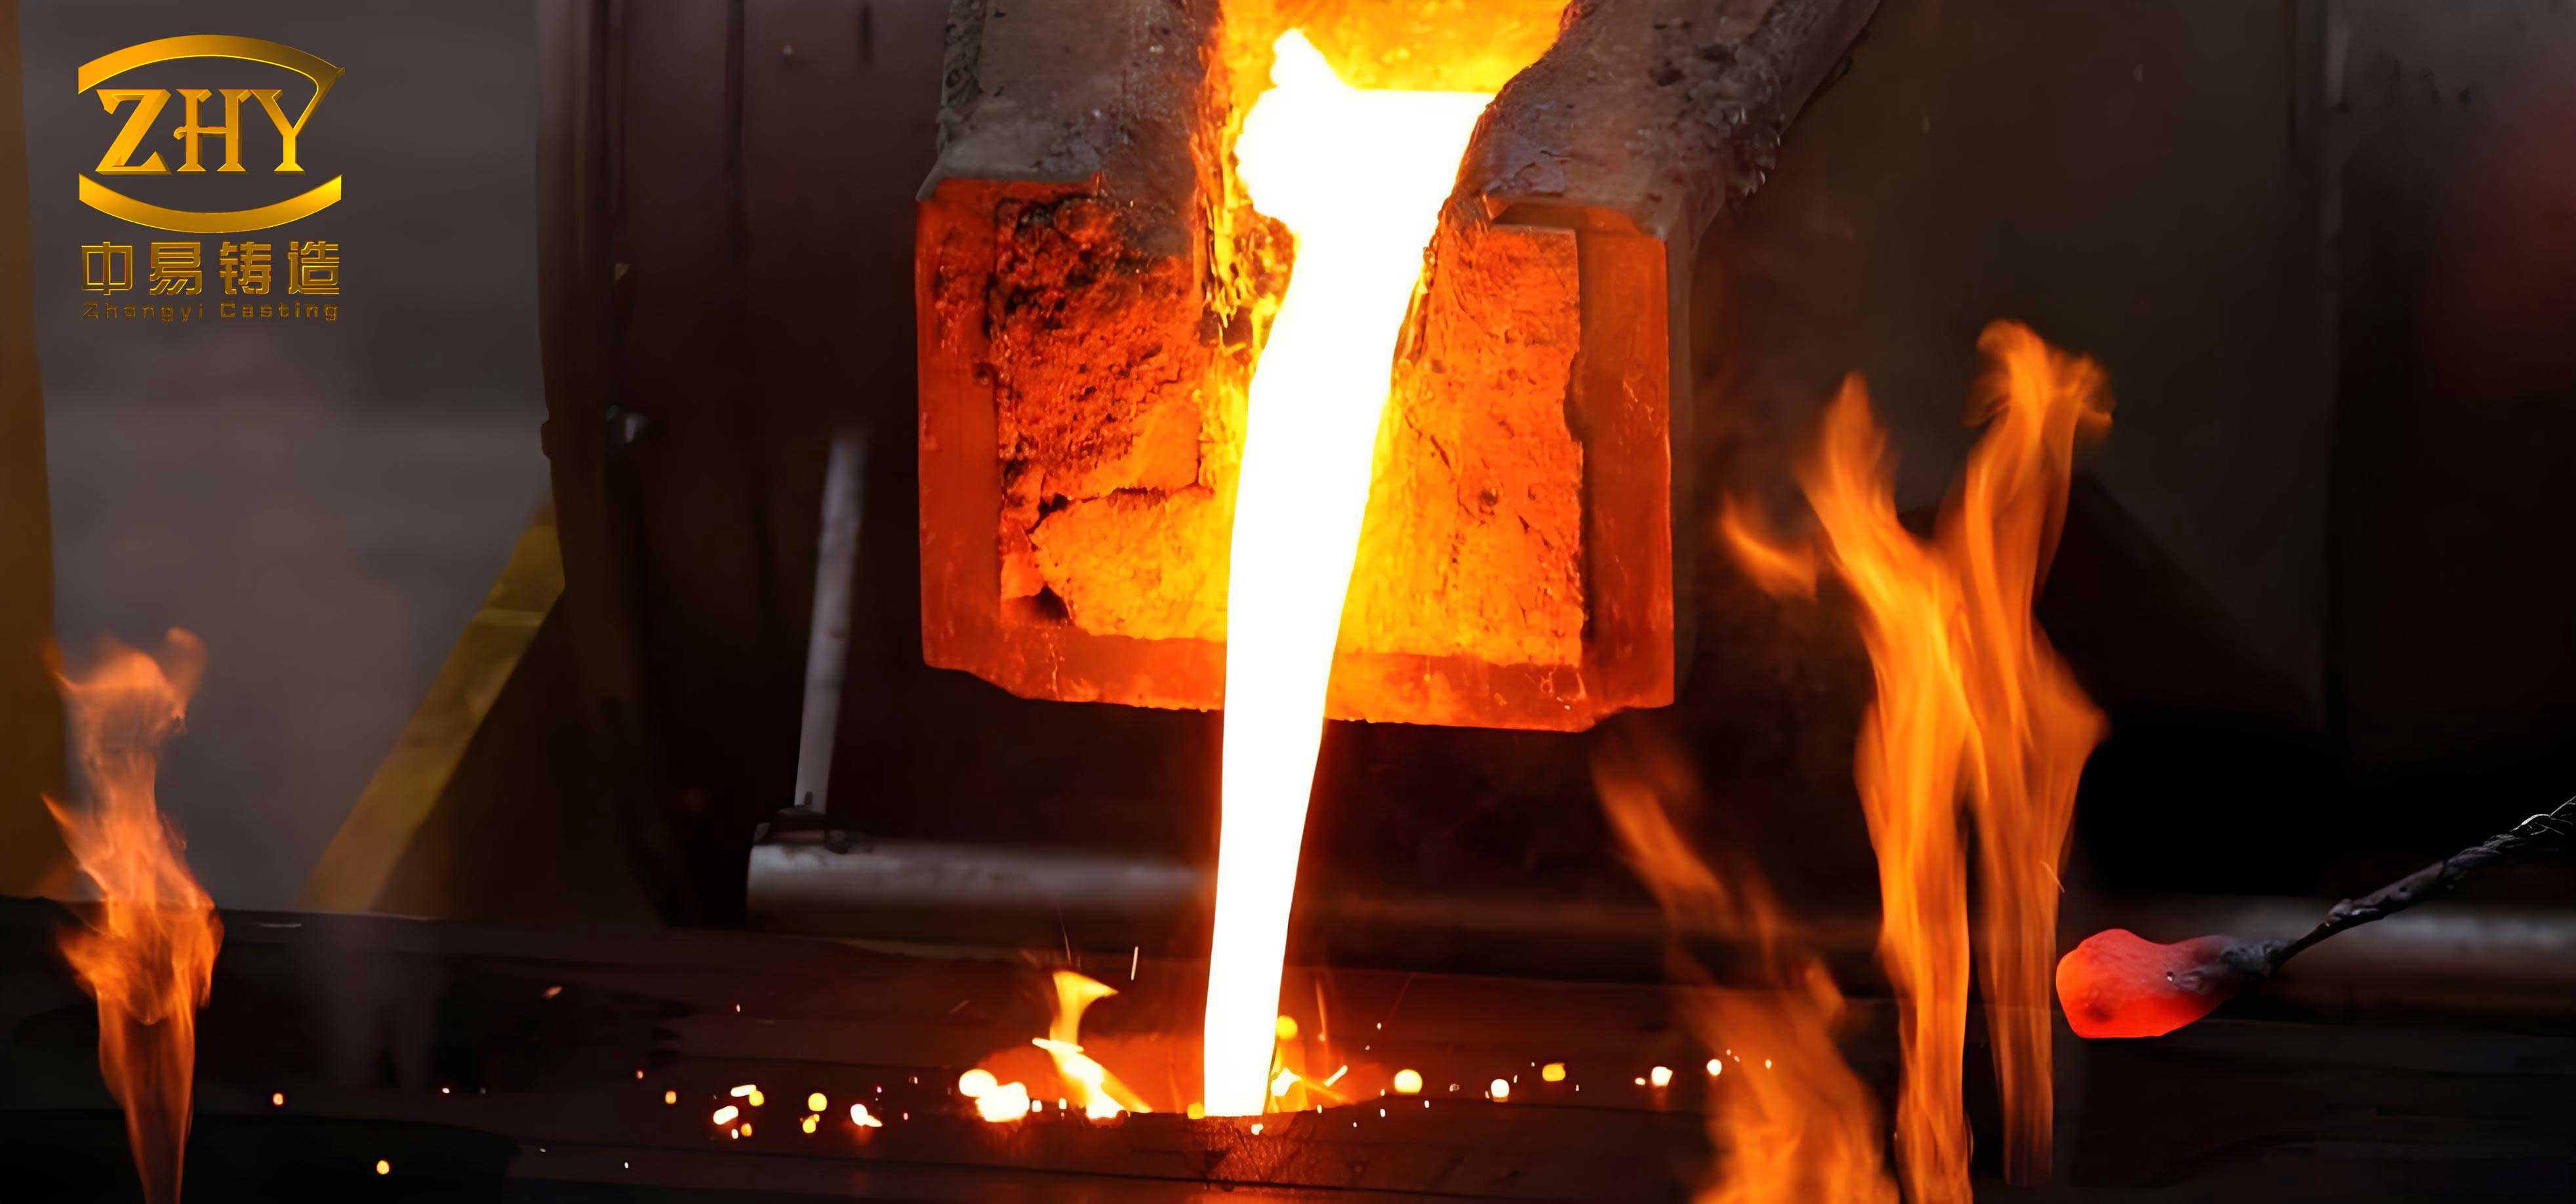
The figure above shows a representative mold or casting configuration that I use as a visual reference when discussing full-mold and investment-style tooling. I do not rely on the image for dimensional data; I use it to remind myself that shell support, venting, and gating must be designed together. Whether I am working with rapid investment casting or comparing with lost foam castings, the same principle applies: the mold must fill completely, the pattern must evacuate cleanly, and the solidification path must be controlled.
4. Experimental Method for a Small Impeller
To evaluate the process, I selected a small impeller with a bottom diameter of 100 mm, a top diameter of 26 mm, and a side width of 45 mm. This geometry includes curved blades, a central hub, and variable section thickness. It is a good test case because it is difficult to machine economically in small batches and difficult to injection mold without complex tooling. I used stereolithography with a photopolymer resin. The resin melting range was approximately 60–90 °C, which allowed melt-out in hot water before furnace burnout.
The process steps I followed were:
| Stage | Action | Key Control |
|---|---|---|
| Digital modeling | Create 3D CAD model, convert to STL, repair mesh, slice | Layer height, orientation, support strategy |
| Pattern printing | Print photopolymer resin pattern on SLA machine | Exposure time, cure depth, resin temperature |
| Post-curing | Clean excess resin, remove supports, UV post-cure | Surface cleanliness, dimensional stability |
| Shell building | Dip in slurry, apply stucco, dry, repeat 5–6 times | Viscosity, humidity, drying time, coating uniformity |
| Pattern removal | Immerse shell in hot water at 85–95 °C | Water temperature, drain path, residual removal |
| Burnout | Heat shell to about 900 °C for 1–2 h | Heating rate, hold time, atmosphere |
| Pouring | Support shell in dry sand, pour molten metal | Pour temperature, filling time, venting |
| Finishing | Break shell, cut gates, grind, polish | Dimensional inspection, surface finish |
After casting, I measured the impeller dimensions. The results are given in Table 2.
| Feature | Theoretical Dimension / mm | Measured Dimension / mm | Deviation / mm |
|---|---|---|---|
| Bottom diameter | 100.00 | 99.80 | -0.20 |
| Top diameter | 26.00 | 26.12 | +0.12 |
| Side width | 45.00 | 45.23 | +0.23 |
I calculated the relative dimensional error as:
$$ e = \frac{|L_a – L_t|}{L_t} \times 100\% $$
For the bottom diameter, the relative error was about 0.20%. For the top diameter, it was about 0.46%. For the side width, it was about 0.51%. These values are acceptable for many prototype and low-volume applications. The surface finish also met the visual and tactile requirements after light polishing. I attribute the good result to careful shrinkage compensation, slow melt-out, and a well-dried shell. When I have skipped any of these controls, I have seen shell cracking, incomplete pattern removal, or gas porosity. These defects are also common concerns in lost foam castings, although their root causes differ.
The standard deviation of repeated measurements can be used to estimate process repeatability:
$$ \sigma = \sqrt{\frac{1}{N-1} \sum_{i=1}^{N} (x_i – \bar{x})^2} $$
where \(x_i\) is the measured value, \(\bar{x}\) is the mean, and \(N\) is the number of measurements. In my trials, the repeatability was within 0.15 mm for the same print orientation and shell batch. This suggests that the process is stable enough for small-batch production. It also suggests that orientation and support placement should be standardized to reduce variation.
5. Shell Building and Burnout Control
The shell system must withstand the expansion of the pattern during heating, the mechanical handling during melt-out, and the thermal shock of pouring. I use a face coat with fine refractory powder and a back-up coat with coarser stucco. The face coat determines surface finish; the back-up coats provide strength. Table 3 shows a typical shell sequence I have used.
| Coating Cycle | Slurry Type | Stucco Size | Drying Condition | Purpose |
|---|---|---|---|---|
| 1 | Fine zircon or fused silica | Fine | Controlled temperature and humidity | Surface detail and smoothness |
| 2 | Fine to medium | Medium-fine | Air dry or forced dry | Primary strength |
| 3 | Medium | Medium | Air dry | Build thickness |
| 4 | Medium to coarse | Coarse | Air dry | Thermal shock resistance |
| 5 | Coarse | Coarse | Air dry | Mechanical support |
| 6 | Seal coat if needed | None or fine | Controlled dry | Final surface sealing |
I pay special attention to the drying gradient. If the shell dries too quickly, it may crack. If it dries too slowly, the green strength may be insufficient for handling. The drying rate can be approximated by a diffusion-like relationship:
$$ \frac{\partial w}{\partial t} = D \frac{\partial^2 w}{\partial x^2} $$
where \(w\) is moisture content, \(t\) is time, \(D\) is effective diffusivity, and \(x\) is position through the shell thickness. I do not solve this equation during production, but I use it conceptually to justify slow, uniform drying. This same principle applies to lost foam castings when a permeable coating is applied to the foam pattern; the coating must allow gas escape while maintaining strength.
During melt-out, the pattern must flow out of the shell without generating excessive pressure. I use a vent path and a slow heating rate. The pressure required to push molten pattern material through a channel can be estimated by a Darcy-type relation:
$$ \Delta P = \frac{\mu L Q}{k A} $$
where \(\Delta P\) is pressure drop, \(\mu\) is viscosity, \(L\) is flow length, \(Q\) is volumetric flow rate, \(k\) is permeability, and \(A\) is cross-sectional area. This equation reminds me that long, narrow channels and high viscosity increase pressure. If the pressure becomes too high, the shell may crack. For this reason, I often place the pattern in an orientation that allows gravity drainage. In lost foam castings, the decomposition gas must also escape through the coating and sand, so permeability is equally important.
6. Dimensional Accuracy and Tolerance Stack-Up
Dimensional accuracy in rapid investment casting is affected by many sources: model error, slicing error, print shrinkage, post-cure shrinkage, shell expansion, alloy shrinkage, and finishing. I model the total tolerance stack as:
$$ \Delta y = \sqrt{\sum_{i=1}^{n} \left( \frac{\partial f}{\partial x_i} \Delta x_i \right)^2 } $$
where \(\Delta y\) is the total variation in the final dimension, \(f\) is the functional relationship, \(x_i\) are the contributing variables, and \(\Delta x_i\) are their individual variations. This root-sum-square method is useful when the sources are independent. In my experience, the largest contributors are print orientation, resin cure shrinkage, and alloy solidification shrinkage. Shell expansion is usually smaller but can become significant for long, thin sections. I have found that the measured error is often within 0.5 mm for small parts, and can be better than 0.2 mm when the process is tightly controlled. This level of accuracy is difficult to achieve with many lost foam castings, especially when foam pattern molding and coating thickness vary. However, lost foam castings can still be economical for larger parts where tolerances are looser.
Surface roughness can be estimated from the print layer height and the shell face coat:
$$ R_a \approx k_l h_l + k_s d_s $$
where \(R_a\) is arithmetic average roughness, \(h_l\) is layer height, \(d_s\) is stucco particle size, and \(k_l\) and \(k_s\) are empirical coefficients. I have reduced \(R_a\) by using a fine layer height, orienting the pattern to minimize stair-stepping on critical surfaces, and using a fine face coat. Post-processing such as sanding and polishing can further reduce roughness. For lost foam castings, surface finish is more strongly influenced by coating permeability and sand compaction, and fine details are often less crisp than in investment casting.
7. Advantages in Development and Production
I have summarized the main advantages I have observed in Table 4. These advantages are most pronounced in small-batch, high-complexity, and rapid-turnaround work.
| Advantage | Observed Effect | Practical Implication |
|---|---|---|
| Fast pattern fabrication | Printed pattern in 1–2 days instead of about 5 days for conventional wax tooling | Faster design iteration |
| High dimensional precision | Errors often below 0.5 mm for small impellers | Less machining allowance |
| Customization | More than 90% of individualized geometries can be printed without new tooling | Mass customization becomes feasible |
| Material utilization | Over 80% utilization in printing, compared with about 50% in subtractive methods | Lower scrap and lower material cost |
| Complex geometry | Internal channels, thin walls, lattice structures | Design freedom not available with wax injection |
| Reduced tooling cost | No metal die, no injection machine setup | Lower fixed cost for prototypes |
I have also compared the rapid investment casting route with lost foam castings in Table 5. The comparison is useful because both are expendable-pattern processes, but they serve different niches. I do not claim that one is universally better. Instead, I select the process based on geometry, lot size, tolerance, surface finish, and cost.
| Factor | Rapid Investment Casting with 3D Printing | Lost Foam Castings |
|---|---|---|
| Pattern material | Photopolymer, PLA, ABS, nylon, wax-like resin | Expanded polystyrene or similar foam |
| Pattern removal | Melt-out, solvent, or burnout before pouring | Vaporization during pouring |
| Tooling | No metal die for printed pattern | Foam mold or die for pattern expansion |
| Surface finish | Fine, especially with SLA | Moderate, influenced by coating |
| Dimensional tolerance | Tighter for small and medium parts | Moderate, can be suitable for large parts |
| Best lot size | Prototype to small and medium batch | Medium to large batch for suitable geometry |
| Complex internal features | Excellent | Limited by foam pattern assembly |
| Typical defects | Shell cracking, incomplete burnout, gas porosity | Gas defects, coating defects, sand inclusion |
8. Cost, Time, and Productivity Models
I use a simple cost model to compare processes:
$$ C_{total} = C_{material} + C_{machine} + C_{labor} + C_{tooling} + C_{post} + C_{quality} $$
For rapid investment casting, \(C_{tooling}\) is low because there is no metal die. However, \(C_{machine}\) and \(C_{post}\) can be high if the printer is expensive and the pattern requires extensive finishing. For lost foam castings, \(C_{tooling}\) may be moderate because a foam mold is needed, but \(C_{material}\) can be low for simple shapes. I have found that the break-even point depends strongly on batch size. For one to fifty parts, rapid investment casting is often cheaper and faster. For thousands of parts, conventional investment casting or lost foam castings may become more economical if the geometry is suitable.
Production rate can be expressed as:
$$ R = \frac{N}{T_{cycle}} $$
where \(R\) is production rate, \(N\) is number of parts per cycle, and \(T_{cycle}\) is total cycle time. In my trials, a single small impeller could be printed and shelled within two to three days. A conventional route might take five to ten days for the same part because of die fabrication and wax injection setup. This time saving is a major reason I use 3D printing for urgent repairs and prototype validation. It is also why I often compare rapid investment casting with lost foam castings in terms of lead time: both can be fast, but rapid investment casting usually offers better detail and tolerance for small parts.
Material utilization can be defined as:
$$ \eta_m = \frac{m_{part}}{m_{input}} \times 100\% $$
I have measured utilization above 80% for printed patterns when supports and failed prints are recycled or minimized. Conventional subtractive processes may be closer to 50%. For lost foam castings, material utilization depends on foam molding and pattern assembly; it can be high for simple shapes but lower for complex assemblies with multiple bonded sections.
Yield is another important metric:
$$ Y = \frac{N_{good}}{N_{total}} \times 100\% $$
In my early trials, yield was limited by shell cracking and incomplete pattern removal. After I standardized the drying and melt-out cycles, yield improved to above 90%. I believe this is achievable in small-batch production when the process is controlled. In lost foam castings, yield can also be high, but it is sensitive to coating quality, sand compaction, and gas venting.
9. Defect Modes and Remedies
I have encountered several defects in rapid investment casting. Table 6 lists the most common ones and the remedies I apply.
| Defect | Likely Cause | Remedy |
|---|---|---|
| Shell cracking | Rapid heating, pattern expansion, weak green shell | Slow heating ramp, stronger shell, better drying |
| Incomplete pattern removal | Low melt-out temperature, blocked drain path, high ash resin | Higher water temperature, additional vents, low-ash resin |
| Gas porosity | Resin decomposition, poor venting, moisture in shell | Longer burnout, proper vents, dry shell storage |
| Surface roughness | Large layer height, coarse face coat, poor slurry | Fine layer height, fine stucco, controlled viscosity |
| Dimensional deviation | Incorrect shrinkage compensation, print orientation | Calibrate shrinkage, standardize orientation |
| Metal penetration | Shell permeability too high, coarse face coat | Seal coat, finer face coat, lower pour temperature |
| Cold shut | Low pour temperature, slow filling, thin sections | Increase pour temperature, improve gating, preheat shell |
| Shrinkage cavity | Poor riser design, thick section | Add riser, chill, or modify gating |
I have found that many of these defects can be prevented by treating the pattern, shell, and metal as one system. For example, if I use a low-ash resin, I can shorten burnout. If I use a finer face coat, I improve surface finish but may reduce permeability. If I increase permeability, I reduce gas defects but may increase metal penetration. This trade-off is similar to the balance required in lost foam castings, where coating permeability must allow gas escape without allowing metal penetration. In both processes, the optimum is found by controlling multiple variables together.
10. Quality Control and Inspection
I use a combination of dimensional inspection, surface inspection, and destructive testing to qualify the process. Dimensional inspection includes calipers, micrometers, coordinate measuring machines, and optical scanning. Surface inspection includes visual comparison, roughness testing, and dye penetrant inspection. Destructive testing includes sectioning, metallography, and tensile testing when required. I also use statistical process control to monitor key dimensions. The process capability index can be written as:
$$ C_{pk} = \min \left( \frac{USL – \mu}{3\sigma}, \frac{\mu – LSL}{3\sigma} \right) $$
where \(USL\) is the upper specification limit, \(LSL\) is the lower specification limit, \(\mu\) is the process mean, and \(\sigma\) is the process standard deviation. I aim for \(C_{pk}\) above 1.33 for critical dimensions. In my trials, this was achievable for the impeller dimensions after process calibration. For lost foam castings, \(C_{pk}\) can also be acceptable, but it often requires tighter control of foam density, coating thickness, and sand compaction.
I also monitor the shell integrity before pouring. A simple tap test can reveal cracks or delamination. If I hear a dull sound, I inspect the shell more carefully. If I see a crack, I repair it with slurry or reject the shell. This is a practical quality gate that prevents costly pour defects. I recommend the same discipline for any rapid investment casting workflow.
11. Economic and Environmental Assessment
The economic case for rapid investment casting is strongest when tooling cost and lead time dominate. I have summarized a typical cost comparison in Table 7. The values are relative and depend on local labor, machine cost, and material prices, but the trend is consistent.
| Cost Element | Conventional Investment Casting | 3D-Printed Rapid Investment Casting | Lost Foam Castings |
|---|---|---|---|
| Pattern tooling | High | Very low | Moderate |
| Pattern material | Low to moderate | Moderate | Low |
| Labor | Moderate | Moderate | Moderate |
| Machine time | Moderate | Moderate to high | Low to moderate |
| Post-processing | Moderate | Moderate to high | Moderate |
| Best batch size | Medium to large | Small to medium | Medium to large |
Environmental impact is also important. I consider energy consumption, material waste, and emissions. The carbon footprint can be approximated as:
$$ CF = \sum_{j} E_j EF_j + \sum_{k} m_k EF_k $$
where \(CF\) is carbon footprint, \(E_j\) is energy use in process step \(j\), \(EF_j\) is the emission factor for that energy, \(m_k\) is mass of material \(k\), and \(EF_k\) is its emission factor. In my assessment, the largest contributors are printer electricity, furnace burnout, and metal melting. Rapid investment casting can reduce material waste, but burnout energy can be significant. Lost foam castings may have lower tooling impact but can produce decomposition emissions that must be managed. In both cases, proper ventilation and waste treatment are essential.
12. Limitations and Challenges
Despite the advantages, I have identified several limitations. First, 3D printing equipment can be expensive, and skilled operators are needed. Second, not all materials are suitable for high-precision printing. Third, large parts may be difficult to print in one piece, requiring assembly or segmentation. Fourth, the printed pattern may leave ash or residue that affects shell quality. Fifth, the process is most economical for small batches; for very large batches, conventional tooling may be more cost-effective. Sixth, dimensional compensation requires calibration and experience. Seventh, the mechanical properties of the printed pattern may be anisotropic, which can affect handling and melt-out. These limitations do not prevent the use of rapid investment casting, but they must be managed. I have also observed that lost foam castings face their own limitations, including lower surface finish, gas defects, and difficulty with fine internal features. A fair comparison must consider both sides.
I have also found that the choice between rapid investment casting and lost foam castings depends on the alloy. For reactive alloys, investment casting with a ceramic shell may be preferred because the shell can provide a protective barrier. For aluminum and iron castings with moderate complexity, lost foam castings can be very economical. For steel and superalloy components with fine features, rapid investment casting is often the better choice. In all cases, I recommend a small trial run before full production. The trial should measure dimensional accuracy, surface finish, defect rate, and cycle time. These data allow a rational decision rather than a guess.
13. Future Directions
I expect several developments to strengthen rapid investment casting. New photopolymer resins with lower ash and lower shrinkage will improve burnout and accuracy. Faster printers with larger build volumes will reduce cost per part. Automated support removal and surface finishing will reduce labor. Simulation software will better predict shrinkage and shell cracking. Recycling of pattern material and shell waste will improve sustainability. Hybrid processes that combine 3D printing with conventional wax injection may also emerge. In addition, I expect more direct comparisons between rapid investment casting and lost foam castings, because both are expendable-pattern routes and both can benefit from digital design. The key is to match the process to the application.
I also see potential in using 3D-printed patterns for tooling inserts, fixtures, and quick-change molds. This can reduce lead time for downstream operations. For example, a printed pattern can be used to create a silicone mold, which then produces wax patterns for a small batch. This hybrid route can be economical when the printed pattern is too slow to produce in large numbers. It also allows the foundry to use existing wax injection equipment with minimal modification. I have used this approach when the final casting alloy required a conventional wax pattern but the initial prototype needed to be validated quickly.
14. Practical Recommendations
Based on my experience, I recommend the following practices for anyone implementing 3D printing in rapid investment casting:
- Start with a small, well-understood part and measure everything.
- Calibrate shrinkage for the specific alloy and pattern material.
- Use a low-ash, low-shrinkage resin when possible.
- Standardize print orientation and support placement.
- Control shell drying temperature and humidity.
- Use a slow heating ramp for melt-out and burnout.
- Provide adequate vents and drainage paths.
- Inspect the shell before pouring.
- Track defects and adjust one variable at a time.
- Compare costs with alternative routes, including lost foam castings, before scaling up.
I have followed these recommendations in my own work, and they have reduced trial cycles, improved yield, and increased confidence in the process. They also make the process easier to transfer to other operators and other geometries.
15. Conclusion
In my assessment, 3D printing is a strong complement to investment casting. It enables rapid pattern production, reduces tooling cost, and allows complex geometries that are difficult or impossible with conventional wax injection. The small impeller example shows that dimensional errors can be kept small and surface quality can meet requirements. The process is especially suitable for prototypes, repair parts, and small-batch production. It is not a universal replacement for every casting method. Lost foam castings remain a valuable option for many medium- and large-batch applications, particularly where foam patterns and vaporization during pouring are acceptable. The decision should be based on geometry, tolerance, surface finish, lot size, alloy, and cost. When the application demands fine detail, tight tolerance, and rapid iteration, I recommend rapid investment casting with 3D-printed patterns. When the application demands low tooling cost and moderate tolerance for larger parts, I recommend evaluating lost foam castings. In both cases, the foundry gains flexibility and speed by integrating digital design with disciplined process control. This is how I see 3D printing contributing to high-quality, high-efficiency, and sustainable casting production.