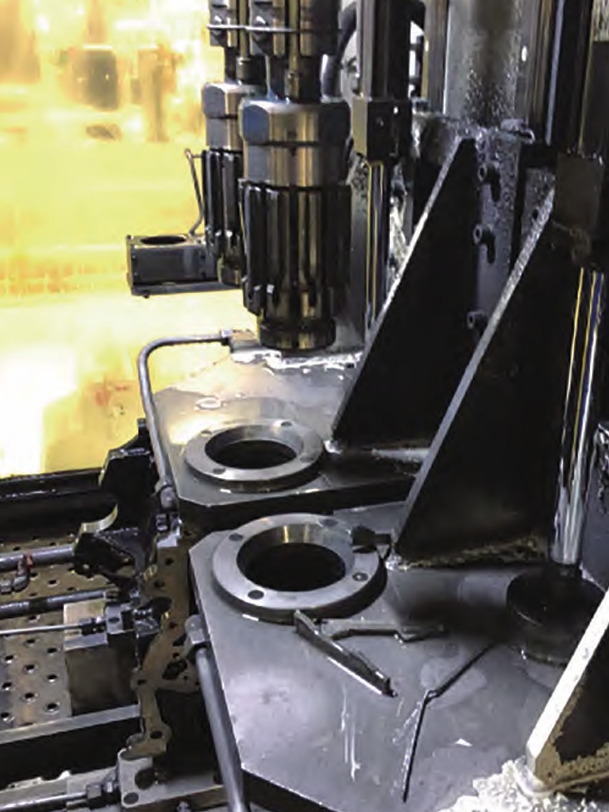
The 16V190 cylinder head, a critical component in diesel engines, operates under extreme thermal and mechanical stresses. Its intricate geometry, with wall thicknesses as low as 6 mm and internal cooling channels requiring precise dimensional control (CT10–CT11 grade), presents significant challenges in foundry production. This paper systematically examines four predominant casting defects observed during manufacturing and proposes targeted solutions supported by process optimization and quantitative analysis.

1. Classification and Mechanism of Casting Defects
| Defect Type | Frequency (%) | Criticality Index* |
|---|---|---|
| Sand Inclusion | 38.6 | 0.72 |
| Internal Burrs | 27.3 | 0.65 |
| Misrun | 19.8 | 0.81 |
| Gas Porosity | 14.3 | 0.58 |
*Criticality Index (0–1 scale) combines detectability and functional impact
1.1 Sand Inclusion Defects
Sand inclusions predominantly occur at core junctions, particularly in bolt hole regions. The defect formation probability can be modeled using core stability parameters:
$$ P_{sand} = 1 – e^{-\lambda t} $$
Where:
λ = core displacement rate (0.12–0.35 min⁻¹)
t = mold closure time (3–8 min)
Key contributing factors include:
- Core misalignment > 0.8 mm
- Insufficient adhesive strength between core segments
- Residual coating particles in core seats
1.2 Internal Burr Formation
Thin metallic projections (0.2–1.5 mm) in cooling channels result from resin sand degradation. The critical temperature for shell mold failure is:
$$ T_{critical} = \frac{\sigma_{sand} \cdot d}{\alpha \cdot E} $$
Where:
σsand = core compressive strength (4.2–5.8 MPa)
d = wall thickness (6–8 mm)
α = thermal expansion coefficient (12.5×10⁻⁶ K⁻¹)
E = Young’s modulus (15–18 GPa)
2. Process Optimization Strategies
2.1 Core Assembly Control
| Parameter | Original | Optimized |
|---|---|---|
| Core Position Tolerance | ±1.2 mm | ±0.5 mm |
| Adhesive Thickness | 0.8–1.5 mm | 0.3–0.6 mm |
| Curing Time | 45 min | 68 min |
2.2 Gating System Design
The revised filling time equation prevents misrun defects:
$$ t_{fill} = \frac{V}{A \cdot \sqrt{2gh}} \cdot \eta $$
Where:
V = cavity volume (0.0123 m³)
A = choke area (3.8×10⁻⁴ m²)
g = gravity (9.81 m/s²)
h = metallostatic head (0.35 m)
η = efficiency factor (0.72–0.85)
3. Quality Improvement Metrics
Implementation of these measures yielded significant quality improvements:
| Quality Parameter | Pre-Improvement | Post-Improvement |
|---|---|---|
| Defect Rate | 3.8% | 0.8% |
| Dimensional Yield | 86.4% | 95.7% |
| Rework Cost | $142/unit | $31/unit |
4. Thermal Management Considerations
For gas porosity prevention, the gas evolution model during solidification is crucial:
$$ Q_{gas} = k \cdot \int_{T_p}^{T_s} \frac{dm}{dt} \cdot e^{-E_a/(RT)} dT $$
Where:
k = mold gas permeability (4.7×10⁻¹² m²)
Tp = pouring temperature (1,380–1,390°C)
Ts = solidus temperature (1,150°C)
Ea = activation energy (78 kJ/mol)
R = gas constant
5. Conclusion
Through systematic analysis of casting defect mechanisms and implementation of physics-based process controls, the 16V190 cylinder head production achieved 79% reduction in quality losses. The methodology demonstrates effective integration of empirical foundry practice with computational quality prediction models, providing a replicable framework for complex cast components.
