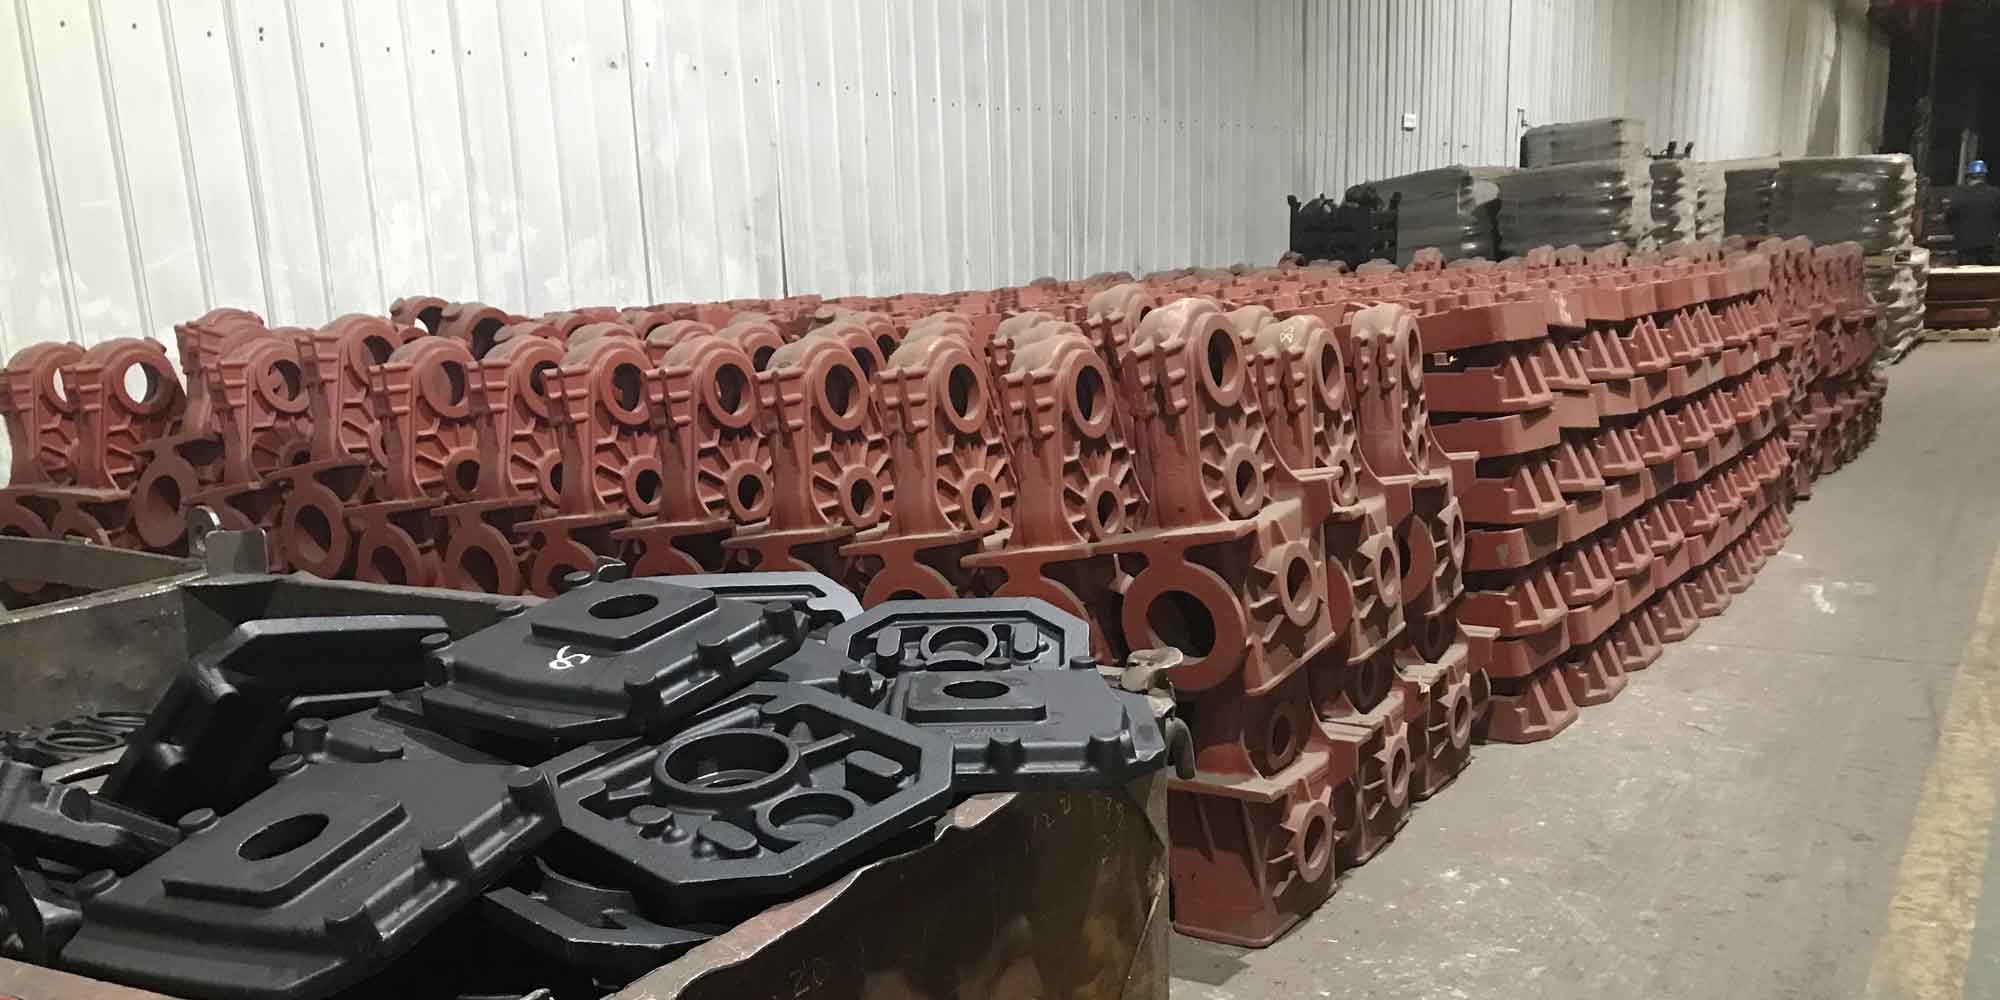
Defects in steel castings are common challenges during gear manufacturing. Large steel casting gears frequently exhibit internal flaws that become critical after gear milling. While ultrasonic testing identifies major defects per industry standards, sub-threshold defects often manifest as surface cracks during final machining. This study compares traditional and modified processing techniques to optimize defect mitigation in steel casting gears.
1. Defect Formation Mechanisms in Steel Casting Gears
The probability of defect occurrence in steel castings can be modeled using Weibull distribution:
$$P(d) = 1 – e^{-(d/\lambda)^k}$$
where $d$ represents defect size, $\lambda$ the scale parameter (material-dependent), and $k$ the shape parameter (processing-dependent). For steel castings, typical values range $\lambda = 50-200\mu m$ and $k = 2-4$.
2. Processing Techniques Comparison
Two primary methods for steel casting gear processing were analyzed:
| Parameter | Traditional Process | Modified Process |
|---|---|---|
| Pre-heat treatment UT defects | 12-18 defects/m² | 8-10 defects/m² |
| Post-milling surface cracks | 4-6 cracks/gear | 1-2 cracks/gear |
| Heat treatment distortion (mm) | 0.3-0.5 | 0.8-1.2 |
| Repair welding frequency | 2.4 times/gear | 1.1 times/gear |
The modified process introduces semi-machining before heat treatment, enabling early defect detection but increasing thermal stress concentration:
$$\sigma_{thermal} = \frac{E\alpha\Delta T}{1-\nu}\sqrt{\frac{r}{t}}$$
where $E$ = Young’s modulus (200 GPa for steel castings), $\alpha$ = thermal expansion coefficient, $\Delta T$ = temperature gradient, $\nu$ = Poisson’s ratio, $r$ = feature radius, and $t$ = section thickness.
3. Enterprise Standard Development for Steel Castings
A proposed quality control metric for steel casting gears combines defect density and spatial distribution:
$$Q_{index} = \frac{1}{N}\sum_{i=1}^{N}\left(\frac{d_i}{d_{crit}}\right)^3 \cdot e^{-(x_i^2 + y_i^2)/R^2}$$
where $d_i$ = defect size, $d_{crit}$ = critical defect size (3 mm for steel castings), $(x_i,y_i)$ = defect position, and $R$ = gear radius. Process optimization targets $Q_{index} < 0.15$.
4. Thermal Management Strategies
Controlled cooling rates minimize residual stresses in steel castings:
$$\frac{dT}{dt} = \frac{k}{\rho c_p}\nabla^2 T + \frac{q_{gen}}{\rho c_p}$$
where $k$ = thermal conductivity, $\rho$ = density, $c_p$ = specific heat, and $q_{gen}$ = internal heat generation. Optimal cooling rates for large steel castings range 15-25°C/min.
5. Post-Weld Distortion Analysis
Repair welding induces angular distortion in steel casting gears:
$$\theta = 0.0045\left(\frac{Q}{h}\right)^{1.2}$$
where $Q$ = heat input (kJ/mm) and $h$ = plate thickness. For typical steel casting repairs (Q = 1.8 kJ/mm, h = 150 mm), $\theta \approx 0.12°$ per weld pass.
6. Process Optimization Framework
The multi-objective optimization model for steel casting gear processing balances defect control and dimensional accuracy:
$$\min\left[f_1(x) = \text{Defect Density}, f_2(x) = \text{Distortion}\right]$$
$$\text{subject to: } g_1(x) \leq 0.1\text{mm}, g_2(x) \leq 5\text{defects/m}^2$$
Pareto frontier analysis reveals optimal parameter combinations for steel casting processes.
7. Conclusion
Through comparative analysis of processing techniques and implementation of advanced quality metrics, defect rates in steel casting gears can be reduced by 40-60% while maintaining dimensional accuracy within 0.15 mm tolerance. The proposed enterprise standard demonstrates superior defect control compared to conventional ultrasonic testing methods.
