
In the production of shell castings for annular blowout preventers, achieving high-quality steel castings that meet stringent pressure and leak-test requirements has been a persistent challenge. Over the years, I have been involved in refining the casting process for these critical components, which are typically thick-walled steel castings with a rough weight of 2760 kg and made from BS1# steel. The journey from initial designs to an optimized process involved four major revisions, each addressing fundamental issues in casting theory and practice. This article delves into these improvements, emphasizing the importance of precise calculations, elimination of detrimental practices, and the holistic approach to ensuring superior shell castings. Throughout this discussion, I will incorporate formulas and tables to summarize key concepts, and the term “shell castings” will be frequently referenced to highlight its centrality in this context.
The primary objective was to produce shell castings that are free from surface and internal defects, capable of withstanding high-pressure and leak tests. Initially, the casting process relied on multiple risers and chills, which inadvertently compromised the integrity of the shell castings. Through iterative analysis, I identified core issues such as riser interference, improper use of chills, and inadequate feeding channels. The evolution of the process underscores critical principles in steel casting, including modulus calculations, feeding path optimization, and the avoidance of negative pressure zones during solidification. Below, I detail each scheme, supported by theoretical insights and quantitative evaluations.
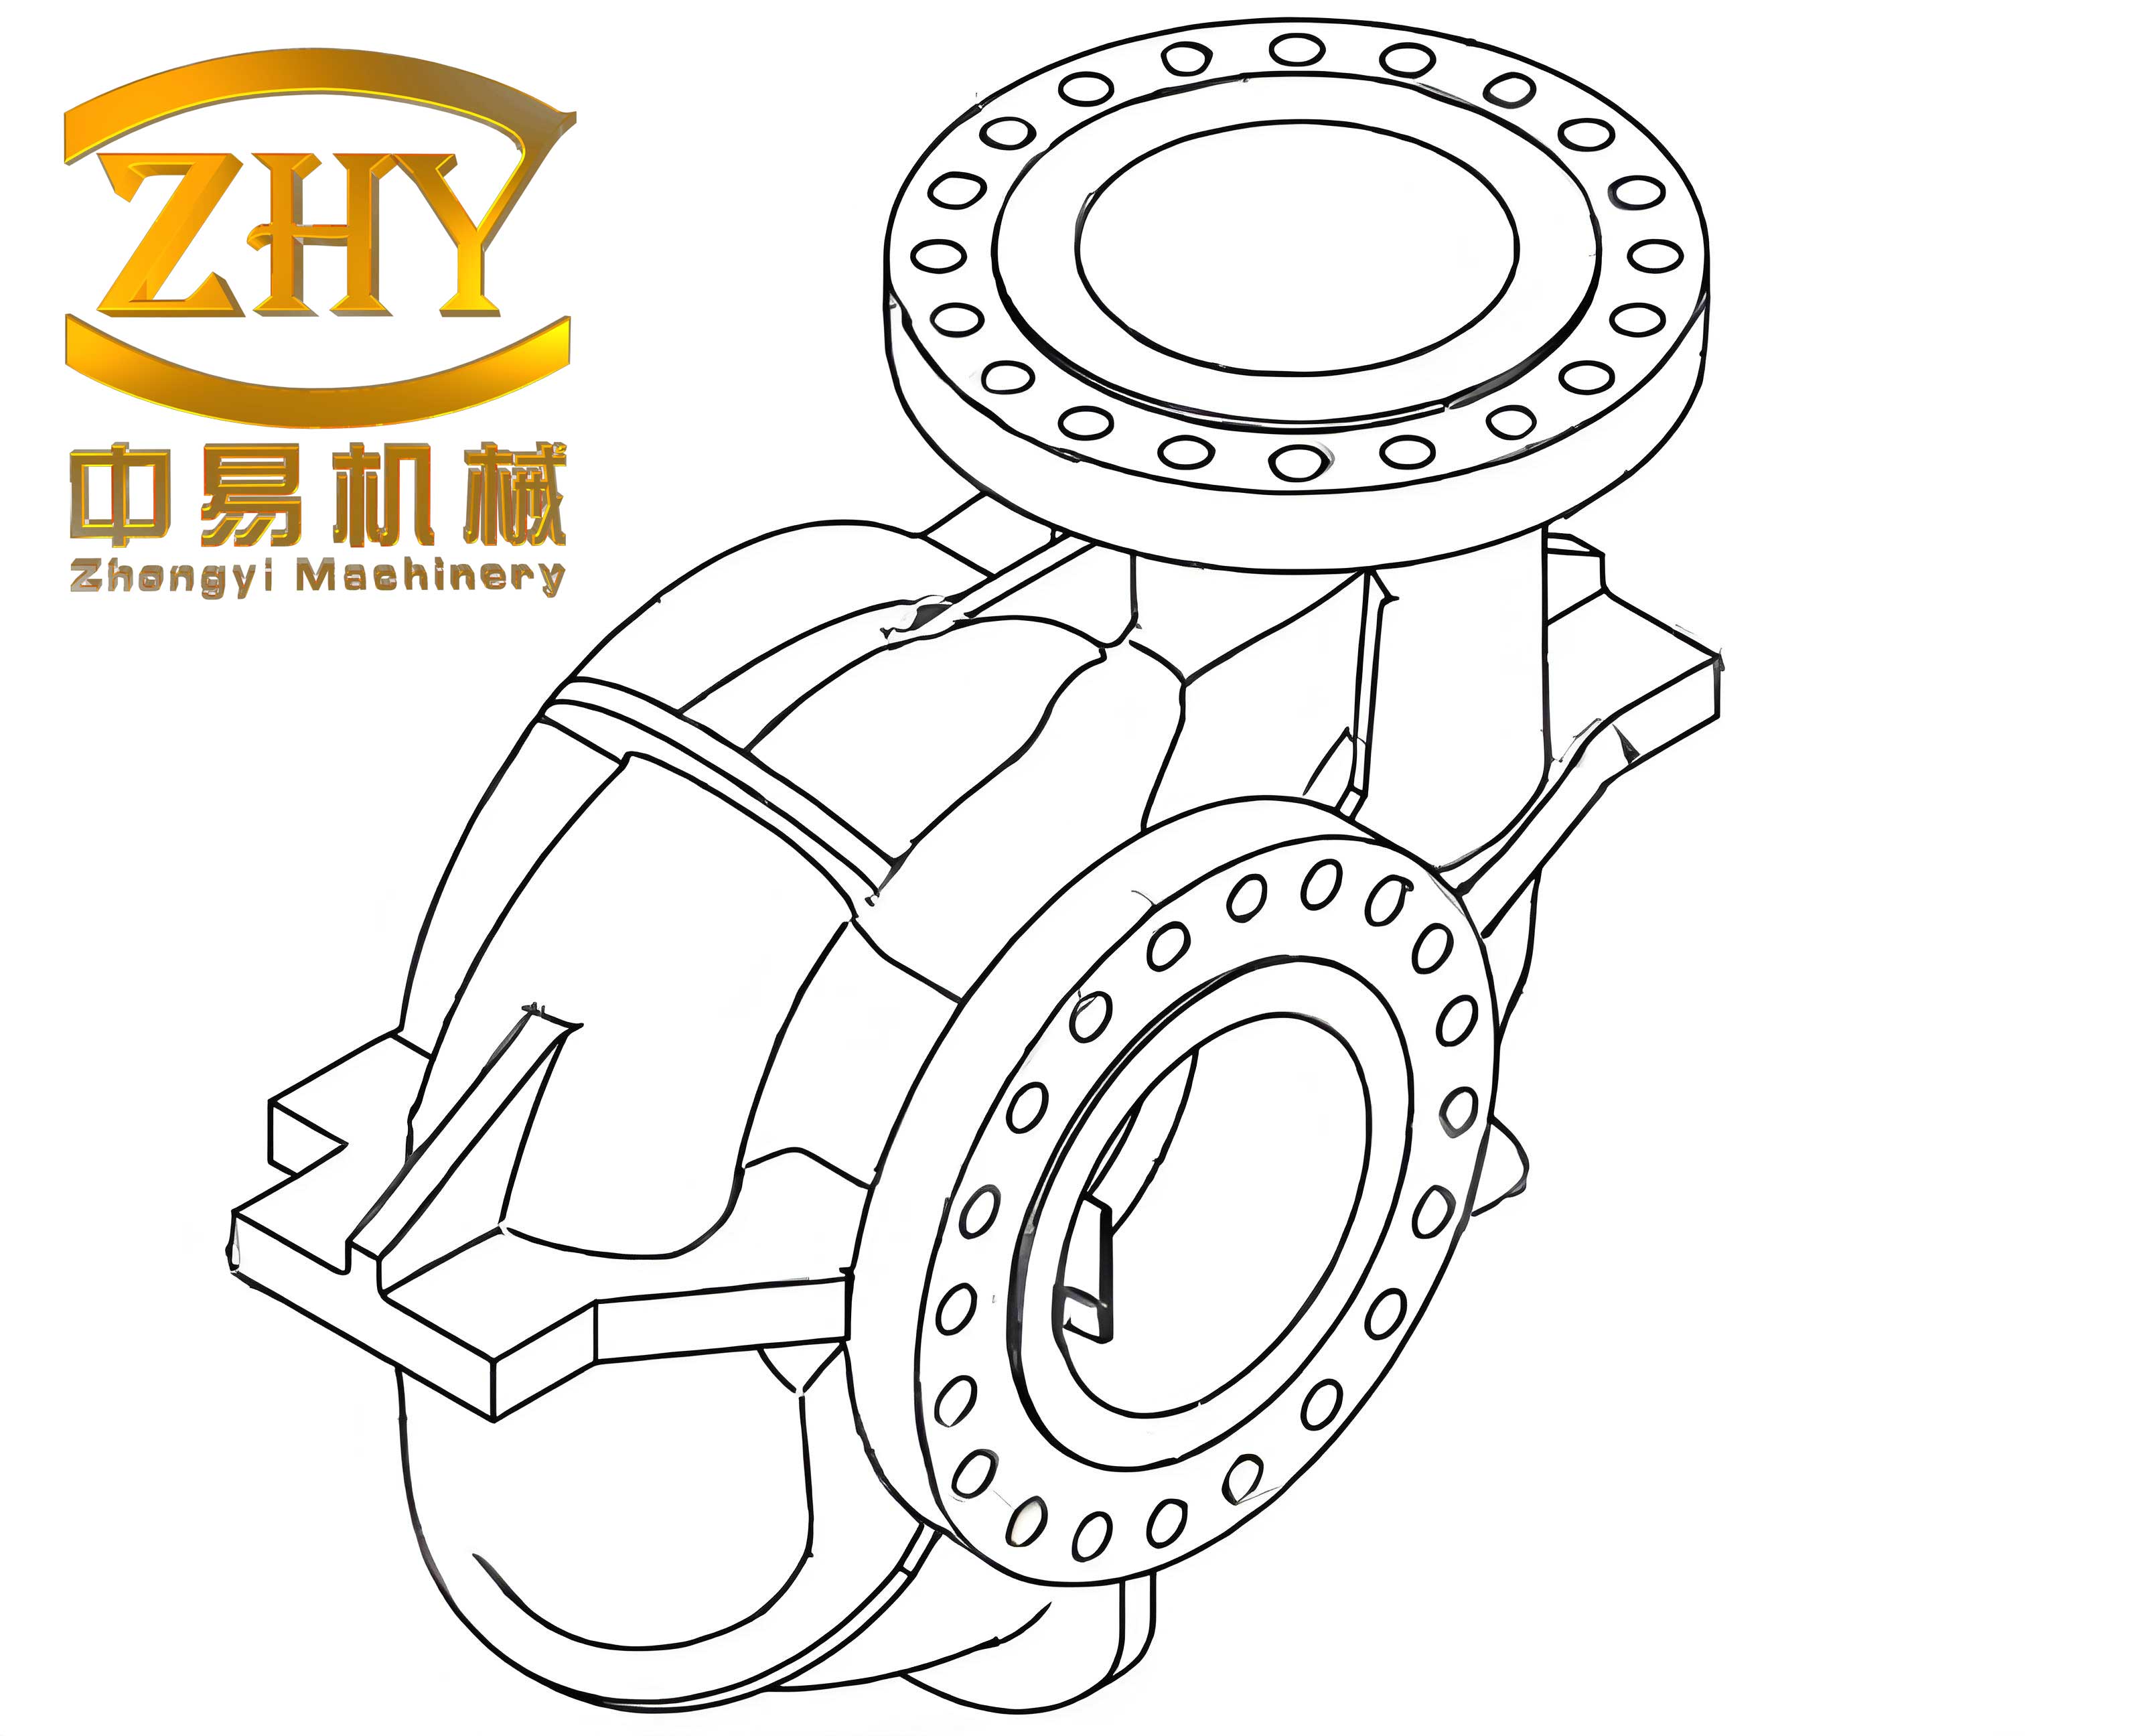
Analysis of Scheme I: Multiple Risers and Chills
Scheme I employed one open insulated riser (ø630 mm × 550 mm) and four side blind insulated risers (260 mm × 390 mm × 340 mm), along with chills to separate feeding zones. However, this approach was flawed for high-quality shell castings. First, the use of chills is contraindicated for premium shell castings because chills can block feeding channels, create non-uniform density, induce internal stresses, and lead to hot tearing or cold cracking. The fundamental principle is that chills should be reserved for ordinary castings, not for critical shell castings requiring high pressure resistance.
Second, the interaction between risers caused severe interference due to liquid level differences, undermining the intended separation. In casting theory, multiple risers often interact, and if not accounted for, this can result in defects and reduced yield. For shell castings, this interference led to shrinkage porosity in regions corresponding to the side risers, as confirmed by leak tests. Moreover, considering the side risers as part of the shell castings enlarges the hot spot circles, creating negative pressure zones during mid-to-late solidification. The modulus (M) of a casting section, defined as the volume-to-surface area ratio, is crucial for predicting feeding requirements:
$$ M = \frac{V}{A} $$
where V is the volume and A is the cooling surface area. In Scheme I, the effective modulus near riser junctions was miscalculated, leading to inadequate feeding. Table 1 summarizes the parameters and issues of Scheme I for shell castings.
| Parameter | Value | Issue |
|---|---|---|
| Main Riser Size | ø630 mm × 550 mm | Interference with side risers |
| Side Riser Size | 260 mm × 390 mm × 340 mm (4 units) | Created contact hot spots |
| Chill Usage | Present | Blocked feeding channels |
| Yield Rate | Low (~50%) | Due to riser interference and extra pouring |
| Leak Test Result | Failed in side riser areas | Shrinkage porosity from negative pressure |
The yield rate was further reduced because the main riser had to feed the side risers, necessitating additional pouring. This scheme highlighted the need to eliminate chills and address riser interference in shell castings.
Analysis of Scheme II: Single Riser with Chills and Inadequate Padding
Scheme II adopted a single riser but incorporated multiple chills and small padding (feeders) to direct feeding. This was a step forward in eliminating riser interference, but it introduced new problems. Chills were still used, which is unsuitable for high-quality shell castings, as they disrupt feeding paths and concentrate defects near chill zones. Additionally, the padding dimensions were insufficient, causing premature interruption of feeding channels. The solidification time (t) of a casting can be estimated using Chvorinov’s rule:
$$ t = k \cdot M^2 $$
where k is a constant dependent on the material and mold conditions. For shell castings, inadequate padding reduces the effective modulus, shortening feeding time and leading to shrinkage. The “through thermal center” principle, which requires continuous feeding paths, was violated. Table 2 compares Scheme II with Scheme I for shell castings.
| Aspect | Scheme I | Scheme II |
|---|---|---|
| Riser Configuration | Multiple risers | Single riser |
| Chill Usage | Present | Extensive |
| Padding Design | Not applied | Insufficient size |
| Feeding Continuity | Interrupted by chills | Blocked by chills and padding |
| Leak Test Result | Partial failure | High failure rate (~50% scrap) |
Scheme II resulted in the poorest quality shell castings, with nearly half being scrapped due to leaks. This underscored that chills must be avoided, and padding must be precisely calculated to maintain feeding channels in shell castings.
Analysis of Scheme III: Single Riser without Chills but with Insufficient Padding
Scheme III removed chills entirely, relying on a single riser with enlarged padding. This eliminated the negative effects of chills and riser interference, marking progress for shell castings. However, the padding dimensions were still inadequate, failing to relocate the hot spot completely into the riser. Consequently, feeding channels were not fully畅通, especially during mid-to-late solidification. The feeding distance (L) for steel castings can be expressed as:
$$ L = \frac{T_m – T_s}{G} $$
where \( T_m \) is the melting temperature, \( T_s \) is the solidus temperature, and G is the temperature gradient. In Scheme III, the padding did not extend the feeding distance sufficiently, causing premature channel closure. Table 3 details the improvements and shortcomings of Scheme III for shell castings.
| Parameter | Scheme III Value | Impact on Shell Castings |
|---|---|---|
| Chill Usage | None | Improved internal quality |
| Padding Size | Moderately increased | Partial feeding channel opening |
| Hot Spot Relocation | Incomplete | Residual shrinkage risk |
| Leak Test Result | All passed | But surface defects persisted |
| Yield Rate | Moderate (~65%) | Better than previous schemes |
While all shell castings passed leak tests, surface quality issues remained, indicating that feeding was still suboptimal. This scheme highlighted the need for精确 padding calculations in shell castings processes.
Analysis of Scheme IV: Optimized Single Riser with Precise Padding and Riser Design
Scheme IV represents the culmination of improvements, featuring a single riser with精确 calculated padding and riser dimensions. It addressed three key issues: elimination of riser interference, removal of chills, and ensuring畅通 feeding channels. The padding was designed to relocate the hot spot into the riser, maintaining a continuous feeding path throughout solidification. The modulus matching principle was applied rigorously, where the riser modulus (M_r) should exceed the casting modulus (M_c) by a factor:
$$ M_r \geq 1.2 \cdot M_c $$
For the shell castings, the critical section modulus was calculated based on geometry. For example, for a cylindrical section with diameter D and height H, the modulus is:
$$ M_c = \frac{\pi D^2 H / 4}{\pi D H + 2 \cdot \pi (D/2)^2} = \frac{D H}{4H + 2D} $$
After adjustments, the padding dimensions were optimized to ensure \( M_r \) meets the criterion. Additionally, the riser volume (V_r) was calculated using the feeding requirement formula:
$$ V_r = \frac{V_c \cdot \alpha}{\beta} $$
where \( V_c \) is the casting volume, \( \alpha \) is the solidification shrinkage factor (typically 0.03-0.06 for steel), and \( \beta \) is the riser efficiency (0.1-0.2 for insulated risers). For the shell castings, with \( V_c \approx 0.35 \, \text{m}^3 \) (based on weight and density), \( \alpha = 0.04 \), and \( \beta = 0.15 \), the required riser volume is:
$$ V_r = \frac{0.35 \times 0.04}{0.15} \approx 0.093 \, \text{m}^3 $$
This guided the riser size of ø635 mm × 800 mm in Scheme IV. Table 4 compares all schemes for shell castings.
| Scheme | Riser Configuration | Chill Usage | Padding Design | Feeding Channel | Leak Test Result | Yield Rate |
|---|---|---|---|---|---|---|
| I | Multiple risers | Yes | None | Blocked | Failed | Low (~50%) |
| II | Single riser | Extensive | Insufficient | Blocked | High failure | Low (~55%) |
| III | Single riser | No | Moderate | Partially open | Passed (surface issues) | Moderate (~65%) |
| IV | Single riser | No | Precise | Fully open | All passed, high quality | High (~75%) |
Scheme IV produced shell castings with excellent surface, internal, and leak-test performance,彻底 solving the quality issues. The yield rate improved significantly due to optimized riser design and removal of redundant elements.
Theoretical Insights and Calculations for Shell Castings
The improvement process underscores several key principles in casting theory applicable to shell castings. First, the concept of “through thermal center” is vital for thick-walled castings. This involves designing padding to create a continuous thermal gradient toward the riser. The padding thickness (T_p) can be derived from the hot spot diameter (d_h), which for a junction is given by:
$$ d_h = \sqrt{\frac{4A}{\pi}} $$
where A is the cross-sectional area. For the shell castings, the critical junction had an area of approximately 0.1 m², giving \( d_h \approx 0.356 \, \text{m} \). The padding should then extend this diameter into the riser, with a taper calculated using:
$$ T_p = d_h + k \cdot H $$
where H is the height and k is a taper factor (typically 0.05-0.1). In Scheme IV, this resulted in a padding of 160 mm thickness at the top.
Second, dynamic solidification simulation is crucial for predicting negative pressure zones. The pressure drop (ΔP) during solidification can be estimated using:
$$ \Delta P = \rho g h – \frac{\sigma}{r} $$
where \( \rho \) is density, g is gravity, h is liquid height, \( \sigma \) is surface tension, and r is pore radius. For shell castings, ensuring positive pressure throughout avoids shrinkage porosity. This requires maintaining adequate liquid head from the riser.
Third, modulus calculations must account for complex geometries. For the annular shell castings, the modulus of different sections was computed using numerical methods. Table 5 shows a simplified modulus analysis for Scheme IV shell castings.
| Section | Volume (m³) | Surface Area (m²) | Modulus (m) |
|---|---|---|---|
| Main Body | 0.25 | 2.1 | 0.119 |
| Padding Zone | 0.05 | 0.8 | 0.0625 |
| Riser Base | 0.093 | 1.5 | 0.062 |
| Riser Itself | 0.25 | 1.8 | 0.139 |
Here, the riser modulus (0.139 m) exceeds the casting modulus (0.119 m), satisfying the feeding criterion. This precise approach is essential for high-quality shell castings.
Conclusion: Lessons Learned for Shell Castings
The evolution from Scheme I to Scheme IV for annular blowout preventer shell castings offers profound insights into casting工艺 design. Key takeaways include the imperative to avoid chills in premium shell castings, the need to manage riser interference through single-riser designs or精确 calculations, and the criticality of畅通 feeding channels via precise padding. Modulus matching, dynamic solidification analysis, and contact hot spot elimination are all vital for producing defect-free shell castings. Furthermore, this process highlights how theoretical principles, when applied meticulously, can enhance yield rates and reduce costs. For future work, integrating computational simulation with empirical data will further optimize shell castings for even more demanding applications. The success of Scheme IV demonstrates that a holistic, calculated approach is indispensable for achieving superior shell castings in critical industries.