
In my extensive experience within the investment casting industry, the quality of the ceramic shell is paramount to achieving dimensionally accurate and defect-free castings. The shell, built up through successive dips in ceramic slurry and stucco, forms the mold cavity. Its integrity directly dictates the final casting’s surface finish and dimensional fidelity. Despite being a mature process, shell-related defects remain a significant challenge in production. This article delves into the common shell defects encountered in water glass-based systems, analyzing their root causes and providing detailed, practical prevention strategies. Our focus will be on a systemic approach to quality control in investment casting.
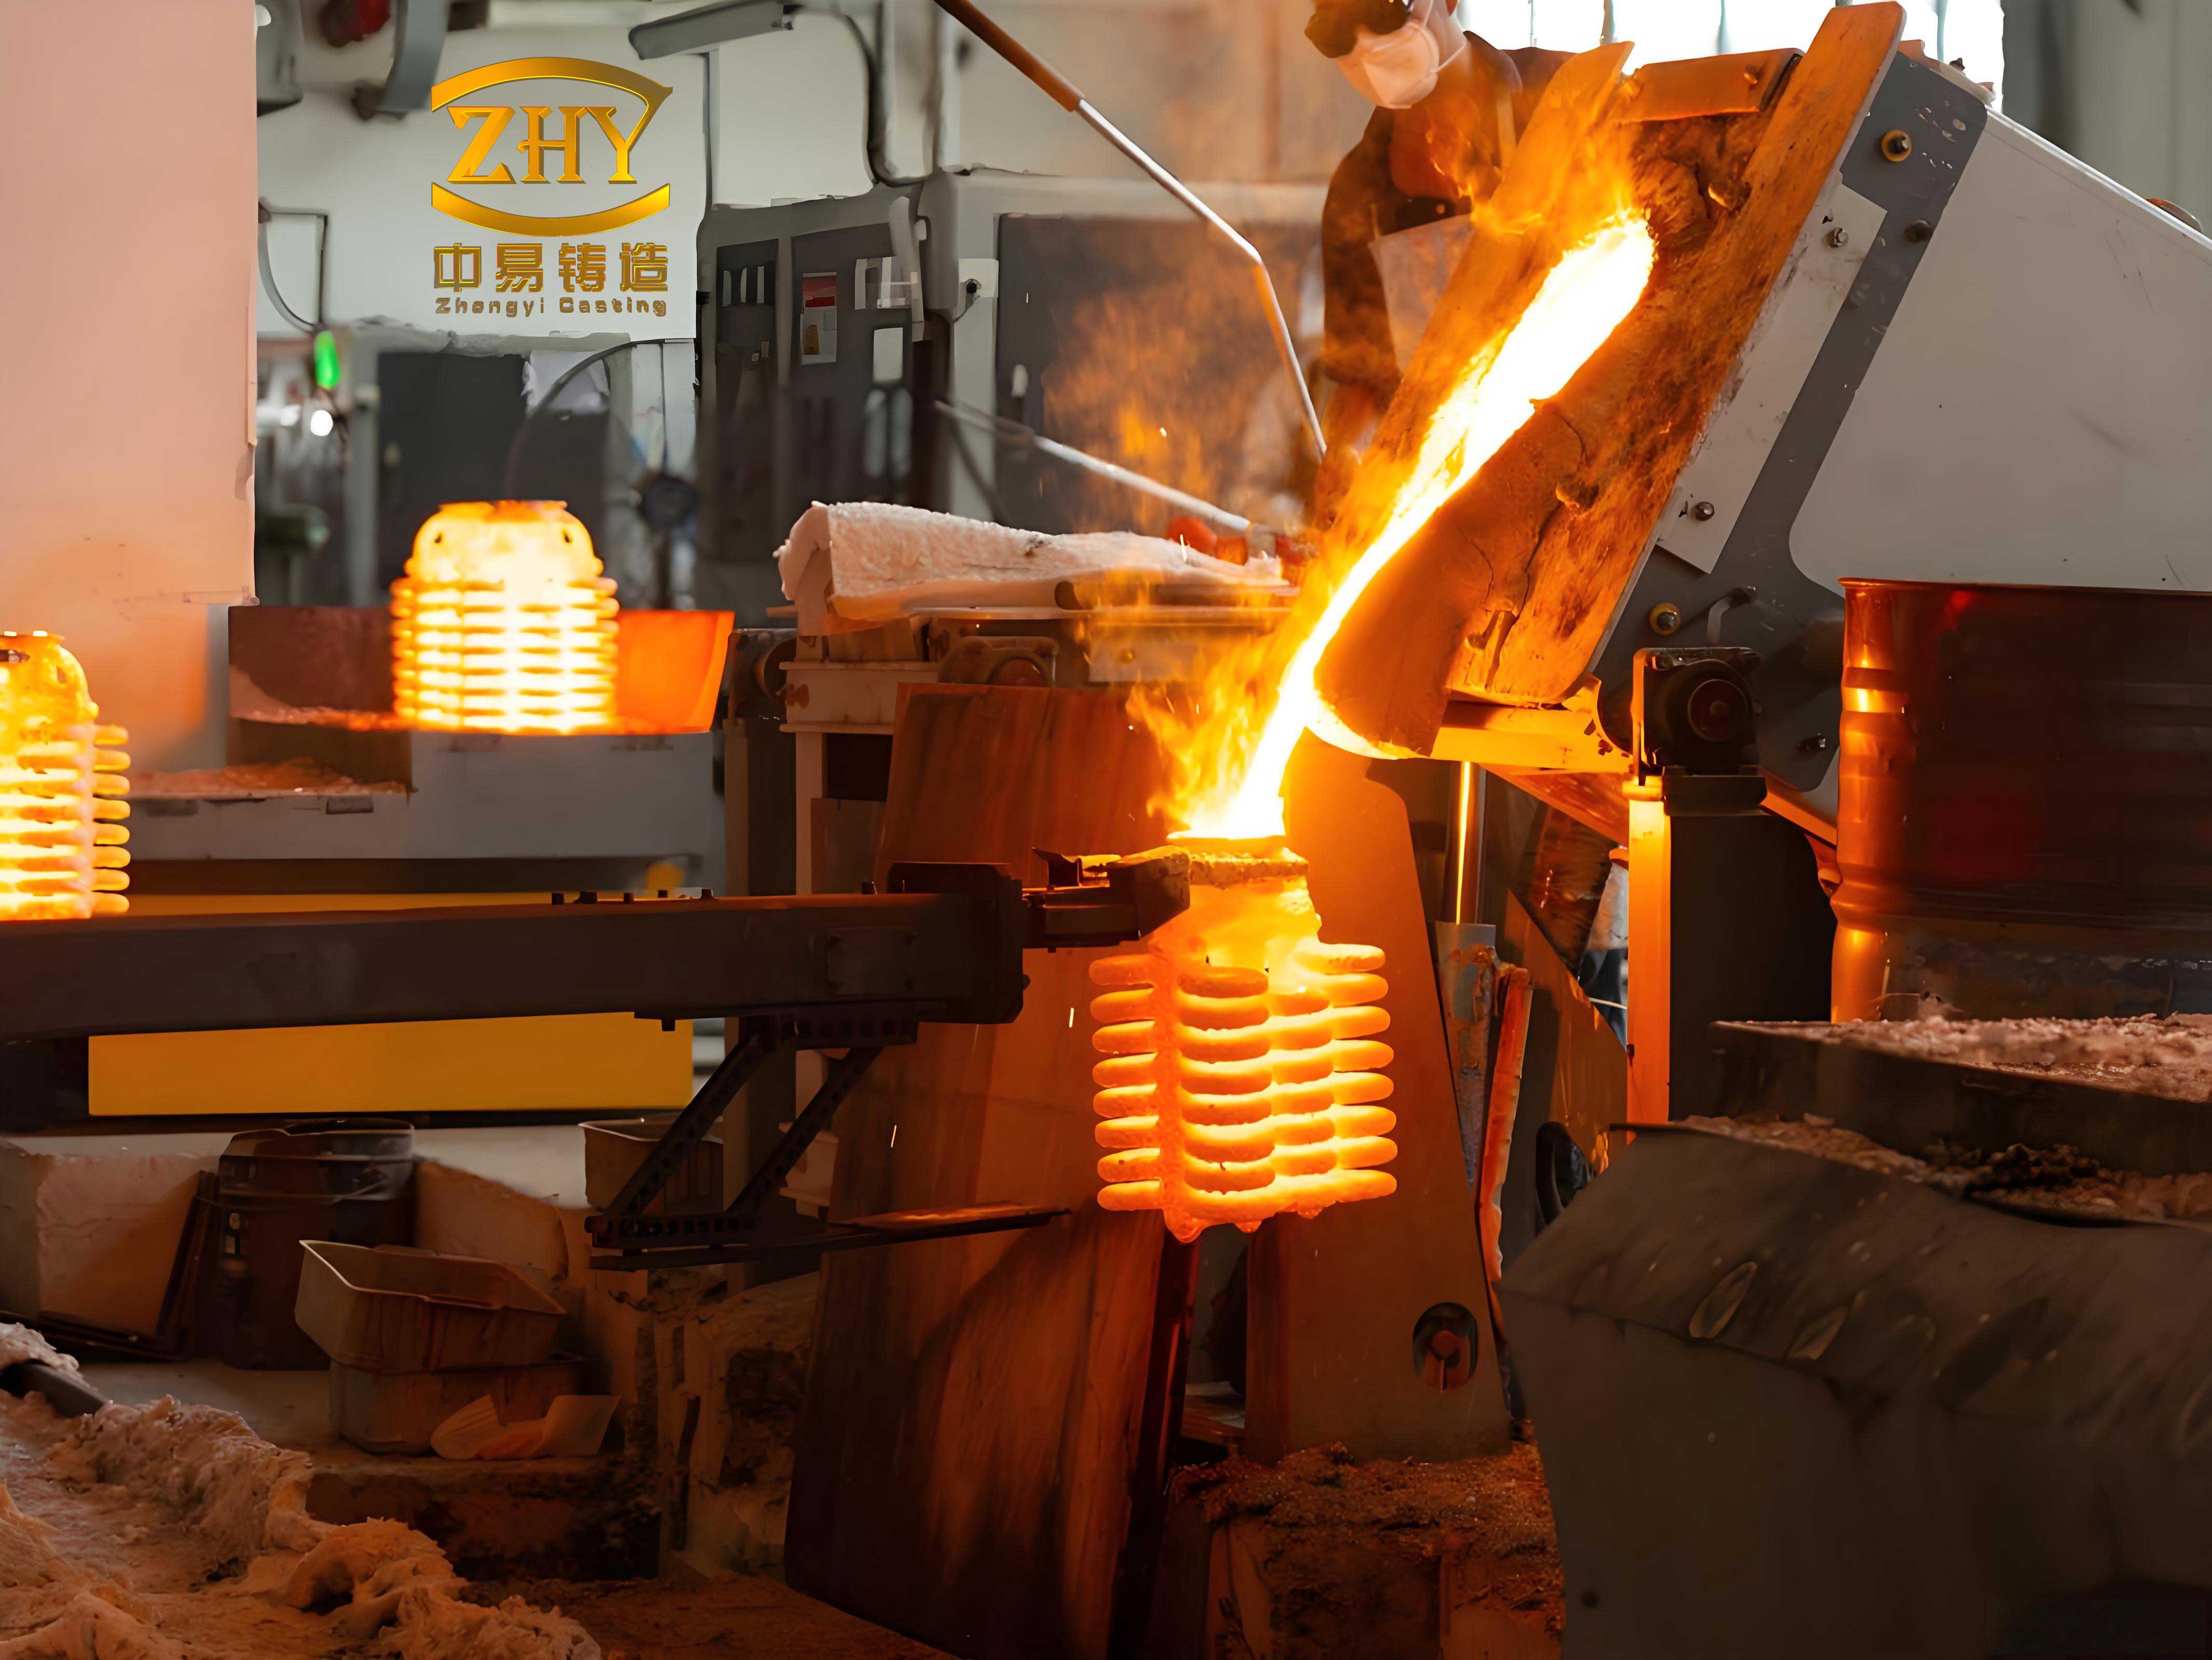
The journey of a shell in investment casting begins with a wax pattern cluster. This cluster undergoes a series of coating processes. The primary coat, or face coat, is critical as it contacts the molten metal. Subsequent backup coats provide mechanical strength. After each coat, the shell is dried and hardened through a chemical reaction. Any lapse in this meticulous sequence can manifest as a defect. We will explore defects such as orange peel, residual contaminants, fins, black shell, and premature bridging. Understanding these is essential for optimizing any investment casting operation.
1. Orange Peel (Pitting or Rough Surface)
This defect presents as a rough, pitted, and uneven surface on the interior of the shell mold, resembling the skin of an orange or a toad. When transferred to the casting, it results in a poor, unacceptable surface finish.
Root Causes:
- High Viscosity of Primary Slurry: A slurry that is too thick leads to poor flow and coverage. During dipping, it can cause localized accumulation or “pooling” on the wax pattern. If the subsequent natural drying time is insufficient, the outer layer gels and shrinks rapidly during hardening while the inner layer remains under-hardened, creating the characteristic pits.
- Contamination at the Wax-Slurry Interface: The presence of release agents, oils, moisture, or wax residues on the wax pattern creates a barrier. This prevents proper adhesion and uniform hardening of the primary coat. During dewaxing, these poorly bonded areas become loose and erode, leading to surface pitting.
Prevention Strategies:
Effective prevention requires control over slurry properties and process parameters. The table below summarizes key control measures.
| Control Area | Target Parameter / Action | Technical Rationale |
|---|---|---|
| Slurry Formulation | Adjust binder (e.g., water glass) density to $$ \rho = 1.25 – 1.28 \, g/cm^3 $$ with a modulus of $$ M = 3.0 – 3.4 $$. Maintain a powder-to-binder ratio of 1.1:1 to 1.3:1 for a 270-mesh (0.053 mm) flour. | Optimizes slurry viscosity and gelation behavior. |
| Additives | Incorporate wetting agents (e.g., JFC) at 0.1–0.3% and defoamers at 0.05–0.1% of binder weight. | Improves wettability on wax, enhances coverage, and eliminates air bubbles. |
| Pattern Preparation | Degrease wax assemblies with a 0.3% detergent or neutral soap solution before coating. | Removes hydrophobic contaminants, ensuring clean slurry contact. |
| Drying & Hardening | Natural drying time: 15–40 min (until surface is “neither wet nor chalky white”). Hardening in 22–25% NH₄Cl at 20–25°C for 3–10 min. Post-hardening drying: 30–45 min. | Ensures uniform and complete gelation through the coating thickness. |
| Dewaxing | Use dewaxing medium at 95–98°C, containing 3–5% NH₄Cl or 1% HCl. Limit dwell time to 15–20 min (max 30 min). | Prevents shell damage and provides supplementary hardening. |
2. Residual Saponified Deposits and Salts
After firing, visible black tarry spots (saponified residues) or white crystalline deposits (salts) remain on the cavity surface. These can cause gas defects or surface imperfections on the final investment casting.
Root Causes:
- Wax Pattern Degradation: Stearic acid, a common component in wax blends, reacts with certain metals (e.g., in filler powders) or alkaline substances to form hard soaps (metal stearates). These sticky, insoluble residues cling to the shell interior after dewaxing.
- Insufficient Drying: Inadequate drying time after hardening leaves excess ammonium chloride and reaction by-products (salts) within the shell matrix.
- Incomplete Firing: An insufficient firing temperature or time fails to volatilize and burn out all organic residues (wax, soaps) and decompose leftover salts.
Prevention Strategies:
Control focuses on wax management, process timing, and thermal treatment. The relationship between firing temperature and time for effective burnout can be conceptualized by an Arrhenius-type relationship, where the rate of organic removal $$ k $$ is:
$$ k = A e^{-E_a / (RT)} $$
where $$ A $$ is a constant, $$ E_a $$ is the activation energy for burnout, $$ R $$ is the gas constant, and $$ T $$ is the absolute firing temperature. Ensuring adequate $$ T $$ and time $$ t $$ is crucial.
| Step | Preventive Action |
|---|---|
| Wax Management | Replenish stearic acid in recycled wax to maintain composition. Rinse dewaxed shells with hot water acidified with 0.5% HCl to dissolve soaps and salts. |
| Process Control | Ensure complete post-hardening drying until the shell is “neither wet nor white.” Store shells inverted to drain moisture. |
| Firing Cycle | Fire NH₄Cl-hardened shells at 850–900°C for 0.5–2 hours. A properly fired shell is white, pinkish, or light buff. A dark gray color indicates residual carbon. Avoid refiring shells more than once. |
3. Loose Sand or Shell Fragments in Cavity
Unwanted ceramic grains or pieces of shell material are found inside the mold cavity, which can become embedded in the casting surface or cause metallic projections.
Root Causes:
- Poor Pre-Dewaxing Cleanup: Failure to remove loose stucco sand from the top of the pouring cup allows it to fall in during handling or dewaxing.
- Turbulent Dewaxing: Vigorous boiling of the dewaxing medium can stir up settled debris from the tank bottom, carrying it into the shell cavity.
- Dirty Environment: Contaminated work areas or storing shells upright after dewaxing allows debris to fall in.
Prevention Strategies:
A disciplined housekeeping and handling protocol is essential. The following equation underscores the importance of procedural control, where the probability of defect-free shells $$ P_{df} $$ is a product of the success rate of each step:
$$ P_{df} = p_{clean} \times p_{dewax} \times p_{handle} $$
where each $$ p $$ represents the reliability of cleaning, dewaxing, and handling procedures, respectively.
- Thoroughly clean the pouring cup area before dewaxing.
- Control dewaxing temperature to just below boiling (95-98°C) to minimize turbulence.
- Regularly clean the dewaxing tank and maintain a clean workshop environment (5S principles).
- Always store dewaxed shells inverted.
- Use an air nozzle or vacuum to clean cavities just before pouring.
- For the final backup coat, consider applying slurry only without stuccoing to prevent sand spillage.
4. Fins (Flash) in the Cavity
Thin, unwanted projections of shell material are present on the cavity wall, which will create thin fins of metal on the casting requiring removal.
Root Causes:
This defect originates during the assembly of wax patterns to the central sprue:
- Poor Welding Technique: Incomplete fusion or a gap at the joint between the wax pattern and the sprue.
- Excessive Tool Temperature: An overheated soldering iron or hot knife can vaporize wax locally, creating a void or channel that fills with slurry.
Prevention Strategies:
The solution is purely procedural and reliant on operator skill and tool control.
- Inspect and adjust the temperature of welding tools to ensure clean melting without burning.
- Implement a visual and tactile inspection of all joints post-assembly. Any gap or seam must be sealed with a small amount of repair wax.
- Training and standardized work instructions for wax assembly are critical in investment casting to eliminate this defect at its source.
5. Black Shell (Incomplete Burnout)
The shell interior appears dark, black, or sooty after firing, indicating the presence of unburned carbonaceous material (wax, soaps). This can lead to gas defects and poor surface quality in the investment casting.
Root Causes:
- Ineffective Dewaxing: Low dewaxing temperature or short immersion time leaves significant wax residue trapped in the shell’s permeable structure.
- Inadequate Firing Cycle: The firing temperature is too low, time is too short, or the furnace atmosphere/loading pattern prevents uniform heating and complete combustion of residues.
Prevention Strategies:
This defect is combated by optimizing thermal cycles and ensuring furnace performance. The required thermal energy $$ Q $$ for complete burnout is a function of the mass of residue $$ m_r $$ and the firing profile:
$$ Q = \int_{0}^{t_f} \dot{m}_r(t) \cdot \Delta H_c \, dt $$
where $$ \dot{m}_r(t) $$ is the rate of residue combustion and $$ \Delta H_c $$ is its heat of combustion. A properly designed cycle delivers sufficient $$ Q $$.
| Process Stage | Optimal Parameters |
|---|---|
| Enhanced Dewaxing | Use acidic or hardened water medium at 95-98°C for 15-20 min. Follow with an acidified hot water rinse. |
| Firing Practice | Fire at 850-900°C (for NH₄Cl shells) with sufficient hold time (0.5-2h). Ensure proper furnace loading for uniform airflow and heat distribution. Shells must be fired until they achieve a light color. |
| Equipment Maintenance | Regularly calibrate and maintain furnaces to ensure they meet the required temperature profiles and atmospheric conditions. |
6. Premature Bridging
Shell material forms a “bridge” across narrow gaps or between closely spaced wax patterns too early in the coating process, blocking the cavity and creating a malformed mold.
Root Causes:
- Insufficient Pattern Spacing: The wax cluster is designed or assembled with patterns placed too close together (<10mm is often problematic).
- High Viscosity Backup Slurry: Thick slurry cannot flow into and properly coat deep recesses or narrow channels before it sets.
- Improper Dipping Technique: The operator fails to ensure complete coverage in complex areas before stuccoing.
- Complex Pattern Geometry: Deep holes, blind cavities, or sharp internal corners are inherently difficult to coat uniformly.
Prevention Strategies:
Prevention involves design-for-manufacture principles and process adjustments. The condition for successful coating in a narrow gap of width $$ w $$ can be modeled by considering the slurry’s capillary flow and gel time $$ t_{gel} $$. Coating fails if:
$$ t_{flow} > t_{gel} $$
where $$ t_{flow} $$ is the time for slurry to fill the gap. Reducing viscosity decreases $$ t_{flow} $$.
- Cluster Design: Maintain a minimum pattern spacing of 10 mm during wax assembly.
- Slurry Adjustment: Reduce the viscosity of backup slurries. Adding wetting agents can improve flowability.
- Manual Assistance: For complex features, use a brush to apply slurry into deep recesses or employ air pressure to blow slurry into cavities before dipping.
- Pattern Modification: Consult with design engineers to modify part geometry slightly to improve coatability, a key synergy in successful investment casting.
In conclusion, achieving high-quality shells in investment casting is a multifaceted endeavor requiring stringent control over materials, processes, and environment. Each defect type—from orange peel to bridging—has distinct but often interrelated causes. By implementing the systematic prevention strategies outlined, focusing on precise slurry control, meticulous process timing, thorough thermal processing, and disciplined housekeeping, foundries can significantly reduce shell-related scrap. The goal is to build a robust, defect-free shell that faithfully replicates the wax pattern’s detail, thereby ensuring the production of superior investment casting components. Continuous monitoring, operator training, and a culture of quality are the bedrock of excellence in this precise and demanding field.