
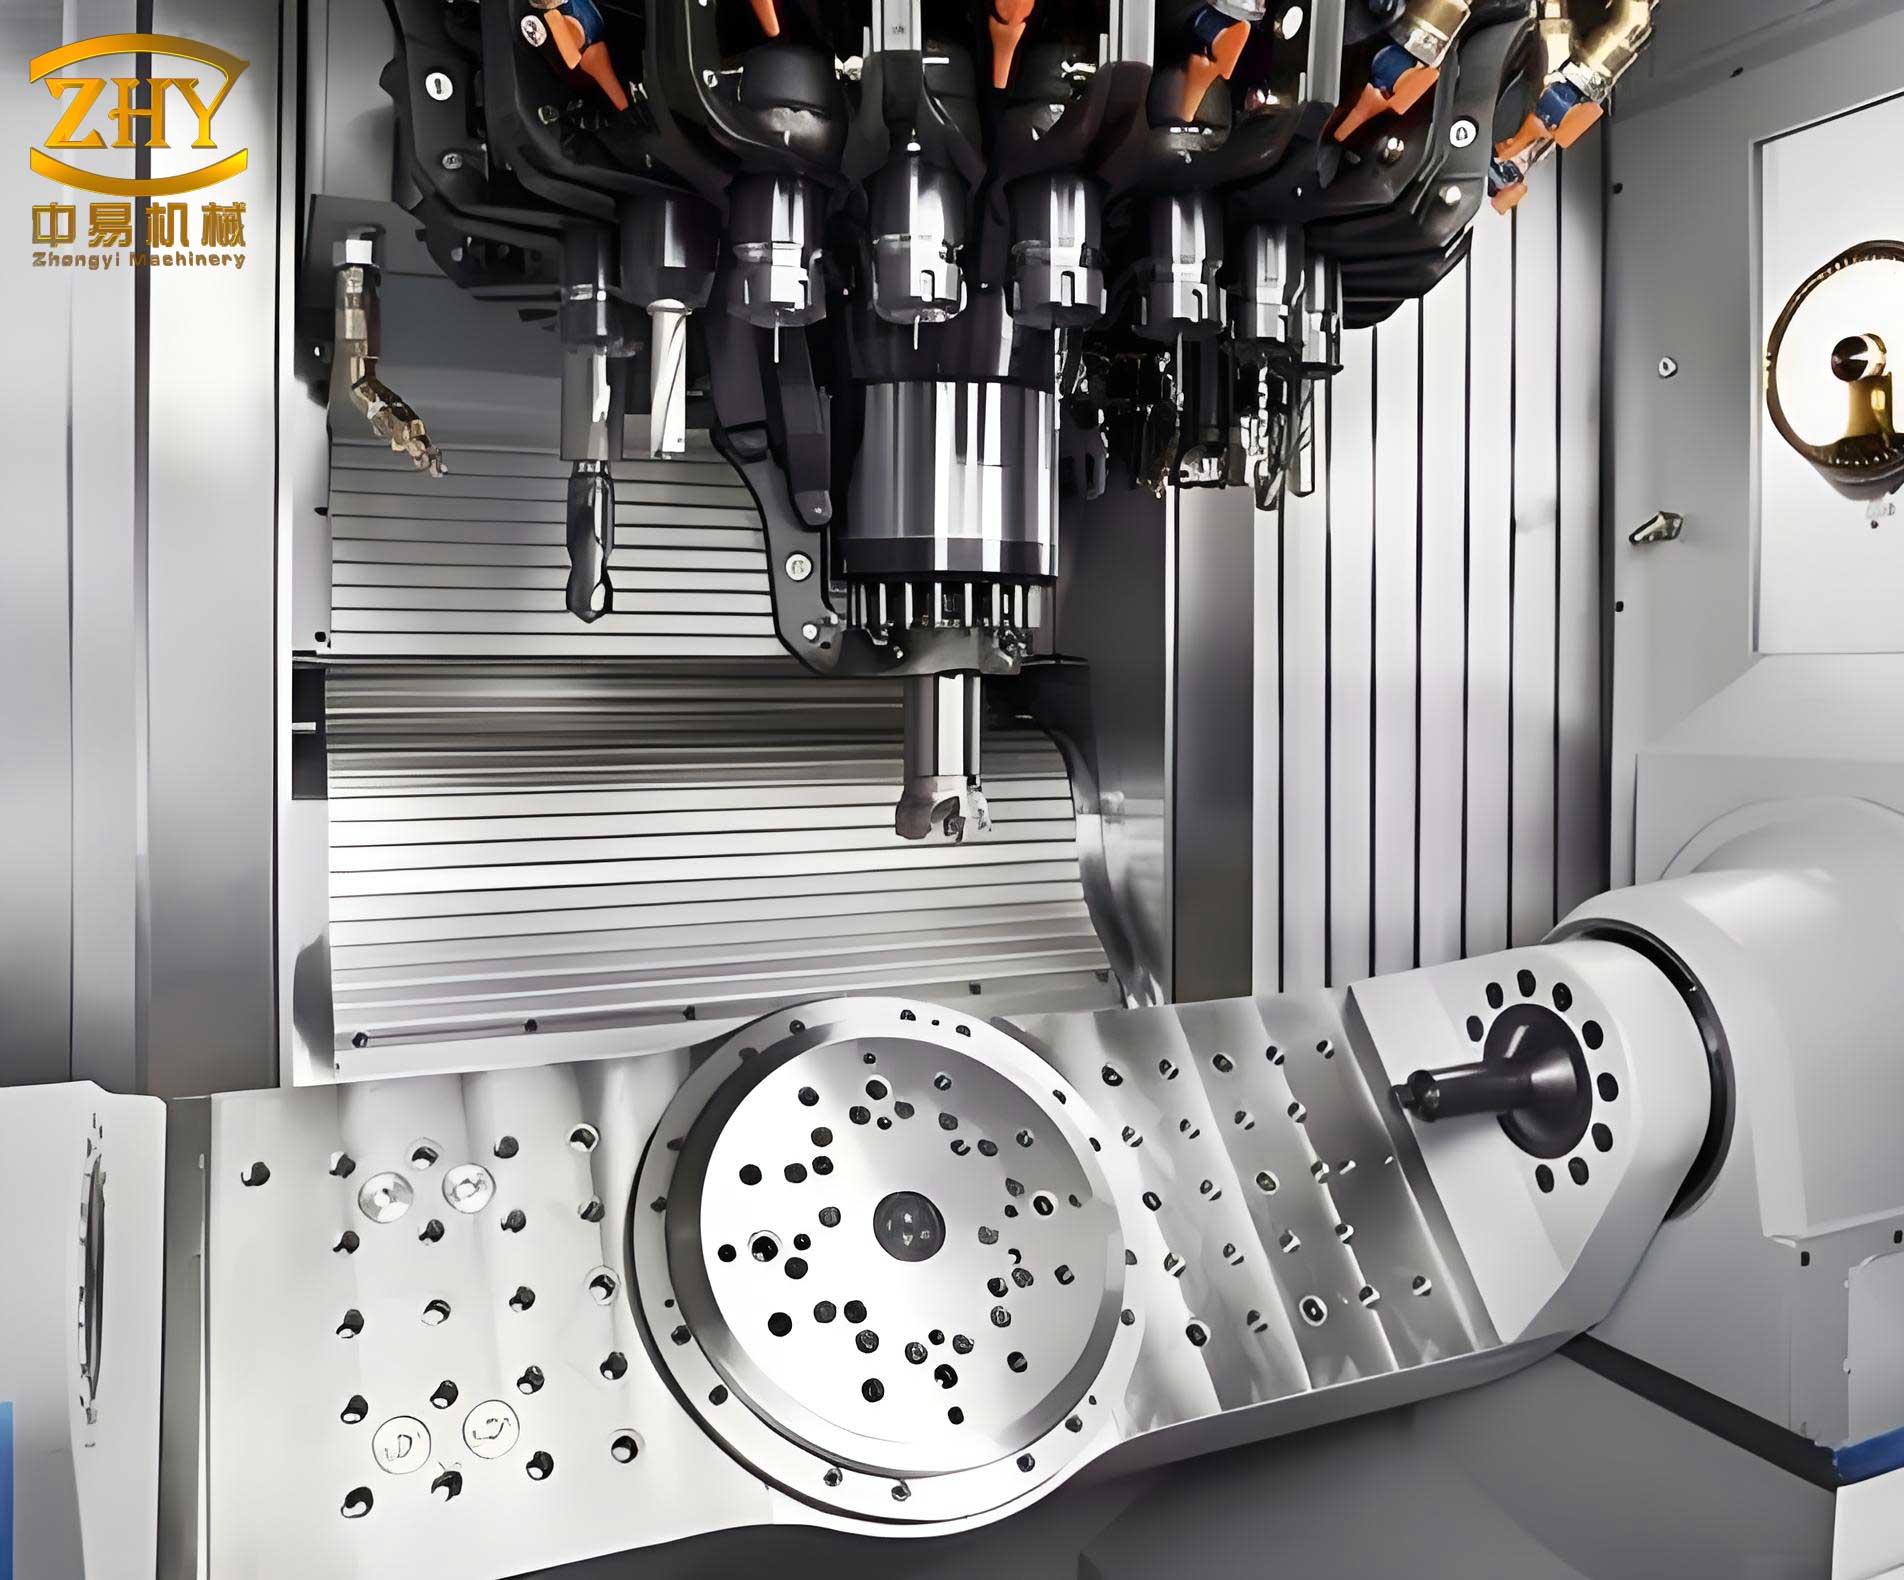
In my extensive experience in the foundry industry, producing high-quality machine tool castings, especially for precision applications like DMG machining tool beds, requires meticulous attention to detail. The casting process must be tightly controlled to avoid defects such as porosity, sand inclusions, or voids on critical surfaces like guide rails. This article delves into the essential operational points and process checks necessary to ensure the integrity of machine tool casting. I will share insights from a first-person perspective, emphasizing practical steps and technical validations that have proven effective in my work.
The foundation of a reliable machine tool casting lies in the core-making process. Before starting, I always ensure the work area is clean and level. The core boxes must be placed on a flat surface, with wedges used to secure them and prevent deformation during sand filling. A critical pre-check involves measuring the diagonal dimensions of the core box with a dedicated gauge to confirm its geometry hasn’t warped. Only after this verification do I proceed with sand filling.
During sand filling, I meticulously place vent ropes, core reinforcements (chills or irons), and lifting points according to the technical drawings. For instance, certain cores, like those made from chromite sand, must be hardened and assembled into larger core assemblies. I use a triangle ruler to check vertical alignment before applying coatings. The placement of vent ropes is crucial for gas escape during pouring; improper venting can lead to defects in the machine tool casting. The vent rope arrangement typically follows a pattern that maximizes permeability, which can be quantified by the permeability number (PN) of the sand mix. The permeability is often calculated using Darcy’s law adapted for foundry sands: $$Q = \frac{k \cdot A \cdot \Delta P}{\mu \cdot L}$$ where \(Q\) is the flow rate, \(k\) is the permeability, \(A\) is the cross-sectional area, \(\Delta P\) is the pressure drop, \(\mu\) is the dynamic viscosity, and \(L\) is the length of the sand path. In practice, I aim for a permeability value above 100 for core sands to ensure adequate venting.
After filling, the cores must cure adequately. I allow a stripping time of 30 to 60 minutes for large internal cores, checking hardness by probing with a nail. Once stripped, cores are placed on flat plates to prevent distortion. Repairing any damage involves using sand patches and nails, followed by precision finishing with grinders and trowels. The surface finish directly impacts the final machine tool casting quality, so I spend considerable time ensuring smoothness and accurate dimensions.
Coatings are applied to enhance surface finish and prevent metal penetration. I wait at least 40 minutes after stripping before brushing or dipping coatings. The coating slurry’s density, measured in Baume degrees (°Bé), is critical. The relationship between Baume degrees and specific gravity (SG) for liquids heavier than water is given by: $$°Bé = 145 – \frac{145}{SG}$$ For example, a coating with SG of 1.8 would have a Baume degree of approximately 65.3. I maintain strict control over Baume levels, as outlined in the table below for core coatings:
| Product Name | Core Type | Application Method | Coating Type (Sequence) | Baume Range (°Bé) | Scope |
|---|---|---|---|---|---|
| Machine Tool Bed | External Cores | Brushing | FQ600 (2 layers), FQ10 (1 layer) | 55–60 for FQ600, 16–20 for FQ10 | Excluding core prints |
| Machine Tool Bed | Internal Cores | Dipping | Graphite (1 layer), Brown Alumina (1 layer) | 25–30 for Graphite, 55–60 for Brown Alumina | Entire core surface |
Throughout core-making, I adhere to a comprehensive checklist to prevent oversights. The following table summarizes the key inspection items I follow for every machine tool casting core:
| Item No. | Inspection Content | Check Result |
|---|---|---|
| 1 | Verify core box and loose piece counts are complete | Yes/No |
| 2 | Core box placement is rational; storage area is level | Yes/No |
| 3 | Core box and loose pieces are clean and coated with release agent | Yes/No |
| 4 | Loose pieces are correctly installed | Yes/No |
| 5 | Core iron dimensions, strength, quantity, and placement are suitable | Yes/No |
| 6 | Vent rope locations are marked; quantity and placement are proper; vents are clear | Yes/No |
| 7 | Core iron, vent ropes, and lifting points are clearly identified | Yes/No |
| 8 | Cores are marked with casting ID (clear and accurate) | Yes/No |
| 9 | Core sand quality meets production requirements | Yes/No |
| 10 | Sand layers are properly compacted; reinforcements are placed in fragile areas | Yes/No |
| 11 | Core compactness meets specifications | Yes/No |
| 12 | Scraped sand surfaces are level | Yes/No |
| 13 | Vent holes are adequate in number and position | Yes/No |
| 14 | Cores and boxes are protected during stripping; no core damage | Yes/No |
| 15 | Core repairs meet quality standards | Yes/No |
| 16 | Flash, radii, and rough surfaces are finely finished | Yes/No |
| 17 | Coating is applied ≥40 minutes after stripping | Yes/No |
| 18 | Coating Baume degrees conform: FQ600: ___, FQ10: ___ | Yes/No |
| 19 | Coating is uniform, directional, without piles, misses, or streaks; records are filled | Yes/No |
| 20 | Core surface baking is performed if needed; baking meets requirements | Yes/No |
| 21 | 合格标签粘贴并正确填写 (合格标签粘贴并正确填写) | Yes/No |
Note that compactness can be expressed as a ratio of bulk density to theoretical density: $$C = \frac{\rho_b}{\rho_t} \times 100\%$$ where \(C\) is the compactness percentage, \(\rho_b\) is the bulk density of the rammed sand, and \(\rho_t\) is the theoretical density of the sand grains. For machine tool casting cores, I target a compactness above 70% to ensure adequate strength.
Moving to the moulding process, preparation begins with thoroughly cleaning the pattern and applying a release agent. I always check the pattern for deformation using a straight edge and ensure it is leveled and shimmed securely. The moulding sand must have consistent properties; its green strength can be modeled using a simplified formula: $$\sigma_g = k \cdot e^{-m \cdot w}$$ where \(\sigma_g\) is the green strength, \(k\) and \(m\) are material constants, and \(w\) is the moisture content. For high-duty machine tool casting, I maintain moisture between 3.5% and 4.5% to optimize strength and permeability.
Key steps include placing ceramic tubes for sprue and runner systems, risers, and vent rods according to design positions. For this machine tool casting, I place multiple risers to ensure proper feeding and minimize shrinkage defects. The number of risers \(N\) can be estimated using Chvorinov’s rule for solidification time: $$t = B \cdot \left(\frac{V}{A}\right)^2$$ where \(t\) is solidification time, \(B\) is a mold constant, \(V\) is volume, and \(A\) is surface area. Risers are sized to have a longer solidification time than the casting section they feed, so \(t_{\text{riser}} > t_{\text{casting}}\). I often use a safety factor \(S_f\) such that: $$S_f = \frac{t_{\text{riser}}}{t_{\text{casting}}} \geq 1.2$$
Chills are strategically placed to control cooling rates. In this machine tool casting, sand chills are used in specific locations to promote directional solidification. The chilling power \(Q_c\) of a chill can be approximated by: $$Q_c = h \cdot A_c \cdot (T_m – T_c)$$ where \(h\) is the heat transfer coefficient, \(A_c\) is the chill area, \(T_m\) is the metal temperature, and \(T_c\) is the chill initial temperature. Proper chill placement reduces thermal gradients that can cause stresses in the machine tool casting.
After ramming, the mould is allowed to harden. Stripping times are critical: 90–120 minutes for the cope and 90–180 minutes for the drag, depending on sand binder chemistry. I verify hardness by nail penetration before stripping. Once stripped, the mould is carefully inspected and repaired if necessary. Coatings are applied after a 40-minute wait, similar to cores. The coating schedule for moulds is summarized below:
| Name | Mould Part | Application Method | Coating Sequence | Baume Range (°Bé) | Scope |
|---|---|---|---|---|---|
| Machine Tool Bed | Cope and Drag | Brushing | FQ600 (2 layers), FQ10 (1 layer) | 55–60 for FQ600, 16–20 for FQ10 | Excluding core prints |
I use large brushes for broad areas and small brushes for details, ensuring uniform, directional strokes to avoid coating defects. The casting identification is painted with a single layer of FQ10 and lightly blown with air to keep it legible—a small but vital step for traceability in machine tool casting production.
The moulding process involves numerous checks to preempt issues. Below is the inspection table I utilize for each machine tool casting mould:
| Item No. | Inspection Content | Check Result |
|---|---|---|
| 1 | Pattern/part number matches job plan | Yes/No |
| 2 | Casting ID (serial number) is updated as required | Yes/No |
| 3 | All loose pieces are present and correctly positioned | Yes/No |
| 4 | Loose pieces, gating, and vent locations are accurate | Yes/No |
| 5 | Adherent sand or debris is removed with scrapers and air guns | Yes/No |
| 6 | Pattern is coated with release agent if needed; coating is proper | Yes/No |
| 7 | Tools are ready (ceramic tubes, vent ropes, risers, air guns) | Yes/No |
| 8 | Pattern and plate are intact, not loose or damaged; repairs confirmed | Yes/No |
| 9 | Pattern locating pins are complete | Yes/No |
| 10 | Residual sand in flask and flask iron buildup are cleaned | Yes/No |
| 11 | If bench moulding,底板 is flat, stable, and shimmed | Yes/No |
| 12 | For hand patterns, pattern is steady on clean bench | Yes/No |
| 13 | For large patterns moulded on floor, floor is level and shimmed | Yes/No |
| 14 | Special chills are available in sufficient quantity | Yes/No |
| 15 | Chills are numbered as required | Yes/No |
| 16 | Chills are dry, free of debris and rust | Yes/No |
| 17 | Sprue, risers, refractory tubes are placed per design | Yes/No |
| 18 | Vent holes are pierced to specified depth | Yes/No |
| 19 | Initial and final sand are discarded outside flask as backing sand | Yes/No |
| 20 | Large moulds are flipped using old tires as cushion | Yes/No |
| 21 | Pattern is not struck with metal tools; stripping time is appropriate | Yes/No |
| 22 | After stripping, sand fins between loose pieces are trimmed;浮砂 is cleared | Yes/No |
| 23 | Coating is applied ≥40 minutes after stripping | Yes/No |
| 24 | Coating Baume degrees conform: FQ600: ___, FQ10: ___ | Yes/No |
| 25 | Casting ID is complete and correct after coating | Yes/No |
| 26 | If cores are set under external skin before coating, placement is verified | Yes/No |
| 27 | Coating is uniform, directional, without piles, misses, or streaks | Yes/No |
| 28 | Chills and mould are baked as required; baking time is sufficient | Yes/No |
| 29 | After approval,单件产品跟踪单 is filled correctly | Yes/No |
Transitioning to assembly, careful handling is paramount. I transport moulds and cores separately, using padding like cotton mats to prevent damage. Cores are stored on padded surfaces until needed. The assembly begins by setting cores into the drag. For this machine tool casting, I first place internal cores, checking dimensions with dedicated gauges. The cavity width between cores must be precise; I use a gauge to verify dimensions like 3882 mm and 3761 mm for overall length, ensuring the machine tool casting will meet geometric tolerances.
Core supports, such as threaded chaplets with caps, are used to maintain core positions under metal pressure. The chaplet size is selected based on the projected area and metallostatic pressure. The pressure \(P\) at a depth \(h\) in the molten metal is given by: $$P = \rho \cdot g \cdot h$$ where \(\rho\) is metal density, and \(g\) is gravity. For iron castings, \(\rho \approx 7000 \, \text{kg/m}^3\), so at a depth of 0.5 m, \(P \approx 34.3 \, \text{kPa}\). Chaplets must withstand this pressure without deformation.
During core setting, I check concentricity of critical holes (e.g., Ø110 mm) using alignment gauges. Any gaps between cores and mould are sealed with sand and coated with FQ10 to prevent metal penetration. Venting is verified by ensuring all vent passages are open; blocked vents can cause gas defects in the machine tool casting.
Finally, the cope is lowered onto the drag. I ensure proper alignment using guide pins and check the flask gap, which should not exceed 2 mm. The pouring basin tubes must be aligned and clean. Bolting is done with proper washers—never single 5 mm steel pads—to distribute clamping force evenly and prevent mould shift during pouring, which could distort the machine tool casting.
The assembly phase is documented with a concise checklist:
| Item No. | Operator Verification Items | Notes |
|---|---|---|
| 1 | Cavity, runner passages, refractory tubes are free of loose sand | Yes/No, action if needed |
| 2 | Distance from vertical datum to flask edge is 586.8 mm (measured: ___) | Actual value |
| 3 | Cores 1–6 are set; gauge check shows fit | Fit/Needs adjustment |
| 4 | Cores 7 and 8 are fully seated | Seated/Needs adjustment |
| 5 | Bed total lengths are 3882 mm and 3761 mm (measured: ___, ___) | Actual values |
| 6 | Gauge check of cores 14–19 relative to parting plane (38.4 mm) (measured: ___) | Actual value |
| 7 | Vent passages are clear | Clear/Needs adjustment |
| 8 | Cope-drag gap ≤2 mm (measured: ___) | Actual value |
| 9 | Pouring basin tubes are aligned; basin is clean, no coating leaks, tubes round | 合格/没检查或不合格 |
In conclusion, producing a high-integrity machine tool casting demands rigorous adherence to process controls across core-making, moulding, and assembly. Each step must be validated through systematic checks and precise measurements. The use of proper coatings, venting, chilling, and core support is critical to avoid defects. By implementing detailed inspection protocols and understanding the underlying principles—such as heat transfer, fluid dynamics, and solidification mechanics—foundries can consistently deliver machine tool castings that meet stringent quality standards. This holistic approach ensures that every machine tool casting performs reliably in precision applications, upholding the reputation of brands like DMG. Through continuous refinement of these practices, the art and science of machine tool casting advance, enabling more efficient and durable manufacturing solutions.
To further optimize the process, I often analyze defect rates using statistical models. For instance, the probability of a defect like porosity \(P_d\) can be related to process variables via a logistic function: $$P_d = \frac{1}{1 + e^{-(b_0 + b_1 X_1 + b_2 X_2 + …)}}$$ where \(b_i\) are coefficients and \(X_i\) are factors like sand moisture, coating Baume, or pouring temperature. By minimizing \(P_d\) through control of these variables, the yield of sound machine tool castings improves.
Additionally, the economics of machine tool casting production can be modeled to balance quality and cost. The total cost \(C_t\) per casting includes material, labor, energy, and rework costs: $$C_t = C_m + C_l + C_e + C_r$$ where rework cost \(C_r\) is inversely proportional to process control rigor. Investing in thorough inspections and skilled labor reduces \(C_r\) and enhances overall value. Thus, a disciplined approach to machine tool casting not only ensures technical excellence but also drives operational efficiency.