
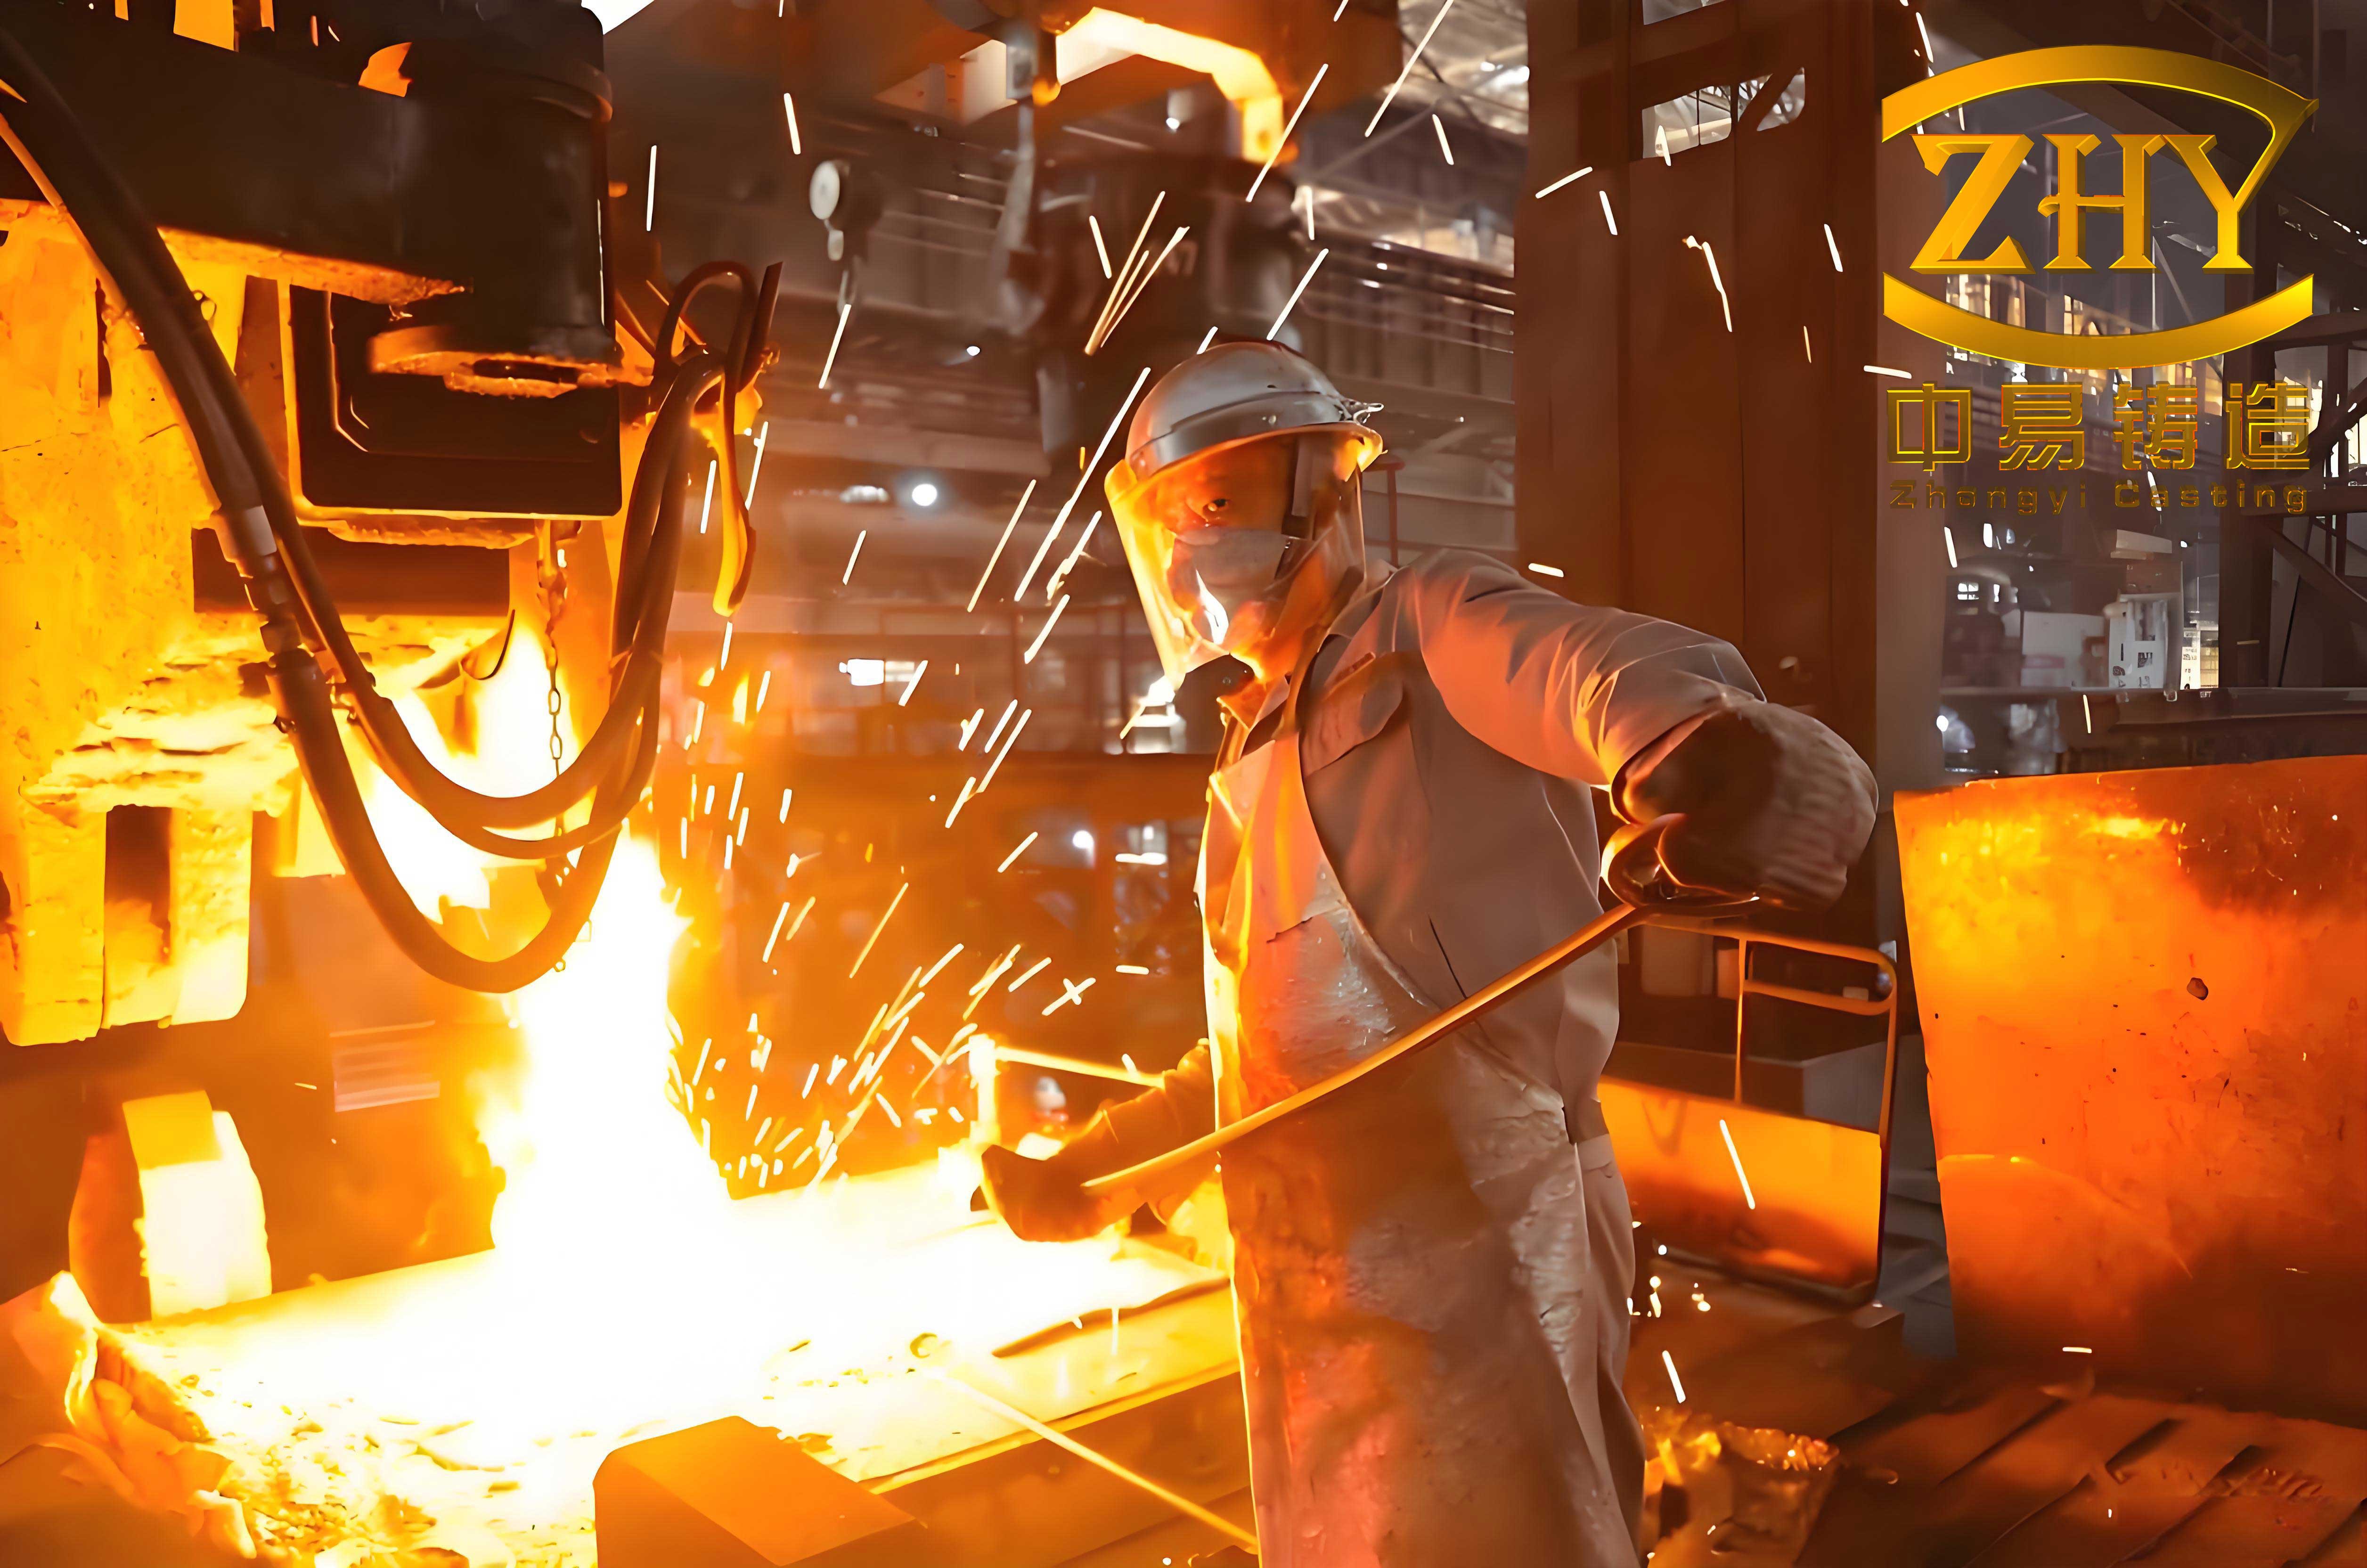
In my extensive experience within the precision casting industry, the investment casting process stands out for its ability to produce components with exceptional dimensional accuracy and surface finish. However, this very process faces significant challenges when confronted with parts featuring deep, elongated holes and narrow, intricate slots. The core difficulty lies in the fundamental steps of shell building—coating, stuccoing, and drying. When the aspect ratio (length-to-diameter, H/d) of an internal feature exceeds a critical threshold, typically around 5, conventional shelling techniques fail. The slurry cannot adequately penetrate, stucco particles do not adhere uniformly, and the resulting weak shell area is prone to run-out during pouring. Furthermore, even if the shell is formed, the cavity often becomes partially filled with refractory materials, creating a hot spot that disrupts directional solidification and leads to shrinkage porosity. Over years of practice and problem-solving, I have developed and refined several specialized techniques to overcome these hurdles, significantly enhancing the capability and reliability of the investment casting process for such demanding geometries.
The success of any investment casting process hinges on the integrity of the ceramic shell. For standard shapes, the sequential layering is straightforward. For long holes and narrow slots, we must intervene. The primary methods I employ include the Dipping Slurry Method, the Wooden Strip Insertion Method, the Local Shell Insulation Method, the Ceramic Core Method, and the Self-Hardening Core Method. Each addresses specific manifestations of the core problem: inadequate shell strength in the feature leading to run-out, or poor thermal management leading to shrinkage. The selection depends on the geometry, alloy, and production volume. Let me delve into the details of each method, illustrating their application within the broader investment casting process.
The Dipping Slurry Method: Reinforcing Fragile Shell Sections
This technique is a direct intervention during the early stages of the investment casting process to bolster shell strength in deep, narrow passages. After applying the first two or three primary ceramic layers, the entire shell assembly is immersed in a specially formulated backup slurry. This slurry floods the remaining void space within the long hole or slot. Once dried and hardened, it forms a solid ceramic plug that integrates with the primary shell, vastly increasing its resistance to metal pressure during the pour.
Consider a small connector with a φ4mm hole that is 25mm deep (H/d = 6.25). After two layers of zircon flour-based slurry and stucco, the hole opening is reduced to approximately φ1.5mm. Normal stuccoing for the third layer is impossible. Without intervention, this thin shell section would almost certainly fail. The dipping slurry, typically a colloidal silica binder with molochite flour (200 mesh), is key. Its viscosity is critical and is controlled using a Zahn cup, often targeted at $$ \eta_{Zahn} = (20 \pm 2) \, \text{s} $$. If the viscosity is too high, the slurry cannot flow into the deep recess; if too low, it may fill initially but shrink upon drying, leaving voids that compromise strength. The relationship between slurry fluidity, particle packing, and final strength can be modeled. The drying rate of this inserted slurry mass is different from the shell layers and must be managed carefully to avoid cracks. The drying time tdry for a plug of diameter d can be approximated by a diffusion equation:
$$ \frac{\partial C}{\partial t} = D \nabla^2 C $$
where C is the moisture concentration and D is the effective diffusivity. In practice, for a φ4mm plug, we ensure a drying period of at least 24 hours under controlled conditions (24±2°C, 40-60% RH, with air circulation). This method seamlessly integrates into the standard investment casting process, adding a single step that prevents run-out in features with high aspect ratios.
| Parameter | Target Value/Range | Purpose/Rationale |
|---|---|---|
| Slurry Binder | Colloidal Silica | Provides good green strength and compatibility. |
| Filler Flour | Molochite, 200 mesh | Fine particles for good flow and packing. |
| Zahn Cup Viscosity (#4) | 18 – 22 seconds | Optimizes flowability without excessive water. |
| Application Stage | After 2nd or 3rd shell layer | Shell has initial strength, feature not yet closed. |
| Drying Time (for sample part) | ≥ 24 hours | Ensures complete moisture removal for strength. |
| Critical Aspect Ratio (H/d) Addressable | 5 – 8 | Extends the limit of the conventional process. |
The Wooden Strip Insertion Method: Managing Solidification
Sometimes, the challenge in the investment casting process is not shell strength but solidification shrinkage. When a long hole is completely filled with refractory materials from the shell building, it acts as an excellent insulator, creating a localized hot spot that solidifies last and draws molten metal from surrounding areas, resulting in shrinkage porosity. The Wooden Strip Insertion Method tackles this by artificially creating a void within the shell assembly that improves heat extraction.
I recall a component with six φ7.8mm holes, 23mm deep, arranged around a central hub. Using a standard investment casting process with a horizontal cluster and four-and-a-half shell layers, the holes were completely packed. Post-casting, severe shrinkage occurred in the holes nearest the gate. The thermal analysis revealed the problem: these gateside holes were in the path of the incoming metal, becoming superheated, and the packed refractory material inhibited cooling. The solution was to insert dry wooden strips into the holes after the third shell layer, when the shell had sufficient strength but the hole was not yet fully occluded. During the mold burnout stage, the wood combusts, leaving a clear cavity. This cavity allows for much faster heat transfer from the solidifying metal to the shell, promoting directional solidification. The improvement in cooling can be conceptualized using the Chvorinov’s Rule. The solidification time t is proportional to the square of the volume-to-surface area ratio:
$$ t = k \left( \frac{V}{A} \right)^2 $$
By inserting the strip, we effectively increase the surface area A for heat loss from the metal in that region, thereby reducing the local solidification time t and minimizing the time available for shrinkage pore formation. The timing of insertion is crucial—too early risks damaging the soft shell; too late, the irregular stucco surface prevents insertion. We typically insert strips 2-3 hours after the relevant coating/stuccoing step.
The Local Shell Insulation Method: Reversing Thermal Gradients
Controlling the solidification sequence is paramount in the investment casting process. While rapid cooling is often desired to achieve fine microstructure, it can sometimes isolate sections from the feeding path. The Local Shell Insulation Method is a strategic technique where we apply insulating materials to specific external areas of the shell to slow down cooling, thereby altering the thermal gradient and ensuring a sound feeding path to problematic internal features.
A classic case is a valve body with a long, thin flow channel. Even with techniques like shell quenching at the bottom to create a chill, the mid-section of the channel often exhibited shrinkage. The thermal profile showed three zones: Zone I near the gate (hot, fed), Zone III at the chilled bottom (fast solidification), and an isolated Zone II in the middle. The packed refractory in the channel acted as an insulator, preventing heat from Zone II from escaping upwards or downwards. By externally applying a layer of insulating material (e.g., refractory wool or paste) around the shell corresponding to Zone II, we effectively slow its cooling rate. This allows the thermal gradient to be re-established from the gate (hottest) to the chill (coldest), with Zone II now on a continuous temperature slope. The heat transfer can be described by Fourier’s law. The heat flux q is:
$$ q = -k \frac{dT}{dx} $$
where k is thermal conductivity. By adding insulation, we drastically reduce the effective k at that shell location, decreasing q and allowing the metal in Zone II to stay liquid longer, thereby receiving feed metal from Zone I. This method is a fine-tuning tool within the investment casting process to manipulate solidification dynamics without changing the pattern or gating design.
| Method | Primary Mechanism | Stage of Application | Best for Addressing | Complexity |
|---|---|---|---|---|
| Wooden Strip Insertion | Creates internal void for better heat extraction. | Mid-shell building (e.g., after 3rd layer). | Shrinkage in deep, medium-diameter holes. | Low |
| Local Shell Insulation | Slows external cooling to maintain feeding path. | After shell drying, before pouring. | Shrinkage in isolated mid-sections of long features. | Medium |
| Shell Quenching (Baseline) | Rapid chilling to create strong thermal gradient. | Immediately before pouring. | General directional solidification from far end to gate. | Low |
The Ceramic Core Method: The Ultimate Solution for Complexity
For the most challenging internal geometries—where the feature is not just deep but also complex, tortuous, or has a very small cross-section—the Ceramic Core Method becomes indispensable in the investment casting process. This involves using a pre-formed, leachable ceramic insert that defines the internal cavity. The core is placed inside the injection die, and wax is injected around it. The shell is then built over this wax-core assembly. After casting, the ceramic core is chemically or mechanically removed.
I have applied this to parts with intersecting narrow slots and holes, forming internal vertical passages that are impossible to shell using any dipping or insertion technique. The cores are made from specialized ceramic compositions (often silica-based) with controlled thermal expansion to match the shell, and sufficient high-temperature strength to withstand metal pressure. The design includes core prints—extensions that seat into the wax pattern—for accurate positioning and to manage differential expansion. The clearance δ between the core print and the mold cavity is critical:
$$ \delta = \alpha_{core} \cdot L \cdot \Delta T – \alpha_{shell} \cdot L \cdot \Delta T + \delta_{assembly} $$
where α are coefficients of thermal expansion, L is length, and ΔT is the temperature change. We typically design for a clearance of 0.2-0.8mm. Sometimes, a thin layer of wax is added to one print end to provide a compliant layer. The removal of the core post-casting is typically done via leaching in a hot alkali solution, a process whose rate can be approximated by a chemical reaction kinetics model:
$$ \frac{d r_{core}}{d t} = -k \cdot C_{OH^-}^n $$
where rcore is the core radius, k is the rate constant, and COH- is the hydroxide concentration. This method decouples the internal geometry from the shell-building constraints, pushing the limits of what the investment casting process can achieve.
The Self-Hardening Core Method: An In-Situ Alternative
A highly versatile and operator-friendly technique within the investment casting process for narrow slots is the Self-Hardening Core Method. Here, instead of a pre-fired ceramic core, we inject a reactive slurry into the wax pattern’s cavity after partial shelling. This slurry, often based on water-soluble phosphate binders, sets chemically at room temperature to form a strong, insoluble core. After complete shelling and dewaxing, this core remains intact through burnout and casting, and is then easily removed by water dissolution or mechanical means.
This method proved excellent for a component with a wide but very narrow and deep slot (e.g., 165mm long, 11mm wide, 54mm deep). Standard shelling led to run-out. After three shell layers, when the slot gap was about 5-6mm wide, we injected a proprietary slurry mix. The slurry formulation is critical. For a common system, the ratio is 100g powder to 19-24ml liquid, giving a powder-to-liquid ratio R in the range:
$$ 4.2 \leq R \leq 5.2 $$
The working time twork is inversely related to the reactivity and ambient temperature, often following an Arrhenius-type relationship for the setting reaction:
$$ t_{work} \propto \exp\left(\frac{E_a}{RT}\right) $$
We mix for 1-2 minutes and inject immediately. The slurry hardens via a crystallization process, forming hydrated phosphate structures. The core must be fully cured (about 1 hour) before continuing the investment casting process. A key finding was that extended mold burnout (>60 minutes) was necessary to completely decompose any residual binder gases and prevent surface pinholes. The removal is straightforward, as the core retains some water solubility and excellent collapsibility after casting.
| Characteristic | Ceramic Core Method | Self-Hardening Core Method |
|---|---|---|
| Core Formation | Prefabricated, high-temperature fired. | Formed in-situ by chemical reaction. |
| Typical Binder System | Silica, Alumina, with mineral binders. | Phosphate-based, water-soluble. |
| Geometric Flexibility | Very High (complex, thin sections possible). | High (good for slots, less for tiny holes). |
| Integration into Process | Placed in die before wax injection. | Injected into wax pattern after partial shelling. |
| Core Removal | Chemical leaching (e.g., caustic potash). | Water washing, mechanical removal. |
| Relative Cost | Higher (tooling for core, firing). | Lower (simple materials, no pre-firing). |
| Best Suited For | High-volume, very complex internal passages. | Medium-volume, narrow slots and cavities. |
Systematic Analysis and Selection Framework
Implementing these techniques effectively requires a systematic approach within the investment casting process workflow. The choice of method is not arbitrary but should be guided by quantifiable parameters and a clear understanding of the failure mode. I have developed a simple decision matrix based on key geometric and production factors.
First, we assess the primary risk. For features with an aspect ratio H/d > 5, run-out due to weak shell is the dominant concern. If the feature is also straight and accessible, the Dipping Slurry or Wooden Strip method may suffice. If the feature is tortuous or has a very small cross-sectional area (< 5mm²), a core-based method becomes necessary. Second, we consider solidification. Using numerical simulation or empirical rules, we identify potential hot spots. If the problematic feature is in an isolated thermal node, the Local Insulation Method is apt. For a comprehensive view, we can define a Shrinkage Risk Index SRI for a feature:
$$ SRI = \frac{(H/d) \cdot V_{feature}}{A_{cooling} \cdot \Delta T_{gradient}} $$
where Vfeature is its volume, Acooling is the effective cooling area, and ΔTgradient is the temperature difference towards the feeder. A high SRI indicates high risk. Third, production volume dictates the economic viability of methods like ceramic cores, which require dedicated tooling.
The interplay of these methods with the fundamental physics of the investment casting process is profound. Each technique modifies either the effective shell strength σshell in the feature region or the local thermal diffusivity αlocal. The governing equation for shell failure is a pressure balance:
$$ P_{metal} \leq \frac{\sigma_{shell} \cdot t_{shell}}{r_{feature}} $$
where Pmetal is metallostatic pressure, tshell is thickness, and rfeature is radius. Methods like Dipping Slurry increase tshell and σshell effectively. For solidification, the local freezing time must be synchronized with the feeding potential. The Niyama criterion, often used for predicting shrinkage, can be adapted:
$$ NY = \frac{G}{\sqrt{\dot{T}}} $$
where G is temperature gradient and Ṫ is cooling rate. Techniques like Local Insulation work by reducing Ṫ and potentially improving G towards the feeder, thereby improving the criterion value and reducing shrinkage propensity.
In conclusion, the standard investment casting process, while robust, requires intelligent adaptation to conquer the challenges posed by long holes and narrow slots. The suite of methods I’ve described—Dipping Slurry, Wooden Strip Insertion, Local Shell Insulation, Ceramic Core, and Self-Hardening Core—provide a powerful toolbox. Each method intervenes at a specific point in the process chain to address either mechanical shell integrity or thermal management during solidification. The Dipping Slurry and Wooden Strip methods are elegant, low-cost modifications to the shell-building sequence. The Local Insulation Method is a strategic tweak to the mold’s thermal properties. The core-based methods represent a paradigm shift, outsourcing the internal geometry definition to a separate, removable element. Mastering when and how to apply these techniques, often in combination, is what allows the investment casting process to reliably produce components with intricate internal features that would otherwise be deemed uncastable or require costly machining. The continuous refinement of these methods, supported by a deeper understanding of the underlying materials science and heat transfer principles, ensures that investment casting remains at the forefront of precision manufacturing for complex components.