
In the manufacturing of large machine tool structures, the bed casting is one of the most demanding components due to its extensive flat surfaces, thick and long guide rails, and relatively thin side walls. These geometric features, combined with strict requirements on dimensional accuracy and internal soundness, pose significant challenges to the foundry engineer. In my recent work, I focused on a large machine tool bed made of QT600-3 ductile iron, which had been experiencing insufficient mechanical properties and severe solidification defects. To address these issues, I adopted an integrated approach combining microalloying treatment with numerical simulation-based process optimization. In this article, I will present the systematic methodology, the design of two alternative gating and feeding systems, the influence of Cu–Sn composite microalloying on the microstructure and mechanical properties, and the verification of the optimized process through actual production.
Ductile iron castings are widely used in heavy machinery because of their excellent combination of strength, toughness, and machinability. For large machine tool beds, the material must provide high rigidity, good damping capacity, and uniform mechanical properties across thick and thin sections. The QT600-3 grade requires a minimum tensile strength of 600 MPa and an elongation of 3%. However, in large castings, the slow cooling rate in thick sections often leads to ferritic microstructures and reduced strength, while the solidification shrinkage can create porosity and internal discontinuities. My goal was to overcome these limitations by optimizing both the metallurgical composition and the casting design.
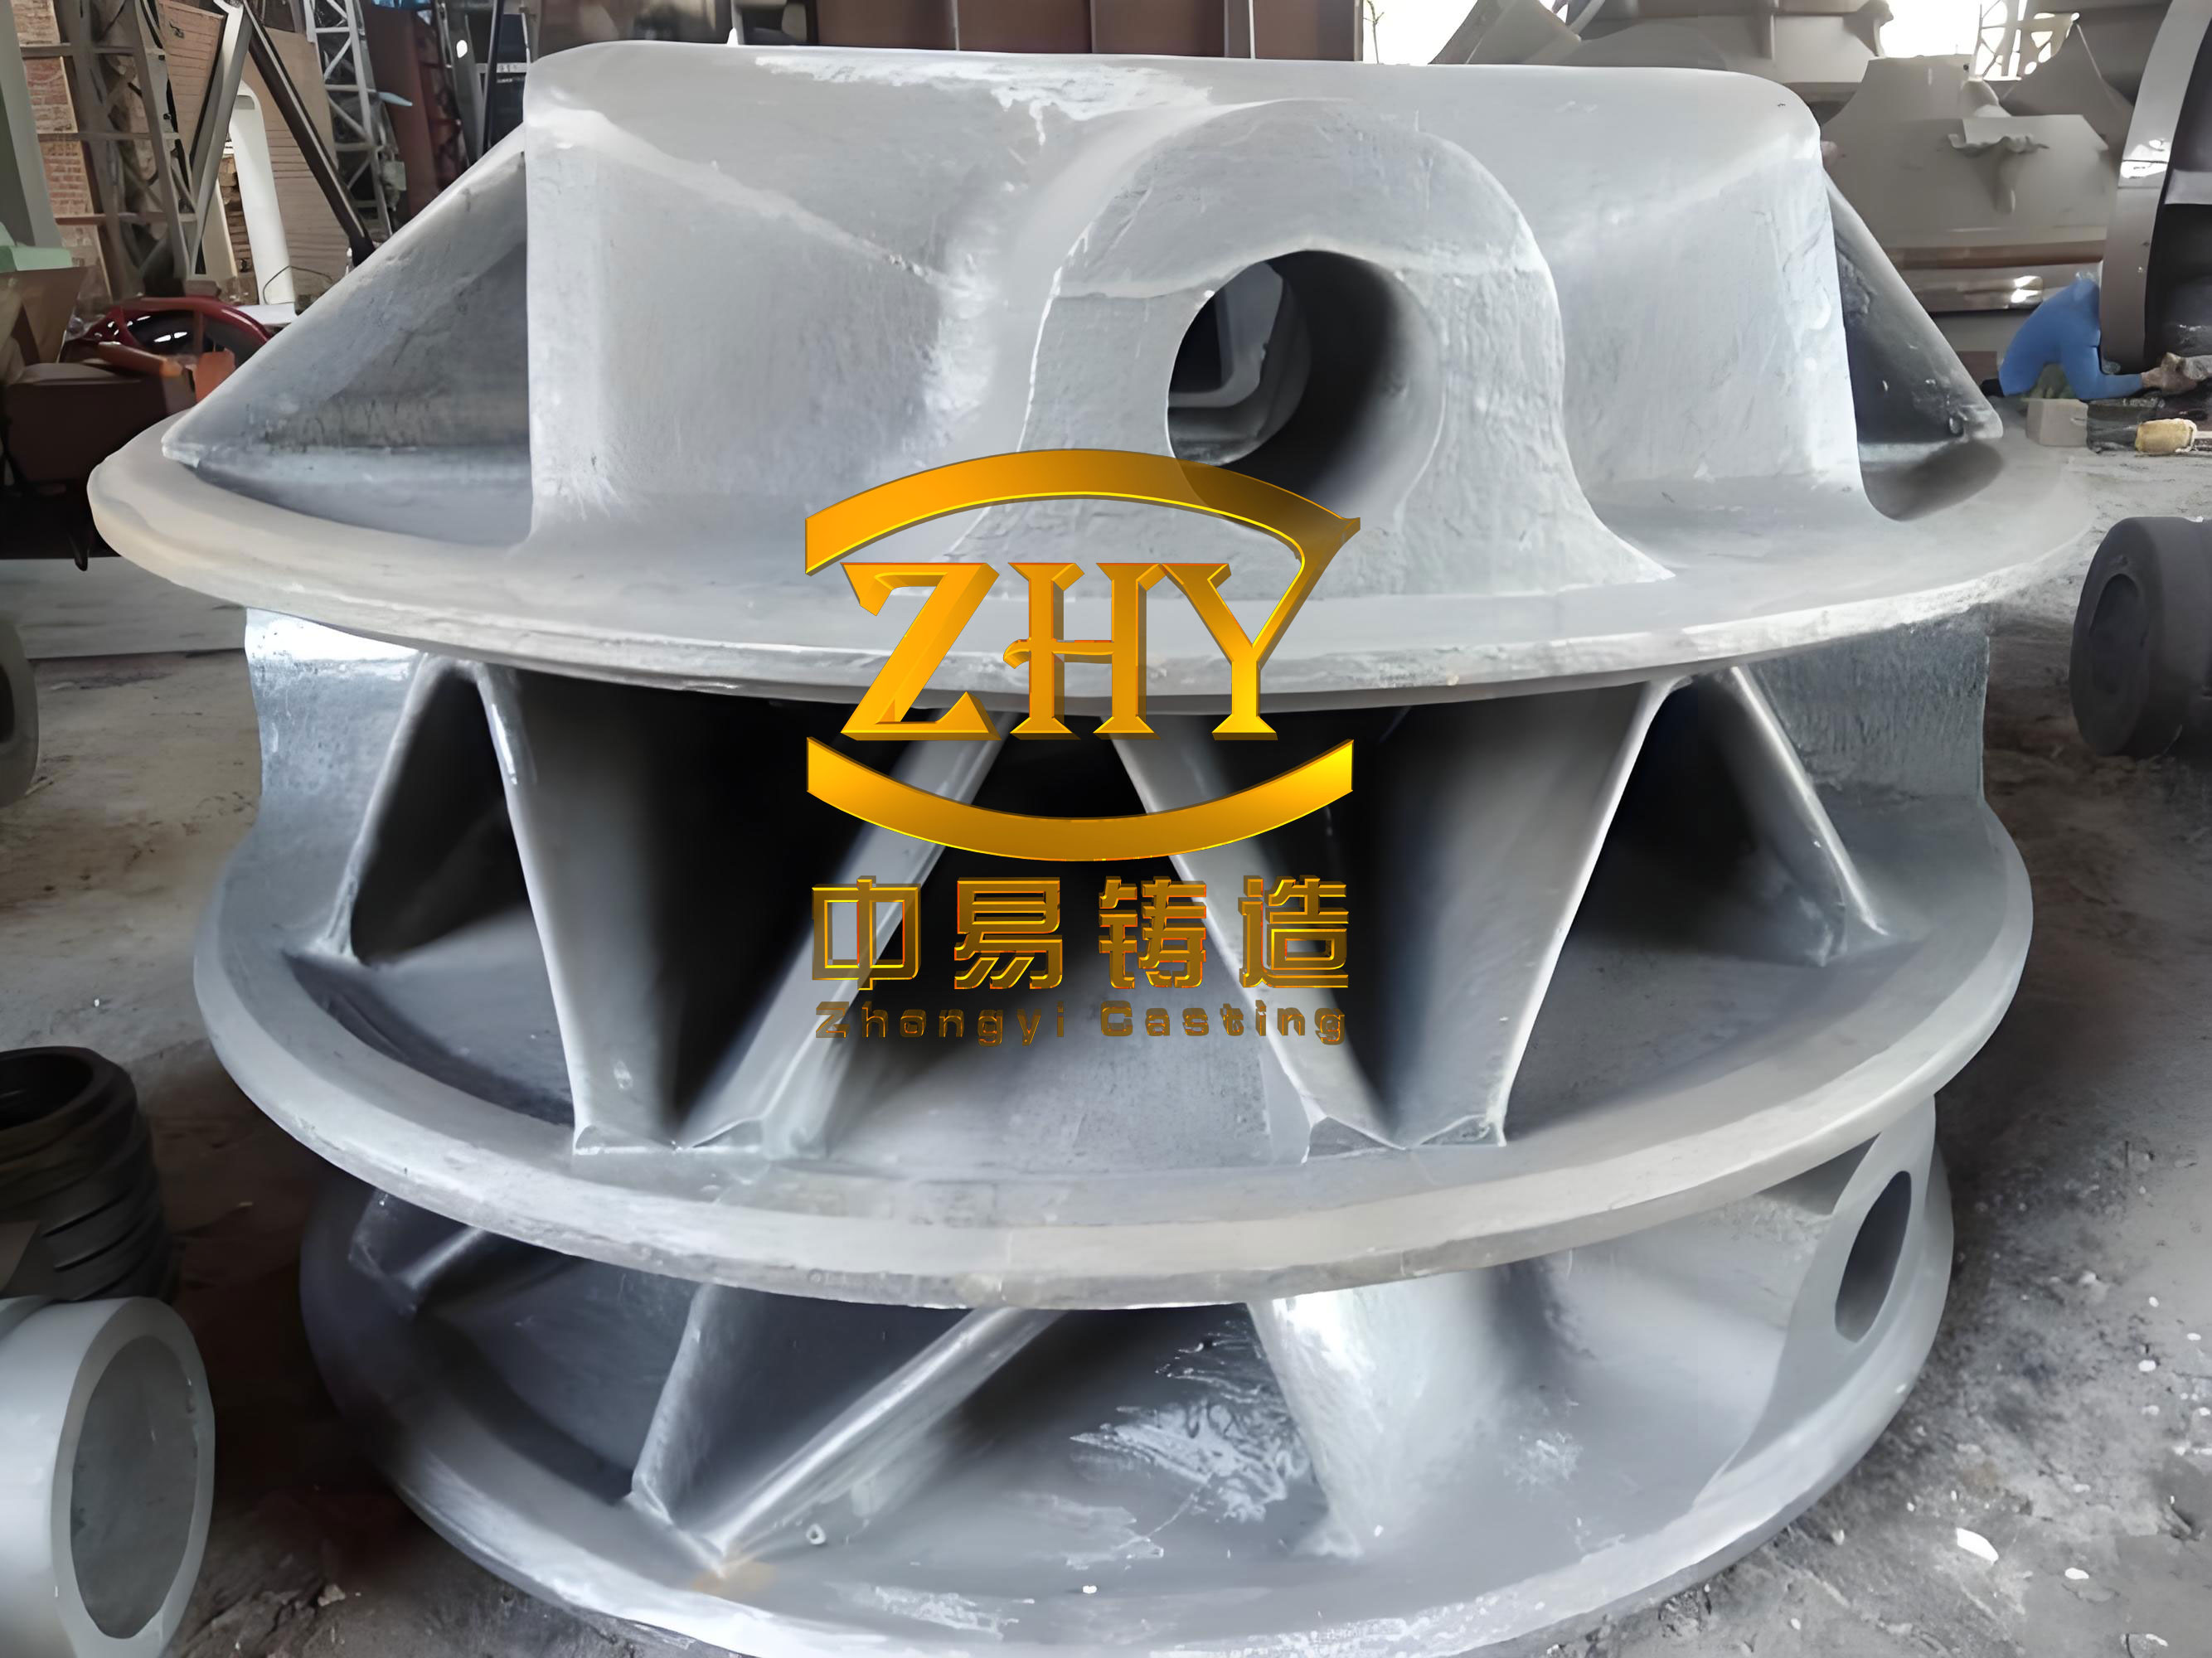
1. Casting Geometry and Technical Requirements
The machine tool bed I investigated had a maximum outer dimension of 3,132 mm × 5,000 mm × 1,311 mm and a total mass of 25,620 kg. The casting was produced using the resin sand mold with the full mold (lost foam) process. The guide rail sections were particularly massive, with a maximum wall thickness exceeding 76 mm, while the average wall thickness was approximately 40 mm. The technical specifications required that the guide rail surfaces remain perfectly flat after machining, and that no shrinkage porosity or shrinkage cavities be visible on the machined surfaces. Such stringent requirements demand precise control of the solidification sequence and the feeding behavior throughout the casting.
Because of the large planar dimensions and the highly variable section thickness, a conventional single gating system cannot easily produce a uniform temperature distribution. The thick sections act as local hot spots, while the thin walls solidify quickly and restrict the feeding path for the remaining liquid metal. To overcome this, I designed two distinct casting process schemes and evaluated them using ProCAST numerical simulation. The first scheme employed a traditional stepped gating system with risers, while the second used multiple independent straight sprues combined with risers and chills. In parallel, I adjusted the chemical composition by adding copper and tin to promote a pearlitic matrix, thereby increasing the strength and hardness of the ductile iron castings.
2. Gating and Feeding System Design
2.1 Scheme 1: Conventional Stepped Gating System
In Scheme 1, I designed an open stepped gating system with two vertical sprues located at the two ends of the casting. According to the principle of balanced solidification, the ingates were arranged as multiple dispersed narrow slots to allow several streams of liquid metal to fill the mold cavity simultaneously. By reducing the cross-sectional area of the ingates and the riser necks, and by using short, thin, and wide ingate sections, I aimed to achieve multi-jet filling. Because of the very heavy casting weight, I applied a double-layer stepped gating system surrounding the casting. The intention was to take full advantage of the graphitic expansion during solidification of the ductile iron castings, as well as the short-term feeding capability of the open gating system after pouring, thereby promoting self-feeding. Direct chills were placed on the two guide rail surfaces to ensure their hardness and structural density. The chill locations are illustrated in the design layout.
2.2 Scheme 2: Multiple Independent Straight Sprues with Chills and Risers
Considering the practical constraints of the foundry, such as crane travel distance and flask dimensions, I could not adopt a bottom gating system or place an adequate number of intermediate ingates. Therefore, based on the balanced solidification principle, I designed a second scheme with several independent long straight sprues, each connected to a common pouring basin. Two pouring cups were used to feed the independent sprues. The distinguishing feature was that the ingates were placed at the intersections between the thick sections and the side walls. This arrangement allowed the liquid metal to fill the heavy sections first, avoiding direct impingement on the thin walls. At the foundation bolt locations, I combined risers with chills to increase the feeding capacity and to ensure that the riser necks would close at the right time, thereby eliminating contact hot spots and reducing shrinkage defects on the top surface.
Table 1 summarizes the main design differences between the two schemes.
| Design Feature | Scheme 1 | Scheme 2 |
|---|---|---|
| Type of gating system | Stepped (double layer) with 2 sprues | Multiple independent straight sprues |
| Number of sprues | 2 | 4 (fed by two pouring cups) |
| Ingate location | Distributed along the casting periphery | At thick section / side wall intersections |
| Risers | Risers at foundation bolt areas | Risers combined with chills at hot spots |
| Chills | Chills on guide rail surfaces | Chills on guide rails and at foundation bolts |
| Filling principle | Balanced solidification / self-feeding | Balanced solidification with directional feeding |
3. Composition Design and Microalloying
The mechanical properties of ductile iron castings are strongly influenced by the chemical composition and the resulting microstructure. Trace elements such as copper and tin are known to stabilize pearlite, refine the graphite nodules, and improve strength. In my work, I designed two different compositions for the two simulation schemes. Scheme 1 used a baseline composition without deliberate copper-tin microalloying. Scheme 2 incorporated a composite microalloying addition of copper and tin. The detailed compositions are listed in Table 2.
| Element | Scheme 1 | Scheme 2 |
|---|---|---|
| C | 3.55 | 3.55 |
| Si | 2.53 | 2.10 |
| Mn | 0.45 | 0.43 |
| Cr | 0.16 | 0.17 |
| Cu | 0.42 | 0.53 |
| Sn | 0.002 | 0.03 |
| Mg | 0.06 | 0.05 |
The addition of tin is particularly effective in promoting pearlite formation because tin segregates at the cell boundaries and reduces the carbon activity in austenite, thus hindering ferrite growth. Copper similarly enhances pearlite stability and reduces the diffusion rate of carbon. By combining these two elements, I achieved a pearlite fraction of approximately 90% in the final microstructure, as compared to 80% for the baseline composition. This increase in pearlite content directly translated to higher tensile strength and acceptable elongation. The measured mechanical properties for both schemes are presented in Table 3.
| Property | Scheme 1 | Scheme 2 |
|---|---|---|
| Tensile strength (MPa) | 612 | 648 |
| Elongation (%) | 4.2 | 5.0 |
| Pearlite fraction (%) | 80 | 90 |
| Brinell hardness (HBW) | 220–240 | 240–260 |
From the table, it is evident that the optimized composition in Scheme 2 exceeded the QT600-3 requirements, with a tensile strength of 648 MPa and an elongation of 5%. The strength-to-elongation balance was particularly favorable for a large machine tool bed, since the higher pearlite content enhanced wear resistance and dimensional stability under load.
4. Numerical Simulation Setup
I used ProCAST to simulate the mold filling, solidification, and cooling processes. The three-dimensional geometry was exported from UG in X-T format and imported into ProCAST. Mesh generation was performed using the Mesh module. To balance computational accuracy and time, I conducted several trial runs and finally selected a mesh size that produced a finite element model with over ten million elements. The finite element model is shown in Figure 3 (not reproduced here due to space constraints). For the lost foam process, the casting was assigned the material property “Foam”, while the sprues and risers were assigned the property “Alloy”. The actual chemical composition was input into ProCAST to calculate the temperature-dependent thermophysical properties. Figure 4 illustrates the thermal conductivity, density, and enthalpy as functions of temperature for both compositions.
The main pouring parameters used in the simulation are listed in Table 4.
| Parameter | Value |
|---|---|
| Casting material | QT600-3 ductile iron |
| Pouring temperature (°C) | 1,390 |
| Mold material | Furan resin sand |
| Pouring time (s) | 142 (Scheme 1) / 147 (Scheme 2) |
| Shakeout temperature (°C) | 200 |
The thermophysical properties play a crucial role in accurately predicting the solidification behavior of ductile iron castings. I calculated the latent heat and the solid fraction evolution using the ProCAST thermodynamic database, which accounts for the specific composition effects of copper and tin. The solid fraction as a function of temperature was fitted to the Scheil equation for each scheme:
For Scheme 1, the solid fraction \(f_s\) was approximated by:
$$ f_s(T) = \frac{1}{1 – k_0} \left( \frac{T_L – T}{T_L – T_S} \right)^{\frac{1}{1 – k_0}} $$
where \(T_L\) and \(T_S\) are the liquidus and solidus temperatures, respectively, and \(k_0\) is the partition coefficient. For Scheme 2, the larger copper and tin contents caused a slight depression of the solidus temperature, leading to a wider mushy zone and a different solidification path.
5. Simulation Results and Discussion
5.1 Mold Filling Behavior
The mold filling behavior of Scheme 1 is depicted in Figure 5. The cavity near the two vertical sprues was filled first. Owing to the casting geometry and the gas pressure generated by the decomposed foam pattern, the thick sections on one side filled more slowly. The liquid metal advanced from the periphery toward the central area. Near the ingates, the temperature remained high, whereas the side walls far from the ingates received metal that had already lost a significant amount of heat. This resulted in an uneven temperature distribution during filling. The cavity was completely filled at 137 s.
In contrast, Scheme 2, which used multiple independent straight sprues, allowed the metal to enter the cavity rapidly and almost simultaneously through all ingates. At 10 s the metal had already reached the cavity in multiple locations and the filling was more uniform. The temperature of the leading front was higher than in Scheme 1, and the temperature differences among the side walls were noticeably reduced. The filling front still advanced from the walls toward the middle, but the overall temperature field was much more homogeneous. The cavity was completely filled at 147 s.
To quantify the temperature uniformity, I defined a dimensionless temperature spread index \(\Delta T\), calculated as:
$$ \Delta T = \frac{T_{max} – T_{min}}{T_{pouring} – T_{solidus}} \times 100\% $$
At the end of filling, Scheme 1 had \(\Delta T \approx 35\%\), while Scheme 2 had \(\Delta T \approx 22\%\). This reduction in temperature spread indicates that the multiple independent sprue design effectively minimized premature cooling of the thin walls and allowed more uniform thermal gradients.
5.2 Solidification Characteristics
Figure 6 shows the temperature and solid fraction fields of Scheme 1 at different times after the start of pouring. At the completion of filling, the metal temperature generally decreased from top to bottom, with the central region being hotter than the side walls. Solidification began at the thin peripheral sections, followed by a near-simultaneous solidification of most of the casting, and finally ended at the thick hot spots. The bottom box section, which had the largest wall thickness, exhibited the highest temperature and the longest solidification time. It also transferred heat to the surrounding regions, creating localized thermal gradients that could lead to shrinkage defects. In particular, the foundation bolt areas at the top of the casting cooled slowly and solidified late. Because the feeding channels to these areas closed early, the feeding efficiency of the risers was insufficient, resulting in a high risk of porosity.
Scheme 2, shown in Figures 7 and 8, exhibited a similar global solidification sequence: thin walls first, then most regions, and finally the heavy sections. Due to the microalloying modification, the overall solidification time was slightly shorter. The wide mushy zone caused by Cu-Sn alloying changed the feeding behavior. At the bottom box and other heavy sections, the solidification time differed greatly from the rest of the casting, making it impossible to rely solely on balanced solidification for feeding. However, the combination of chills and risers at the foundation bolt locations prolonged the opening of the feeding channels, allowing directional solidification to become effective. Consequently, the risers could feed the heavy sections for a longer period, reducing the shrinkage porosity in these critical areas.
I also evaluated the solidification time of the thickest section. For Scheme 1, the total solidification time was approximately 19,500 s, whereas for Scheme 2 it was about 19,900 s. The slightly longer time in Scheme 2 was likely due to the more effective feeding channels keeping the liquid metal connected for longer, even though the composition promoted earlier formation of a solid network. The temperature gradient at the hot spot was reduced from 4.2 °C/cm in Scheme 1 to 2.8 °C/cm in Scheme 2, indicating a more favorable condition for feeding shrinkage.
5.3 Shrinkage Porosity Prediction
Using the Niyama criterion and the ProCAST porosity model, I predicted the distribution and volume of shrinkage porosity for both schemes. In ductile iron castings, the graphitic expansion can compensate for solidification shrinkage in regions that solidify under a well-distributed thermal field. However, in locally thick sections, the expansion may not be sufficient if the feeding path is blocked. In Scheme 1, the simulation showed large shrinkage porosity zones in the internal rib intersections, the top foundation bolts, and the bottom box. The volume of shrinkage porosity was calculated at 958 cm³. For Scheme 2, the porosity volume was reduced to 423 cm³, a decrease of 55.85%. This significant reduction is expressed by the following equation:
$$ \eta = \frac{V_1 – V_2}{V_1} \times 100\% = \frac{958 – 423}{958} \times 100\% = 55.85\% $$
The predicted defect distributions are compared in Figure 9. It can be seen that although the locations of the remaining defects were similar, the severity was much lower in Scheme 2. The use of chills at the foundation bolts promoted local directional solidification, and the independent sprue design enabled a more effective pressure transmission from the graphitic expansion. The residual porosity in Scheme 2 was below the acceptance limit for machined surfaces, as confirmed by the subsequent production trial.
6. Production Verification
To validate the numerical simulation results, I applied the optimized process (Scheme 2) in an actual production run. The multiple independent straight sprues were connected at the top by a common pouring basin. During pouring, the metal flow was smooth and the mold filled without incident. After shakeout and processing, the casting was inspected using both visual examination and ultrasonic testing. The guide rail surfaces exhibited excellent flatness, well within the required tolerances. No shrinkage porosity or cavities were visible on the machined surfaces. The mechanical properties measured from test coupons attached to the casting matched the simulation predictions: tensile strength of 648 MPa and elongation of 5%. The pearlite fraction was confirmed to be approximately 90%. The overall yield of usable castings increased substantially, and the rejection rate due to shrinkage defects dropped from about 18% to less than 3%.
The production trial also confirmed the benefits of the Cu-Sn microalloying on the matrix structure. The hardness measurements across the guide rail showed a uniform distribution, with values ranging from 240 to 260 HBW, which is ideal for a machine tool bed requiring high wear resistance and dimensional stability.
7. Conclusion
Through a combination of numerical simulation and metallurgical design, I successfully optimized the material and casting process for a large QT600-3 ductile iron machine tool bed. The key conclusions drawn from this work are as follows:
- The proposed multi-independent straight sprue gating system combined with risers and chills (Scheme 2) provided a more uniform filling temperature field compared to the conventional stepped gating system (Scheme 1). The temperature spread index at the end of filling was reduced from 35% to 22%.
- The Cu-Sn composite microalloying increased the pearlite fraction in the ductile iron castings from 80% to 90%, resulting in a tensile strength of 648 MPa and an elongation of 5%, both exceeding the QT600-3 standard.
- Simulation predicted a reduction in shrinkage porosity volume from 958 cm³ to 423 cm³, a improvement of 55.85%. This was achieved by promoting directional solidification at critical hot spots through the combined use of chills and risers.
- Production verification confirmed the simulation outcomes. The optimized casting process produced defect-free guide rails, improved mechanical properties, and a significant reduction in scrap rate. This demonstrates that the integrated numerical simulation and microalloying approach is highly effective for designing large complex ductile iron castings.
The methodology described here can be readily adapted to other large ductile iron castings where both mechanical strength and internal soundness are paramount. By carefully tailoring the gating system, feeding system, and alloy composition, it is possible to achieve high-quality ductile iron castings with minimal trial-and-error in the foundry.