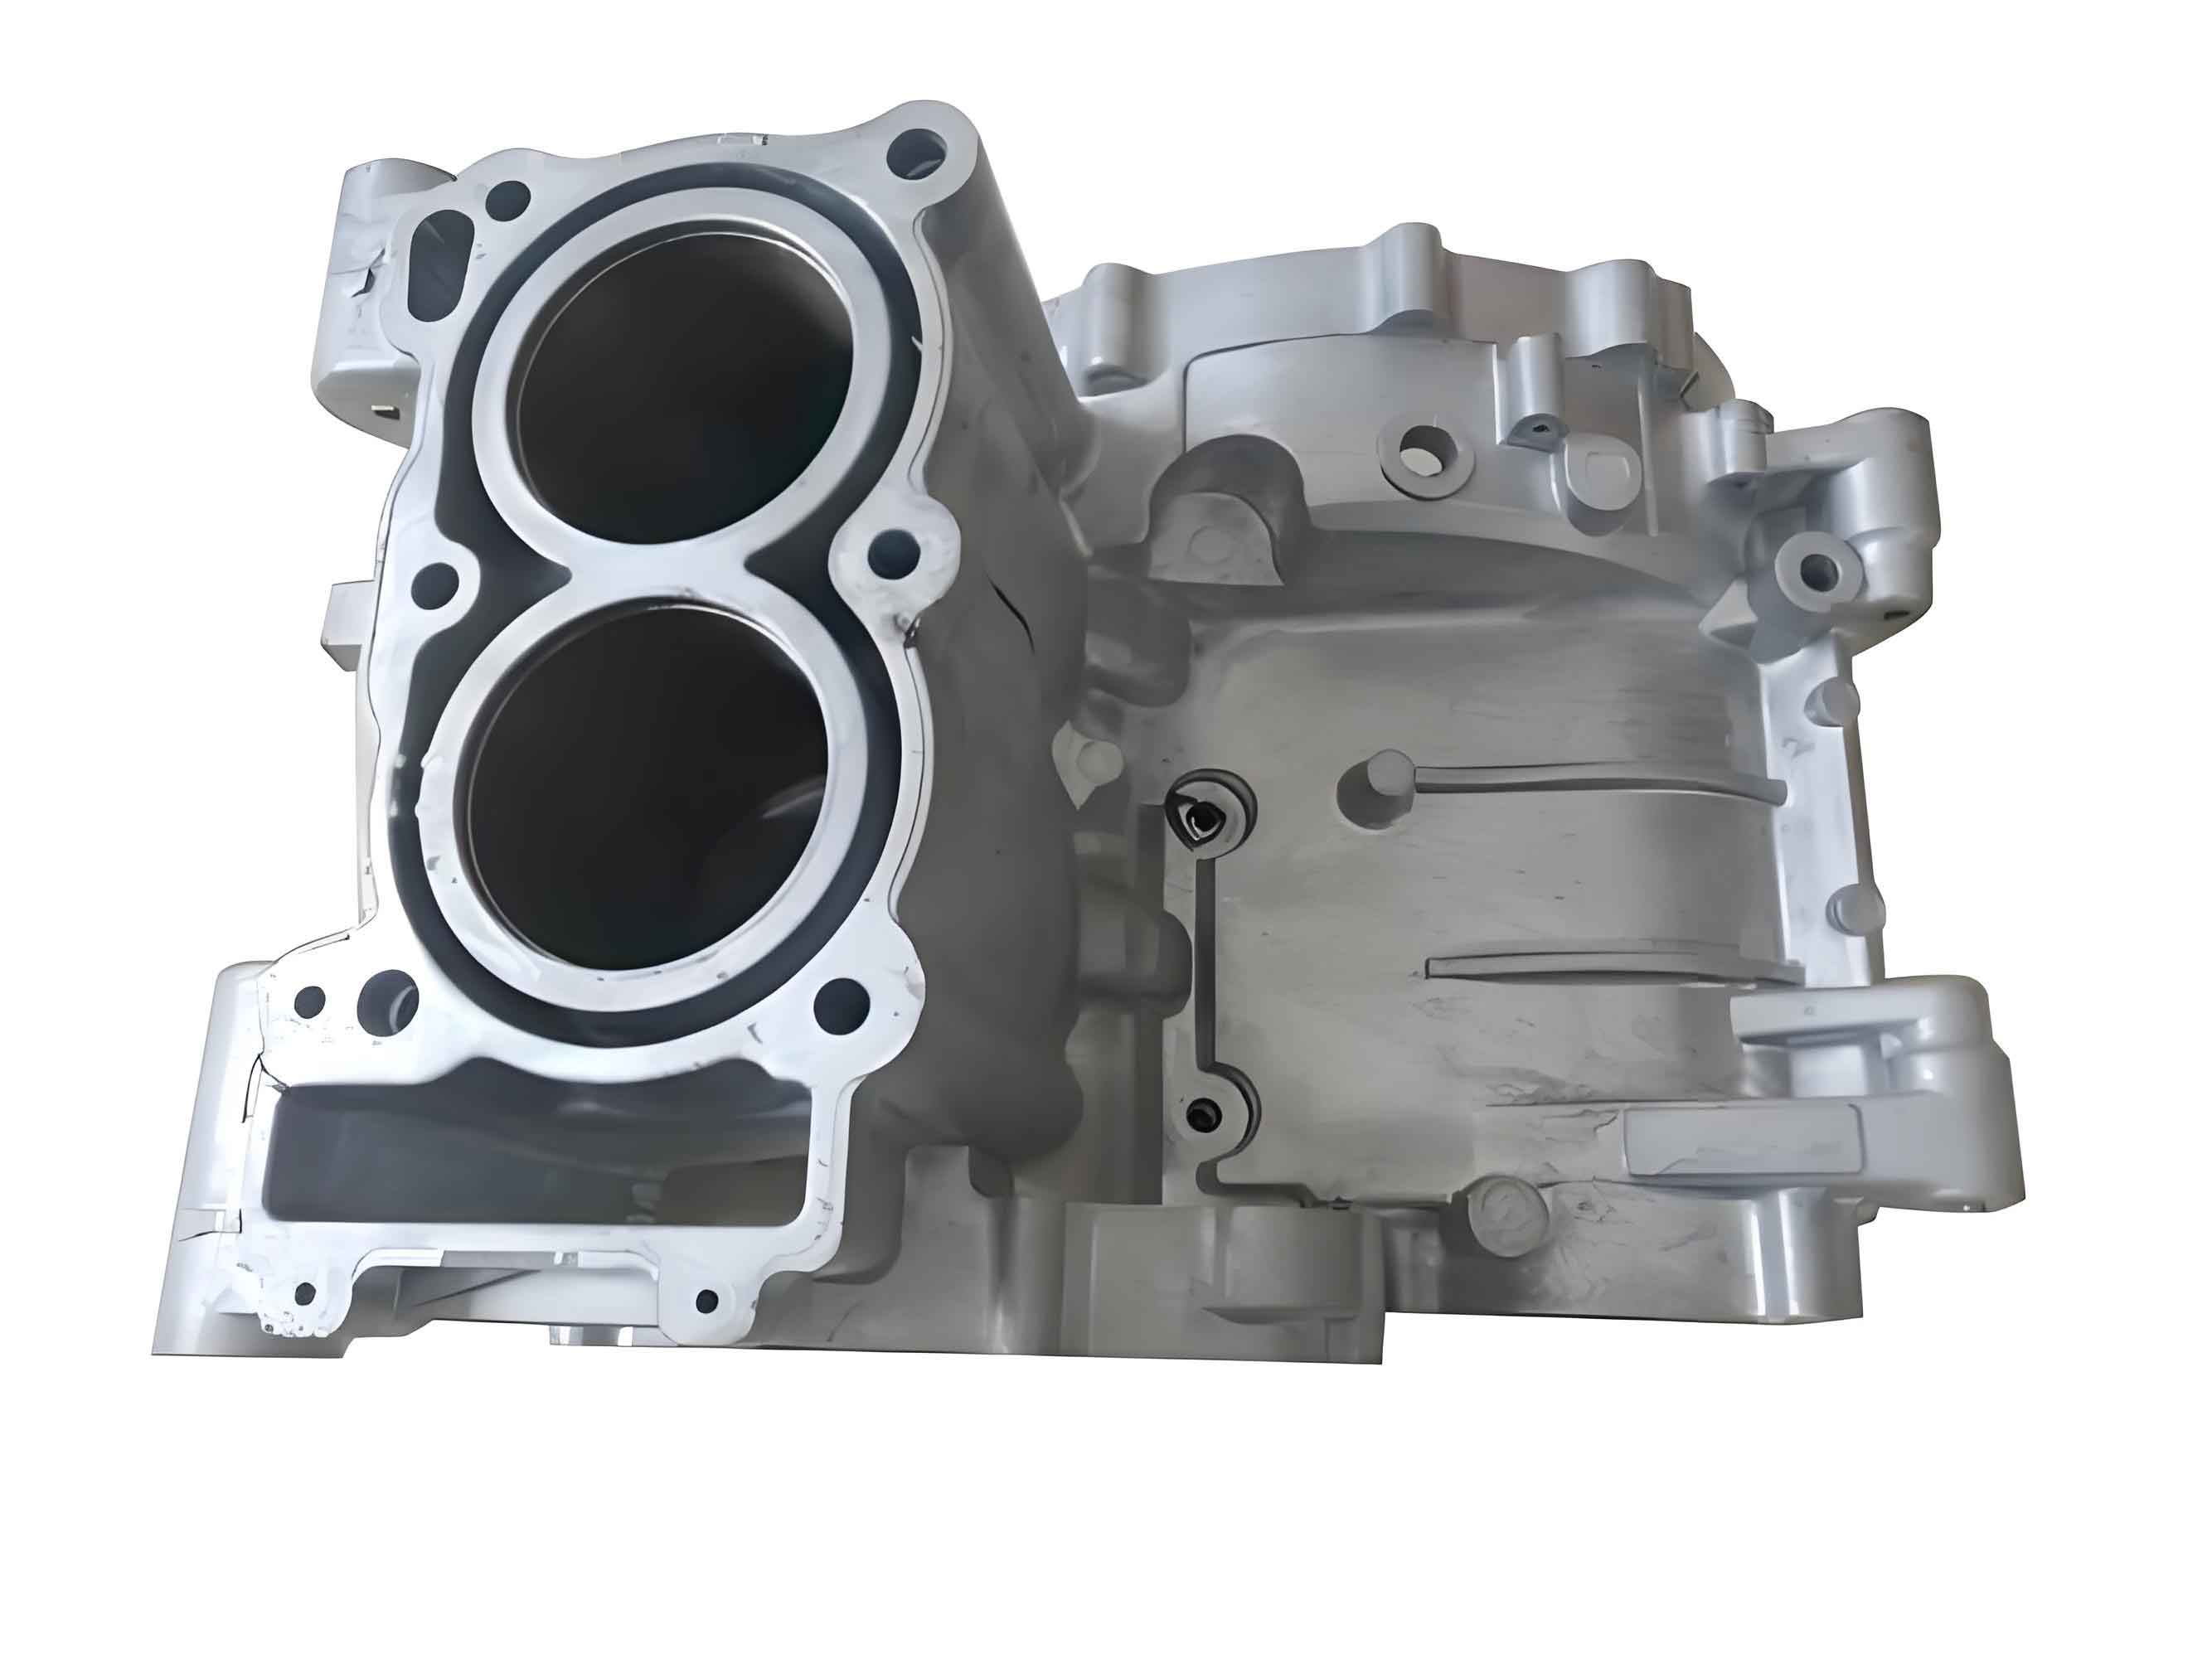
Abstract: The automotive industry’s pursuit of lightweight, efficient vehicles drives the adoption of integrated die casting technology. This study presents a comprehensive control strategy addressing die casting process optimization, heat-treatment-free materials, calibration tooling, process management, and press parameter tuning. The methodology significantly enhances dimensional accuracy in large-scale die castings, providing valuable insights for advancing manufacturing capabilities in electric vehicles.
Introduction
Global carbon neutrality initiatives accelerate the shift toward new energy vehicles. Integrated die casting emerges as a transformative technology, replacing traditional welding with single-piece structural components. Industry leaders like Tesla and NIO demonstrate its viability for critical assemblies including rear underbodies and front compartments. This research focuses on dimensional control methodologies for aluminum alloy rear underbodies, addressing the core challenge: maintaining precision in geometrically complex, meter-scale castings.
Die Casting Process Fundamentals
Definition: High Pressure Die Casting (HPDC) injects molten/semi-solid metal into dies under extreme pressure (20-120 MPa) and velocity (20-100 m/s). The process leverages rapid heat transfer under sustained pressure, expressed as:
$$ \frac{\partial T}{\partial t} = \alpha \nabla^2 T $$
where \( T \) = temperature, \( t \) = time, \( \alpha \) = thermal diffusivity. This enables fine-grained, dimensionally stable microstructures.

Integrated vs. Conventional Die Casting:
| Parameter | Conventional Die Casting | Integrated Die Casting |
|---|---|---|
| Materials | ADC12, A380 (T6 heat-treatable) | C611, SF36 (Heat-treatment-free) |
| Mold Complexity | Moderate | High (Requires multiphysics simulation) |
| Clamping Force | <4,500 tons | >6,000 tons |
| Process Control | Empirical formulas | Real-time monitoring (vacuum, thermal) |
| Typical Applications | Motor housings | Rear underbodies, front compartments |
Integrated Rear Underbody Manufacturing
The production workflow comprises four critical stages:
- Blank Die Casting: Molten alloy (700-740°C) injected under optimized parameters:
$$ P_{injection} = k \cdot \frac{\mu \cdot v^2 \cdot A}{2g} $$
where \( P \) = pressure, \( \mu \) = viscosity, \( v \) = velocity, \( A \) = cross-section area, \( g \) = gravitational constant. - Trimming/De-gating: Removal of overflow material and feeding systems.
- Blank Calibration: Geometric correction using fixture tooling with RPS (Reference Point System) constraints.
- Dimensional Verification: Blue light scanning for full-field deviation analysis.
Dimensional Accuracy Control Strategy
Material Selection: Heat-treatment-free alloys prevent distortion from thermal expansion. Key compositions and properties:
| Alloy | YS (MPa) | UTS (MPa) | Elongation (%) | Composition Highlights |
|---|---|---|---|---|
| C611 | 105 | 220 | 10 | Si 2-7%, Mg 0.4-0.8% |
| SF36 | 120 | 180 | 10 | Si 9.5-11.5%, Mn 0.5-0.8% |
Calibration Tooling: Fixtures enforce dimensional stability through 6-DOF constraint:
$$ \sum F_z = 0 \text{ (A1-A4)}; \quad \sum F_x, F_y = 0 \text{ (B-pin)}; \quad \sum M_y = 0 \text{ (C-pin)} $$
Process Control:
- Blue light scanning at all manufacturing stages
- Key characteristic monitoring via dedicated fixtures
- Statistical process control (SPC) for critical dimensions
Press Parameter Optimization:
| Parameter | Setting Range | Influence on Dimensional Accuracy |
|---|---|---|
| Injection Pressure | 30-90 MPa | Dictates flow completeness |
| Intensification Pressure | 50-300 MPa | Reduces shrinkage porosity |
| Slow Shot Velocity | 0.1-0.5 m/s | Prevents turbulence |
| Fast Shot Velocity | 3-6 m/s | Determines fill time \( t_{fill} = \frac{V_{cavity}}{Q_{flow}} \) |
| Die Temperature | 180-220°C | Controls solidification gradient |
Comparative Analysis
Statistical evaluation of dimensional improvements (9 measurement points):
| Sample | Mean Deviation (mm) | Standard Deviation (mm) |
|---|---|---|
| Pre-improvement | 9.52 | 1.83 |
| Post-improvement | 8.30 | 0.13 |
Hypothesis testing confirms significance (α=0.05):
$$ H_0: \mu_{pre} – \mu_{post} = 0 \quad \text{vs} \quad H_1: \mu_{pre} – \mu_{post} > 0 $$
$$ t = 2.00, \quad p = 0.032 < 0.05 \quad (\text{Reject } H_0) $$
Lower confidence limit for difference: 0.153 mm > 0
Conclusion
Integrated die casting revolutionizes electric vehicle manufacturing by enabling single-piece rear underbodies. Precision control requires synergistic optimization of heat-treatment-free alloys (C611/SF36), calibration tooling with kinematic constraints, multi-stage blue light scanning, and rigorous press parameter tuning. Statistical validation confirms dimensional deviations reduced by 86% in standard deviation. Future advancements will expand die casting applications to full vehicle skeletons exceeding 20,000 cm² projected area.
