Introduction
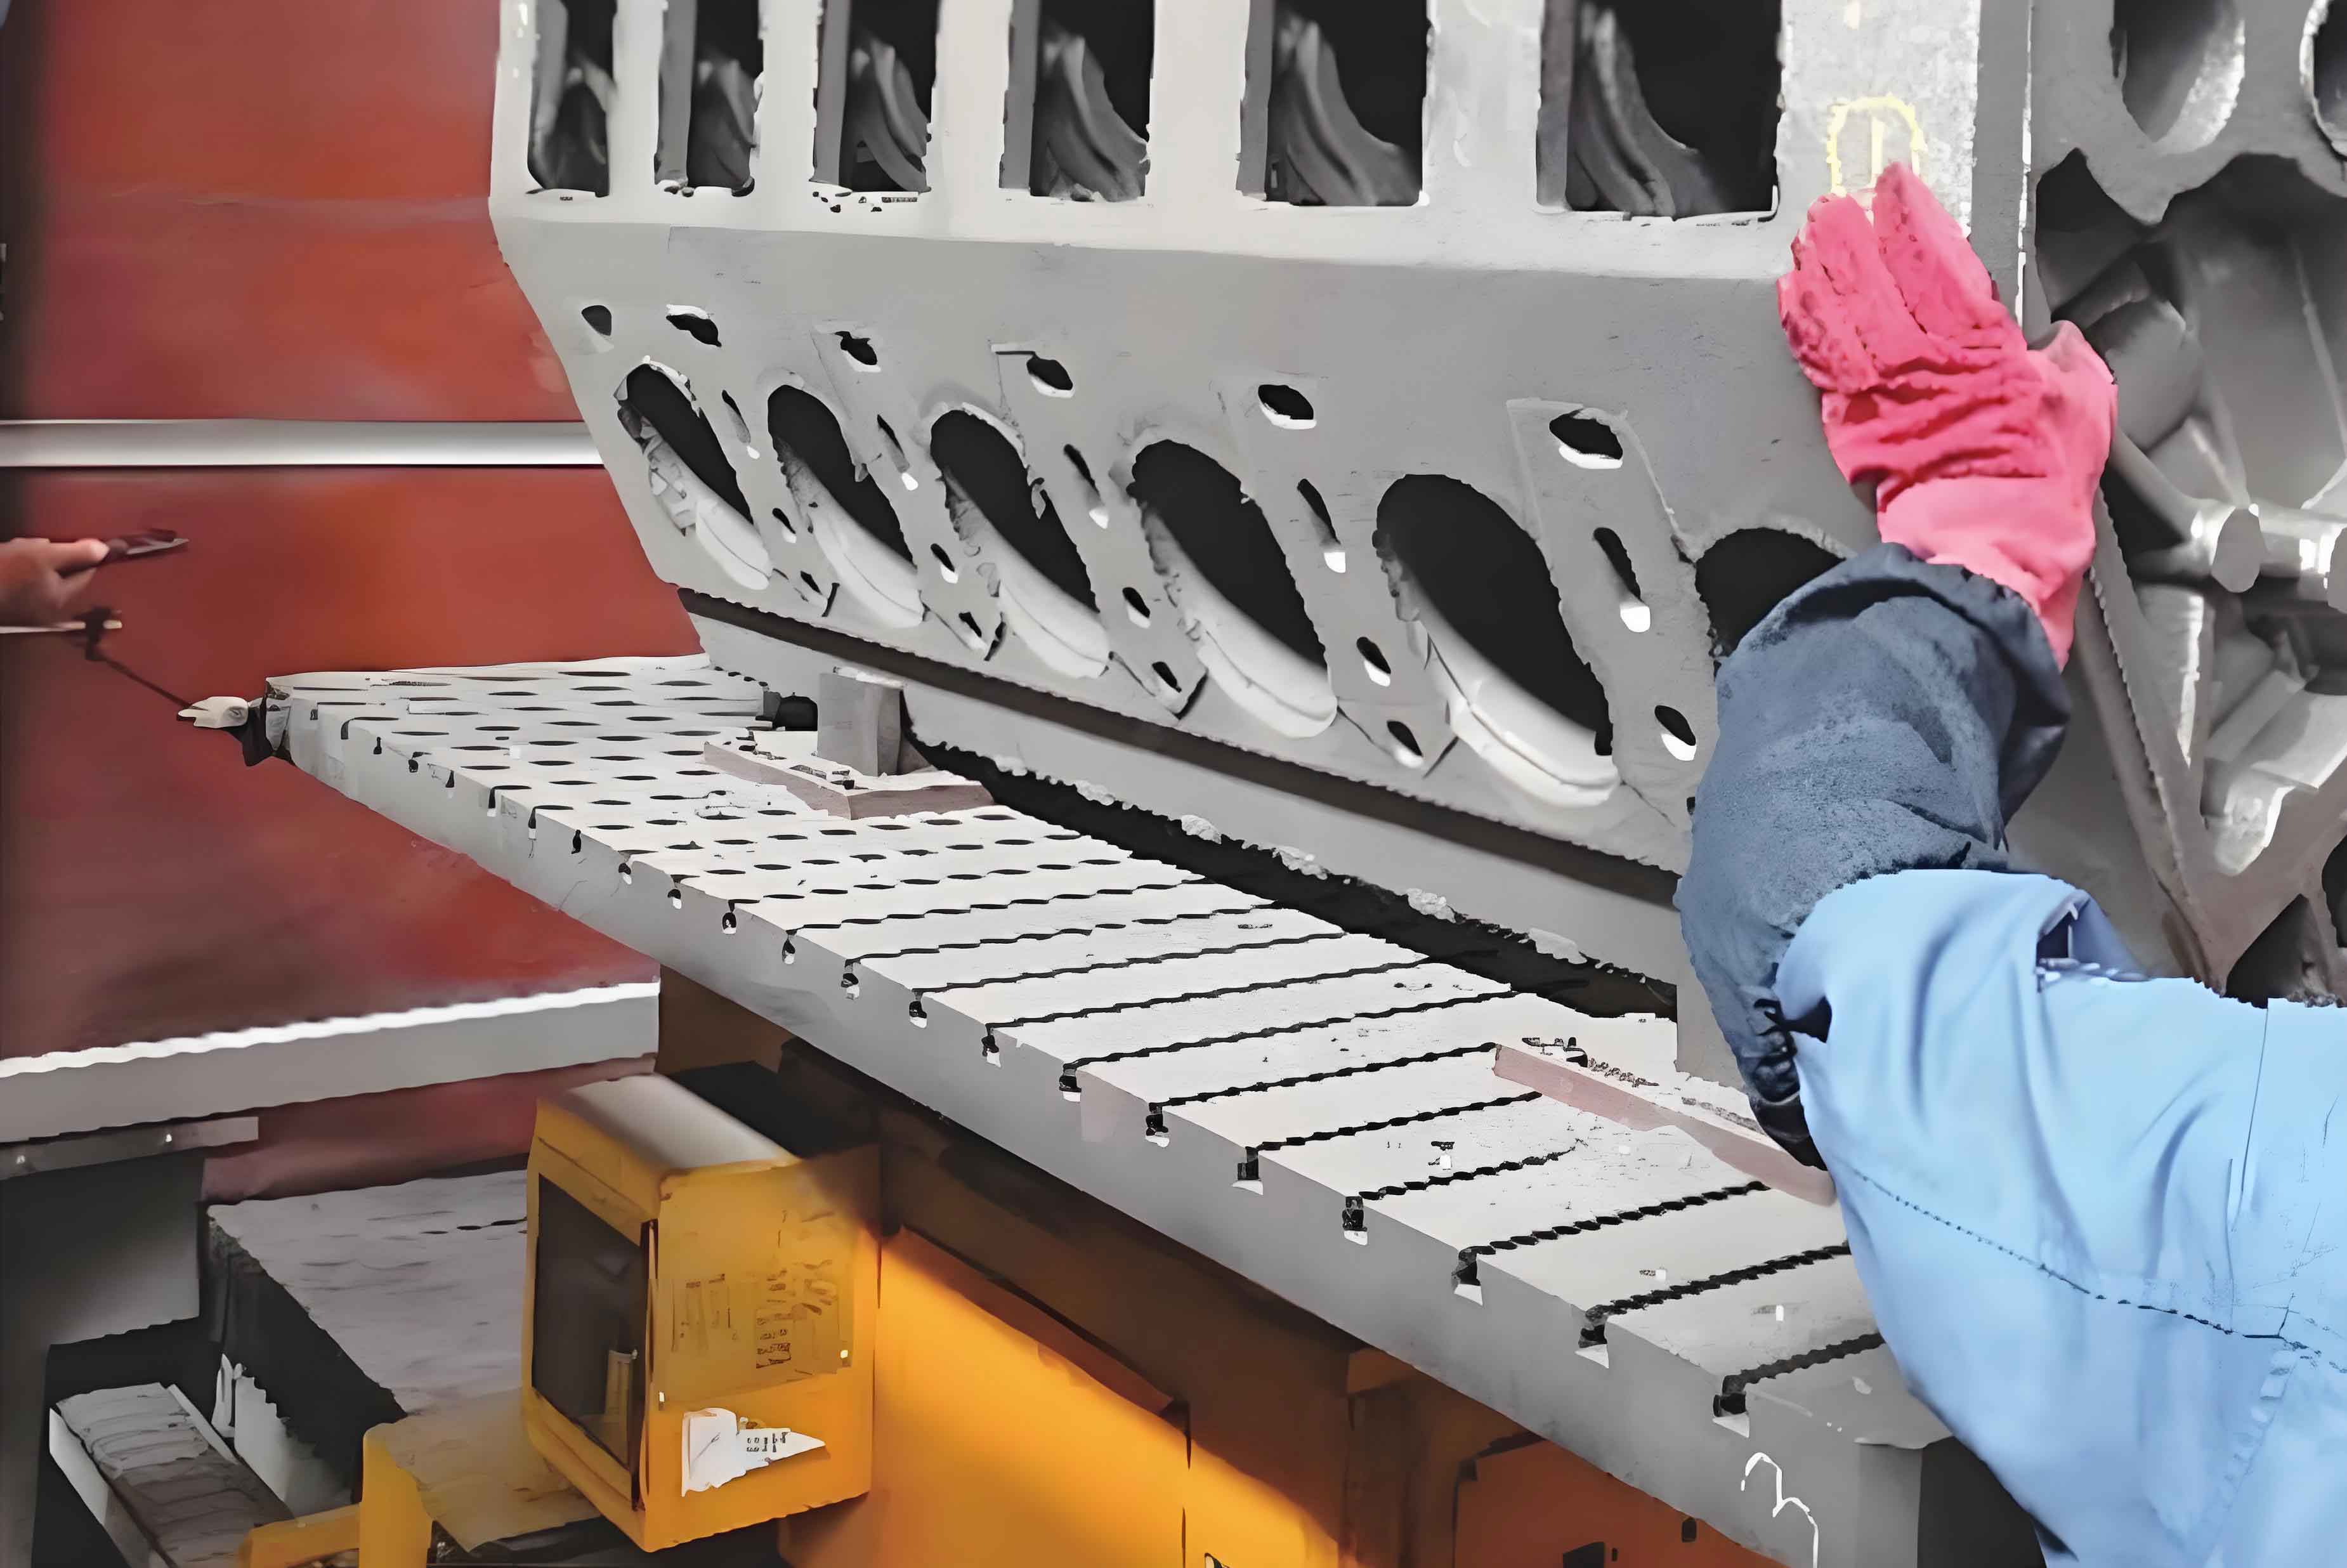
In modern automotive manufacturing, the precision machining of inclined oil holes in engine cylinder blocks remains a critical yet challenging task. These holes serve as lubrication channels, directing oil to critical components such as crankshafts and connecting rods. However, traditional drilling methods often suffer from inefficiency, low automation, and significant precision errors. To address these issues, I propose a novel fixture design that enables simultaneous drilling of five inclined oil holes in a single clamping cycle. This approach not only enhances productivity but also ensures high accuracy and repeatability, meeting the demands of large-scale production.

Key Challenges in Drilling Inclined Oil Holes
- Complex Geometry: The inclined oil holes (32°15′±35″ relative to the vertical axis) require precise angular alignment.
- Tool Wear and Heat Dissipation: Deep-hole drilling generates excessive heat and tool wear due to limited cooling and chip evacuation.
- Vibration and Deflection: Tool vibration during drilling compromises hole straightness and surface finish.
- Automation Limitations: Manual repositioning of the engine cylinder block between holes increases cycle time and error rates.
Proposed Fixture Design Philosophy
The core objective of this design is to achieve “one-clamping, five-hole drilling” for engine cylinder blocks. Key principles include:
- Process Centralization: Integrating multiple operations into a single setup.
- Automation Compatibility: Incorporating hydraulic and electronic controls for reduced human intervention.
- Rigid and Adaptive Structure: Ensuring stability during rotational and drilling motions.
Fixture Layout and Functional Components
The fixture system comprises four subsystems (Table 1):
| Subsystem | Components | Function |
|---|---|---|
| Positioning Unit | Locating pins (67A, 67B), base plates, auxiliary supports | Restricts 6 degrees of freedom (DoF) using the “one surface, two pins” method. |
| Clamping Unit | Hydraulic cylinders, pressure plates, signal disks, non-contact switches | Applies uniform clamping force (11,325 N) to prevent displacement. |
| Rotation Unit | Hydraulic actuator, rotary shaft, bearings, positioning blocks (C, D) | Rotates the engine cylinder block to align with the spindle axis. |
| Auxiliary Systems | Conveyor track, servo-driven multi-spindle head, chip evacuation channels | Automates loading/unloading and synchronizes drilling operations. |
Critical Design Calculations
1. Cutting Force and Torque
For a 5 mm diameter high-speed steel (HSS) drill bit, the axial force (FaFa) and torque (MM) are calculated as:Fa=433Df0.8Kp(N),M=0.21D2f0.8KpFa=433Df0.8Kp(N),M=0.21D2f0.8Kp
where:
- D=5 mmD=5mm (drill diameter)
- f=0.047 mm/revf=0.047mm/rev (feed rate)
- Kp=(HB150)0.6=1.358Kp=(150HB)0.6=1.358 (hardness correction factor for HB 240)
Substituting values:Fa=524.7 N,M=0.617 Fa=524.7N,M=0.617
For five holes, cumulative axial force:Ftotal=5Facos(32.15∘)+Gsin(32.15∘)=12,236.5 NFtotal=5Facos(32.15∘)+Gsin(32.15∘)=12,236.5N
where G=1,500 NG=1,500N (weight of the engine cylinder block).
2. Clamping Force Requirement
To counteract drilling forces and prevent slippage:Fclamp=μ(FaK+Gcos(32.15∘)−5Fasin(32.15∘))=11,325 NFclamp=μ(KFa+Gcos(32.15∘)−5Fasin(32.15∘))=11,325N
where μ=0.3μ=0.3 (friction coefficient) and K=2K=2 (safety factor).
3. Hydraulic Cylinder Specification
A double-acting cylinder with 5 MPa inlet pressure, 60 mm piston diameter, and 22 mm rod diameter generates sufficient force:Fhydraulic=P⋅A=5×10⁶ Pa×π4(0.062−0.0222)=17,592.9 NFhydraulic=P⋅A=5×106Pa×4π(0.062−0.0222)=17,592.9N
Finite Element Analysis (FEA) of Critical Components
The positioning block (material: 20CrMnTi) undergoes static structural analysis to validate its integrity under maximum load (8,082.2 N per side). Results confirm safety margins (Figure 1):
| Parameter | Value | Allowable Limit |
|---|---|---|
| Max. Stress (MPa) | 51.2 | 835 (Yield strength) |
| Max. Strain (mm/mm) | 2.033×10−32.033×10−3 | 4.1×10−34.1×10−3 |
The negligible angular deviation (<0.001∘<0.001∘) ensures drilling accuracy for the engine cylinder block.
Automation and Control Integration
To enhance adaptability, the fixture integrates:
- Non-Contact Sensors: Detect misalignment and halt operations if positional errors exceed ±0.05 mm.
- Programmable Logic Controller (PLC): Coordinates hydraulic actuation, spindle feed, and conveyor movements.
- Chip Management System: Uses compressed air jets to evacuate chips, reducing thermal distortion.
Performance Evaluation
Field tests on a ZK2102×5 five-axis CNC deep-hole drilling machine demonstrate:
- Cycle Time Reduction: From 45 minutes (conventional) to 12 minutes per engine cylinder block.
- Accuracy Improvement: Hole angular tolerance tightened from ±35″ to ±15″.
- Tool Life Extension: 30% longer drill life due to reduced vibration and improved cooling.
Conclusion
This specialized fixture design addresses the longstanding challenges in drilling inclined oil holes for engine cylinder blocks. By combining rigid structural design, advanced automation, and thorough FEA validation, the system achieves unprecedented efficiency and precision. Future work will explore adaptive clamping mechanisms for varying engine cylinder block geometries and real-time tool wear monitoring.
