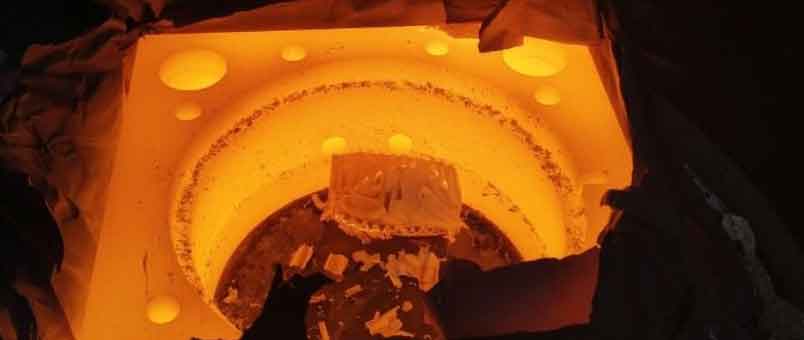
Internal defects in heat-treated components can pose significant risks to their structural integrity and performance. Detecting and addressing these hidden defects is crucial to ensure the reliability and quality of heat-treated parts. Here are some common internal defects encountered in heat-treated components and techniques for uncovering them:
- Inclusions:
- Inclusions are non-metallic particles or foreign materials embedded within the metal matrix. They can result from improper material processing, contamination, or inadequate material selection. Techniques for detection:
- Non-destructive testing (NDT) methods such as ultrasonic testing, magnetic particle inspection, or X-ray imaging can identify and locate inclusions within the material.
- Metallographic examination involves polishing and etching the component’s cross-section to reveal the presence of inclusions under a microscope.
- Inclusions are non-metallic particles or foreign materials embedded within the metal matrix. They can result from improper material processing, contamination, or inadequate material selection. Techniques for detection:
- Porosity:
- Porosity refers to the presence of voids or gas pockets within the material, which can weaken the component’s mechanical properties and promote failure. Techniques for detection:
- Radiographic testing, such as X-ray or computed tomography (CT) scanning, can detect and visualize internal porosity.
- Ultrasonic testing is effective in identifying internal defects, including porosity, by measuring the ultrasonic wave propagation characteristics.
- Porosity refers to the presence of voids or gas pockets within the material, which can weaken the component’s mechanical properties and promote failure. Techniques for detection:
- Cracks:
- Internal cracks can occur due to factors such as material fatigue, improper heat treatment, or excessive stress during service. Techniques for detection:
- NDT methods like dye penetrant testing or magnetic particle inspection can detect surface-breaking or shallow internal cracks.
- Ultrasonic testing can detect both surface-breaking and subsurface cracks by analyzing changes in the ultrasonic wave reflection patterns.
- Internal cracks can occur due to factors such as material fatigue, improper heat treatment, or excessive stress during service. Techniques for detection:
- Decarburization:
- Decarburization refers to the loss of carbon from the surface or near-surface layers, resulting in reduced hardness and strength. Techniques for detection:
- Metallographic examination involves cross-sectioning the component and examining the microstructure to detect decarburization depth.
- Microhardness testing can help identify variations in hardness caused by decarburization.
- Decarburization refers to the loss of carbon from the surface or near-surface layers, resulting in reduced hardness and strength. Techniques for detection:
- Incomplete Heat Treatment:
- Inadequate or uneven heat treatment can lead to inconsistent material properties, improper hardness, or insufficient transformation of the microstructure. Techniques for detection:
- Hardness testing can identify variations in hardness within the component, indicating incomplete heat treatment.
- Microstructural analysis through metallographic examination allows for the evaluation of phase transformations and microstructure consistency.
- Inadequate or uneven heat treatment can lead to inconsistent material properties, improper hardness, or insufficient transformation of the microstructure. Techniques for detection:
- Residual Stresses:
- Residual stresses can develop during heat treatment due to uneven cooling rates or phase transformations, leading to dimensional instability or potential cracking. Techniques for detection:
- X-ray diffraction or neutron diffraction techniques can measure and analyze residual stresses within the material.
- Incremental hole drilling or ring core methods can be used to determine residual stresses near the component’s surface.
- Residual stresses can develop during heat treatment due to uneven cooling rates or phase transformations, leading to dimensional instability or potential cracking. Techniques for detection:
To uncover internal defects in heat-treated components, a combination of different NDT methods, metallographic examination, and mechanical testing is often employed. It is essential to follow proper testing procedures, utilize qualified personnel, and ensure compliance with relevant standards and specifications. Collaborating with experts in material science, metallurgy, and NDT can provide valuable insights and guidance in detecting and addressing internal defects effectively.
