
In my professional experience, the synergy between advanced casting techniques and specialized welding repair methodologies is fundamental to manufacturing and maintaining high-integrity metallic components. Among these, lost wax casting, or investment casting, stands out for producing complex, near-net-shape parts with excellent surface finish. However, casting defects can occur, and the ability to reliably repair them through welding is a critical skill. This article consolidates my practical knowledge on producing ductile iron via lost wax casting and the subsequent techniques for repairing such castings, alongside essential principles for manual metal arc welding skill development.
Ductile Iron Production via Lost Wax Casting
The application of lost wax casting to ductile iron presents unique challenges and opportunities. The process leverages the dimensional accuracy of investment casting while managing the solidification characteristics specific to spheroidal graphite iron.
1. Process Design Considerations
Successful casting begins with meticulous planning. Key design parameters must be adapted for ductile iron’s behavior.
- Pattern Allowance: Due to graphite expansion during solidification, the linear shrinkage allowance is typically set between 0.6% and 0.8%, lower than for many other alloys, to account for potential mold wall movement.
- Machining Allowance: A slightly larger machining allowance (0.5-1.5 mm extra) is recommended to remove the surface layer where spheroidal graphite can degenerate into flake graphite due to interface reactions.
- Gating and Feeding: Riser design is often minimized, relying on the graphitization expansion for self-feeding. The gating system must balance between facilitating self-feeding (smaller gates) and providing robust handling strength for the fragile ceramic shell (larger gates). A single gate is preferred for easy knockout.
The modulus of the casting $M_c$ (volume $V$ to surface area $A$ ratio) is a critical factor in predicting solidification time and feeding requirements:
$$ M_c = \frac{V}{A} $$
For sections with a high modulus, careful attention to feeding via gates or controlled cooling is essential to prevent shrinkage porosity.
2. Shell Building for Rigidity
The ceramic shell must possess exceptional high-temperature strength to withstand the internal pressure from graphite expansion. A weak shell leads to dimensional inaccuracy, mold cracking, and defective castings. A robust shell-building strategy is employed:
| Coating Layer | Slurry Composition / Action | Purpose |
|---|---|---|
| Primary | High refractory flour-to-binder ratio | Optimize surface finish and detail reproduction. |
| Secondary | Controlled viscosity (e.g., 14-16 sec flow cup) | Ensure strong inter-layer bonding to prevent delamination. |
| Back-up Coats | Blend of silica flour (70%) and aluminosilicate flour (30%) | Maximize high-temperature strength and thermal stability. |
| Reinforcement | Extra coat(s); optional wire/rod bracing | Resist expansion forces; prevent shell failure. |
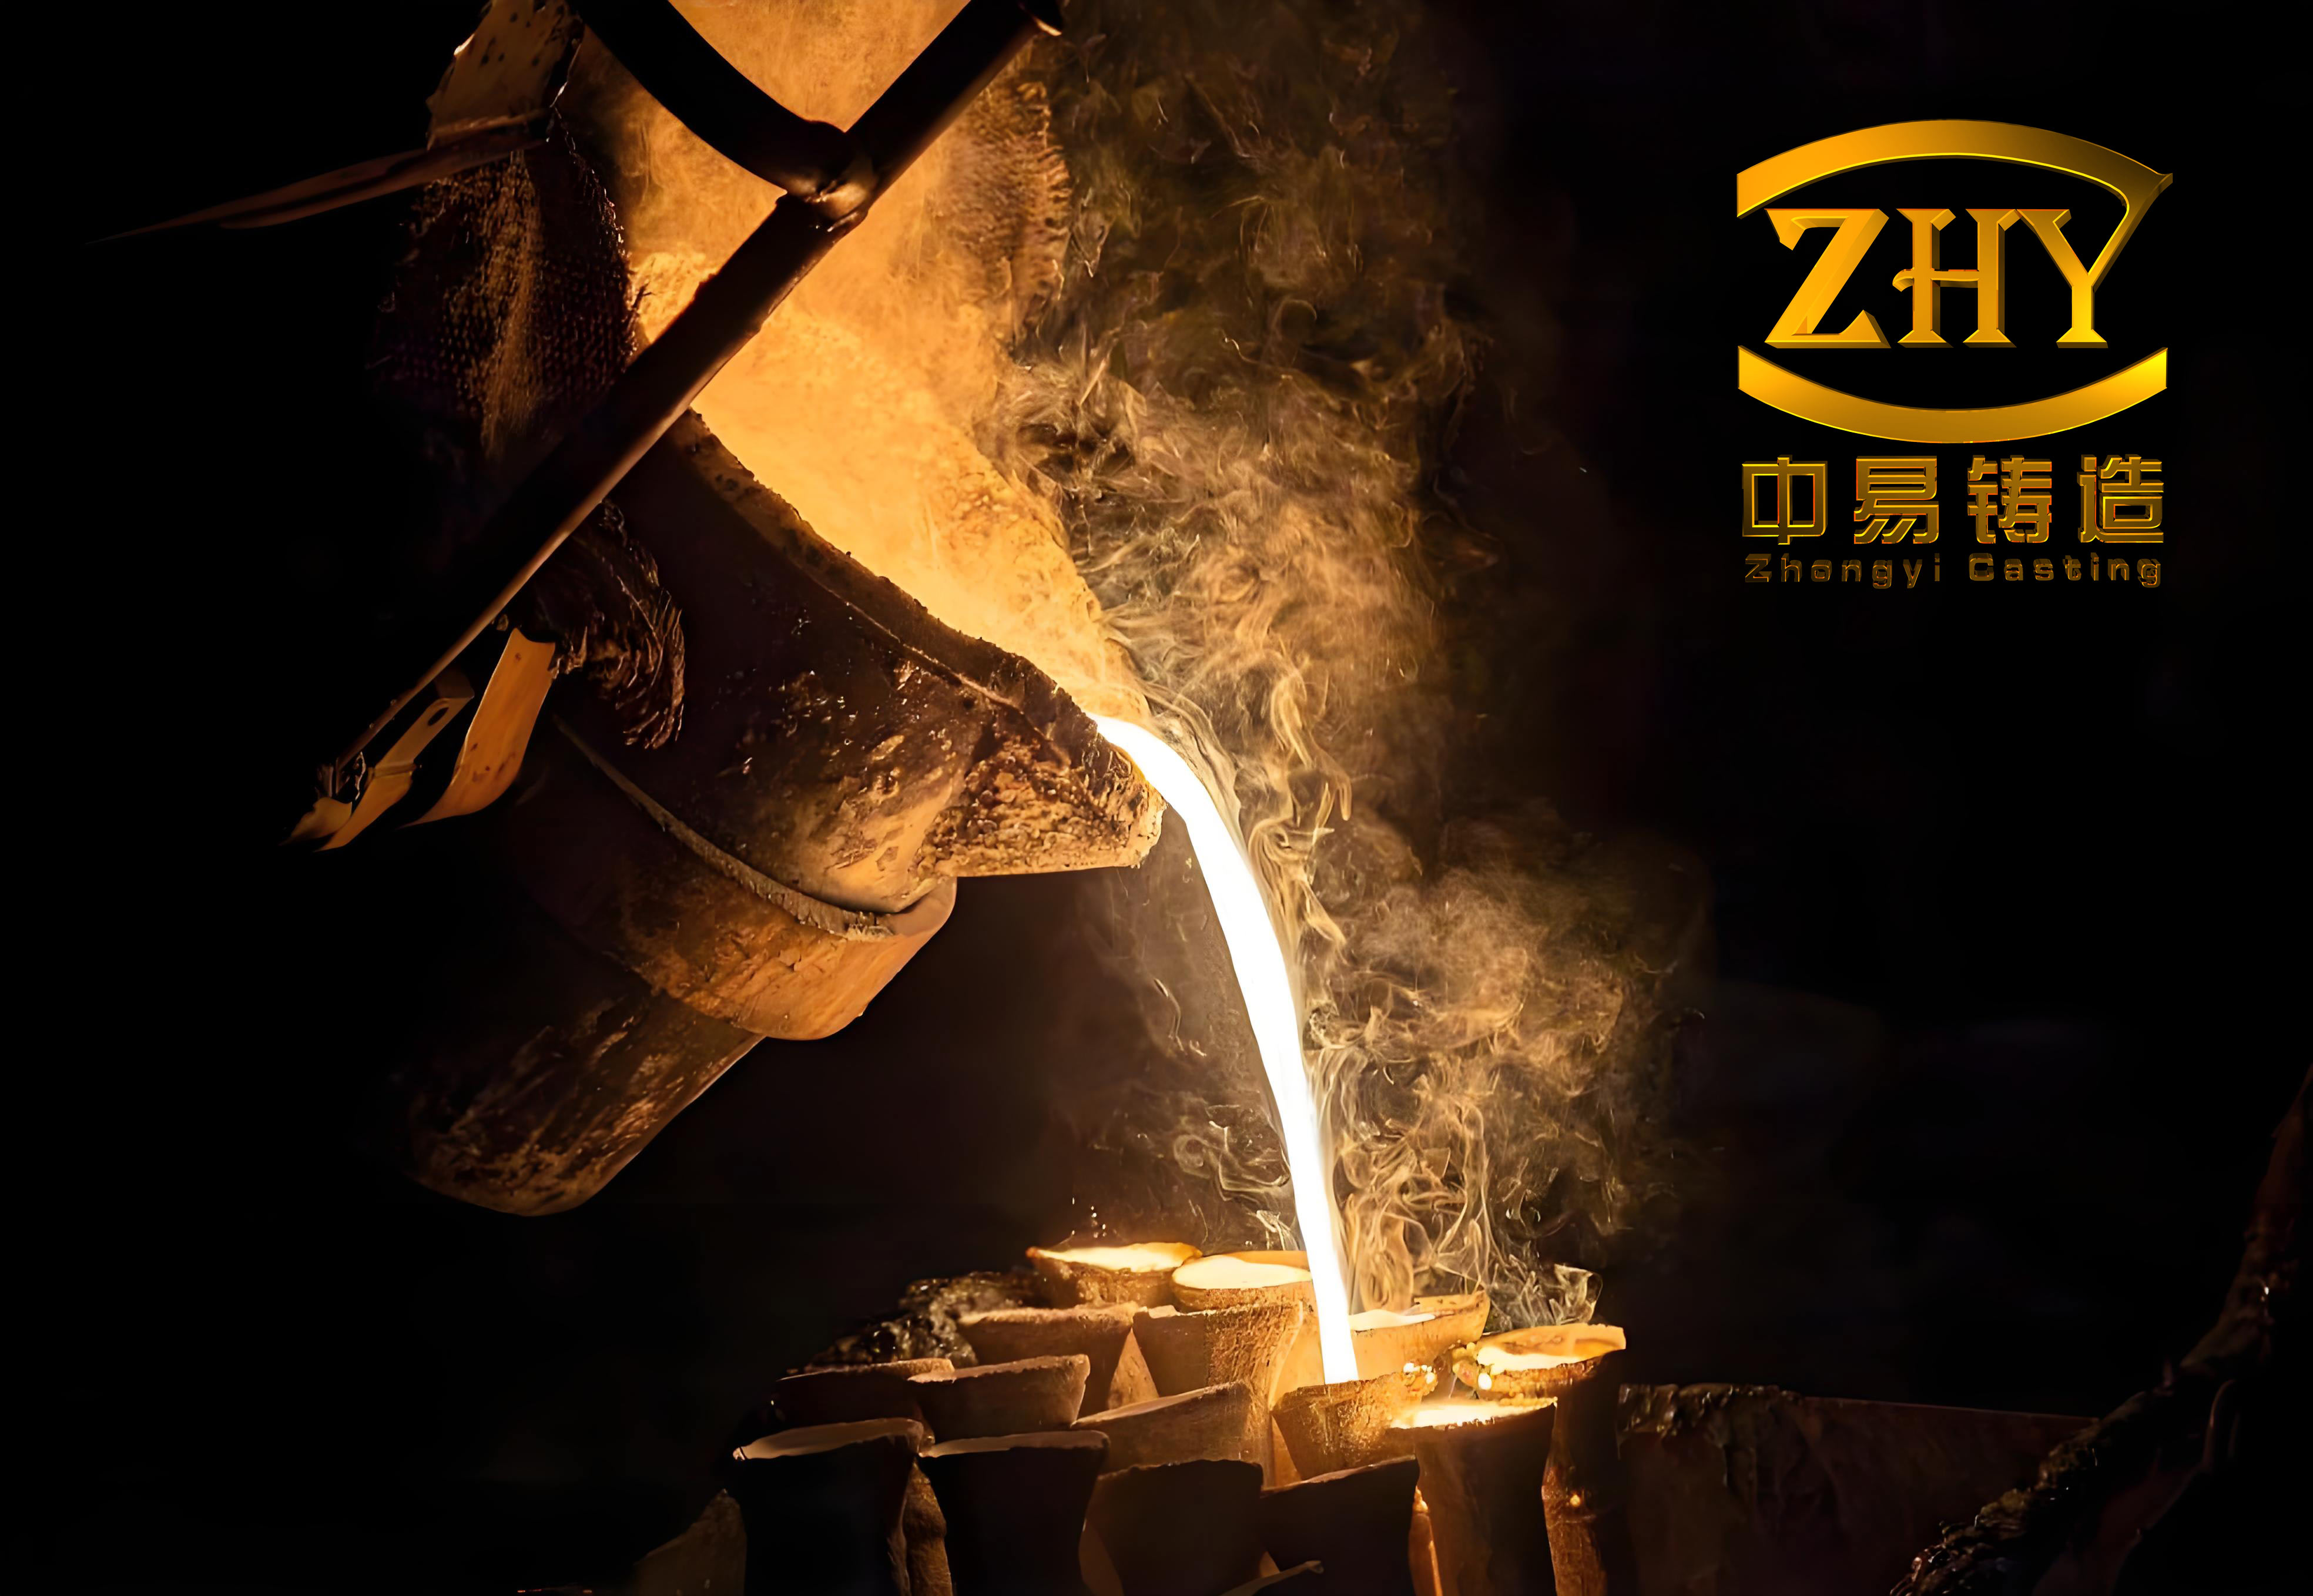
3. Melting, Treatment, and Pouring
This phase determines the final metallurgical quality. A controlled process is vital.
| Parameter | Typical Practice in Lost Wax Casting | Rationale |
|---|---|---|
| Furnace | Medium Frequency Induction (Basic Lining) | Efficient melting, superheating capability, low S & P pickup. |
| Charge Makeup | High steel scrap percentage (20-80%) | Promotes clean base iron with low residual elements (“Synthetic Iron”). |
| Target Carbon Equivalent (CE) | 4.6 – 4.8 | Ensures fluidity and utilizes graphite expansion for feeding. Calculated as: $$ CE = \%C + \frac{\%Si + \%P}{3} $$ |
| Silicon (Si) | Slightly higher than sand casting | Suppresses chill (carbide formation) in thin sections. |
| Manganese (Mn) | Ferritic: <0.3%; Pearlitic: <0.6% | Minimizes segregation and carbide stabilization. |
| Treatment | Low Rare-Earth Mg-FeSi in transfer ladle; Late inoculation in pouring ladle | Ensures consistent, high-quality nodular graphite (Type I, Size 6-7). |
| Shell Temperature | 600°C – 700°C | Prevents surface defects, aids filling, and optimizes cooling rate for graphite formation. |
| Pouring Temperature | 1400°C – 1430°C | Compensates for heat loss in small pours; reduces slag/dross defects. |
The final graphite nodule count and size are influenced by the cooling rate, which is high in thin-section lost wax casting. The cooling rate $\\dot{T}$ can be approximated for a thin plate as:
$$ \\dot{T} \\approx \\frac{T_{pour} – T_{solidus}}{t_f} $$
where $t_f$ is the local solidification time, heavily dependent on section modulus and shell preheat.
Welding Repair of Cast Iron Components
Despite best efforts in lost wax casting, defects may occur. A common example is repairing a rotor from a rotary vane pump. The repair of ductile iron castings requires specific procedures to manage the heat-affected zone and prevent cracking.
1. Pre-Weld Preparation
Meticulous preparation is non-negotiable. The defect area must be completely excavated using grinding or machining until sound base metal is revealed on all surfaces. All contaminants—oxides, oil, moisture—are removed by mechanical cleaning or suitable solvents.
2. Welding Procedure
A controlled, low-stress welding technique is employed.
- Filler Metal: A specific nickel-iron or nickel-based covered electrode (e.g., AWS ENiFe-CI) is used for its compatible thermal expansion and machinability.
- Preheating: The area around the repair is gradually preheated to a minimum of 300°C. This reduces thermal gradients and the risk of thermal shock cracking.
- Heat Management: Adjacent areas are protected with heat-resistant sheets (e.g., asbestos-free board). The weld is built using the short bead, multi-layer technique, limiting heat input per pass.
- Peening: Each small bead is lightly peened while hot to relieve residual stresses through mechanical deformation.
- Deposition Strategy: The final weld is built slightly proud of the surface for subsequent machining to final contour.
The heat input $Q$ per pass is kept low:
$$ Q = \\frac{60 \\times V \\times I}{1000 \\times S} $$
where $V$ is voltage (V), $I$ is current (A), and $S$ is travel speed (mm/min). A low $Q$ minimizes the size of the critical heat-affected zone.
3. Post-Weld Treatment
After visual and NDT inspection, a stress relief heat treatment is mandatory. Typically, the component is slowly heated to 550-600°C, held for a period (e.g., 1 hour per inch of thickness), and furnace-cooled. This step is crucial for restoring dimensional stability and minimizing the risk of delayed cracking.
| Step | Key Action | Objective |
|---|---|---|
| 1. Inspection | Check for cracks, lack of fusion, porosity. | Verify weld soundness before further treatment. |
| 2. Stress Relief | Full component post-heating cycle. | Reduce residual stresses to acceptable levels. |
| 3. Final Machining | Machine weld cap to final dimensions. | Restore functional geometry and surface finish. |
Manual Metal Arc Welding: Core Skill Development
While automation advances, manual welding remains indispensable for repair, fabrication of complex structures, and of course, fixing castings from lost wax casting. The welder’s skill is the final determinant of quality. Effective training focuses on several key areas.
1. The Arc and Metal Transfer
A stable arc is the foundation. Trainees must master maintaining a consistent arc length $L_a$, which directly affects voltage and heat input:
$$ V_{arc} \\approx V_{const} + k \\cdot L_a $$
where $V_{const}$ and $k$ are constants for the electrode type. Too long an arc causes spatter and porosity; too short an arc causes sticking.
2. Weaving and Bead Placement
For multi-pass welds, proper bead sequencing and weaving technique are critical to avoid defects and manage dilution. Common weave patterns (e.g., crescent, zig-zag) are practiced to ensure even fusion and a smooth weld profile. The overlap between passes should be 50-60% of the previous bead’s width.
3. Parameter Selection and Control
Understanding the relationship between parameters is key. Trainees learn to select amperage based on electrode diameter $d$ (in mm), following a rule of thumb:
$$ I \\approx (30 \\text{ to } 40) \\times d $$
They then adjust based on joint position (e.g., lower amperage for overhead) and desired bead profile.
| Skill Element | Training Focus | Quality Outcome |
|---|---|---|
| Arc Initiation & Travel | Scratch/Tap start; maintaining steady speed $S$. | Consistent bead start, uniform width & reinforcement. |
| Electrode Angle | Work angle (e.g., 10-15° drag for flat); Travel angle. | Proper penetration profile, slag control, and avoidance of undercut. |
| Heat Management | Interpass temperature control; sequence planning. | Prevents excessive grain growth, distortion, and cracking. |
| Visual Inspection | Identifying acceptable vs. unacceptable weld appearance. | Early detection of visual defects like undercut, poor fusion, excessive convexity. |
4. Practical Assessment Framework
Skill is quantified through performance on standardized test coupons. A typical assessment for a fillet weld in horizontal position (2F) might include:
| Criterion | Acceptable Standard | Measurement Method |
|---|---|---|
| Weld Size | Equal to or exceeding specified leg length. | Fillet weld gauge. |
| Profile | Concave or slightly convex (0-3 mm). | Visual and gauge. |
| Surface Defects | No cracks, porosity, excessive spatter. Undercut ≤ 0.5 mm. | Visual, magnifying glass. |
| Root Fusion | Complete fusion at root, no lack of penetration. | Macro-etch examination of cross-section. |
In conclusion, mastering the art of lost wax casting for demanding materials like ductile iron requires a deep understanding of interrelated process variables—from pattern design and shell engineering to precise metallurgical control. Equally, the ability to salvage valuable castings through disciplined welding repair protocols extends their life and ensures economic viability. Underpinning both these advanced manufacturing and maintenance activities is the irreplaceable, honed skill of the manual welder, whose expertise transforms theoretical procedures into sound, reliable joints. The continuous refinement of both casting and welding practices remains a cornerstone of modern metalworking.