
In the manufacture of heavy-duty machinery components, achieving complex geometries with high dimensional fidelity and surface finish is paramount. My experience in this field has involved tackling two distinct but equally challenging manufacturing problems: the production of high-precision cams for guiding tool paths and the fabrication of intricate, near-net-shape metal parts. The solutions converged on a philosophy of precision replication, where one process—precision lost wax casting—emerged as a transformative method for component production, while advanced cam design and machining enabled the creation of the tools needed for other manufacturing steps. This article details the integrated approach, emphasizing the methodologies, calculations, and material science involved.
Cam Design and Machining for Guide Curve Generation
The task was to machine a complex, non-linear guide curve onto a component. The desired tool path was defined by the envelope of a roller following this guide curve. Direct machining by tracing the roller’s path with a single-point tool proved inadequate. The variable cutting angles along the curve led to rapid tool wear and poor surface finish, making this method unreliable for production.
The adopted solution was the whirl cutting method. Here, a cutting tool rotates at high speed, with its axis parallel to the workpiece. The key is that the cutting diameter of the whirl tool must equal the diameter of the follower roller used in the final mechanism. The cam’s purpose is to translate the rotational motion of a master drive into the precise linear motion required to guide the whirl cutter. Therefore, the cam profile is not the final guide curve itself, but the developed trajectory of the roller’s center as it traces that guide curve, mapped onto the cam’s circumference. In certain setups, a correction to this profile is essential to compensate for kinematic interference.
We utilized a cam ground with indexed steps, paired with a square-form follower (not a roller). To machine the guide curve using the whirl method, the cam profile required correction. A graphical correction method was chosen for its reliability and sufficient accuracy.
Graphical Cam Profile Correction Methodology
The principle is to account for the finite diameter of the grinding wheel (equal to the whirl cutter diameter) which causes interference when generating the cam profile. The steps are as follows:
- Discretization: Divide the cam’s rotational cycle into a high number of equal segments, preferably 360 or more. We used 480 divisions, labeled $ \theta_1 $ to $ \theta_{480} $.
- Base Curve Calculation: Calculate the nominal lift $ \Delta P(\theta) $ for points $ \theta_1 $ to $ \theta_{240} $ (exploiting symmetry) using the guide curve’s motion law. For a combined motion like “constant acceleration – Archimedean – constant acceleration,” the lift for a symmetric half is computed. The lift function for an Archimedean (constant velocity) segment is linear: $$ \Delta P(\theta) = C \cdot \theta $$ where $ C $ is a constant. For constant acceleration segments, it is parabolic: $$ \Delta P(\theta) = \frac{1}{2} A \theta^2 $$ where $ A $ is the acceleration constant.
- Base Circle Determination: The cam’s base circle diameter $ d_0 $ is chosen to ensure structural strength and to limit the pressure angle $ \beta $. The pressure angle should be kept below 35° to minimize side thrust and ensure smooth operation. For a radial cam with translating follower, the pressure angle is given by: $$ \tan \beta = \frac{\frac{d(\Delta P)}{d\theta}}{r_0 + \Delta P} $$ where $ r_0 $ is the base circle radius. We selected $ d_0 = 66 \text{ mm} $, ensuring $ \beta \leq 33^\circ $.
- Graphical Construction: Using a large-scale drawing (e.g., 5:1 or 10:1), plot the nominal cam profile. For each angle $ \theta_i $, the radial distance from the cam center is $ r(\theta_i) = r_0 + \Delta P(\theta_i) $.
- On the radial line at $ \theta_i $, locate point $ M $ at distance $ r(\theta_i) $.
- The grinding wheel of diameter $ d $ (equal to the whirl cutter diameter) must be tangent to the desired final profile. To find the corrected point, shift the wheel center along the radial line.
- From point $ M $, mark a point $ O’ $ further out along the radial line such that $ O’M = d/2 $.
- Find the center $ O” $ of a circle with diameter $ d $ that is tangent to the drawn nominal profile at a nearby point $ X $.
- The vector $ \overrightarrow{O’O”} $ represents the grinding wheel center displacement needed to achieve the correct local profile. The magnitude of this displacement, scaled down from the drawing, is the correction value $ \Delta P’_i $ to be added to the nominal lift $ \Delta P_i $ for that angle.
Thus, the corrected data for grinding becomes $ r_{\text{grind}}(\theta_i) = r_0 + \Delta P(\theta_i) + \Delta P'(\theta_i) $.
- Final Finishing: After indexed grinding using the corrected $ r_{\text{grind}} $ values, the cam profile is lightly polished with a fine oilstone to produce a smooth, continuous surface ready to guide the whirl cutter accurately.
The following table summarizes the key parameters for the whirl cutting and cam correction process:
| Parameter | Symbol | Value / Description | Purpose/Rationale |
|---|---|---|---|
| Cam Base Diameter | $d_0$ | 66 mm | Ensures strength and limits pressure angle $ \beta \leq 33^\circ$. |
| Cam Divisions | $N$ | 480 | Provides high resolution for accurate profile definition. |
| Follower Type | — | Square-form / Knife-edge | Eliminates roller-induced distortion in the final machined curve when paired with the corrected cam. |
| Grinding/Whirl Tool Diameter | $d$ | Equal to mechanism’s roller diameter | Essential for kinematic correctness in the whirl cutting process. |
| Graphical Scale | — | 5:1 or 10:1 | Amplifies errors, allowing manual correction with precision ~0.03 mm. |
| Correction Value | $ \Delta P’_i $ | Graphically determined for each $ \theta_i $ | Compensates for grinding wheel interference, ensuring the final cam produces the exact roller center trajectory. |
This meticulous approach to cam design and manufacturing is a precursor to high-precision machining. However, for the components themselves—especially those with complex internal geometries or stringent material requirements—a different foundational process is needed. This is where the application of precision lost wax casting becomes revolutionary.
The transition from intricate toolmaking to component fabrication is best exemplified by adopting precision lost wax casting. Initially applied to produce parts like hydraulic cylinder bodies and wear plates for excavators, the shift from traditional forging and sand casting to precision lost wax casting yielded dramatic improvements. The advantages are not merely incremental; they are transformative across several metrics, as shown in the comparison below for a hydraulic cylinder body:
| Metric | Traditional Forging | Precision Lost Wax Casting | Improvement |
|---|---|---|---|
| Manufacturing Process | Forging, Extensive Machining | Near-net-shape Casting, Minimal Machining | Process Simplification |
| Key Machining Steps | Rough turning, finish turning, milling, drilling, grinding | Primarily finish grinding and honing of critical surfaces | ~80-90% reduction in machining steps |
| Processing Time | ~6 hours | ~1.5 hours | 75% time saving |
| Component Weight | 15.9 kg | 9.5 kg | ~40% material saving |
| Material Integrity | Directional grain flow, potential for seams | Isotropic structure, minimal shrinkage (Grade 1 in macro-examination) | Superior and more consistent internal soundness |
Metallographic examination of cast cylinder bodies revealed a significantly reduced tendency for centerline and interdendritic shrinkage compared to conventional steel castings, with most sections achieving a Grade 1 rating. This demonstrates the capability of precision lost wax casting to produce dense, reliable components for demanding hydraulic applications.
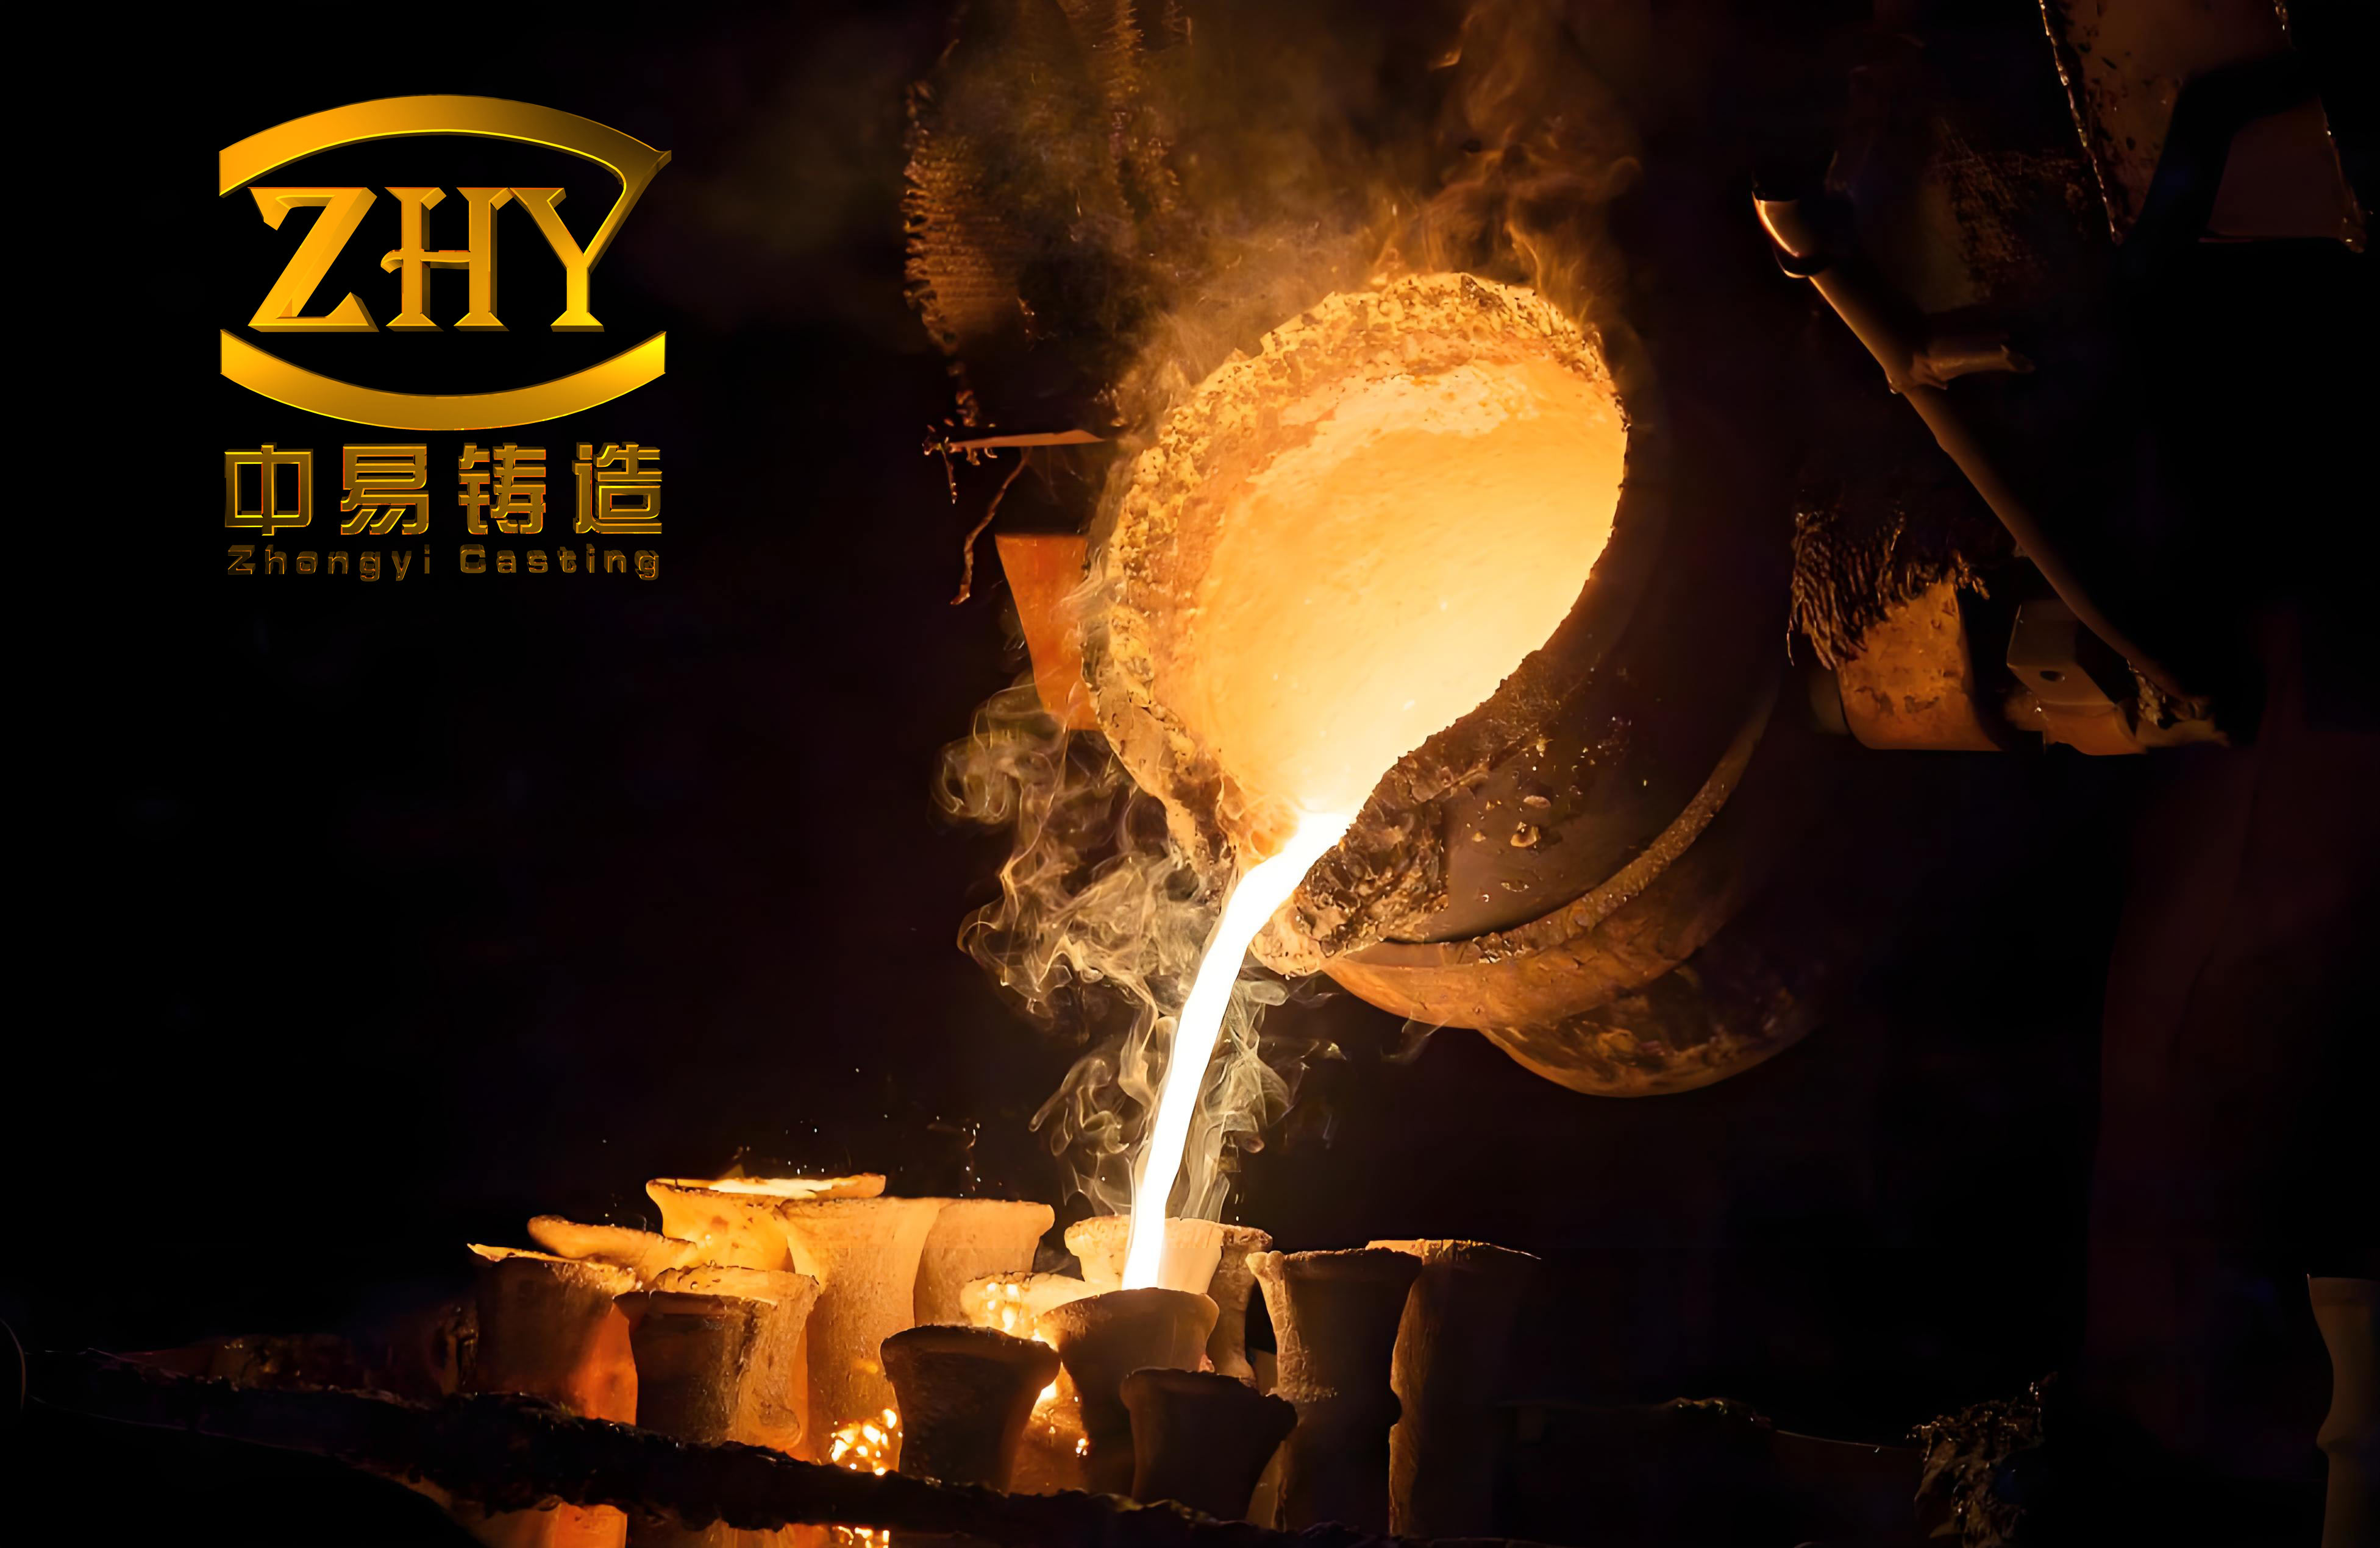
The Precision Lost Wax Casting Process: A Detailed Framework
The success of precision lost wax casting hinges on a controlled, multi-stage workflow. Our established process flow is as follows:
Pattern Making → Shell Building → Dewaxing & Firing → Melting & Pouring → Knockout & Cleaning → Heat Treatment → Finishing & Inspection.
1. Pattern (Wax Model) Formulation
The replicative fidelity of precision lost wax casting begins with the wax pattern. We use a blend of paraffin wax and stearic acid. The stearic acid improves wettability with the ceramic slurry and reduces shrinkage. Optimal ratios are determined empirically to ensure good flowability, minimal contraction, and sufficient green strength for handling.
| Blend Type | Paraffin Wax (%) | Stearic Acid (%) | Reclaimed Wax (%) | Application Note |
|---|---|---|---|---|
| Virgin Blend | 50 | 50 | 0 | Used for critical new patterns or master molds. |
| Production Blend | 65 | 35 | 0 | Standard balance of properties for most parts. |
| Reclaimed Blend | 15 | 35 | 50 | Economical blend for non-critical features, depends on reclaimed wax quality. |
The wax is injected into precision metal dies (the pattern dies) to produce accurate replicas of the final part, which are then assembled onto a central wax “tree” for batch processing.
2. Ceramic Shell Building: The Heart of Precision
Creating the sacrificial mold is the most critical phase in precision lost wax casting. A robust ceramic shell must replicate the wax pattern’s surface detail while withstanding the thermal shock of molten metal. The process involves successive dips in a refractory slurry (binder + fine flour) followed by stuccoing with coarse sand.
Slurry Composition: The binder is typically a modified sodium silicate (water glass) or hydrolyzed ethyl silicate. We use water glass for its cost-effectiveness. Its modulus (SiO2:Na2O ratio) and density are tightly controlled. If the modulus is low, it can be raised by adding ammonium chloride (NH4Cl) or hydrochloric acid (HCl). The slurry viscosity is paramount: too thin, and it won’t hold sufficient stucco; too thick, and it creates a rough surface finish.
The general slurry composition per 100 kg of refractory flour is:
- Refractory Flour (270 mesh): 100 kg
- Water Glass (Binder): 100-105 kg (measured by weight or specific gravity)
- Wetting Agent (e.g., Alkyl Benzene Sulfonate): ~0.05 kg
- Viscosity: Controlled between 21-35 seconds (measured by a flow cup), depending on the layer.
Stuccoing and Curing: After each slurry coat, the assembly is rained with a coarse refractory sand (e.g., 50/70 mesh for primary coats, 20/40 for intermediate, 10/20 for backup). The shell is then chemically cured in a hardening bath, typically an ammonium chloride solution, which gels the silicate binder. Two curing regimes are used:
| Layer | Slurry Type | Stucco Sand (Mesh) | Slow Cure Process | Fast Cure Process | ||
|---|---|---|---|---|---|---|
| Hardening Time (min) | Drying Time (min) | Hardener (NH4Cl) Conc. | Hardening Time (min) | |||
| 1st (Prime) | Face Coat | 50/70 | 5-10 | 30-40 | 18-22% | 1-2 |
| 2nd | Face Coat | 50/70 | 10-15 | 45-60 | 18-22% | 1-2 |
| 3rd | Intermediate | 20/40 | 15-20 | 45-60 | 23-25% | 2-3 |
| 4th & 5th | Backup | 10/20 | 15-20 | 60-90 | 23-25% | 3-5 |
| 6th & 7th* | Backup | 10/20 | 15-20 | 60-90 | — | — |
* For parts over 2 kg. Shells are typically built with 6-7 layers for adequate strength. After building, shells must air-dry for at least 48 hours at stable room temperature before dewaxing to prevent cracking.
3. Dewaxing, Firing, and Pouring
Dewaxing: The dried shell is subjected to steam or high-temperature water to melt out the wax pattern. For fast-cured shells, maintaining a 5-6% NH4Cl concentration in the dewaxing medium is crucial to prevent shell disintegration. Complex parts may use a combination of steam flash and hot water immersion.
Firing: The empty ceramic shell is fired to ~850-900°C. This serves multiple purposes: it burns out any residual wax, sinters the ceramic for maximum strength, and preheats the mold to reduce thermal shock during pouring. The firing cycle must account for the quartz inversion of silica sand at ~573°C, a phase change accompanied by volumetric expansion. A typical firing curve ramps up to 300°C slowly to drive off moisture, then heats rapidly through the inversion zone to the sintering temperature, followed by a soak.
The ideal pouring temperature for the mold is between 600-700°C. Molds should be poured in a single heating cycle. If a reheating is necessary, the temperature should not exceed 700°C to avoid degrading the ceramic strength.
4. Metallurgy and Finishing
The choice of alloy for precision lost wax casting is vast, encompassing carbon steels, alloy steels, stainless steels, and non-ferrous alloys like aluminum and cobalt-based superalloys. For our excavator components, low-carbon and low-alloy steels are common. The melting is done in induction or arc furnaces under controlled atmospheres to minimize oxidation. After knockout, the castings undergo stress-relief annealing, followed by abrasive cleaning (e.g., sand blasting) to remove the ceramic shell residue. Gate removal is done via cutoff wheels or band saws, and critical surfaces may receive a final light machining or grinding pass to meet tight dimensional tolerances, often to IT8-IT10 grades.
Technical Challenges and Future Directions in Precision Lost Wax Casting
Despite its advantages, several challenges persist in high-volume implementation of precision lost wax casting:
- Process Stability: Defect rates, particularly from shrinkage porosity and surface roughness variations, can fluctuate. Enhancing shell strength through improved slurry chemistry and optimizing feeding (gating) design using simulation software are key focus areas. The goal is to push the yield strength of the ceramic shell, $ \sigma_{\text{shell}} $, to withstand the metallostatic pressure $ P_m = \rho g h $, where $ \rho $ is the metal density, $ g $ is gravity, and $ h $ is the head height.
- Labor Intensity: The manual dipping and stuccoing process is laborious. Automation via robotic dipping arms and fluidized beds for stuccoing is essential for scaling production and improving consistency for larger parts.
- Environmental Control: Maintaining consistent workshop temperature (ideally >18°C) and humidity is vital for predictable slurry drying and curing rates, necessitating investment in climate control systems.
- Material Substitution: A major cost driver is the use of high-grade refractory materials and alloy charges. Research into alternative, lower-cost refractory systems (e.g., fused silica blends) and optimizing recycling streams for both ceramic and metal are ongoing.
- Cycle Time Reduction: Developing new binder systems that allow for rapid hardening and rapid drying without compromising shell permeability or strength is the “holy grail” for increasing throughput in precision lost wax casting.
- Design Expansion: The potential extends beyond “cast-to-cast” replacement. The future lies in “cast-to-weld” and “cast-to-forge” substitution—consolidating complex assemblies into single, robust precision lost wax castings, reducing weight, assembly time, and potential failure points.
In conclusion, the journey from designing a corrected cam for whirl cutting to implementing a full-scale precision lost wax casting operation underscores a holistic view of precision manufacturing. The cam enables the creation of precise tool paths, while precision lost wax casting enables the direct creation of complex components with minimal waste and machining. Both processes rely on principles of accurate replication, meticulous calculation, and controlled material transformation. The integration of these technologies—alongside advancements in automation and material science—paves the way for manufacturing heavier, more complex, and more reliable machinery components efficiently. The continued evolution of precision lost wax casting, in particular, promises to further blur the lines between casting, forging, and fabrication, offering engineers unprecedented freedom in design and production.