
In our sand casting foundry, the adoption of resol-coated sand (self-setting resin sand) has brought significant improvements in casting quality and dimensional accuracy. However, it also introduces unique challenges, particularly the high gas evolution rate and rapid gas generation of the resin binder. To avoid gas porosity defects and prevent prolonged erosion by high-temperature molten iron, we must implement high-speed pouring and rapidly establish metallostatic pressure. This ensures that the mold cavity is completely filled before substantial gas evolution occurs, and while the mold still possesses its high strength. Over years of practice in our sand casting foundry, we have developed a systematic approach to gating system design specifically tailored for resin self-setting sand molds. This article summarizes my personal experience and the design rules we employ, covering pouring time, sprue/runner/gate area ratios, ingate location, shape, and practical examples.
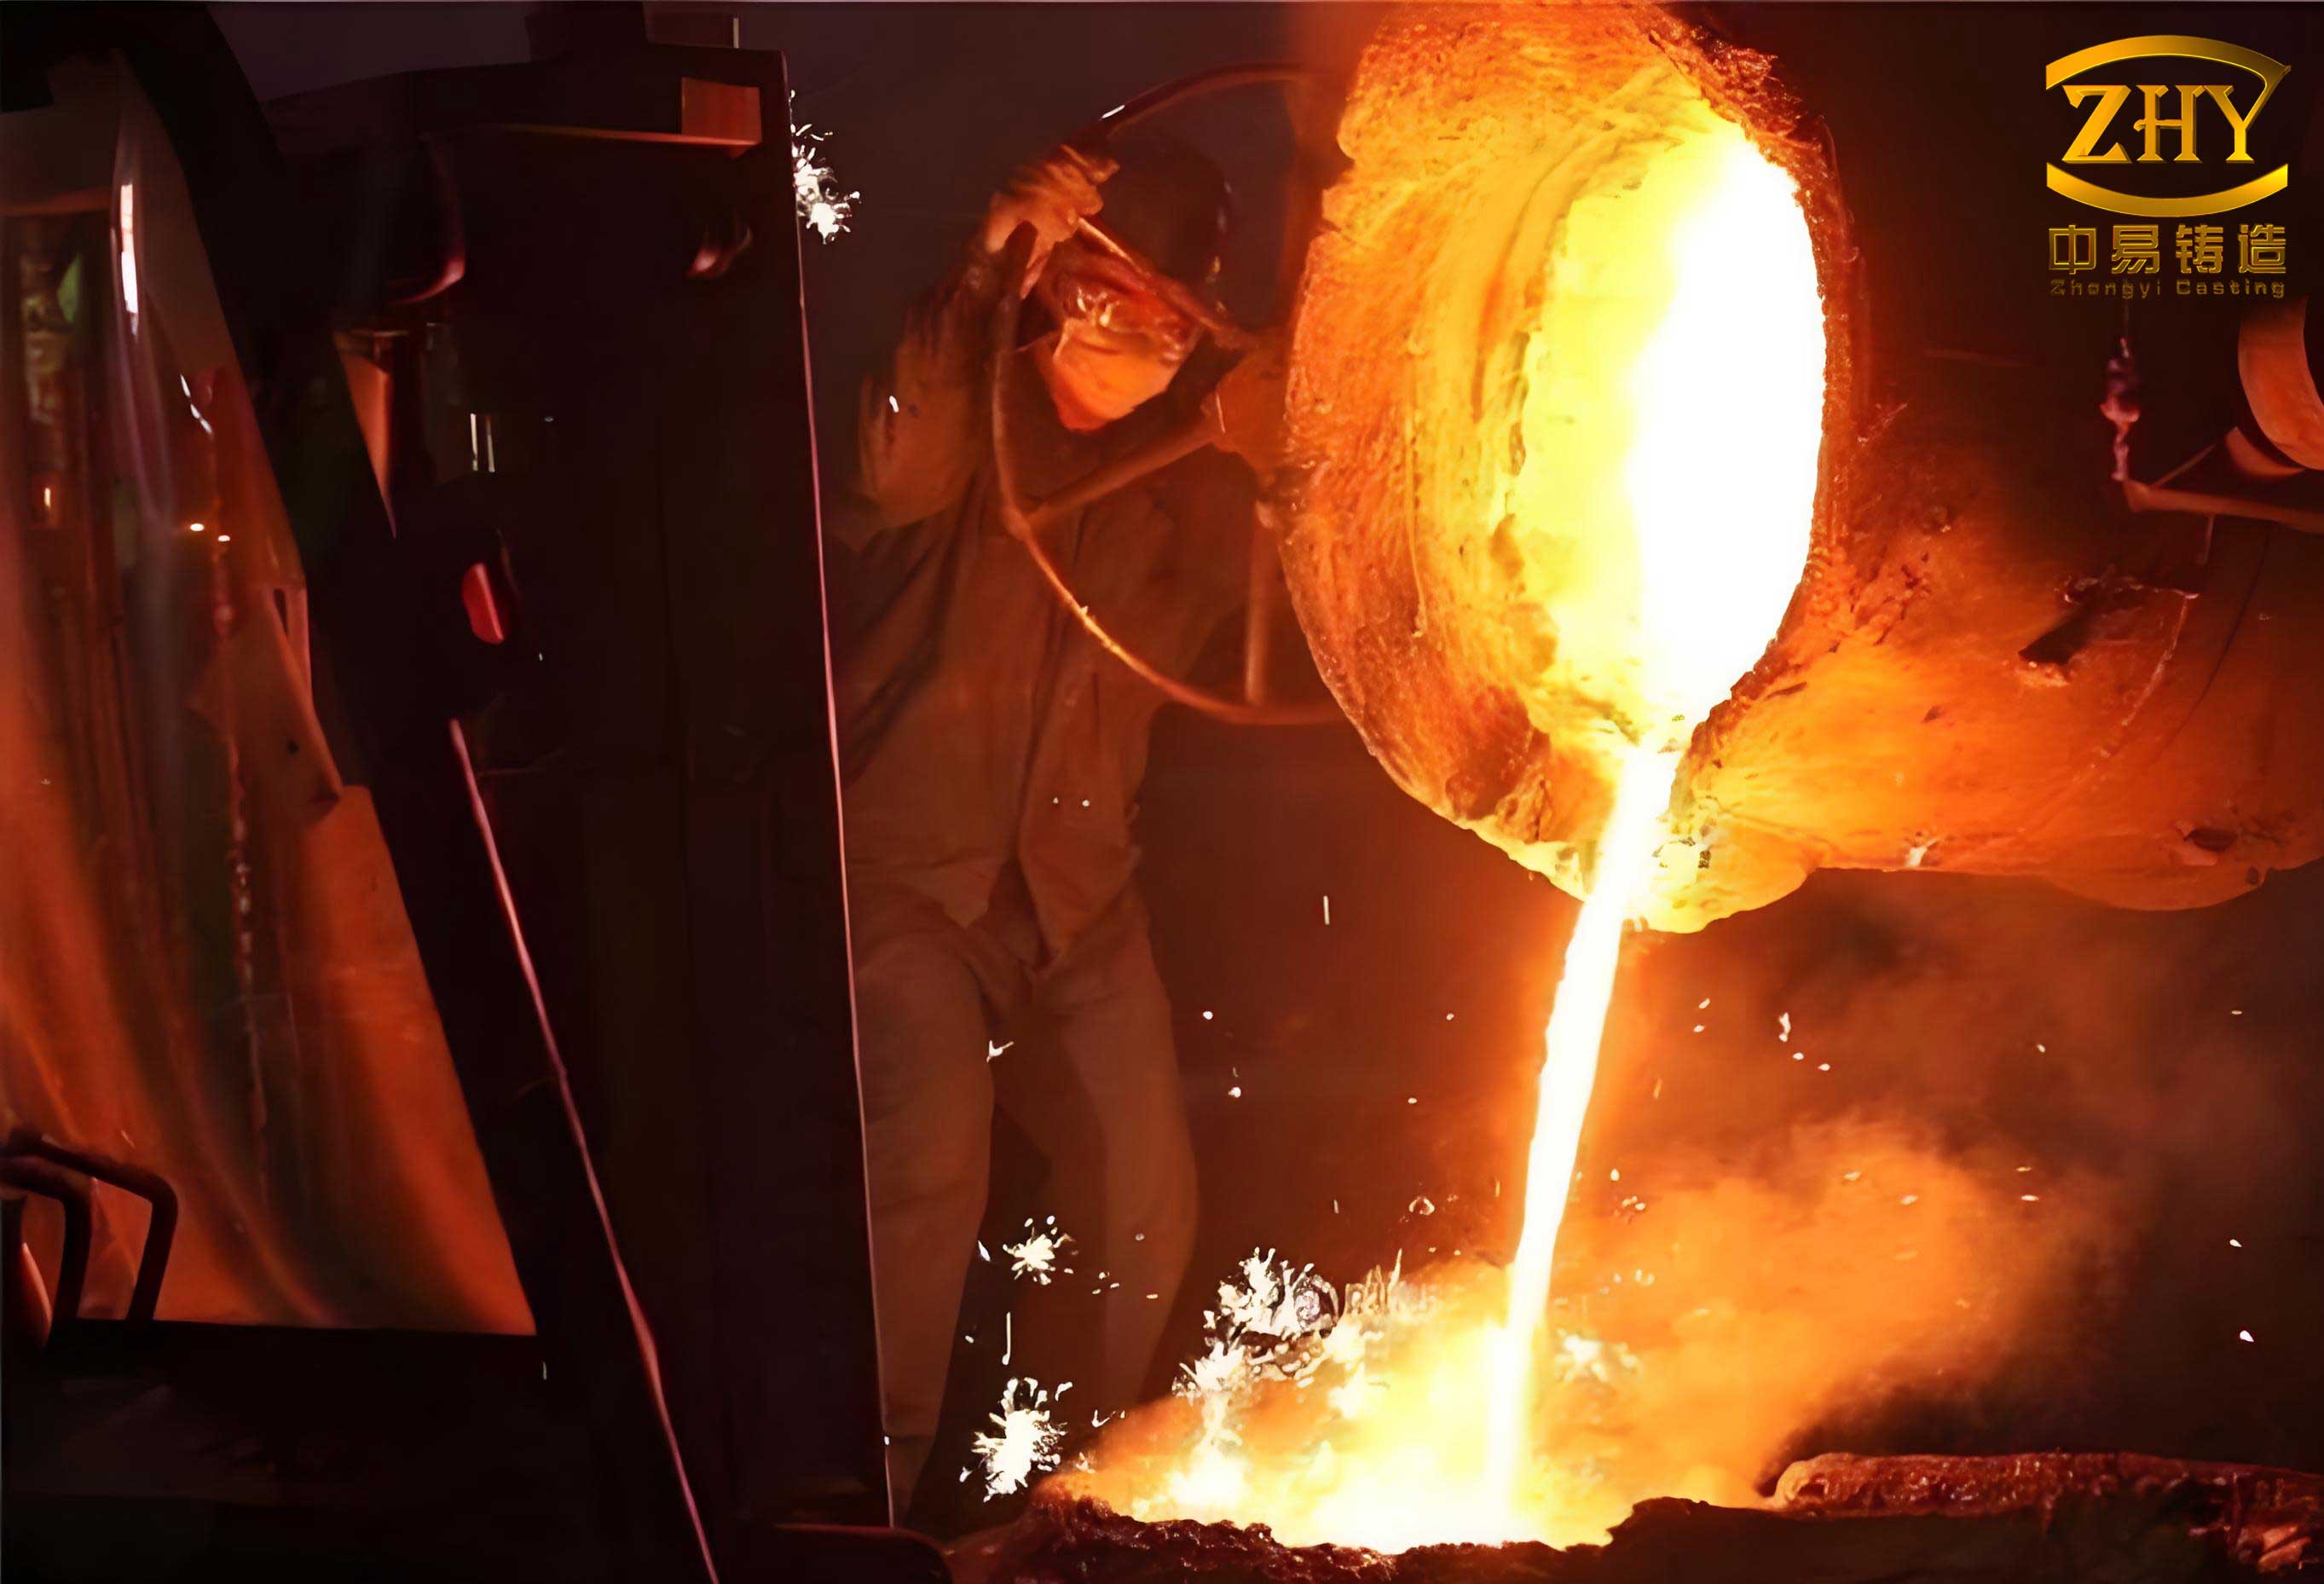
The fundamental principle we follow in our sand casting foundry is to use a pressurized (closed) gating system. This approach helps maintain a high flow velocity and rapid filling, which is critical for resin sand molds. The following sections detail the calculation methods and empirical rules we have adopted.
Pouring Time Calculation
Pouring time is the first parameter we determine. Based on extensive trials in our sand casting foundry, we use a rapid pouring empirical formula:
$$ t = k \sqrt{G} $$
where:
- \( t \) – pouring time (seconds)
- \( G \) – total weight of molten iron required for the mold (kg)
- \( k \) – empirical coefficient, typically ranging from 1.5 to 2.5 for gray iron, depending on casting complexity and section thickness. For compact solid castings, we use lower values (e.g., 1.8).
This formula reflects the need for fast filling in resin sand foundry to minimize gas pick-up. The value of \( k \) is selected based on the casting’s geometry and the average metallostatic head. We also calculate the average head \( H_{avg} \) as follows:
$$ H_{avg} = \frac{H_{top} + H_{bottom}}{2} $$
where \( H_{top} \) and \( H_{bottom} \) are the heights of the top and bottom of the casting cavity relative to the sprue top, respectively. For top gating, \( H_{avg} \) is simply the sprue height minus half the casting height. For bottom gating, it is the sprue height minus the full casting height. The pouring time is then checked against the allowable mold erosion time; typical values in our foundry are 15–40 seconds for medium castings.
Gating System Area Ratios
We employ a pressurized (closed) gating system with the following ratio of effective cross-sectional areas:
$$ A_{sprue} : A_{runner} : A_{gate} = 1 : 1.5 : 1.2 $$
This ratio is derived from flow coefficient considerations. The flow coefficients used for sprue, runner, and gate in our sand casting foundry are:
- Sprue coefficient \( \mu_s = 0.80 \)
- Runner coefficient \( \mu_r = 0.70 \)
- Gate coefficient \( \mu_g = 0.60 \)
The effective area ratio (accounting for flow losses) is then obtained by dividing the actual areas by the respective coefficients:
$$ \frac{A_{sprue, eff}}{A_{runner, eff}} = \frac{A_s / \mu_s}{A_r / \mu_r} = \frac{1/0.80}{1.5/0.70} = 0.875 \approx 0.88 $$
$$ \frac{A_{sprue, eff}}{A_{gate, eff}} = \frac{1/0.80}{1.2/0.60} = 0.625 $$
These effective ratios ensure that the system remains pressurized throughout, preventing aspiration of air and slag. The following table summarizes the typical coefficients and area ratios we use.
| Component | Flow coefficient \( \mu \) | Actual area ratio (reference: sprue=1) | Effective area ratio |
|---|---|---|---|
| Sprue | 0.80 | 1.0 | 1.25 |
| Runner | 0.70 | 1.5 | 2.14 |
| Gate | 0.60 | 1.2 | 2.00 |
Ingate Total Area Calculation
The total ingate cross-sectional area is calculated using the large orifice discharge theory. The formula we apply in our sand casting foundry is:
$$ A_g = \frac{G}{\mu \cdot t \cdot 0.31 \cdot \sqrt{H_g}} $$
where:
- \( A_g \) – total ingate area (cm²)
- \( G \) – liquid iron weight (kg)
- \( \mu \) – overall flow coefficient, taken as 0.5 for resin sand
- \( t \) – pouring time (s)
- \( H_g \) – effective head at the ingate (cm)
- 0.31 – empirical constant representing \( \rho \cdot \sqrt{2g} \) dimensionless combination for gray iron (density ~7.0 g/cm³)
The ingate head \( H_g \) depends on the gating location. For top gating:
$$ H_g = H_{sprue} – \frac{h_{casting}}{2} $$
For middle gating (gates at parting line):
$$ H_g = H_{sprue} – h_{casting} $$
For bottom gating:
$$ H_g = H_{sprue} – \frac{h_{casting}}{2} \quad \text{(or sometimes } H_{sprue} – h_{casting} \text{, depending on practice)} $$
where \( H_{sprue} \) is the static head from the top of the sprue to the parting line (or to the gate level), and \( h_{casting} \) is the total height of the casting cavity.
Ingate Location and Shape
In resin sand casting foundry, the placement of ingates is crucial for feeding and for controlling the temperature gradient. We follow these rules:
- Top gating is preferred for compact solid castings with moderate height, as it allows smooth upward filling and enhances self-feeding capability.
- Middle gating (gates at the parting plane) is used for thin-walled castings or those with large height, to avoid excessive erosion and splashing.
- Bottom gating is avoided unless absolutely necessary, because it tends to create a strong temperature gradient and may lead to directional solidification problems.
- Ingates should be placed on thick sections of the casting to facilitate feeding and to take advantage of graphite expansion during solidification (self-feeding).
- For machine tool castings, ingates are often placed on the guide rail surface (which is later machined) to ensure reliable feeding.
Regarding the shape of ingates, we use three common types:
- Pressing gate (pressing ingate): a narrow slot with width generally 2–4 mm. This creates a local hot spot that solidifies early, effectively acting as a choke to prevent backflow during graphite expansion.
- Flat thin gate: width less than 5 mm, used when ingates are placed on machined surfaces to minimize local grain coarsening.
- Shower gate (rain gate): multiple small circular ingates, used for large flat plates or cylinders to distribute metal evenly.
The following table summarizes the design parameters for ingates in our sand casting foundry.
| Ingate Type | Width (mm) | Thickness (mm) | Typical Application |
|---|---|---|---|
| Pressing gate | 2–4 | equal to slot length | Compact solid castings, self-feeding |
| Flat thin gate | ≤5 | 2–4 | Machine tool castings (guide rail area) |
| Shower gate (rain gate) | diameter 3–8 | – | Large plates, cylinders |
Temperature Field Control
One of the challenges unique to resin sand casting foundry is the excellent thermal insulation of the resin sand mold. This can lead to pronounced directional temperature gradients during solidification. If the gradient is too strong, columnar grains may grow toward the upstream direction of the flowing metal, resulting in a zone of porosity (spongy structure) that appears as discolored spots after machining. To prevent this, we control the temperature field by:
- Using multiple, dispersed ingates to reduce the overall temperature gradient.
- Applying rapid pouring to fill the mold quickly and establish a uniform temperature distribution.
- Avoiding excessive superheat; pouring temperature is kept high enough to ensure fluidity but low enough to minimize thermal shock.
For compact solid castings, we often use a multi-ingate system (e.g., 4–6 ingates) arranged symmetrically. The following formula is used to estimate the number of ingates:
$$ n = \frac{A_{g, total}}{A_{g, single}} $$
where \( A_{g, single} \) is the area of one typical gate (e.g., 2 cm² for a pressing gate). The individual gate dimensions are then derived from Table 2.
Practical Examples from Our Foundry
I will now present three case studies that illustrate the application of these principles in our sand casting foundry. Each example includes the calculated pouring time, ingate area, and final ingate configuration.
Example 1: Machine Tool Worktable
Material: Gray iron, hardness > 200 HB, six machined faces, no defects allowed. Casting weight \( G = 350 \) kg (hypothetical). Top gating is used.
Step 1 – Pouring time:
$$ t = 1.8 \sqrt{350} = 1.8 \times 18.71 = 33.7 \text{ s} \approx 34 \text{ s} $$
Step 2 – Static head: Sprue height \( H_{sprue} = 60 \) cm, casting height \( h_{casting} = 30 \) cm.
$$ H_g = 60 – \frac{30}{2} = 45 \text{ cm} $$
Step 3 – Ingate area:
$$ A_g = \frac{350}{0.5 \times 34 \times 0.31 \times \sqrt{45}} = \frac{350}{0.5 \times 34 \times 0.31 \times 6.708} = \frac{350}{35.36} \approx 9.9 \text{ cm}^2 $$
Step 4 – Ingate configuration: Use pressing gates with width 3 mm. Slot length per gate: assume 2 cm² per gate. Number of gates: \( 9.9 / 2 = 4.95 \), choose 5 gates. Each gate: width 3 mm, length 66 mm (to get 2 cm²).
Example 2: Flat Plate
Material: Gray iron, weight \( G = 180 \) kg. Top gating, casting height 15 cm, sprue height 50 cm.
$$ t = 1.8 \sqrt{180} = 24.1 \text{ s} $$
$$ H_g = 50 – 15/2 = 42.5 \text{ cm} $$
$$ A_g = \frac{180}{0.5 \times 24.1 \times 0.31 \times \sqrt{42.5}} = \frac{180}{0.5 \times 24.1 \times 0.31 \times 6.519} = \frac{180}{24.36} \approx 7.4 \text{ cm}^2 $$
Choose shower gates of 5 mm diameter (area 0.196 cm² each). Number: \( 7.4 / 0.196 \approx 38 \) gates. We typically use two rows of 19 gates each.
Example 3: Machine Tool Bed
Material: Gray iron, weight \( G = 1200 \) kg. Middle gating (gates at parting line), casting height 60 cm, sprue height 80 cm.
$$ t = 1.8 \sqrt{1200} = 62.4 \text{ s} $$
$$ H_g = 80 – 60 = 20 \text{ cm} $$
$$ A_g = \frac{1200}{0.5 \times 62.4 \times 0.31 \times \sqrt{20}} = \frac{1200}{0.5 \times 62.4 \times 0.31 \times 4.472} = \frac{1200}{43.27} \approx 27.7 \text{ cm}^2 $$
Use flat thin gates: width 4 mm, thickness 3 mm, area 0.12 cm² per cm length. If each gate is 8 cm long, area = 0.96 cm². Number: \( 27.7 / 0.96 \approx 29 \) gates. Place them symmetrically along the bed length.
The following table summarizes the three examples.
| Casting | Weight (kg) | Pouring time (s) | \( H_g \) (cm) | \( A_g \) (cm²) | Ingate type | Number |
|---|---|---|---|---|---|---|
| Worktable | 350 | 34 | 45 | 9.9 | Pressing | 5 |
| Flat plate | 180 | 24 | 42.5 | 7.4 | Shower (rain) | 38 |
| Machine bed | 1200 | 62 | 20 | 27.7 | Flat thin | 29 |
Selection of Other Foundry Process Parameters
Beyond gating design, the success of a resin sand casting foundry depends on correct selection of pattern draft, machining allowance, shrinkage allowance, and core design. I will now discuss these based on our experience.
Pattern Draft
In resin sand molding, the pattern is withdrawn from the mold without rapping or vibration, which improves dimensional accuracy but requires sufficient draft. We recommend:
- Generally larger draft than in green sand, typically 1°–3° for external surfaces.
- For machined surfaces, draft can be increased to 2°–4°.
- For vertical faces taller than 300 mm, use a split pattern or draw-back cores to reduce draft.
- For deep cavities (e.g., bed ways), use a removable core rather than a steep draft.
Machining Allowance
Resin sand provides better surface finish and dimensional stability, so machining allowances can be reduced by 1–2 mm compared to green sand practice. For castings requiring two artificial aging treatments, the allowance should be increased by 0.5–1 mm to avoid black spots after machining. The following table gives our standard allowances.
| Casting dimension (mm) | Upper surface | Lower/side surface |
|---|---|---|
| < 250 | 3 | 2 |
| 250–500 | 4 | 3 |
| 500–1000 | 5 | 4 |
| > 1000 | 6 | 5 |
Shrinkage Allowance
Resin sand has high rigidity and poor collapsibility, which restricts contraction. Therefore, we use slightly lower shrinkage allowances than for green sand. For gray iron, we typically use 0.8–1.0% (linear) for simple shapes, and 0.5–0.8% for complex shapes. In some cases, we apply different allowances along length, width, and height directions. The following table lists our shrinkage factors.
| Casting type | Length | Width | Height |
|---|---|---|---|
| Simple (plate, block) | 1.0 | 1.0 | 0.8 |
| Complex (bed, box) | 0.8 | 0.7 | 0.6 |
| Thin-walled (<10 mm) | 0.6 | 0.5 | 0.5 |
Core Design
To reduce dimensional errors and simplify molding, we strive to eliminate loose cores by using integral core prints (integral cores) in the pattern wherever possible. For cores that are placed in the cope (top part), integral cores are especially beneficial because they avoid the need for separate core setting. The following guidelines are applied:
- For undercuts and complex internal cavities, use self-setting resin sand core boxes with the same resin system as the mold.
- Core prints should have a 5°–10° draft for easy placement.
- Use core vents to allow gas escape during pouring; vents should be at least 5 mm wide in section.
Riser and Vent Design
Resin sand casting can often be made without conventional risers because of the graphitic expansion of gray iron. However, we always incorporate open risers (atmospheric vents) at the highest points of the casting cavity, and also use “overflow risers” to allow gas and early slag to escape. These vents are of small cross-section (round < 8 mm diameter, or rectangular < 5 mm width). For very thick sections local to the casting, small blind risers (pressing risers or neck-down risers) may be used for liquid feeding.
Conclusion
In our sand casting foundry, the design of the gating system and process parameters for resin self-setting sand molds must account for the unique characteristics of the binder: high gas evolution, thermal insulation, and high strength. By adopting pressurized gating, rapid pouring, controlled ingate location and shape, and appropriate draft and shrinkage allowances, we have consistently achieved high-quality iron castings with minimal defects. The formulas and tables presented here serve as practical guidelines for any sand casting foundry transitioning to resin sand technology. I hope that sharing our experience will benefit other foundry engineers facing similar challenges.