
I treat investment casting as a complete manufacturing system rather than a single shop-floor operation. In my work on precision components, especially complex impellers and thin-walled fluid machinery parts, I have found that the quality of an investment casting is determined long before metal is poured. It is shaped by pattern design, wax behavior, shell integrity, gating logic, thermal history, centrifugal force, vacuum quality, and the discipline of inspection. When I analyze an investment casting project, I begin with the required geometry, then move backward through tooling, pattern, shell, burnout, melting, pouring, and finishing. This backward chain is the most reliable way I know to connect process parameters with final component performance.
I also consider investment casting to be one of the most adaptable precision metal-forming routes available. It allows me to produce intricate internal passages, thin sections, undercuts, and near-net shapes that would be difficult or impossible to machine economically. For titanium components, the value of investment casting is even higher because titanium is difficult to cut, reacts readily at high temperature, and requires tightly controlled melting and pouring. My focus is therefore not only on making a sound casting but on making a repeatable investment casting process that can be controlled, measured, and improved.
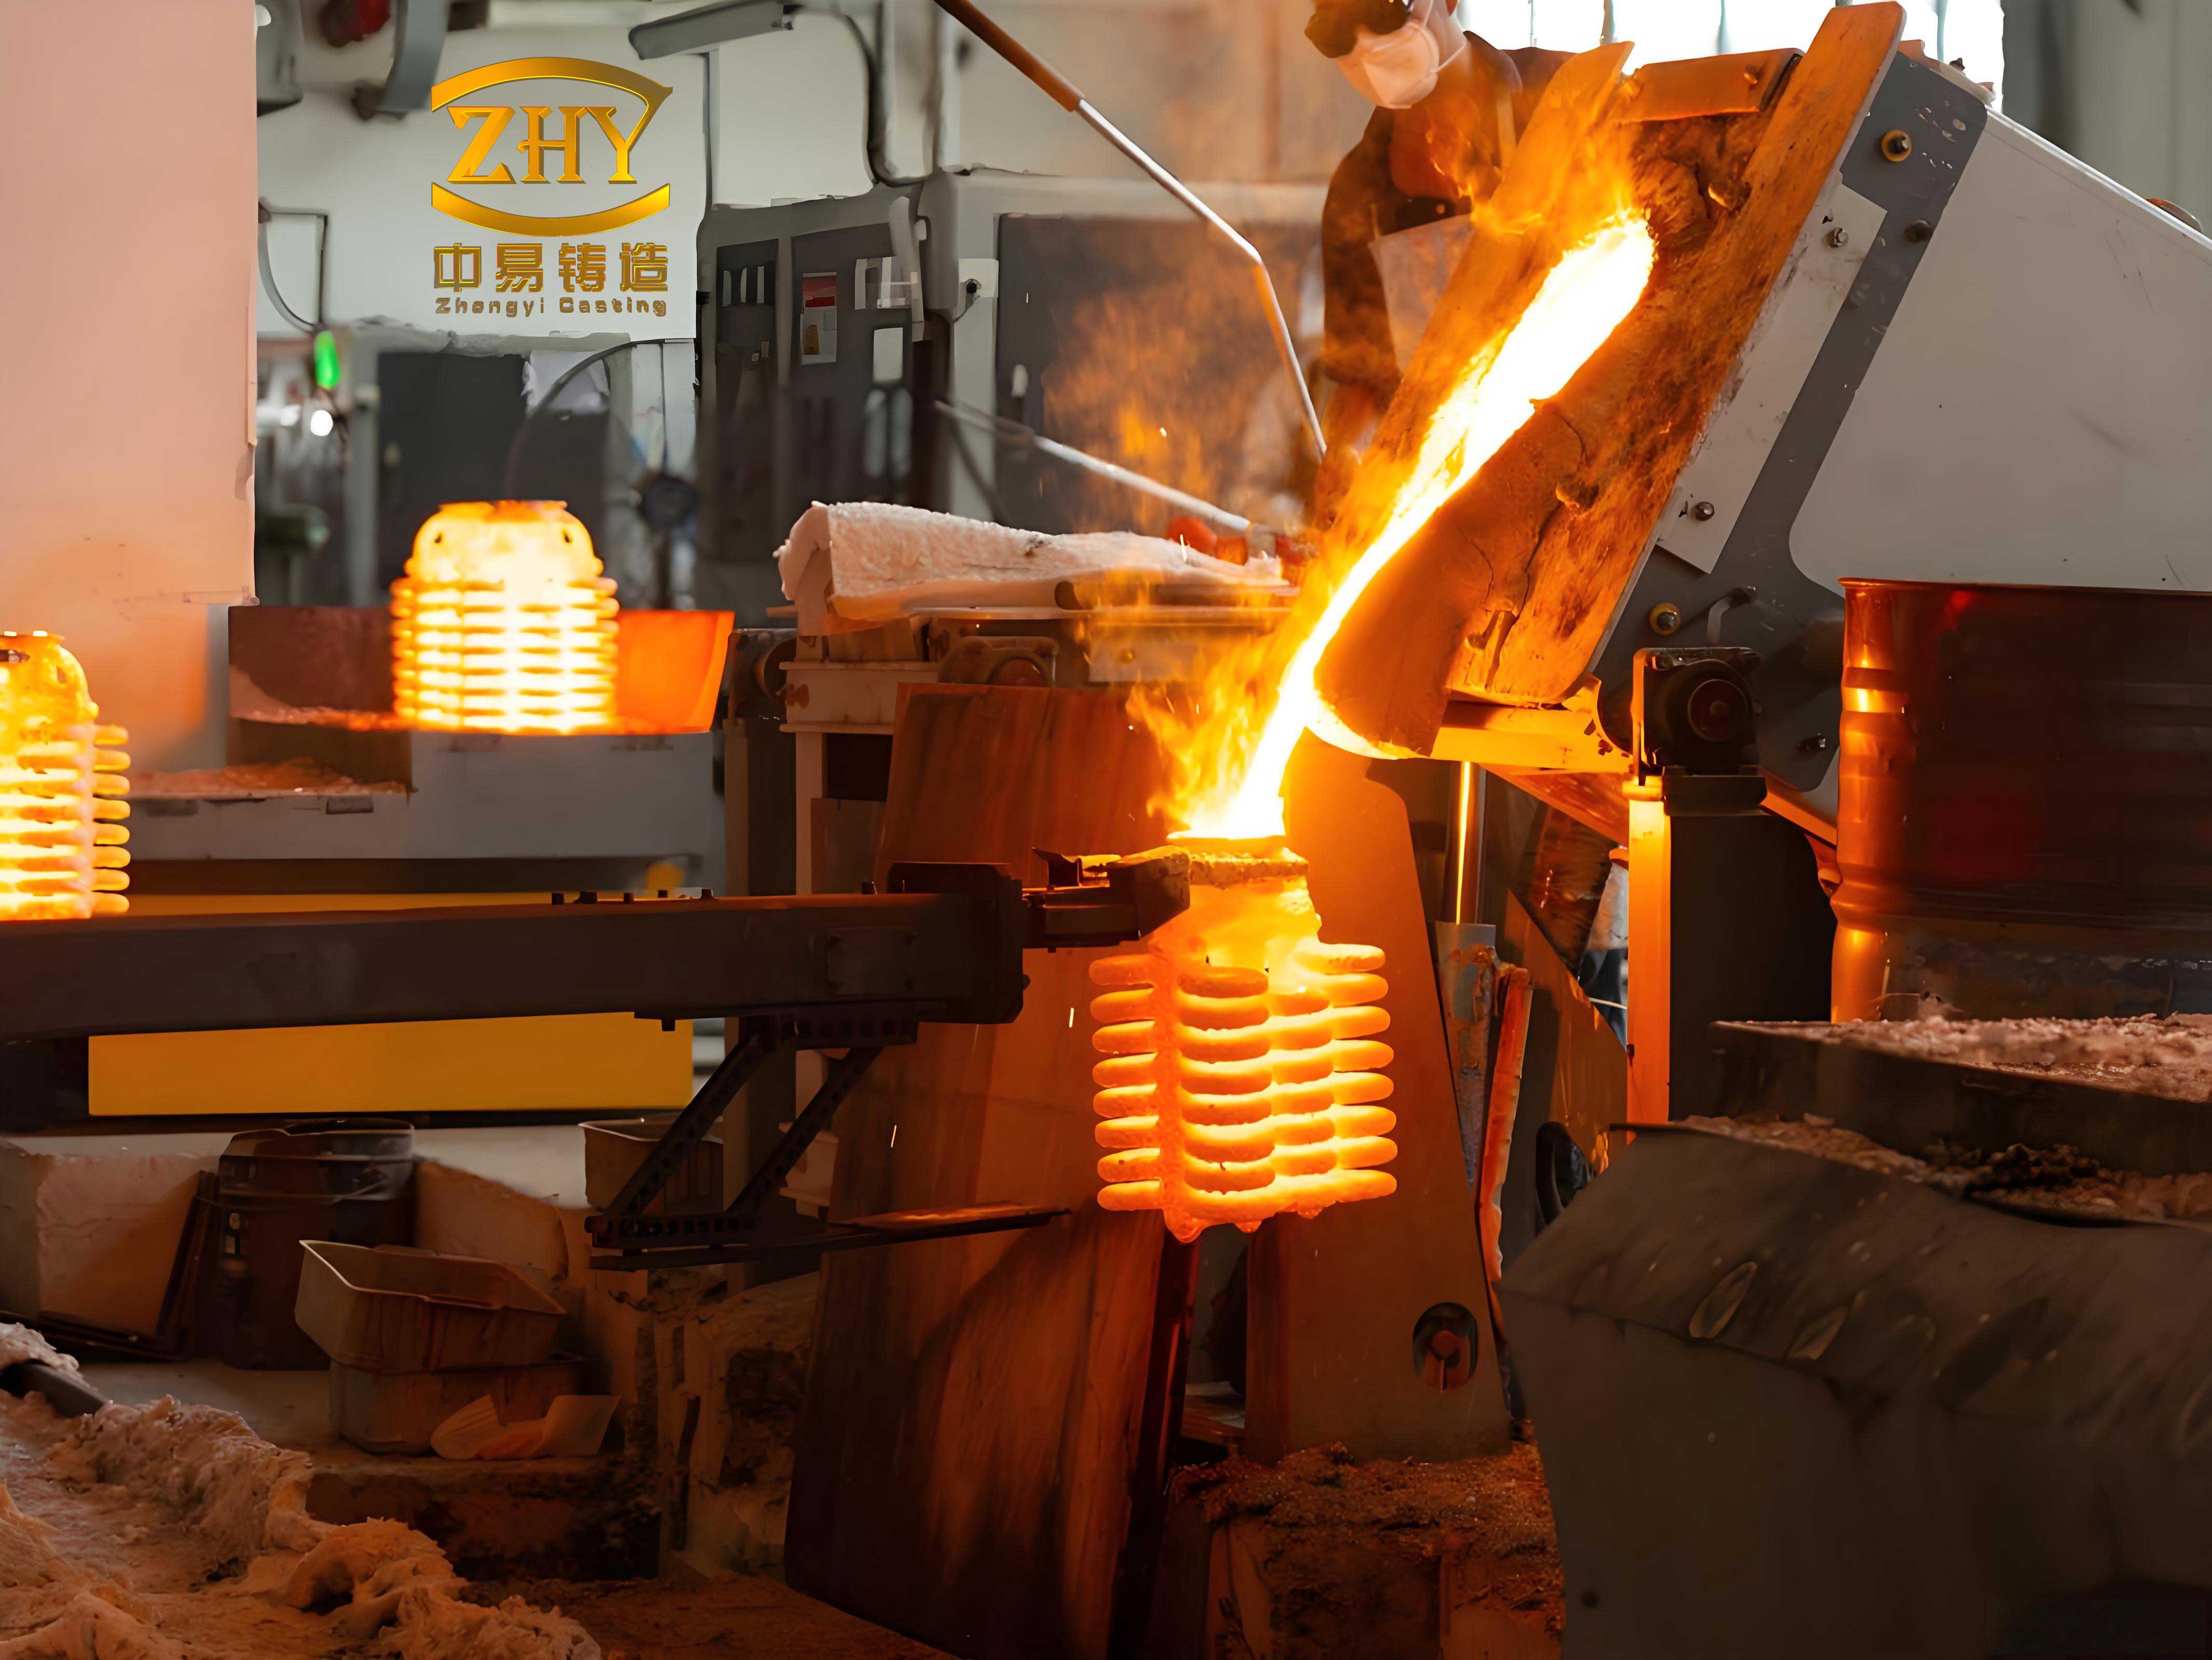
In my experience, investment casting succeeds when the process window is narrow but fully understood. A wide process window often hides variation. A narrow, well-characterized window gives me confidence that every shell, every melt, and every pour is following the same physical rules. I therefore rely heavily on tables, parameter logs, simulation, and first-principle formulas. The equations are not decoration. They help me decide how much shrinkage allowance to apply, how fast to rotate a centrifugal mold, how long to dry a ceramic layer, and how to diagnose a defect before it becomes a batch problem.
My systems view of investment casting can be summarized by the following relationship:
$$Y = f(G, M, S, T, P, V, C)$$
Here, \(Y\) is the final casting quality, \(G\) is geometry and design intent, \(M\) is material behavior, \(S\) is shell and mold condition, \(T\) is thermal history, \(P\) is pouring and filling behavior, \(V\) is vacuum and atmosphere control, and \(C\) is cleaning, finishing, and inspection discipline. I use this relationship as a mental checklist. If a defect appears, I do not immediately change the pouring temperature. I first ask which term in the relationship has become unstable.
Table 1. Why I choose investment casting for complex parts
| Requirement | How investment casting helps | What I must control |
|---|---|---|
| Complex geometry | Ceramic shell replicates fine pattern detail and internal passages | Pattern accuracy, shell permeability, dewaxing completeness |
| Thin walls | Near-net shape reduces machining and material waste | Filling velocity, superheat, shell preheat, gating |
| High surface finish | Pattern surface transfers into the mold cavity | Pattern resin quality, slurry viscosity, stucco uniformity |
| Tight dimensions | Controlled shrinkage compensation and stable tooling | Wax shrinkage, alloy shrinkage, thermal expansion |
| Reactive alloys | Vacuum or inert atmosphere limits contamination | Face-coat chemistry, vacuum level, leak rate |
| Batch repeatability | Process parameters can be logged and statistically controlled | Temperature, time, pressure, current, voltage, speed |
I define the investment casting route as a sequence of transformations. Each transformation changes dimensions, surface condition, chemistry, or internal structure. If I do not account for each change, the final casting will not match the design. The most important transformations are wax injection, shell building, dewaxing, burnout, melting, pouring, solidification, and finishing.
Table 2. Investment casting process stages and my control points
| Stage | Purpose | Primary variables | Typical risk |
|---|---|---|---|
| Pattern design | Define shrink allowance and parting logic | Shrink factor, draft, fillets, datum scheme | Dimensional drift, tool mismatch |
| Wax injection | Form disposable pattern | Wax temperature, injection pressure, hold time, die temperature | Sink marks, flash, short shot, warpage |
| Pattern assembly | Connect patterns to runner and sprue | Gate size, angle, weld quality | Misalignment, turbulent flow, loose inclusions |
| Shell building | Create ceramic mold | Slurry viscosity, stucco size, drying time, layer count | Weak shell, cracks, poor surface |
| Dewaxing | Remove wax from shell | Temperature, pressure, time, drainage | Shell cracking, residual wax, ash |
| Burnout | Sinter shell and remove residue | Peak temperature, holding time, heating rate | Incomplete burn, distortion, reactivity |
| Melting | Prepare liquid metal | Current, voltage, vacuum, superheat | Gas pickup, inclusions, low superheat |
| Pouring | Fill mold cavity | Pouring temperature, speed, centrifugal force, atmosphere | Cold shut, misrun, turbulence, porosity |
| Solidification | Form final structure | Thermal gradient, cooling rate, feed path | Shrinkage porosity, hot tears, segregation |
| Finishing | Remove shell, gates, and surface defects | Cutting method, grinding, polishing, cleaning | Damage, residual stress, surface contamination |
| Inspection | Verify quality | X-ray, dimensional scan, penetrant, roughness | Escaped defects, false rejects |
I begin with the dimensional chain because it is the most unforgiving part of investment casting. The pattern is not the final part. The mold is not the final part. The metal contracts. The ceramic expands. The wax shrinks. Every stage adds or removes length. I therefore calculate the pattern dimension from the final drawing using a combined shrink factor. A practical form I use is:
$$D_p = D_f \left(1 + s_w\right)\left(1 + s_m\right)\left(1 + s_s\right)$$
where \(D_p\) is the pattern dimension, \(D_f\) is the final casting dimension, \(s_w\) is the wax shrinkage, \(s_m\) is the metal shrinkage, and \(s_s\) is the shell or process correction. For medium-temperature waxes, I usually find \(s_w\) in the range of \(0.009\) to \(0.013\), or \(0.9\%\) to \(1.3\%\). For titanium alloys, I often use a metal shrinkage allowance near \(1.0\%\), but I adjust it according to section thickness, gating, and measured production data. I never treat these values as universal constants. They are starting points that must be validated by casting trials.
Thermal expansion is another dimension I cannot ignore. When the shell is heated, its cavity changes size. When the metal cools, it contracts. I use the standard linear expansion relationship:
$$\Delta L = L_0 \alpha \Delta T$$
where \(\Delta L\) is the change in length, \(L_0\) is the original length, \(\alpha\) is the coefficient of thermal expansion, and \(\Delta T\) is the temperature change. I combine this with the shrinkage equation when I need a more complete dimensional model. In investment casting, the interaction between ceramic shell expansion and metal contraction can determine whether a thin wall cracks, warps, or stays within tolerance.
I also monitor the shell thickness because it controls strength, permeability, and heat transfer. A simple additive model is:
$$t_s = \sum_{i=1}^{n} t_i$$
where \(t_s\) is the total shell thickness and \(t_i\) is the thickness contributed by each coating layer. In practice, I target a face coat that reproduces surface detail, transition layers that build strength, and backup layers that provide mechanical support. The face coat must be fine and chemically stable. The backup layers must be strong enough to resist pouring pressure and thermal shock, but not so thick that they trap gases or create excessive residual stresses.
Slurry viscosity is one of the most sensitive variables in shell building. If the slurry is too thin, the face coat drains away from sharp edges. If it is too thick, it bridges fine features and produces rounded corners. I use a flow cup or viscometer to track slurry condition, and I record temperature and humidity because both affect drying. A useful first-order relationship for drying is:
$$t_d \propto \frac{L^2}{D}$$
where \(t_d\) is drying time, \(L\) is layer thickness, and \(D\) is an effective diffusivity. This relationship tells me that doubling the layer thickness can quadruple the drying time. That is why I prefer multiple thin layers instead of one thick layer. It is also why I control airflow and humidity around the shell-building area.
During filling, I need to avoid turbulence that can entrain gas and oxide films. A helpful dimensionless indicator is the Reynolds number:
$$Re = \frac{\rho v D_h}{\mu}$$
where \(\rho\) is density, \(v\) is velocity, \(D_h\) is hydraulic diameter, and \(\mu\) is dynamic viscosity. In investment casting, I do not always calculate \(Re\) for every gate, but I use the principle behind it. Higher velocity and larger passage size increase inertial effects. Lower viscosity makes turbulence more likely. I therefore design gating to promote smooth, progressive filling, especially for reactive titanium alloys.
Solidification is governed by heat extraction. Chvorinov’s rule gives me a practical estimate of solidification time:
$$t_s = B \left(\frac{V}{A}\right)^n$$
where \(t_s\) is solidification time, \(V\) is casting volume, \(A\) is surface area, \(B\) is a mold constant, and \(n\) is usually close to \(2\). For a given alloy and shell condition, sections with a high volume-to-area ratio stay liquid longer. Those sections need a feed path. If the feed path is missing or becomes blocked, shrinkage porosity forms. I use this rule when I compare an impeller hub, blade, and shroud. The hub often has the highest thermal mass, so it must be fed properly.
Cooling rate is another parameter I track:
$$\dot{T} = \frac{T_p – T_m}{t_c}$$
where \(\dot{T}\) is the cooling rate, \(T_p\) is the pouring temperature, \(T_m\) is the mold temperature, and \(t_c\) is a characteristic cooling time. A faster cooling rate usually refines the microstructure, but it can also increase thermal gradients and residual stress. A slower cooling rate improves feeding in some sections but may coarsen the structure. In investment casting, the goal is not simply fast or slow cooling. The goal is directional cooling from the feeder toward the mold wall.
Table 3. Wax pattern parameters I monitor
| Parameter | Typical range | Effect if too low | Effect if too high |
|---|---|---|---|
| Wax temperature | 60 C to 75 C | Short shot, incomplete fill | Flash, sink marks, long cycle |
| Die temperature | 20 C to 30 C | Poor surface, weld lines | Slow cooling, distortion |
| Injection pressure | 0.2 MPa to 0.8 MPa | Short shot, weak detail | Flash, high residual stress |
| Hold time | 5 s to 30 s | Sink marks | Low productivity |
| Wax shrinkage | 0.9% to 1.3% | Oversize casting | Undersize casting |
| Pattern cleanliness | No dust, no oil | Poor shell adhesion | Not applicable |
I consider pattern assembly to be a hidden source of variation. Every runner, gate, and joint changes the flow path. If a gate is too small, the mold may not fill. If it is too large, the yield drops and the cleaning cost rises. If the gate angle is wrong, the metal jet may strike the shell and erode it. For titanium investment casting, I prefer a gating design that fills the cavity with minimal free fall and minimal splashing. The gate should feed the thickest section and allow the thinnest section to fill without freezing prematurely.
I use a simple gate area ratio as a design guide:
$$A_s : A_r : A_g = 1 : 2 : 4$$
where \(A_s\) is the sprue area, \(A_r\) is the runner area, and \(A_g\) is the total gate area. This ratio is not universal, but it expresses the principle that the gate should not act as a bottleneck. For centrifugal casting, I also check the balance of the mold. An unbalanced mold can create vibration, shell cracking, and inconsistent fill. I therefore distribute gates symmetrically whenever the part geometry allows.
Table 4. Shell-building schedule I use for complex titanium investment casting
| Layer group | Coating material | Stucco or reinforcement | Drying condition | Purpose |
|---|---|---|---|---|
| Face coat | Yttria with zirconium acetate binder | Fine yttria | Controlled humidity, 12 h or more | Chemical stability and surface finish |
| Transition layers | Yttria-based slurry | Fine refractory sand | 12 h or more per layer | Detail retention and gradual strength |
| Backup layers 1 to 5 | Silica sol binder with mullite | Mullite sand | 12 h or more per layer | Mechanical strength |
| Backup layers 6 to 8 | Silica sol binder with mullite | Coarser mullite, wire mesh at layer 6 | 8 h or more per layer | Thermal shock resistance and reinforcement |
| Final layer | Slurry only | No stucco | 8 h or more | Seal and handleability |
| Burnout | Not applicable | Not applicable | 1050 C for 4 h to 6 h | Sinter shell and remove residue |
My face-coat choice is critical for titanium investment casting. Titanium is highly reactive at high temperature. It can reduce many oxides and form brittle phases. I therefore prefer a face coat that is thermodynamically stable in contact with liquid titanium. Yttria is one of the most useful face-coat materials for this purpose. I combine it with a suitable binder and control the powder-to-liquid ratio carefully. A typical starting ratio is between \(1:1.0\) and \(1:2.5\), but I adjust it according to viscosity, coverage, and shell strength. The goal is a uniform face coat that penetrates fine features without bridging them.
Dewaxing is where many shell failures begin. If the wax expands too quickly, the shell cracks. If the wax is not fully removed, ash remains and reacts with the metal. I use autoclave dewaxing or flash dewaxing depending on shell chemistry and geometry. The key variables are temperature, pressure, heating rate, and drainage. For precision work, I keep temperature variation within a narrow band, often within \(\pm 1\) C for sensitive stages. I also design the pattern assembly with drainage paths so that liquid wax can escape without building pressure.
Burnout follows dewaxing. I use burnout to sinter the ceramic shell and remove residual carbon. The peak temperature and holding time must be high enough to burn out organic residue but not so high that the shell sinters excessively or reacts with the face coat. In my titanium work, I often use a peak temperature near \(1050\) C and hold for \(4\) to \(6\) hours. I control the heating rate to avoid thermal shock. For SLA patterns, the burnout behavior is different from wax because the resin decomposes differently. I therefore design the pattern with internal hollows and vent paths so that decomposition gases can escape before the shell is sealed.
Melting and pouring are the heart of titanium investment casting. Titanium melts at a high temperature, and its superheat window is narrow. If the superheat is too low, the metal freezes before filling thin blades. If the superheat is too high, the metal reacts more aggressively with the shell and picks up oxygen, nitrogen, and hydrogen. I use vacuum arc melting with a water-cooled copper crucible and a skull of the same alloy. The skull protects the melt from copper contamination and helps stabilize the process. I control current, voltage, vacuum level, and electrode feed rate. A typical set of trial parameters might include a melting current of \(1.5 \times 10^4\) A, a voltage near \(40\) V, and a vacuum level better than \(4\) MPa, but the exact values depend on furnace design and charge size.
Table 5. Melting and pouring variables for titanium investment casting
| Variable | Role | Risk if too low | Risk if too high |
|---|---|---|---|
| Melting current | Provides energy for melting | Incomplete melting, low superheat | Excessive evaporation, shell reaction |
| Voltage | Controls arc stability | Unstable arc | Arc damage, localized overheating |
| Vacuum level | Limits gas contamination | Oxygen and nitrogen pickup | Excessive evaporation of alloy elements |
| Argon pressure | Protects melt and controls plasma | Poor arc stability | Gas entrapment |
| Superheat | Ensures filling | Cold shut, misrun | Reaction, coarse structure |
| Pouring speed | Controls mold filling | Cold shut, incomplete fill | Turbulence, shell erosion |
| Centrifugal speed | Improves filling and feeding | Porosity, misrun | Shell cracking, segregation |
Centrifugal casting is especially useful for thin-walled titanium impellers. The centrifugal force increases the effective pressure on the liquid metal, which improves filling and feeding. I calculate the required rotational speed using the relationship between centrifugal acceleration and gravity:
$$a_c = R \left(\frac{2\pi n}{60}\right)^2 = G g$$
Rearranging gives:
$$n = \frac{60}{2\pi}\sqrt{\frac{G g}{R}}$$
where \(n\) is rotational speed in revolutions per minute, \(R\) is the radius in meters, \(G\) is the gravity multiplier, and \(g\) is gravitational acceleration. In shop-floor practice, I use an empirical form:
$$n = k \sqrt{\frac{G}{R}}$$
where \(k\) is a constant that depends on unit selection and machine calibration. If \(G\) is greater than \(10\), I usually expect better feeding and densification, but I must also check shell strength. Excessive centrifugal force can crack the shell, cause mold shift, or produce segregation. For a complex impeller, I often begin with a speed between \(200\) and \(250\) rpm and then optimize it through simulation and trial pours.
Table 6. Defect diagnosis in investment casting
| Defect | Likely cause | My corrective action |
|---|---|---|
| Cold shut | Low superheat, slow fill, thin wall, cold shell | Increase superheat, improve gating, raise shell preheat, increase centrifugal speed |
| Misrun | Insufficient filling pressure or premature freezing | Enlarge gates, increase pouring speed, optimize venting |
| Shrinkage porosity | Poor feed path, isolated thick section | Add or resize feeder, use bottom gating, improve directional solidification |
| Gas porosity | Entrapped gas, shell outgassing, turbulent flow | Improve venting, reduce turbulence, control slurry chemistry |
| Shell cracking | Rapid heating, weak shell, excessive centrifugal force | Slow heating rate, add backup layers, balance mold, reduce speed |
| Surface reaction | Reactive face coat, high temperature, long contact time | Use stable face coat, reduce superheat, shorten pour time |
| Warpage | Uneven cooling, weak pattern, poor support | Improve fixture, control cooling, adjust shrink allowance |
| Inclusions | Ceramic fragments, loose sand, dirty melt | Improve shell handling, filter melt, clean assembly area |
I have applied this defect logic to a titanium impeller with a maximum outer dimension of approximately \(80\) mm by \(300\) mm and a minimum blade thickness of about \(6\) mm. The part operates in a corrosive fluid environment and must maintain dynamic balance. That means the casting must be dimensionally accurate, internally sound, and resistant to corrosion. Industrial pure titanium is an attractive material for this application because it offers excellent corrosion resistance and good toughness, but it also creates process challenges. Its melting point is high, its superheat is limited, and it reacts readily with oxygen and nitrogen.
Table 7. Titanium impeller requirements and process implications
| Requirement | Why it matters | Investment casting implication |
|---|---|---|
| Dynamic balance | High-speed rotation | Uniform wall thickness, low porosity, accurate bore and shroud |
| Corrosion resistance | Aggressive fluid environment | Clean titanium surface, minimal contamination, stable face coat |
| Thin blades | Fluid efficiency and weight | High superheat control, fast fill, centrifugal assistance |
| Internal soundness | Fatigue and pressure resistance | Proper feeding, directional solidification, hot isostatic pressing if needed |
| Dimensional accuracy | Assembly and balance | Wax and metal shrink compensation, stable shell, controlled cooling |
| Surface finish | Flow efficiency and corrosion | Fine face coat, clean pattern, controlled slurry viscosity |
For this type of impeller, I compare top gating and bottom gating carefully. Top gating is simple and can provide a direct feed path, but it may produce turbulence and localized overheating. Bottom gating fills more smoothly and can reduce cold shuts, but it requires a more complex runner system and may create a temperature gradient that is unfavorable for feeding. In my trials, a top-pour system with a central sprue and inclined gates sometimes produced visible shrinkage porosity near the rim. The cause was not one single parameter. It was a combination of low superheat, high thermal mass in the hub, and poor feeding of the thin blade tips.
Table 8. Comparison of top gating and bottom gating for a titanium impeller
| Feature | Top gating | Bottom gating |
|---|---|---|
| Filling pattern | Metal falls from top and fills downward | Metal rises from bottom and fills upward |
| Turbulence risk | Higher | Lower |
| Feeding of thick hub | Can be effective if gate placement is correct | Requires careful riser design |
| Cold shut risk | Higher in thin blades | Lower because fill is smoother |
| Shell erosion | More likely at impact points | Less likely |
| Tooling complexity | Lower | Higher |
| My preferred use | Simple thick-section parts | Complex thin-walled impellers |
In the improved design, I used a bottom-pour system with a spherical-bottom refractory centrifugal cup. I introduced the ingate at the bottom center of the casting and kept the runner and ingate cross-section near \(60\) mm. I did not change the melting current, voltage, or centrifugal speed at first. Instead, I changed the flow path and the thermal gradient. I then used finite element simulation to compare filling and solidification. The simulation showed that the bottom-gated design reduced the cold shut tendency and moved the last solidifying region toward the feeder. When I ran the trial, the visible shrinkage defects on the rim were significantly reduced.
Table 9. Trial production parameters and improvement logic
| Parameter | Initial trial | Improved trial | Reason for change |
|---|---|---|---|
| Gating type | Top pour with five inclined gates | Bottom pour with central bottom ingate | Reduce turbulence and cold shut |
| Sprue diameter | 60 mm | 60 mm | Maintain fill capacity |
| Gate angle | 25 degrees | Optimized by simulation | Improve flow direction |
| Melting current | 15 kA | 15 kA | Isolate gating effect |
| Voltage | 40 V | 40 V | Maintain arc stability |
| Centrifugal speed | 250 rpm | 250 rpm initially | Compare filling behavior |
| Mold preheat | Controlled | Controlled | Maintain comparable thermal state |
| Inspection | Visual and dimensional | Visual, dimensional, X-ray | Confirm internal soundness |
I also use stereolithography, often called SLA, in investment casting when the part geometry is complex and the production volume is low. SLA creates a polymer pattern directly from a digital model. This eliminates the need for a wax injection die, which is a major cost and lead-time advantage for prototypes and small batches. In a closed impeller for a high-speed centrifugal fan, the outer profile can be large and the blade thickness can be very small, sometimes around \(2.5\) mm. The inner cavity is narrow, and the surface finish requirement can be as fine as \(Ra \le 6.3\). Producing separate wax parts for the hub and shroud and then assembling them introduces alignment errors, weld lines, and dimensional variation. SLA avoids that assembly step.
However, SLA patterns are not simply a drop-in replacement for wax. Photopolymer resin has different thermal expansion, decomposition, and ash behavior. If the pattern is solid, it can expand rapidly during burnout and crack the shell. I therefore design the SLA pattern with a hollow interior and internal vent paths. I also add vents at thick blade roots and at the impeller outlet. These vents allow decomposition gases to escape before the shell becomes fully sintered. After burnout, I use compressed air to remove residual gases and ash from the shell cavity.
Table 10. SLA pattern design rules I use for investment casting
| Design issue | Risk | My rule |
|---|---|---|
| Solid pattern | Thermal expansion cracks shell | Hollow the pattern and add internal cavities |
| Thick resin sections | Slow decomposition, ash residue | Reduce wall thickness or add drain paths |
| Closed internal volume | Gas pressure during burnout | Add vents to the outside of the shell |
| Fine blade edges | Damage during handling | Use support structures and careful orientation |
| Surface roughness | Poor casting finish | Optimize print orientation and post-cure |
| Resin compatibility | Shell reaction or incomplete burn | Validate burnout cycle and use stable face coat |
For titanium SLA investment casting, I use a face coat based on yttria because it is stable at high temperature and resists reaction with liquid titanium. I combine it with a zirconium-based binder and control the powder-to-liquid ratio. The exact ratio depends on the slurry formulation, but I usually begin between \(1:1.0\) and \(1:2.5\). I then apply multiple backup layers using a silica sol binder and mullite stucco. I dry each layer under controlled temperature and humidity. For the first five backup layers, I allow at least \(12\) hours of drying. For the next three layers, I allow at least \(8\) hours. I add a wire mesh at layer six to increase shell strength. The final layer is slurry only, with no stucco, to seal the surface.
After shell building, I do not always dewax the SLA pattern in the same way as wax. In some cases, I place the shell directly into a high-temperature furnace so that the resin burns out and collapses before the shell expands excessively. This is a delicate balance. If the heating rate is too fast, the shell cracks. If it is too slow, the resin may leave ash. I use a programmable furnace and a validated burnout profile. A peak temperature near \(1050\) C with a hold of \(4\) to \(6\) hours is a reasonable starting point for many titanium shells, but I adjust it based on shell size, wall thickness, and resin chemistry.
Pouring titanium into a ceramic shell requires a vacuum or inert atmosphere. I use a vacuum consumable electrode skull furnace for melting and centrifugal casting. The skull helps protect the melt from contamination. The vacuum level must be high enough to prevent oxygen and nitrogen pickup. Argon can be used to stabilize the arc and protect the melt. The alloy chemistry must be controlled before melting. For a typical titanium alloy, I track elements such as vanadium, nitrogen, silicon, and hydrogen. Even small amounts of interstitial elements can reduce ductility and corrosion resistance.
Table 11. Equipment used in investment casting and its function
| Equipment | Function | Key control variables | Why I use it |
|---|---|---|---|
| Wax injection press | Form wax patterns | Temperature, pressure, hold time | Repeatable pattern dimensions |
| Slurry mixer | Prepare ceramic slurry | Viscosity, density, temperature | Uniform face coat and backup layers |
| Shell drying room | Cure ceramic layers | Temperature, humidity, airflow | Prevent cracks and incomplete drying |
| Autoclave dewaxer | Remove wax from shell | Pressure, temperature, time | Reduce shell cracking and ash |
| Burnout furnace | Sinter shell and remove residue | Heating rate, peak temperature, hold time | Strong, clean mold cavity |
| Vacuum arc skull furnace | Melt reactive alloys | Current, voltage, vacuum, electrode feed | Contamination control for titanium |
| Centrifugal casting machine | Fill thin sections and feed shrinkage | Rotational speed, mold balance, acceleration | Improved fill and density |
| Cutoff and grinding station | Remove gates and shell | Cutting speed, coolant, force | Prevent damage and residual stress |
| Shot blast or sand blast | Clean casting surface | Media type, pressure, angle | Remove ceramic residue |
| Ultrasonic cleaner | Clean internal passages | Frequency, temperature, time | Remove fine debris |
| X-ray inspection | Detect internal defects | Voltage, current, exposure angle | Verify soundness |
| 3D scanning | Check dimensions | Scan resolution, reference alignment | Confirm shrink compensation |
I do not think of automation as a replacement for craftsmanship in investment casting. I think of it as a way to make craftsmanship repeatable. A skilled operator can feel when a slurry is right or when a shell is dry. An automated system can measure that condition and reproduce it. I therefore combine sensors, recipe control, and human inspection. For example, I use temperature and humidity sensors in the drying room, load cells on the slurry mixer, and current and voltage logging on the melting furnace. I also use machine vision to check pattern dimensions and surface defects. The data helps me trace a defect back to the exact process step.
A useful overall equipment effectiveness metric for an investment casting cell is:
$$OEE = Availability \times Performance \times Quality$$
where availability is the ratio of planned production time to actual runtime, performance is the ratio of actual output to ideal output, and quality is the ratio of good castings to total castings. I track these three factors separately because they point to different problems. Low availability suggests maintenance or changeover issues. Low performance suggests cycle time or robot motion issues. Low quality suggests process drift, shell problems, or melting instability. I prefer this decomposition to a single overall number.
I also use statistical process control for critical dimensions and defects. If a dimension drifts, I check wax temperature, die temperature, injection pressure, and shell expansion. If porosity increases, I check superheat, vacuum level, gate design, and shell preheat. If surface roughness increases, I check slurry viscosity, stucco size, and pattern surface. This cause-and-effect mapping is the foundation of my investment casting improvement work.
Table 12. Inspection methods and what they reveal
| Method | Detects | Limitations | My use case |
|---|---|---|---|
| Visual inspection | Surface cracks, cold shuts, flash, incomplete fill | Cannot see internal defects | First-line screening |
| Dimensional inspection | Length, angle, runout, wall thickness | Destructive or contact limitations | Critical interfaces |
| 3D scanning | Full-field geometry deviation | Requires clean surface and alignment | Shrink compensation validation |
| X-ray radiography | Internal porosity, inclusions, cracks | Orientation sensitivity | Titanium impeller soundness |
| Dye penetrant | Surface-breaking defects | Only surface defects | Finished machined surfaces |
| Ultrasonic testing | Internal discontinuities | Geometry dependent | Thick sections |
| Metallography | Microstructure, alpha case, contamination | Destructive | Process qualification |
| Chemical analysis | Alloy composition and interstitial elements | Requires sample | Melt verification |
| Roughness measurement | Surface finish | Local measurement | Flow-critical passages |
When I design a titanium investment casting process, I also consider hot isostatic pressing. HIP can close internal porosity and improve fatigue life. It is especially useful for impellers and other safety-critical parts. However, HIP is not a substitute for good casting practice. If the porosity is connected to the surface or if the shell has reacted with the metal, HIP may not solve the problem. I therefore use HIP as a final densification step after the casting has been cleaned and inspected. The HIP temperature, pressure, and time must be chosen to avoid grain growth and distortion.
I also pay attention to gate removal and surface finishing. Titanium is sensitive to contamination from grinding wheels and cutting tools. I use dedicated tools and clean procedures. If a grinding wheel contains iron or other reactive elements, it can leave contamination that reduces corrosion resistance. I therefore use controlled cutting, coolant, and cleaning. After gate removal, I use shot blasting or sand blasting with media that will not contaminate the surface. I then use ultrasonic cleaning for internal passages. Finally, I inspect the surface for alpha case or reaction layers. If needed, I use chemical milling to remove a controlled amount of surface material.
Table 13. Economic and sustainability levers in investment casting
| Lever | Effect on cost | Effect on quality | My action |
|---|---|---|---|
| Gate yield | Less metal returned to melt | Needs stable filling | Optimize gate size and layout |
| Shell thickness | Lower material and energy use | Must maintain strength | Use minimum validated thickness |
| Burnout cycle | Lower energy consumption | Must remove residue | Optimize heating rate and hold time |
| Melt superheat | Lower energy and less reaction | Must fill thin sections | Use centrifugal force and gating to reduce superheat |
| Scrap rate | Direct cost reduction | Direct quality improvement | Use SPC and defect mapping |
| Automation | Lower labor variation | Higher repeatability | Use sensors and recipe control |
| Shell recycling | Lower waste disposal | Must avoid contamination | Separate materials and validate reuse |
I see a strong link between investment casting and digital manufacturing. A digital model can be used for SLA pattern printing, simulation, dimensional inspection, and process documentation. When I use simulation, I compare filling, solidification, and stress. The simulation does not replace trial pours, but it reduces the number of trials. It helps me see where the last liquid region will be, where the metal velocity is highest, and where the shell may be stressed. I use simulation to test gating changes before I cut tooling. This is especially valuable for titanium because each trial is expensive.
A simple thermal gradient criterion I use is:
$$G_L = \frac{T_{hot} – T_{cold}}{L}$$
where \(G_L\) is the thermal gradient, \(T_{hot}\) is the temperature in the liquid region, \(T_{cold}\) is the temperature in the solid region, and \(L\) is the distance between them. A favorable gradient points toward the feeder. If the gradient is reversed, the last liquid may be isolated in the casting rather than in the feeder. That is when shrinkage porosity appears. I use this criterion when I review simulation results and when I place chills or insulation.
I also use a feeding criterion based on the modulus:
$$M = \frac{V}{A}$$
where \(M\) is the geometric modulus, \(V\) is volume, and \(A\) is cooling surface area. The feeder modulus must be larger than the casting modulus in the section it feeds. In practice, I use a safety factor:
$$M_f \ge 1.2 M_c$$
where \(M_f\) is the feeder modulus and \(M_c\) is the casting modulus. This helps me size feeders for thick hubs and flanges. For thin blades, the modulus is small, so they freeze quickly. The challenge is to fill them before they freeze and then feed the hub without creating a hot spot in the blade.
I have learned that investment casting is a process of balancing opposites. I want high superheat for filling, but low superheat for surface quality. I want a strong shell for handling and pouring, but a permeable shell for gas escape. I want fast cooling for fine microstructure, but slow cooling for feeding. I want a simple gate for low cost, but a complex gate for smooth filling. The optimum is rarely at either extreme. It is a controlled compromise.
Table 14. Key performance indicators I use for investment casting development
| Indicator | Definition | Target direction | Why it matters |
|---|---|---|---|
| Dimensional capability | \(C_p\) and \(C_{pk}\) for critical dimensions | Higher | Ensures assembly and balance |
| Porosity level | Area percentage or ASTM grade | Lower | Fatigue and pressure integrity |
| Surface roughness | \(Ra\) or \(Rz\) | Lower | Flow efficiency and corrosion |
| Yield | Good parts divided by total parts | Higher | Cost and capacity |
| Cycle time | Time per shell or per melt | Lower | Productivity |
| Shell scrap rate | Cracked or rejected shells divided by total shells | Lower | Material and labor loss |
| Melt utilization | Cast weight divided by charged weight | Higher | Energy and material efficiency |
| First-pass inspection rate | Parts passing first inspection divided by total | Higher | Process stability |
| Rework rate | Parts requiring repair divided by total | Lower | Hidden cost |
| On-time delivery | Orders delivered on schedule | Higher | Customer confidence |
My first-person conclusion is that investment casting rewards discipline more than improvisation. I do not look for a single magic parameter. I look for a stable process window in which wax, shell, melt, pour, and solidification all behave predictably. I use tables to record the window. I use formulas to estimate the physics. I use simulation to test the design. I use inspection to verify the result. I use production data to improve the next cycle. This cycle of measurement and correction is what turns investment casting from an art into a reliable precision manufacturing technology.
For complex titanium impellers and thin-walled fluid machinery components, I believe the future of investment casting lies in tighter integration between digital design, SLA or wax pattern generation, ceramic shell engineering, vacuum melting, centrifugal filling, and automated inspection. The more I understand each step, the more I can reduce defects, shorten development time, and improve the performance of the final casting. Investment casting will remain a critical route for high-value components because it can create geometries and material properties that other processes cannot match economically. My role is to make that route repeatable, measurable, and continuously improving.