
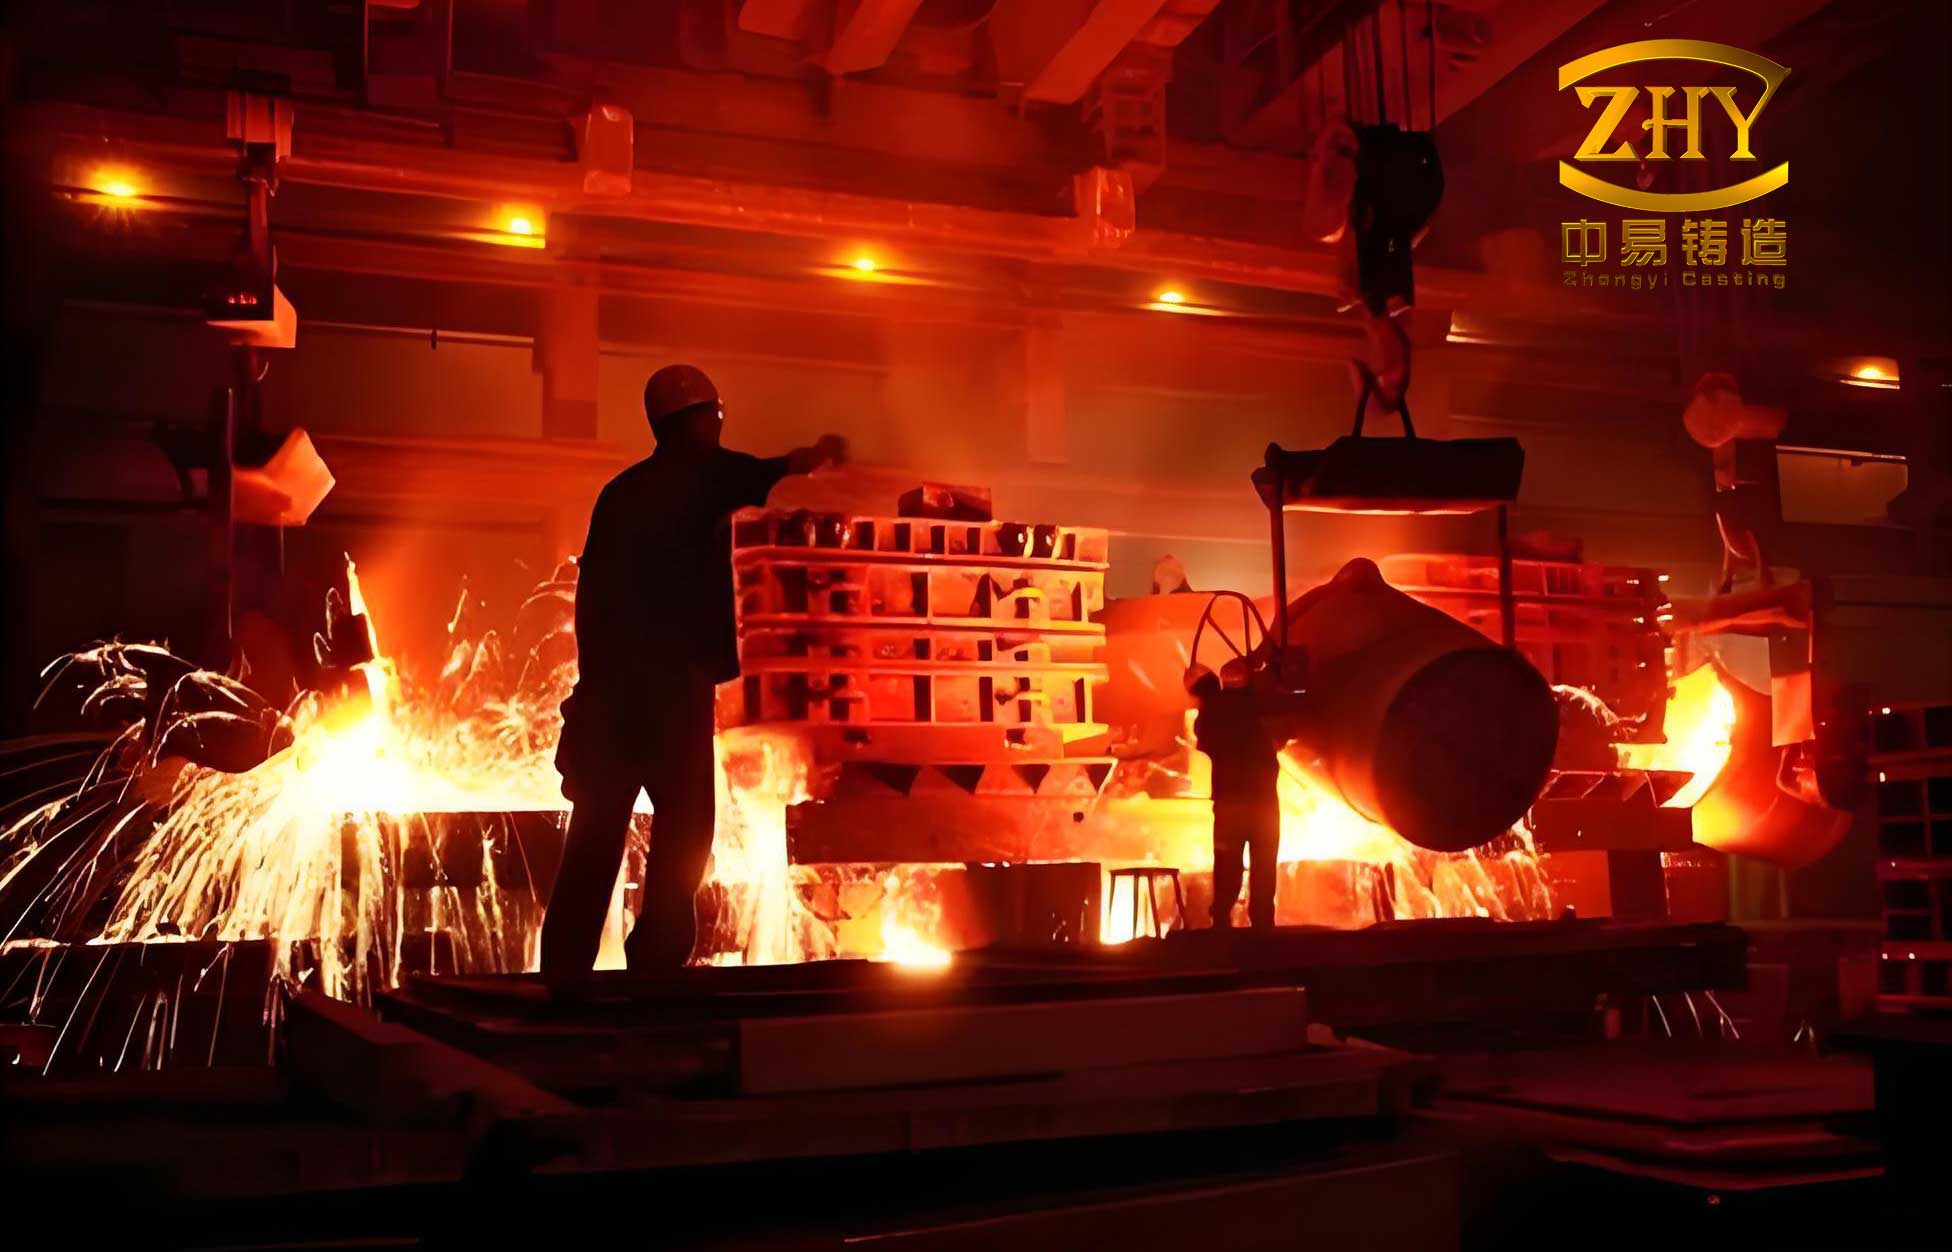
In my work as a casting process engineer, I have repeatedly observed that ductile iron castings demand a rigorous balance between metallurgical control and geometric feeding. The planetary carrier is one of the most challenging components in a planetary gear transmission because it carries, transmits, and distributes loads while experiencing the largest external torque in the mechanism. The component must be light, rigid, and completely free from shrinkage porosity. In this article, I present a complete vertical-line casting process design for a double-sided integral planetary carrier made of QT500-7 ductile iron. The maximum outer contour size is approximately ϕ245 mm × 98 mm, the wall thickness ranges from 13 mm to 22 mm, and the rough casting mass is 9.8 kg. The structure consists of two annular side plates and four evenly distributed support columns forming a spatial frame. The distance between the two side plates is about 60 mm, and the space between them is geometrically complex. My objective is to show how I combined thermal analysis, computer simulation, gating design, riser design, and melting practice to produce sound ductile iron castings without shrinkage cavities or porosity.
1. Product Structure and Thermal Node Analysis
For ductile iron castings, the first consideration in process design is shrinkage porosity. Therefore, I began by identifying the thermal nodes. A casting thermal node can be divided into a structural thermal node and a process thermal node. A structural thermal node is the geometric location where the accumulated metal volume is largest and the heat released during solidification is greatest relative to adjacent structures. A process thermal node is created or upgraded by risers, in-gates, vents, or other process features. Because a thermal node solidifies slowly, its volumetric contraction is large, and without proper feeding it readily forms shrinkage porosity. In my design, the structural thermal nodes are concentrated at the connections between the side plates and the support columns. There are two layers, upper and lower, with a total of eight nodes. These locations are the critical regions for feeding.
To quantify the thermal behavior, I used the classic modulus concept. The geometric modulus of a casting section is defined as:
$$M = \frac{V}{A}$$
where \(M\) is the modulus, \(V\) is the volume of the section, and \(A\) is its cooling surface area. The solidification time can be estimated by Chvorinov’s rule:
$$t = B \left( \frac{V}{A} \right)^n$$
where \(t\) is the solidification time, \(B\) is a mold constant, and \(n\) is an exponent typically between 1.5 and 2 for ductile iron castings. Because the small-end side plate has a larger cooling surface area than the large-end side plate, its modulus is effectively lower, and it solidifies earlier. Table 1 summarizes the thermal node locations and approximate solidification behavior that I obtained from the initial analysis.
| Thermal Node Group | Location | Number of Nodes | Relative Cooling Surface | Solidification Tendency |
|---|---|---|---|---|
| Large-end side plate | Connections between large-end side plate and columns | 4 | Smaller | Slower, requires riser feeding |
| Small-end side plate | Connections between small-end side plate and columns | 4 | Larger | Faster, possible self-feeding by graphite expansion |
I then performed CAE analysis with AnyCasting software. The initial casting temperature was set to 1 385 °C, and the remaining parameters were the software defaults. The solidification sequence was as follows: at 53 s, the small-end side plate was divided into four parts; at 107 s, the support columns disconnected, and the small-end side plate became four isolated liquid regions; at 125 s, the liquid phase in the small-end side plate almost disappeared, while the large-end side plate still had four large isolated liquid regions; at 183 s, the liquid phase in the large-end side plate was nearly gone. Table 2 lists these stages. The shrinkage porosity probability analysis showed that more than 30% of defects were uniformly distributed among the eight structural thermal nodes. The small-end nodes had a better heat dissipation environment and smaller effective hot spots, so I considered self-feeding or chills. The large-end nodes were larger and required riser feeding to achieve sequential solidification.
| Solidification Time (s) | Observed Condition | Feeding Implication |
|---|---|---|
| 53 | Small-end side plate divided into four parts | Isolated liquid regions begin to form |
| 107 | Support columns disconnected; small-end side plate fully isolated | Small-end feeding path blocked |
| 125 | Small-end liquid almost gone; large-end still has four large isolated liquids | Large-end requires strong riser feeding |
| 183 | Large-end liquid nearly gone | Final solidification completed |
The CAE results confirmed that the large-end side plate has a much longer solidification time than the small-end side plate. For ductile iron castings, this difference is advantageous because I can orient the large end toward the riser and the small end toward the outer, cooler region of the mold. In this way, the large end receives liquid metal during solidification, while the small end can benefit from graphite expansion self-feeding. The graphite expansion self-feeding condition can be expressed as:
$$\Delta V_{\text{graphite}} \geq \Delta V_{\text{shrinkage}}$$
where \(\Delta V_{\text{graphite}}\) is the volume expansion due to graphite precipitation and \(\Delta V_{\text{shrinkage}}\) is the liquid and solidification shrinkage. When this condition is satisfied, the small-end nodes can be sound without a riser. However, I still considered this a risk and planned to add chills if production trials revealed shrinkage.
2. Parting Surface Selection
Because my company uses a DISA vertical molding line with green sand and 20 L cold-box core making, I evaluated two parting surface arrangements. The first arrangement has a simple sand core and uniform machining allowance, but the large-end flange face is about 45 mm away from the thermal node, making riser feeding difficult. The second arrangement allows the in-gate to be placed directly near the large-end side plate thermal node, which improves feeding. Because the DISA line closes molds vertically, the small-end side plate has a better heat dissipation environment in the second arrangement. The disadvantage is a more complex sand core and less uniform machining allowance. Table 3 compares the two schemes. After comprehensive comparison, I selected the second scheme.
| Scheme | Core Complexity | Machining Allowance | Riser Feeding Distance | Small-End Cooling | Decision |
|---|---|---|---|---|---|
| Scheme 1 | Simple | Uniform | Large, about 45 mm | Less favorable | Rejected |
| Scheme 2 | Complex | Less uniform | Short, in-gate near hot spot | More favorable | Selected |
In the selected scheme, the large end faces inward, where the risers are placed, and the small end faces outward toward the cooler end of the mold. This orientation promotes directional solidification from the small end to the large end. The casting modulus is about 1.2 cm. This value helped me size the risers and estimate the feeding distance.
3. Sand Core Design
For the DISA vertical molding line, the sand core must be designed for automatic core setting. I followed the DISA manual for core print design. The positive pressure plate core print is used to position and clamp the core. The clearance between the core print and the mold cavity is set to -0.1 mm to -0.3 mm to ensure a tight fit during automatic core setting. Other clearances are set to 0 mm to 0.5 mm. The sand core is made with a 20 L cold-box core shooter. Table 4 lists the core print clearances and their functions.
| Core Print Location | Clearance (mm) | Function |
|---|---|---|
| Positive pressure plate | -0.1 to -0.3 | Positioning and clamping |
| Other locations | 0 to 0.5 | Assembly clearance, venting |
The core design must also provide sufficient venting. I included core vents and mold cavity vents to reduce gas pressure and prevent internal sand burning. The core geometry follows the space between the two side plates and the four support columns. Because the space is complex, I used a split core design to ensure proper collapsibility and dimensional accuracy.
4. Gating System and Riser Design
When designing the gating system, I first considered the in-gate location because it affects the temperature distribution in the mold, the solidification pattern, and the final quality of ductile iron castings. The in-gate should not directly face a thermal node; otherwise, it creates a contact hot spot and increases the modulus of the region that needs feeding, thereby reducing riser efficiency. In my design, I placed the in-gate between two support columns on the large-end face. This allowed one riser to feed two thermal nodes simultaneously. The mold plate size on the DISA line is 600 mm × 480 mm, and I arranged two castings per mold. The gating system is shown in the accompanying figure, and the in-gate location is illustrated in the process layout.
Based on the structure analysis, the large-end thermal nodes have a much longer solidification time than the small-end nodes and require riser feeding. I placed the large end inward and the small end outward. The small end is at the far end of the gating system, in a relatively low-temperature zone, and faces outward for better heat dissipation. This arrangement helps the small-end nodes solidify and self-feed. The casting modulus is about 1.2 cm. To feed two castings simultaneously and achieve sequential solidification, I designed two cylindrical risers with a diameter of 70 mm. Each riser feeds four thermal nodes on the large-end face, two upper and two lower. A 30 mm × 8 mm thin plate connects the two risers to prevent the upper riser from feeding the lower riser and to improve the feeding efficiency of the upper riser. The in-gate is 60 mm × 12 mm, a wide and thin shape that can simultaneously approach the two side support column hot spots. I also designed an overflow vent and a core vent with a rectangular shape of 18 mm × 3 mm to reduce cavity pressure, optimize feeding, and prevent internal sand burning. A 82 mm × 82 mm × 12.5 mm-10PPI foam ceramic filter was placed to clean the molten iron and slow the flow.
The riser modulus is a key design parameter. For ductile iron castings, the riser modulus should be greater than the casting modulus at the feeding location. I used the following relationship:
$$M_r = k M_c$$
where \(M_r\) is the riser modulus, \(M_c\) is the casting modulus, and \(k\) is a safety factor typically between 1.1 and 1.3. With \(M_c = 1.2\) cm, I selected \(k = 1.2\), giving \(M_r = 1.44\) cm. For a cylindrical riser with diameter \(D\) and height \(H\), the modulus is:
$$M_r = \frac{D H}{2D + 4H}$$
For \(D = 70\) mm and \(H = 80\) mm, the calculated modulus is approximately 1.45 cm, which satisfies the requirement. Table 5 summarizes the gating and riser parameters.
| Parameter | Value | Unit |
|---|---|---|
| Casting modulus, \(M_c\) | 1.2 | cm |
| Riser safety factor, \(k\) | 1.2 | — |
| Required riser modulus, \(M_r\) | 1.44 | cm |
| Riser diameter | 70 | mm |
| Riser height | 80 | mm |
| Calculated riser modulus | 1.45 | cm |
| In-gate size | 60 × 12 | mm |
| Connecting plate | 30 × 8 | mm |
| Overflow vent | 18 × 3 | mm |
| Ceramic filter | 82 × 82 × 12.5, 10PPI | mm |
I also checked the feeding distance. For ductile iron castings with graphite expansion, the feeding distance can be extended when the mold is rigid and the graphite expansion is utilized. The feeding distance \(L_f\) can be estimated as:
$$L_f = c \cdot M_c$$
where \(c\) is an empirical coefficient. For green sand molds and QT500-7, I used \(c = 4\) to 5. With \(M_c = 1.2\) cm, the feeding distance is about 48 mm to 60 mm. The distance from the riser to the farthest thermal node was within this range, so the riser design was adequate.
5. CAE Simulation of the Optimized Process
After completing the 3D model of the optimized process, I ran a new CAE simulation. The solidification sequence showed that the small-end face began to solidify first. In the middle stage, isolated liquid regions formed, but they could be eliminated by graphite expansion self-feeding. There was still a slight risk, and I noted that if shrinkage appeared in production, chills could be added. The large-end face achieved sequential solidification, and the risers fed the thermal nodes sufficiently. The simulation predicted no shrinkage porosity risk. Table 6 presents the solidification stages of the optimized process.
| Solidification Time (s) | Observed Condition | Feeding Assessment |
|---|---|---|
| 80 | Small-end face first solidifies | Self-feeding begins |
| 124 | Isolated liquid forms in small-end face | Graphite expansion can compensate |
| 224 | Large-end face still liquid; risers feed | Sequential solidification achieved |
| 335 | Final solidification complete | No shrinkage porosity predicted |
The CAE simulation also allowed me to compare the defect probability before and after the process optimization. Table 7 shows the relative defect probability at the eight thermal nodes. The optimized process reduced the risk from high to low or negligible.
| Thermal Node | Initial Defect Probability | Optimized Defect Probability | Improvement |
|---|---|---|---|
| Large-end upper left | High | Negligible | Riser feeding |
| Large-end upper right | High | Negligible | Riser feeding |
| Large-end lower left | High | Negligible | Riser feeding |
| Large-end lower right | High | Negligible | Riser feeding |
| Small-end upper left | Medium | Low | Graphite expansion |
| Small-end upper right | Medium | Low | Graphite expansion |
| Small-end lower left | Medium | Low | Graphite expansion |
| Small-end lower right | Medium | Low | Graphite expansion |
The simulation confirmed that the small-end isolated liquid regions are not necessarily harmful. For ductile iron castings, the graphite expansion can compensate for shrinkage if the mold is sufficiently rigid and the cooling rate is controlled. This is a key advantage of ductile iron castings over other cast irons. However, I still maintained a conservative approach and prepared chills for the small-end nodes in case trial production revealed defects.
6. Melting Process
I used a medium-frequency induction furnace for melting. The spheroidization and inoculation treatments were performed using a wire-feeding unit. During pouring, I applied stream inoculation to improve the molten iron performance. The pouring temperature was controlled between 1 370 °C and 1 390 °C. Table 8 lists the chemical composition of the molten iron. The carbon and silicon contents were balanced to promote graphite precipitation and reduce shrinkage. The magnesium and tin contents were controlled to achieve the desired nodularity and pearlite content.
| Element | Content (wt%) | Function |
|---|---|---|
| C | 3.6–3.8 | Graphite formation, expansion |
| Si | 2.5–2.8 | Graphitization, matrix control |
| Mn | 0.1–0.4 | Pearlite stabilization |
| P | < 0.06 | Minimize embrittlement |
| S | < 0.02 | Spheroidization control |
| Mg | 0.03–0.05 | Nodularization |
| Sn | 0.02–0.04 | Pearlite promotion |
The carbon equivalent \(CE\) was calculated as:
$$CE = C + \frac{Si}{3} + \frac{P}{2}$$
With the target composition, \(CE\) ranges from 4.43% to 4.73%. This hypereutectic composition promotes graphite expansion and reduces shrinkage porosity. The magnesium content is critical for nodularity. The residual magnesium was kept between 0.03% and 0.05% to ensure a nodularity above 85%. The tin addition was used to stabilize pearlite and achieve the required strength and hardness.
7. Trial Production and Validation
I conducted trial production according to the optimized process. The castings were inspected for metallographic structure and mechanical properties. The nodularity was 85%, the maximum graphite nodule diameter was 6 μm, the pearlite content was 45%, the tensile strength was 527 MPa, the elongation was 11%, and the hardness was 187 HBW. The metallographic structure and mechanical properties met the standard requirements. The castings were sectioned, and no shrinkage porosity was found. Table 9 summarizes the validation results.
| Property | Measured Value | Standard Requirement | Result |
|---|---|---|---|
| Nodularity | 85% | ≥ 80% | Pass |
| Maximum graphite nodule diameter | 6 μm | ≤ 8 μm | Pass |
| Pearlite content | 45% | 40–60% | Pass |
| Tensile strength | 527 MPa | ≥ 500 MPa | Pass |
| Elongation | 11% | ≥ 7% | Pass |
| Hardness | 187 HBW | 170–210 HBW | Pass |
| Shrinkage porosity | None | None | Pass |
The trial production confirmed that the process is feasible. The large-end face achieved sequential solidification with riser feeding, and the small-end face utilized graphite expansion self-feeding. The vertical line production of ductile iron castings requires careful attention to gating, riser design, and mold rigidity. The use of a foam ceramic filter improved the cleanliness of the molten iron and reduced turbulence. The cold-box sand core provided good dimensional accuracy and collapsibility. The DISA vertical molding line enabled high-volume production with consistent quality.
8. Additional Process Calculations and Considerations
To further support the design, I performed additional calculations for the gating system. The total weight of molten iron per mold includes two castings and the gating system. The casting weight is 9.8 kg, and the gating and riser weight is approximately 4.5 kg per casting. Therefore, the total poured weight per mold is:
$$W_{\text{total}} = 2 \times (9.8 + 4.5) = 28.6 \text{ kg}$$
The pouring time \(t_p\) can be estimated from the empirical formula:
$$t_p = S \sqrt{W_{\text{total}}}$$
where \(S\) is a coefficient depending on the casting wall thickness and alloy. For ductile iron castings with a wall thickness of 13–22 mm, I selected \(S = 1.8\). Thus, the pouring time is approximately:
$$t_p = 1.8 \sqrt{28.6} \approx 9.6 \text{ s}$$
The average pouring rate \(Q\) is:
$$Q = \frac{W_{\text{total}}}{t_p} = \frac{28.6}{9.6} \approx 2.98 \text{ kg/s}$$
The in-gate area \(A_g\) can be calculated using the continuity equation:
$$Q = \rho A_g v_g$$
where \(\rho\) is the density of ductile iron (approximately 7.1 g/cm³), and \(v_g\) is the velocity through the in-gate. For a wide thin in-gate, I targeted \(v_g = 60\) cm/s. Then:
$$A_g = \frac{Q}{\rho v_g} = \frac{2980 \text{ g/s}}{7.1 \text{ g/cm}^3 \times 60 \text{ cm/s}} \approx 7.0 \text{ cm}^2$$
The selected in-gate size is 60 mm × 12 mm, giving an area of \(6.0 \text{ cm} \times 1.2 \text{ cm} = 7.2 \text{ cm}^2\), which is close to the calculated value. This ensures a controlled filling rate and reduces mold erosion.
I also calculated the riser volume and yield. The riser diameter is 70 mm and height is 80 mm, so the volume of one riser is:
$$V_r = \frac{\pi D^2}{4} H = \frac{\pi (7.0)^2}{4} \times 8.0 \approx 307.9 \text{ cm}^3$$
Two risers provide a total volume of about 615.8 cm³. The casting volume is approximately:
$$V_c = \frac{m_c}{\rho} = \frac{9800 \text{ g}}{7.1 \text{ g/cm}^3} \approx 1380 \text{ cm}^3$$
The riser yield is:
$$\text{Riser yield} = \frac{V_c}{V_c + V_r} = \frac{1380}{1380 + 615.8} \approx 69.1\%$$
This yield is acceptable for a high-integrity ductile iron casting with strict shrinkage requirements. The risers are removed after solidification and recycled.
9. Mold Rigidity and Graphite Expansion
For ductile iron castings, mold rigidity is essential for utilizing graphite expansion. If the mold wall moves during solidification, the expansion is wasted, and shrinkage porosity may form. The green sand mold on the DISA vertical line has high rigidity because it is squeezed under high pressure. The mold hardness is typically 85–95 on the B-scale. I verified that the mold hardness was within this range. The sand composition and compactability were controlled to ensure sufficient rigidity. Table 10 lists the mold sand properties.
| Property | Value | Unit |
|---|---|---|
| Compactability | 38–42 | % |
| Green compressive strength | 0.14–0.18 | MPa |
| Moisture | 3.2–3.6 | % |
| Permeability | 120–150 | — |
| Mold hardness | 85–95 | B-scale |
The graphite expansion self-feeding condition is more likely to be satisfied when the mold is rigid and the cooling rate is uniform. I also ensured that the small-end side plate had a favorable thermal gradient by placing it outward. The small-end nodes solidified under a higher temperature gradient, which promotes directional solidification toward the risers. The large-end nodes were fed directly by the risers.
10. Defect Analysis and Prevention
Shrinkage porosity in ductile iron castings can be classified into macro-shrinkage and micro-shrinkage. Macro-shrinkage occurs when the liquid metal cannot feed the last solidifying region. Micro-shrinkage occurs when the interdendritic liquid cannot feed the shrinking dendrites. In this planetary carrier, the critical regions are the thermal nodes at the side plate and column connections. The CAE simulation predicted more than 30% defect probability at these nodes before optimization. After optimization, the defect probability was negligible at the large-end nodes and low at the small-end nodes. Table 11 summarizes the defect types and prevention measures.
| Defect Type | Location | Cause | Prevention Measure |
|---|---|---|---|
| Macro-shrinkage | Large-end thermal nodes | Insufficient liquid feeding | Riser with adequate modulus |
| Micro-shrinkage | Small-end thermal nodes | Interdendritic feeding difficulty | Graphite expansion, chill if needed |
| Gas porosity | Core and mold cavity | Insufficient venting | Overflow vent, core vent |
| Sand inclusion | In-gate and mold surface | Mold erosion | Wide thin in-gate, ceramic filter |
I also considered the effect of the connecting plate between the two risers. The 30 mm × 8 mm plate prevents the upper riser from feeding the lower riser, which would reduce the feeding efficiency of the upper riser. This is important because the upper riser has a longer feeding distance due to gravity. The connecting plate also provides a path for gas escape and reduces the risk of gas porosity.
11. Comparison with Alternative Processes
I compared the vertical line process with other possible processes, such as horizontal green sand molding and shell molding. The vertical line process has several advantages for this planetary carrier. It allows two castings per mold, which increases productivity. The vertical orientation promotes directional solidification from the small end to the large end. The mold rigidity is high, which supports graphite expansion. The cold-box core provides good dimensional accuracy and surface finish. Table 12 compares the processes.
| Process | Productivity | Directional Solidification | Mold Rigidity | Core Quality | Suitability |
|---|---|---|---|---|---|
| Vertical line | High | Excellent | High | Good | Selected |
| Horizontal green sand | Medium | Moderate | Medium | Good | Alternative |
| Shell molding | Low | Good | High | Excellent | Too expensive |
For ductile iron castings with complex geometry and strict shrinkage requirements, the vertical line process with a well-designed gating system and risers is highly effective. The use of CAE simulation was essential for predicting the solidification sequence and optimizing the feeding design. The trial production validated the simulation results.
12. Key Equations and Process Summary
For quick reference, I summarize the key equations used in this process design. The modulus of the casting and riser are given by:
$$M_c = \frac{V_c}{A_c}$$
$$M_r = \frac{V_r}{A_r}$$
The riser modulus requirement is:
$$M_r \geq k M_c$$
The solidification time is estimated by Chvorinov’s rule:
$$t = B M^n$$
The graphite expansion self-feeding condition is:
$$\Delta V_{\text{graphite}} \geq \Delta V_{\text{shrinkage}}$$
The pouring time is:
$$t_p = S \sqrt{W_{\text{total}}}$$
The gating area is:
$$A_g = \frac{Q}{\rho v_g}$$
The carbon equivalent is:
$$CE = C + \frac{Si}{3} + \frac{P}{2}$$
Table 13 summarizes the final process parameters.
| Parameter | Value |
|---|---|
| Material | QT500-7 ductile iron |
| Casting mass | 9.8 kg |
| Mold plate size | 600 mm × 480 mm |
| Castings per mold | 2 |
| Riser diameter | 70 mm |
| Riser height | 80 mm |
| In-gate size | 60 mm × 12 mm |
| Connecting plate | 30 mm × 8 mm |
| Overflow vent | 18 mm × 3 mm |
| Ceramic filter | 82 mm × 82 mm × 12.5 mm, 10PPI |
| Pouring temperature | 1 370–1 390 °C |
| Nodularity | 85% |
| Tensile strength | 527 MPa |
| Elongation | 11% |
| Hardness | 187 HBW |
13. Practical Experience and Recommendations
From this project, I learned several important lessons for producing ductile iron castings on a vertical line. First, the thermal node analysis must be performed before any gating or riser design. The structural thermal nodes determine the feeding strategy. Second, the parting surface selection directly affects the feeding distance and the thermal gradient. The large end should face the riser, and the small end should face the cooler region. Third, the in-gate should not be placed directly on a thermal node; otherwise, it creates a process thermal node and increases the required riser size. Fourth, the use of a wide thin in-gate and a ceramic filter improves the filling behavior and reduces defects. Fifth, the graphite expansion self-feeding can be used for small-end nodes, but it must be supported by a rigid mold and a favorable thermal gradient. Sixth, CAE simulation is a powerful tool for predicting the solidification sequence and optimizing the process. Seventh, trial production is essential to validate the design and to reveal any unexpected defects.
For future production, I recommend monitoring the mold hardness, sand compactability, and pouring temperature. These variables affect the graphite expansion and the feeding efficiency. I also recommend maintaining the residual magnesium and tin contents within the specified ranges to ensure consistent nodularity and pearlite content. The use of a 20 L cold-box core shooter provides good core strength and dimensional accuracy, but the core vents must be kept clear to prevent gas porosity. The DISA vertical line is well suited for this type of ductile iron casting because it provides high productivity, good mold rigidity, and excellent dimensional repeatability.
In conclusion, the vertical line casting process for the double-sided integral planetary carrier was successfully developed. The process produced sound ductile iron castings with no shrinkage porosity, and the metallographic and mechanical properties met the standard requirements. The combination of thermal analysis, CAE simulation, gating and riser design, and melting control was essential for achieving the desired quality. This process can be applied to similar ductile iron castings with complex geometry and strict shrinkage requirements.