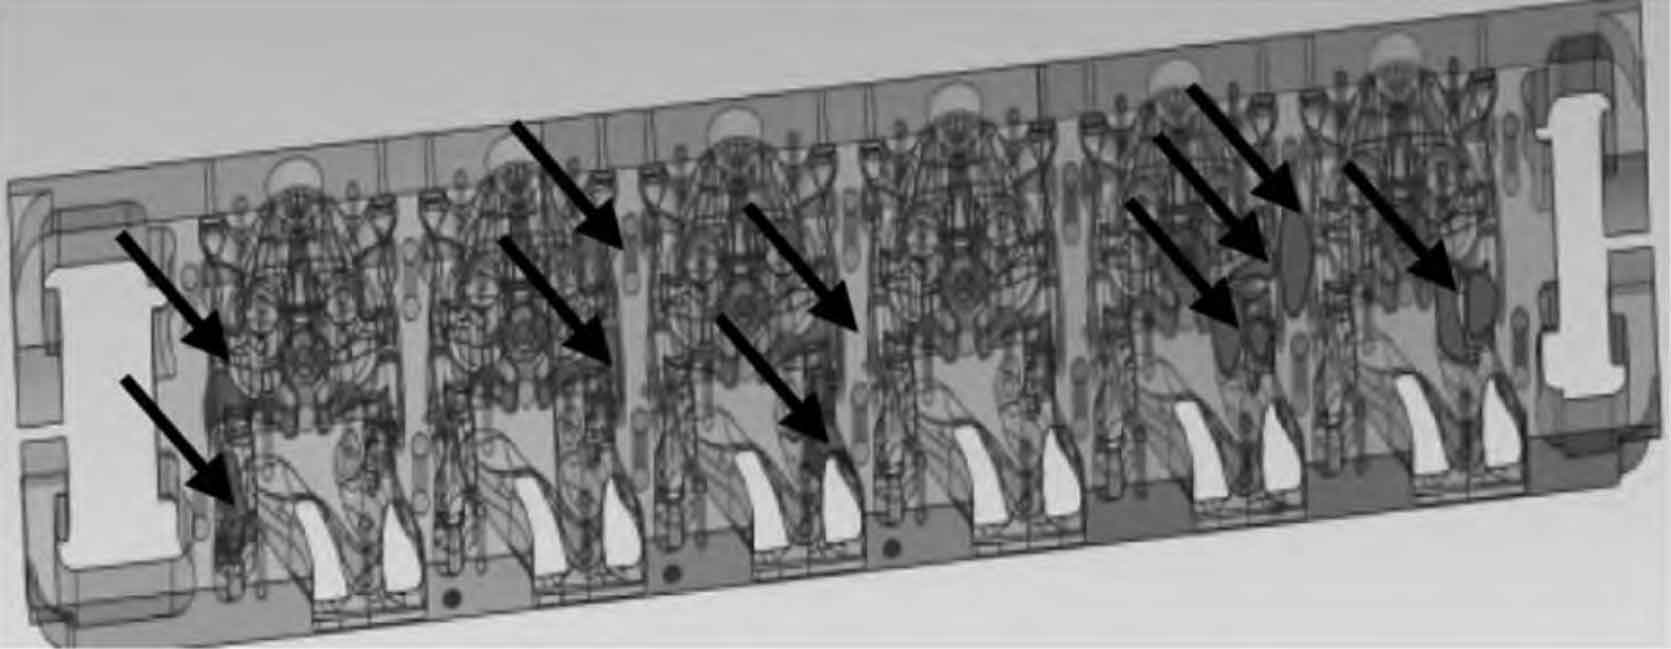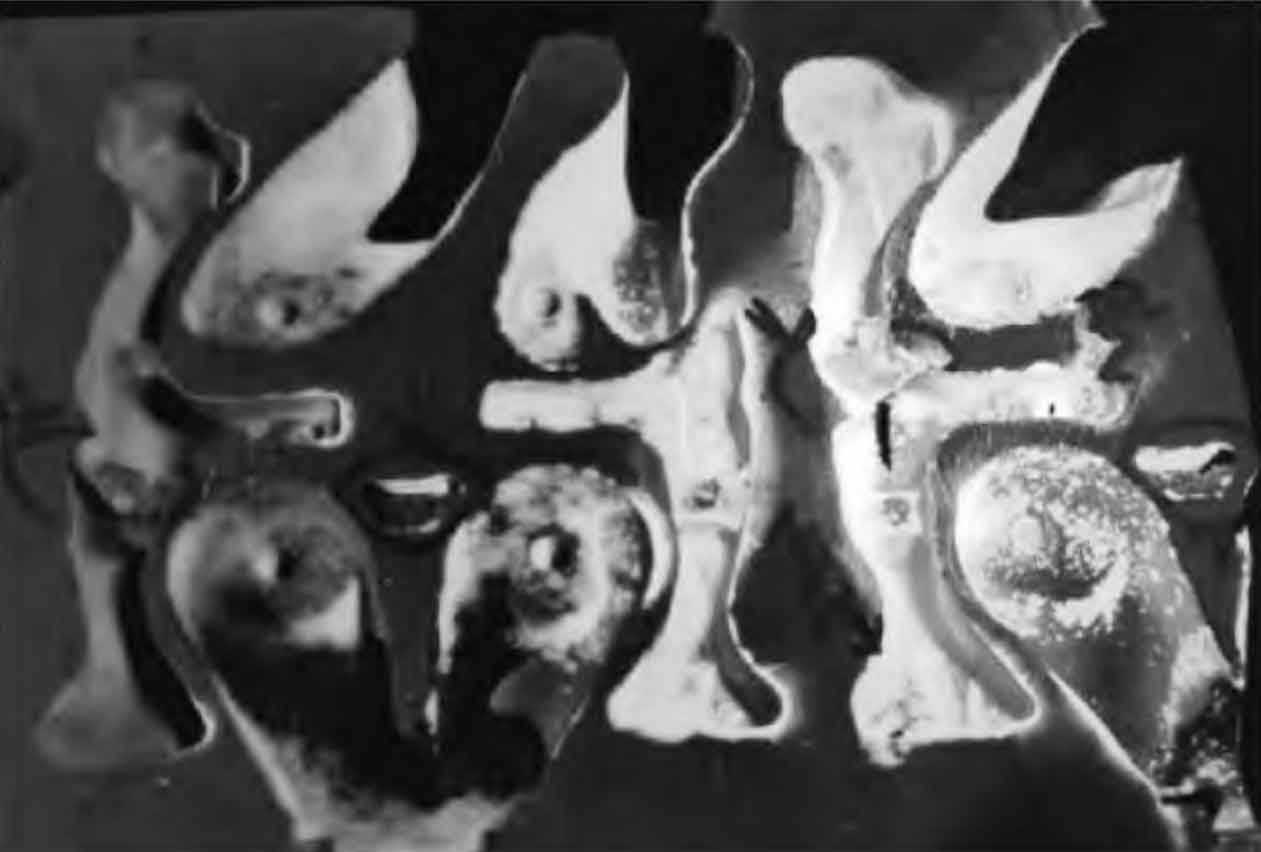
The cast was dissected and flaw detected, and no shrinkage porosity, shrinkage and other casting defects were found. However, a large number of pores were found on the air duct wall and the side wall of the cooling water channel. According to ASTM E-155 standard, it was determined that the pinhole was grade 3 to 4, as shown in Figure 1. The area indicated by the arrow was the location and range of casting defects in the internal pores of the casting. The casting porosity and casting defects can also be well observed by fluorescence detection (Fig. 2), and the casting inner cavity shows a large area of fluorescent dots.

Wang Ziliang et al. believed that precipitation pinholes often occur in cylinder head castings, which are mainly caused by the high content of impurity elements and hydrogen in the alloy, the high pouring temperature of the melt, and the long solidification time in the supersaturated region of the solid-liquid front during solidification. Through the simulation of the temperature field in the solidification process of each cylinder of the casting (Fig. 3), it is found that the distribution of the temperature field at the casting defect location of each cylinder is basically the same, except for the outermost areas at both ends, which are in the late solidification area. However, compared with the position of pore casting defect, the solidification time of the large area of the adjacent thickness of each cylinder of the casting is longer. Although there are dots in this area, there is no large area fluorescence reaction. The above phenomena indicate that there may be other casting defects besides pinholes in the inner cavity of the casting.

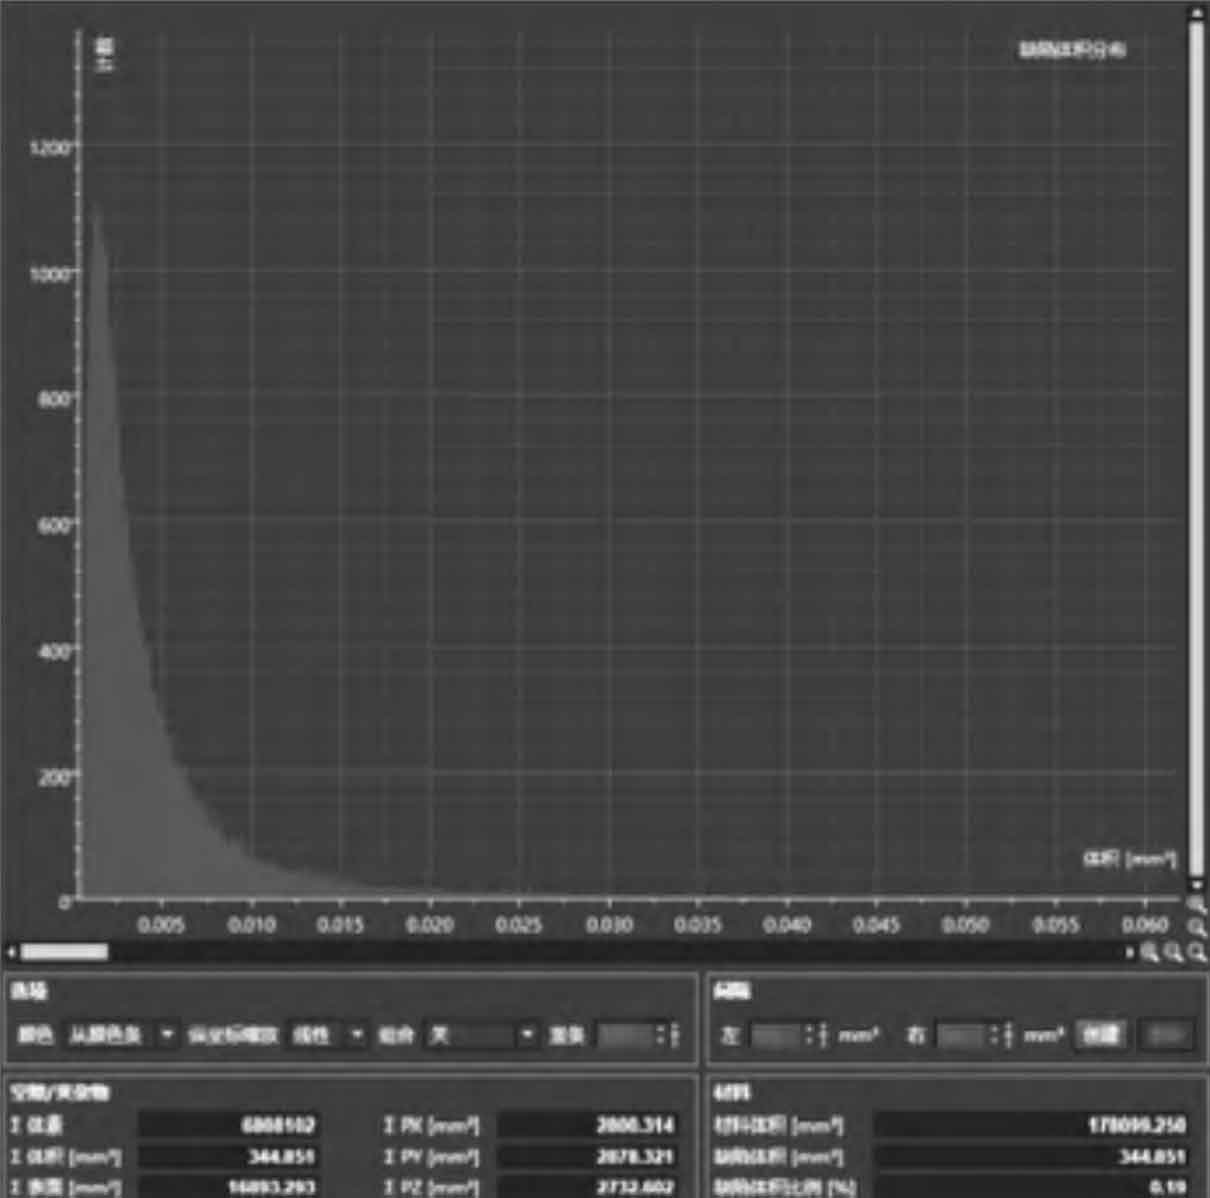
For pore area sampling, the resolution is 35 μ M micro-CT equipment was used to detect the pore casting defects visible to the naked eye (as shown in Figure 4a), and found that the pore size was in gradient distribution (as shown in Figure 4b), and the pores within 1 mm of the surface layer of the sample were large, which was judged as subcutaneous pores; The pore diameter of the area 1~5 mm from the surface is 0.2~0.4 mm; Other pore sizes are 0.1~0.2 mm. The pore distribution in the center of the sample is dense (Fig. 4c), and the number of external surfaces is significantly reduced. According to the statistical distribution of pore volume (Figure 5), the pore volume is concentrated around 0.002 mm3, and the total pore volume accounts for 0.19% of the total sample volume. According to the CT inspection results, the casting defects with pores in the inner cavity of the casting can be divided into two types: one is the subcutaneous pores, which are mainly distributed within 5 mm of the surface and subcutaneous; The other is pinhole casting defects distributed inside the casting. The above two kinds of pore casting defects affect the evaluation grade of pinhole casting defects in casting flaw detection at the same time.

(c) Three-dimensional distribution map of pores
According to the production experience of cylinder head castings, the composition and distribution of pores are related to the gas evolution of sand cores and coatings. During the pouring process, the gas generated by the heating of the sand core and the coating tends to adhere to the surface of the sand core to form a gas film under the surface tension of the aluminum liquid, which hinders the heat transfer between the aluminum liquid and the sand core, prolongs the solidification time of the supersaturated solid solution area, and causes a large number of hydrogen elements enriched in the supersaturated solid solution to precipitate in the impurity element and eutectic phase area, forming dense pinholes inside. At the same time, with the gradual increase of gas pressure, part of the gas breaks through the surface tension of liquid aluminum and enters the interior, forming subcutaneous pores in the airway wall.


