I. Introduction
In the production of locomotive axle box body, casting defects such as sand shedding, shrinkage, sand hole, and insufficient processing allowance often occur. This article analyzes the causes of these defects and proposes corresponding improvement measures to improve the casting quality of the axle box body.

II. Casting Defects and Improvement Measures
| Defect Type | Defect Description | Cause Analysis | Improvement Measures |
|---|---|---|---|
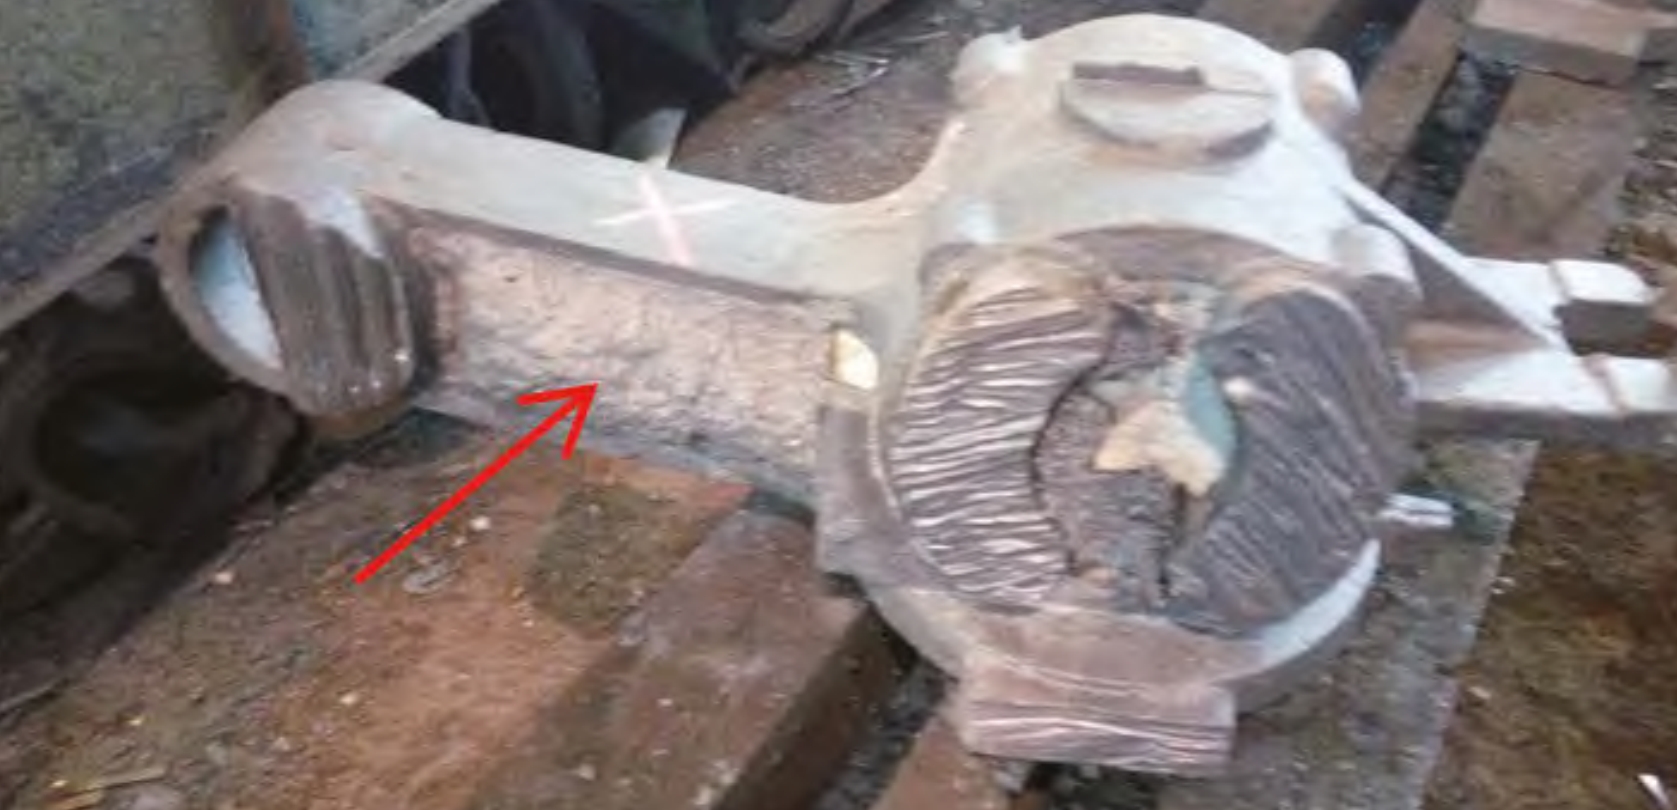
| Sand Shedding | Occurs on the connecting rib plate of the axle box body and the ear part of the sand core, resulting in small batch waste | Low sand strength, insufficient bonding ability, uneven mixing; few or no box straps; insufficient reinforcement on the upper box surface or hanging sand part; insufficient ramming during molding; too deep cavity depth, unstable box closing leading to bumps; knocking vibration during alignment of the pin hole or fixture tightening after box closing | For the sand core of the axle tube ear, embed nails for reinforcement after leaving a reserved hole in the core during core making; for the connecting rib plate cavity of the large and small axle tubes, use a welding rod to form a core bone to strengthen the sand core strength |
| Shrinkage and Sand Hole in the Large Axle Tube | Shrinkage and sand hole defects appear in the large axle tube, increasing production costs and affecting product quality | Insufficient feeding distance between risers, poor control of pouring temperature; unclean cavity cleaning | Change the original 2 oval heat preservation risers to 3 circular heat preservation and exothermic risers, reduce the distance between risers to 90mm; increase the processing allowance of the inner wall of the large axle tube |
| Insufficient Machining Allowance of the Spring Plate | The machining allowance of the spring plate is uneven, and the upper part needs welding repair | The error of the core head position and the core seat draft angle of the spring plate position sand core in the original production, and the deformation of the wooden mold during production and use lead to a large gap between the core head and the core seat after core setting, and the sand core leans forward during box closing | Adjust the lower core head to the left and right core heads, reduce the core head size, and improve the positioning effect |
| Shrinkage and Crack of the Ingate | There are shrinkage and crack defects at the ingate position, and chipping requires digging and welding | The thickness difference between the ingate and the casting rib plate causes the rib plate to solidify first and generate tensile stress at the contact position; the structure limits the solution of shrinkage | Adjust the ingate position to the left notch, which is a processing surface with a thickness of 25mm |
III. New Process Production Control and Verification
- Process Design and Production Control
- Design a new casting process (as shown in Figure 6). Strengthen the control of the molding process during production, and place cold iron, gate rod, heat preservation riser sleeve, etc. according to the process card regulations. Ensure that the cold iron is not skewed or padded with sand, the sand thickness between the core bone and the mold wall is controlled within 15 – 50mm (or exceeds this), the mold lifting is stable, and the compactness of each part of the sand mold and sand core is uniform and meets the process card regulations. The compactness without a process card should be controlled above 45 units. When brushing the coating on the core, ensure that the depth is appropriate, there is no accumulation, no flow marks, and the thickness is uniform and flat. Before hanging the core, clean the sand mold cavity. Scrape and blow clean the virtual sand around the cold iron and the air hole, and ensure that the air outlet is unobstructed. Block and repair the oxygen holes in the cavity with molding sand. Clean the surface of the sand core, trim the burrs, and round the sharp edges.
- Production Verification Results
- Produce 10 sample parts using the improved process. After cleaning and grinding the castings, conduct appearance inspection. There is no sand shedding defect in the improved castings. Conduct dimensional marking inspection, and the main inspection dimensions of the castings are good. The machining allowance of the spring plate position is 7mm and the thickness is uniform. After cleaning, conduct ultrasonic inspection on the axle tube. No shrinkage defects are found inside all castings, and external inclusions and sand holes are significantly reduced. Conduct magnetic particle inspection on the ingate position, and there are no surface defects such as cracks, and the inspection is qualified. Conduct individual inspection and inspection on the first batch of castings, and all are qualified, verifying the rationality of the cause analysis and the feasibility of the improvement measures.
IV. Conclusion
By analyzing the casting defects of the axle box body and implementing corresponding improvement measures, the casting quality of the axle box body is effectively improved. The improved process is verified by production, providing a reference for the production of high-quality axle box body steel castings and helping to reduce casting defects and improve production efficiency in the box body casting process.
