
I treat every heavy-section ductile iron casting as a coupled thermal, metallurgical, and mold-response problem. When I work on wind-power components, I cannot separate the pouring system from the chill design, the sand hardness from the graphite expansion, or the melting practice from the final ultrasonic inspection. The target is not merely to produce a sound-looking part. The target is to produce ductile iron castings with a controlled nodule count, a compact graphite morphology, a low level of shrinkage porosity, and reliable low-temperature toughness after machining. I therefore built my improvement work around one central question: how can I make a thick-walled ductile iron casting solidify in a more sequential and more predictable way?
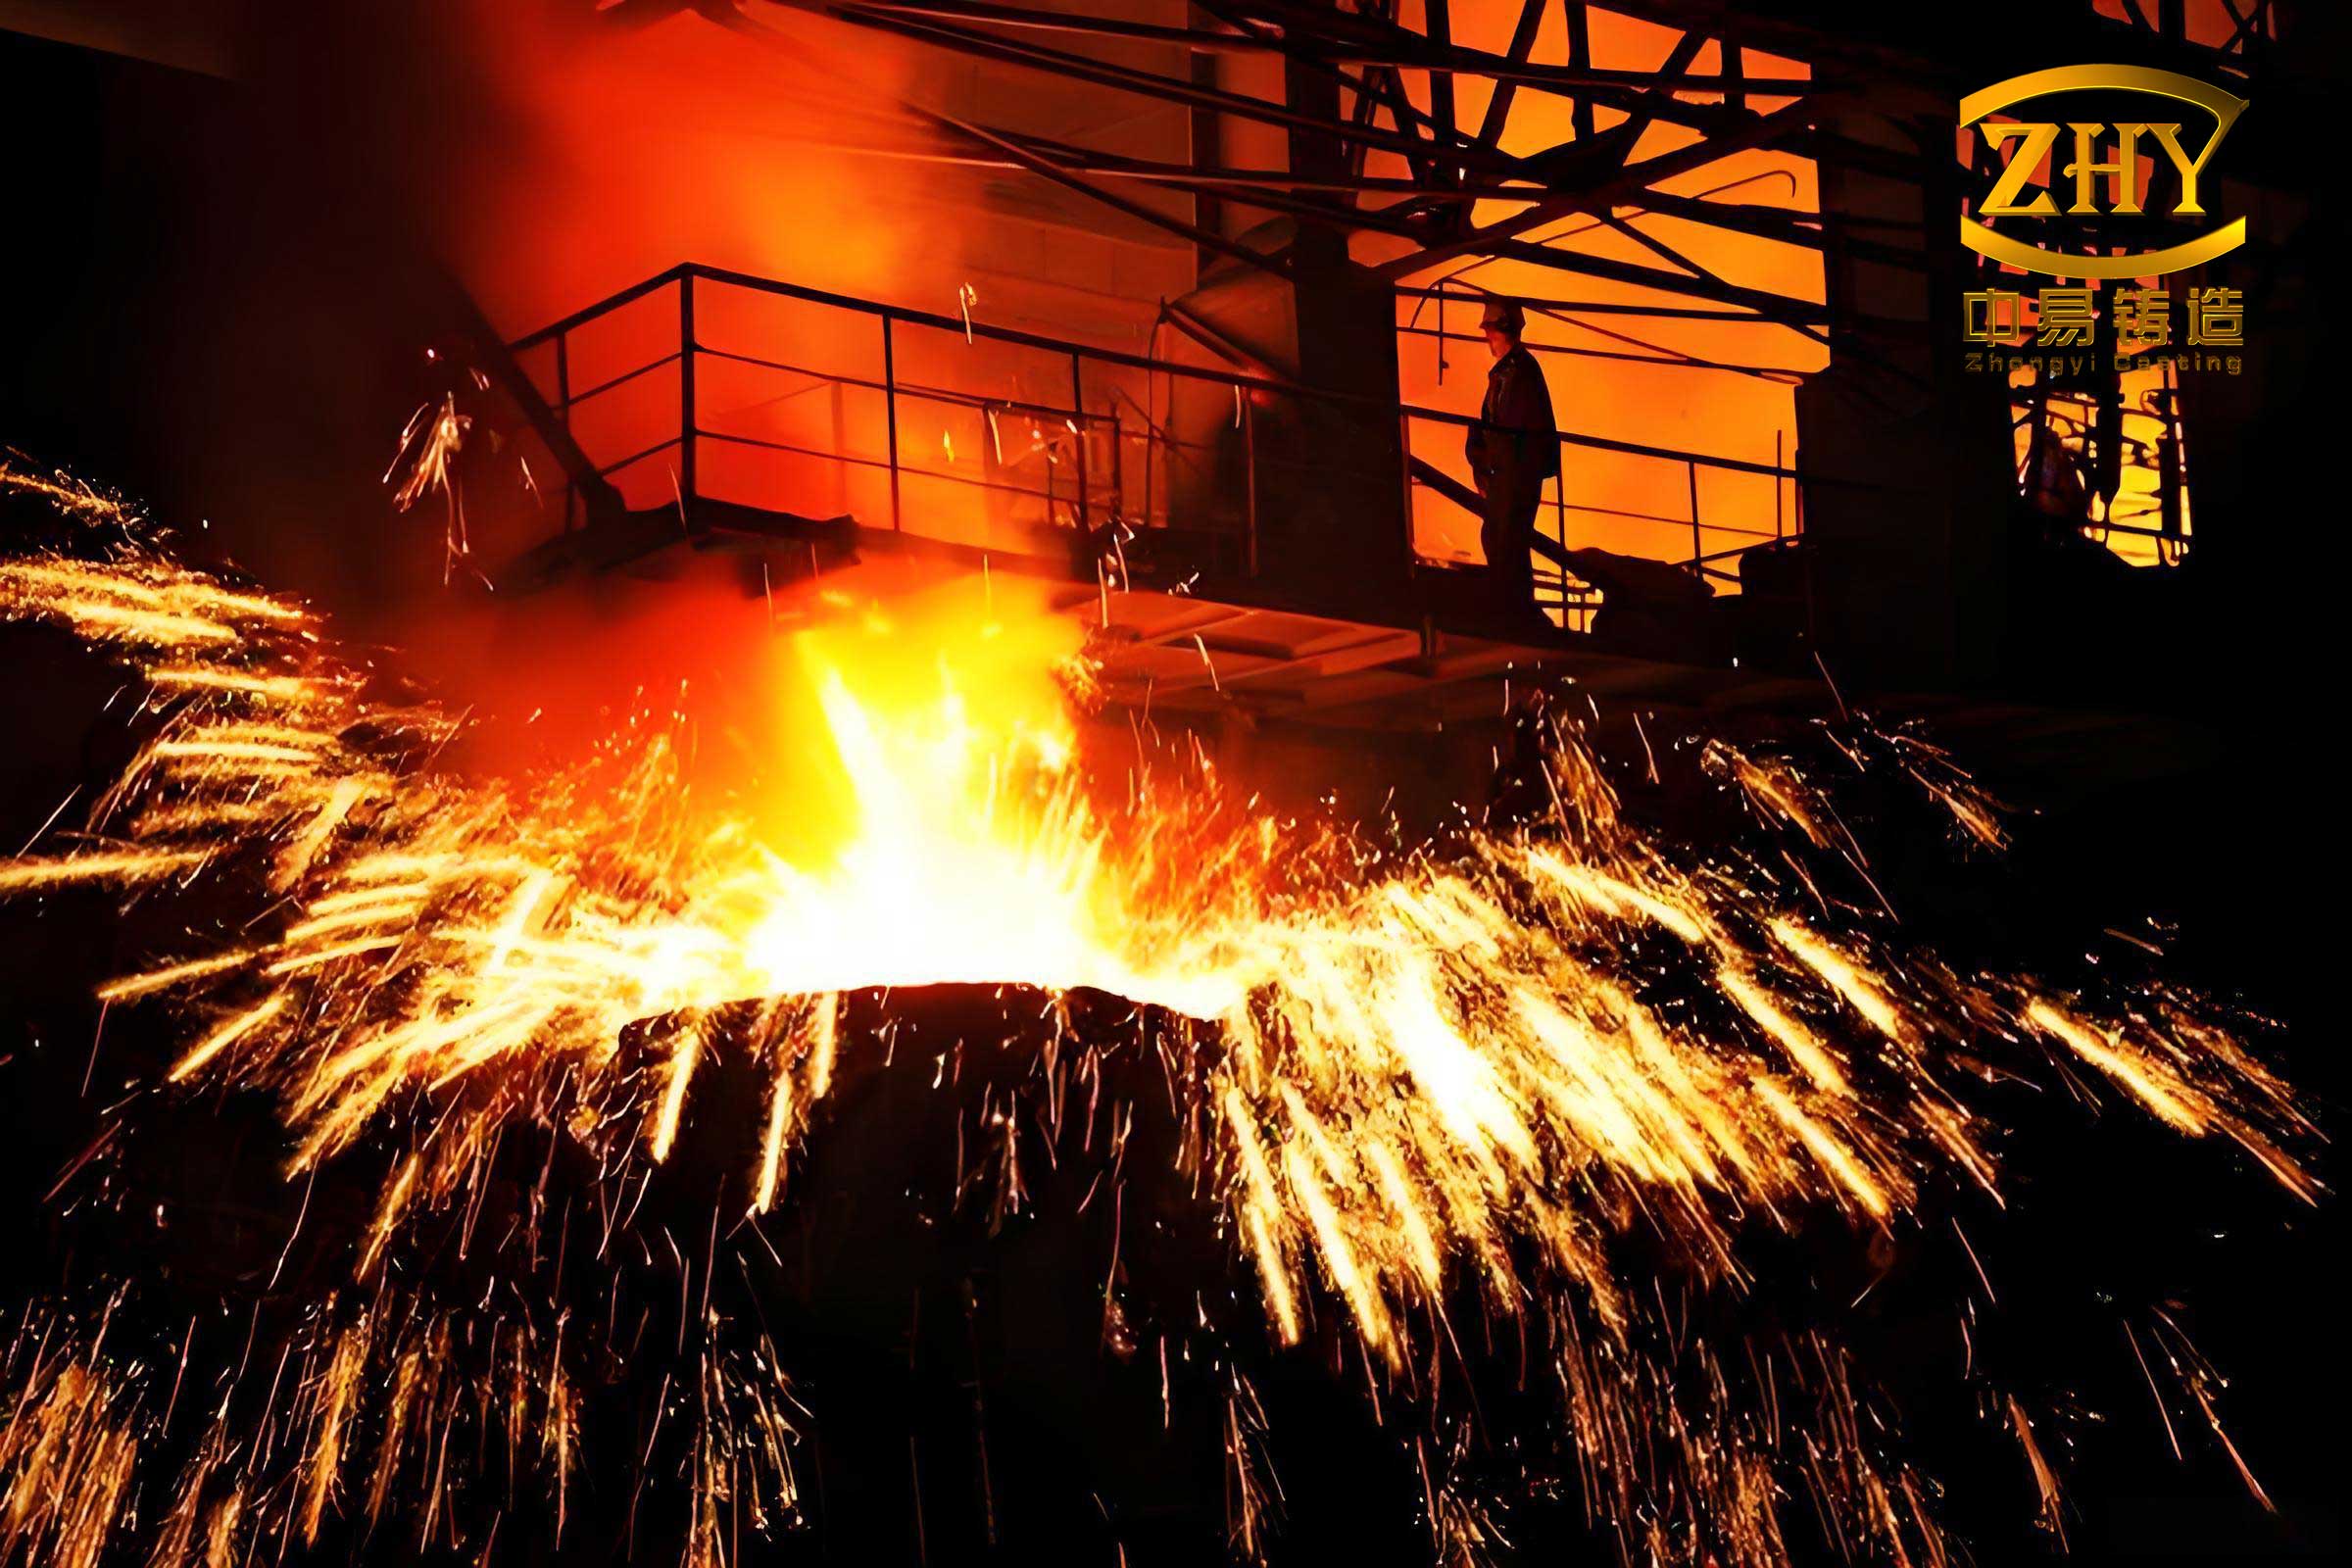
My specific focus was a low-temperature, high-toughness grade, EN-GJS-400-18U-LT, which corresponds to QT400-18L in the relevant national designation. The parts were 4.2 MW wind-power front and rear cover rings. These are thick-walled circular castings with a large thermal modulus and a strong tendency to develop shrinkage cavities and dispersed porosity. The customer required 100% penetrant, magnetic particle, and ultrasonic inspection after machining. The original process produced acceptable surface quality but failed too often in internal quality. Localized shrinkage and porosity caused high rejection rates. I therefore redesigned the process from the mold cavity outward, using external chills, a dedicated pouring cup, controlled sand hardness, a higher-refractoriness coating, a validated baking procedure, and a cleaner melting and treatment sequence.
Material and Quality Requirements
I started by defining the material window. For ductile iron castings in this class, the carbon equivalent must be high enough to promote graphite expansion, but not so high that it creates excessive flotation, graphite degeneration, or poor low-temperature impact behavior. I used the conventional carbon equivalent expression for cast iron:
$$CE = C + \frac{Si}{3} + \frac{P}{2}$$
For this low-temperature ductile iron, I also tracked the magnesium and rare-earth residuals because they control nodularity, but excessive residuals increase carbides and reduce toughness. I kept the target chemistry within a narrow range, as shown in Table 1.
| Element or Property | Target Range | Process Reason |
|---|---|---|
| C | 3.50–3.80 wt.% | Promotes graphite expansion and reduces shrinkage tendency in ductile iron castings. |
| Si | 1.80–2.20 wt.% | Supports nodularization and inoculation, but must be limited for low-temperature toughness. |
| Mn | ≤0.25 wt.% | High Mn increases pearlite and lowers impact energy. |
| P | ≤0.035 wt.% | Phosphorus promotes segregation and embrittlement. |
| S | ≤0.015 wt.% | Excess sulfur consumes magnesium and reduces nodularity. |
| Mg | 0.035–0.055 wt.% | Needed for nodularization, but excessive Mg increases dross and carbides. |
| RE | 0.010–0.025 wt.% | Controls sulfur and oxygen, but too much promotes graphite degeneration. |
| CE | 4.20–4.50 | Balances fluidity, graphite expansion, and shrinkage resistance. |
| Nodularity | ≥90% | Required for ductile iron castings with low-temperature toughness. |
| Nodule count | 100–250 per mm² | Refines the structure and improves toughness. |
| Graphite size | 5–7 ASTM | Prevents excessive graphite growth and degeneration. |
I used the casting modulus to compare different sections and to decide where chills were mandatory. The modulus is:
$$M = \frac{V}{A}$$
where \(V\) is the volume of the casting section and \(A\) is its effective heat-transfer surface area. For a thick ring, the modulus is large, so the solidification time is long. I estimated solidification time with Chvorinov’s rule:
$$t_s = B M^n$$
Here \(t_s\) is the local solidification time, \(B\) is a mold constant, \(M\) is the modulus, and \(n\) is an exponent usually close to 2 for many castings. In heavy ductile iron castings, the mushy zone is wide, so the actual feeding behavior is more complex than this simple equation suggests. Nevertheless, the modulus gave me a useful first estimate of which regions would freeze last and where shrinkage porosity would concentrate.
Mechanism of Shrinkage Porosity in Ductile Iron Castings
Ductile iron castings solidify in a mushy mode. Instead of a sharp solidification front, the alloy forms a semi-solid mixture of austenite and liquid over a wide temperature interval. The outer shell is not strong enough to resist the internal pressure caused by graphite expansion and mold wall movement. If the mold wall yields, the casting volume increases, and the liquid cannot feed the last solidifying regions. The result is shrinkage cavities and dispersed porosity. I summarized the main mechanisms in Table 2.
| Mechanism | Description | Effect on Ductile Iron Castings |
|---|---|---|
| Liquid contraction | Volume reduction as liquid metal cools before solidification. | Creates initial feeding demand. |
| Solidification contraction | Volume reduction during the mushy-to-solid transition. | Creates internal voids if feeding is insufficient. |
| Graphite expansion | Graphite precipitation increases volume. | Can compensate shrinkage if mold is rigid and graphite forms late enough. |
| Mold wall movement | Sand mold expands or deforms under graphite expansion pressure. | Reduces the self-feeding effect and increases shrinkage porosity. |
| Mushy freezing range | Wide solid-liquid coexistence zone. | Blocks liquid feeding and promotes dispersed porosity. |
| Poor inoculation | Low nodule count and irregular graphite. | Reduces expansion efficiency and lowers mechanical properties. |
| Gas entrapment | Air and binder gas enter the mold cavity. | Forms blowholes and pinholes that can resemble shrinkage. |
I also used a simple volume-change relation to reason about the competition between contraction and expansion:
$$\Delta V_{net} = \Delta V_{liquid} + \Delta V_{solidification} + \Delta V_{graphite} + \Delta V_{mold}$$
If \(\Delta V_{graphite}\) is strong and the mold is rigid, the net volume change can be small or even positive. If the mold yields, the graphite expansion is wasted by mold wall displacement. Therefore, I had to increase the chilling capacity, stiffen the sand mold, and reduce gas-related defects at the same time. This is why I did not rely on a single remedy. I combined external chills, a dedicated pouring cup, sand hardness control, coating optimization, baking, and melting adjustments.
External Chill Design
I placed external chills uniformly on the bottom, inner ring, and outer ring of the casting. The purpose was to increase the local heat extraction rate, reduce the solidification modulus, and convert part of the mushy solidification into a more directional and sequential solidification. The heat flux from the metal to the chill can be written as:
$$q = h A_c (T_m – T_c)$$
where \(q\) is the heat flux, \(h\) is the interfacial heat-transfer coefficient, \(A_c\) is the chill contact area, \(T_m\) is the metal temperature, and \(T_c\) is the chill temperature. By increasing \(A_c\) and keeping \(T_c\) low, I increased \(q\). I also reduced the effective modulus of the chilled region:
$$M_{eff} = \frac{V}{A + A_c \phi}$$
Here \(\phi\) is a chill efficiency factor. This equation is not exact for foundry practice, but it helped me compare different chill layouts. I used gray iron chills with a 200 MPa class strength, because they have good thermal conductivity, good resistance to thermal shock, and can be reused if handled carefully. The chill plan is given in Table 3.
| Chill ID | Dimensions (mm) | Quantity | Location | Purpose |
|---|---|---|---|---|
| 1 | 350 × 80 × 30 | 8 | Outer ring and bottom sectors | Accelerate freezing at the heaviest outer sections. |
| 2 | 250 × 150 × 40 | 4 | Bottom thick-wall zones | Increase heat extraction in the last-feeding regions. |
| 3 | 250 × 60 × 25 | 4 | Inner ring | Balance cooling between inner and outer walls. |
I checked that the chills followed the casting contour closely. Poor contact creates an air gap and reduces \(h\). I also preheated or dried the chills before use to prevent moisture-related gas defects. The chill surfaces were cleaned and coated with the same alcohol-based coating used on the mold. I did not allow chill gaps to become a path for liquid metal penetration. After several trials, the uniform chill placement produced a more symmetric temperature field, which is essential for circular ductile iron castings because asymmetric cooling can cause distortion, residual stress, and localized shrinkage.
Dedicated Pouring Cup Design
I designed a dedicated pouring cup to reduce the contact area between the liquid iron and air, prevent gas and slag from entering the mold cavity, and reduce the impact of the liquid stream on the resin sand mold. The pouring cup acts as a small reservoir. When the cup is kept full, the metal enters the sprue with a more stable head pressure and less turbulence. The filling time can be approximated by:
$$t_f = \frac{V_c}{Q}$$
where \(t_f\) is the filling time, \(V_c\) is the casting volume including the gating system, and \(Q\) is the volumetric flow rate. I controlled \(Q\) by the pouring cup geometry and the sprue diameter. The velocity in the sprue is:
$$v_s = \sqrt{2 g h}$$
where \(h\) is the effective metal head. I avoided an excessively high velocity because it causes turbulence, sand erosion, and slag entrainment. The dedicated cup features are summarized in Table 4.
| Feature | Design Intent | Observed Effect |
|---|---|---|
| Deep cup bowl | Maintain a stable metal head and keep the sprue full. | Reduced air aspiration and slag entry. |
| Slag trap lip | Hold floating slag and dross away from the sprue. | Improved cleanliness of ductile iron castings. |
| Contoured outlet | Smooth the flow transition into the sprue. | Lowered turbulence and mold erosion. |
| Larger upper reservoir | Allow steady pouring without interruption. | Reduced gas entrapment and cold shut risk. |
| Compact height | Keep the pouring basin close to the mold. | Reduced temperature loss during pouring. |
I also used a filter or ceramic foam in selected trials, but I found that the dedicated cup alone gave a large improvement when combined with proper pouring practice. The cup reduced the exposed liquid surface, which lowered oxidation and slag formation. In ductile iron castings, magnesium-treated iron is especially sensitive to oxidation, so every reduction in air contact helps. I trained the pouring operator to keep the cup at least half full at all times and to avoid interrupting the stream. This is a simple point, but it has a major effect on internal quality.
Sand Mold and Core Hardness Control
Graphite expansion is useful only if the mold is rigid enough to convert expansion into internal pressure that feeds the last liquid. If the sand mold is soft, the mold wall moves, and the expansion is lost. I controlled the sand mold and core hardness with a mold hardness tester. My target was 85–90 units, measured at multiple locations on the drag, cope, and core. Table 5 shows the hardness control plan.
| Location | Target Hardness (units) | Minimum Reading | Action if Below Target |
|---|---|---|---|
| Drag surface | 85–90 | 82 | Re-ram or reject the mold. |
| Cope surface | 85–90 | 82 | Check sand compactability and re-ram. |
| Core outer surface | 85–90 | 83 | Improve core shooting and curing. |
| Pocket and corner areas | 85–90 | 80 | Use manual ramming or extra compaction. |
| Chill contact areas | 85–90 | 84 | Re-seat the chill and re-compact. |
The pressure generated by graphite expansion can be approximated as:
$$P_g = E_m \epsilon_g$$
where \(P_g\) is the expansion pressure, \(E_m\) is the effective modulus of the mold-metal system, and \(\epsilon_g\) is the graphite expansion strain. The mold wall displacement is:
$$\Delta x = \frac{P_g}{k_m}$$
where \(k_m\) is the mold stiffness. By increasing sand hardness, I increased \(k_m\), reduced \(\Delta x\), and improved the self-feeding effect. I also made sure the sand was well mixed and that the compactability was within the recommended range. Hardness alone is not enough if the mold has soft spots. I therefore measured hardness at the bottom, middle, and top of the mold and repeated the measurement after core setting. This gave me a map of mold rigidity rather than a single average value.
Coating Selection and Application
I replaced the original graphite-based alcohol coating with a high-alumina bauxite alcohol coating. The new coating had higher refractoriness and better resistance to metal penetration. I controlled the coating density, thickness, and number of flow-coating passes. The coating parameters are shown in Table 6.
| Parameter | Original Coating | Improved Coating | Target |
|---|---|---|---|
| Type | Alcohol graphite coating | Alcohol high-alumina bauxite coating | Higher refractoriness |
| Density | Not tightly controlled | 1.5–1.6 g/cm³ | Stable suspension and flow |
| Coating thickness | Variable | 0.2–0.3 mm | Prevent burn-on and penetration |
| Flow-coating passes | Multiple | 1 | Uniform layer without excess |
| Drying | Air dry | Controlled air dry plus baking | Remove alcohol and moisture |
The coating permeability can be described qualitatively by Darcy’s law:
$$Q = \frac{K A \Delta P}{\mu L}$$
where \(Q\) is the gas flow rate through the coating, \(K\) is permeability, \(A\) is area, \(\Delta P\) is pressure difference, \(\mu\) is gas viscosity, and \(L\) is coating thickness. I wanted enough permeability to let gas escape, but not so much that liquid metal penetrates the sand. The high-alumina coating gave a better balance than the graphite coating. It also reduced burn-on, which lowered cleaning cost and improved dimensional consistency. I applied the coating by flow coating, drained the excess, and dried the mold in a controlled way. I did not allow pooled coating to remain in pockets or corners because that creates local gas defects and rough surfaces.
Mold Baking and Moisture Control
Moisture in the mold cavity and core is a major source of gas defects in ductile iron castings. I validated two baking routes. In the first route, I preheated the mold with a gasoline torch, mainly to drive moisture from the chills and the mold surface. Then I set the core, closed the mold, and baked it with a hot-air blower for 1.5–2 h at about 200 °C. Then I stopped the blower and allowed the mold to cool naturally for 1.5–2 h before pouring. In the second route, I allowed the mold to air-dry for at least one day after molding, then used a gasoline torch only on the chills for about 20 min per mold before closing and pouring. Both routes reduced gas defects, but the first route gave more consistent results for thick-wall ductile iron castings. Table 7 summarizes the baking routes.
| Route | Steps | Time and Temperature | Purpose |
|---|---|---|---|
| Route 1 | Preheat chills and mold surface, set core, close mold, hot-air bake, natural cooling | 1.5–2 h at 200 °C; 1.5–2 h cooling | Deep moisture removal and reduced gas defects. |
| Route 2 | Air-dry mold at least one day, torch chills only, close mold | 20 min torch per mold | Lower energy and shorter cycle for selected molds. |
I estimated the energy required to evaporate moisture as:
$$Q_{evap} = m_w h_{fg}$$
where \(m_w\) is the mass of water and \(h_{fg}\) is the latent heat of vaporization. In practice, the baking process must remove both free moisture and part of the chemically bound water in the binder. If the mold is not baked enough, steam forms when the metal enters, and the gas can be trapped in the last solidifying regions. If the mold is over-baked, the binder can degrade, reducing mold strength. I therefore controlled both temperature and time. I also verified that the mold was not too hot at pouring. A warm mold is acceptable, but an overheated mold can cause early binder decomposition and gas evolution.
Melting and Treatment Adjustment
I adjusted the melting charge to increase the carbon content and obtain a denser graphite structure. I removed steel scrap from the charge because steel scrap lowers carbon and increases the demand for recarburization. A higher carbon equivalent promotes graphite expansion, which helps compensate for shrinkage in ductile iron castings. The charge and alloy additions are shown in Table 8.
| Charge or Alloy | Addition (kg) | Size (mm) | Function |
|---|---|---|---|
| High-purity pig iron | 1075 | <300 | Base iron with low residual elements. |
| Nodularizer | 13.5 | 5–25 | Provides magnesium for nodularization. |
| Inoculant 1 | 9 | 5–8 | Promotes graphite nucleation in the ladle. |
| Inoculant 2 | 2.5 | 1–3 | Late stream inoculation for final solidification. |
| 75% ferrosilicon | 13 | 40 | Silicon addition and inoculation support. |
| Covering agent | 10 | — | Protects the melt surface and reduces oxidation. |
| Deslagging agent | 10 | — | Removes slag and dross. |
| Silicon steel sheet | 10 | — | Adjusts silicon and supports nucleation. |
I loaded the nodularizer and inoculant in a specific sequence: nodularizer first, then tamping, then inoculant 1, then small silicon steel pieces, then a 6 mm steel plate cover pressed tight, with a small amount of deslagging agent around the edges. This sequence delayed the reaction and improved magnesium recovery. The magnesium recovery can be written as:
$$\eta_{Mg} = \frac{Mg_f}{Mg_{add}} \times 100\%$$
where \(Mg_f\) is the final magnesium content and \(Mg_{add}\) is the added magnesium. I aimed for a high and stable recovery because magnesium is the most expensive and most reactive addition. I also controlled the treatment temperature. The iron was tapped at 1460–1480 °C for magnesium treatment. The reaction time was about 90 s. After the reaction became quiet, I tapped the remaining one-third of the iron and added inoculant 2 by stream inoculation. This two-stage inoculation gave a higher nodule count and reduced the risk of chill carbides in thin sections.
After treatment, I skimmed the slag repeatedly. I took a sample from at least 20 cm below the melt surface and cast a wedge test, a cylindrical metallographic sample, and a mechanical test bar. I accepted the heat only when the wedge fracture showed a silver-white, fine-grained structure with a small white iron edge of about 3 mm, a slight central shrinkage, rounded outer contours, and a clear metallic ring. This is a practical foundry check for nodularity and inoculation. If the wedge showed a dark, mottled, or coarse fracture, I rejected the heat or re-inoculated it.
Pouring Control
I controlled the time from the end of magnesium treatment and skimming to the end of pouring to less than 15 min. Longer holding times cause magnesium fade, graphite degeneration, and the formation of exploded or vermicular graphite. In ductile iron castings, graphite degeneration directly lowers impact toughness and fatigue strength. I used an infrared thermometer to measure the pouring temperature. The target pouring temperature was 1330–1350 °C. The pouring time was kept below 45 s. Table 9 shows the pouring control window.
| Parameter | Target | Range | Reason |
|---|---|---|---|
| Time after treatment | ≤15 min | 10–15 min | Prevent magnesium fade and graphite degeneration. |
| Pouring temperature | 1340 °C | 1330–1350 °C | Balance fluidity and shrinkage. |
| Pouring time | ≤45 s | 35–45 s | Avoid cold shut and gas entrapment. |
| Pouring cup level | At least half full | Continuous control | Prevent air aspiration and slag entry. |
| Slag control | Dedicated skimmer | Continuous | Keep slag out of the mold cavity. |
I also controlled the cooling rate after pouring. The local cooling rate can be estimated as:
$$\dot{T} = \frac{T_p – T_m}{t}$$
where \(T_p\) is the pouring temperature, \(T_m\) is the mold temperature, and \(t\) is time. A higher cooling rate refines the graphite and matrix, but too high a cooling rate can produce carbides. The chills increased the cooling rate in the thick sections, while the sand mold and baking controlled the overall thermal environment. I found that the best results came from a moderate increase in cooling rate in the heavy sections, not from uniform fast cooling everywhere. The goal was to make the last solidifying region smaller and better fed, not to turn the entire casting into a chill casting.
Solidification and Feeding Analysis
I used several simple relations to guide the process window. The feeding demand of a section can be approximated by:
$$V_{feed} = \alpha V \Delta T + \beta V f_s$$
where \(\alpha\) is the liquid thermal contraction coefficient, \(\Delta T\) is the temperature drop before solidification, \(\beta\) is the solidification contraction coefficient, and \(f_s\) is the solid fraction. The graphite expansion term is:
$$V_{graphite} = \gamma V f_g$$
where \(\gamma\) is the volume expansion per unit graphite fraction and \(f_g\) is the graphite volume fraction. The net feeding requirement is:
$$V_{net} = V_{feed} – V_{graphite} – V_{mold}$$
If \(V_{net}\) is positive, shrinkage porosity is likely unless external feeding is provided. If \(V_{net}\) is zero or negative, the casting may be self-feeding, provided the mold is rigid and the graphite expansion is distributed properly. In thick ductile iron castings, the problem is not only the total volume change but also the timing. If graphite expansion occurs before the mold has developed a strong shell, the expansion is lost by mold wall movement. If it occurs too late, the last liquid cannot be fed. I therefore tried to synchronize the chill-induced shell growth with the graphite expansion peak. This is why the chill placement, sand hardness, and inoculation all had to be optimized together.
I also used the thermal modulus ratio between the riser and the casting:
$$M_r = k M_c$$
where \(M_r\) is the riser modulus, \(M_c\) is the casting modulus, and \(k\) is a safety factor. For ductile iron castings with graphite expansion, the required riser size is smaller than for steels, but it is not zero. In my process, the chills reduced the effective modulus of the heavy sections, so the riser could be smaller and more efficient. I still used risers where the thermal center was isolated, but I relied more on chills and graphite expansion than on large risers. This reduced yield loss and improved the overall process economy.
Validation and Results
After implementing the improved process, I tracked the rejection rate by defect type. The results are shown in Table 10. The biggest improvement was in shrinkage and porosity. The reduction came from the combination of chills, mold hardness, pouring cup design, and melting control. I also saw fewer gas defects because of the baking and coating changes. The overall yield of acceptable ductile iron castings increased significantly, and the production cost decreased.
| Defect Type | Before Improvement | After Improvement | Relative Reduction |
|---|---|---|---|
| Shrinkage cavity | High | Low | Major reduction |
| Dispersed porosity | High | Low | Major reduction |
| Gas holes | Moderate | Low | Moderate reduction |
| Slag inclusion | Moderate | Very low | Major reduction |
| Burn-on | Moderate | Low | Moderate reduction |
| Graphite degeneration | Occasional | Rare | Major reduction |
I calculated the process yield as:
$$Y = \frac{W_g}{W_t} \times 100\%$$
where \(W_g\) is the mass of good castings and \(W_t\) is the total mass of poured castings. The yield increased after the process change. I also calculated the cost reduction from lower scrap, lower rework, and lower cleaning effort. Table 11 shows the cost and quality summary.
| Metric | Before Improvement | After Improvement | Change |
|---|---|---|---|
| Good casting yield | Low | High | Improved |
| Scrap rate | High | Low | Reduced |
| Rework rate | Moderate | Low | Reduced |
| Cleaning cost | Moderate | Lower | Reduced |
| Inspection rejection | High | Low | Reduced |
| Customer satisfaction | At risk | Stable | Improved |
I verified the mechanical properties of the ductile iron castings after the process change. The tensile strength, yield strength, elongation, and low-temperature impact energy all met the requirement. The graphite nodularity was above 90%, and the nodule count was within the target range. The microstructure showed a predominantly ferritic matrix, which is necessary for low-temperature toughness. Table 12 summarizes the mechanical property validation.
| Property | Requirement | Observed Result | Status |
|---|---|---|---|
| Tensile strength | ≥400 MPa | Within range | Pass |
| Yield strength | ≥250 MPa | Within range | Pass |
| Elongation | ≥18% | Within range | Pass |
| Impact energy at low temperature | ≥12 J | Within range | Pass |
| Nodularity | ≥90% | Above 90% | Pass |
| Nodule count | 100–250 per mm² | Within range | Pass |
| Graphite size | 5–7 ASTM | Within range | Pass |
Process Window and Control Plan
I converted the improved process into a control plan so that the result could be repeated. The critical parameters are shown in Table 13. I emphasized that ductile iron castings are sensitive to small changes in chemistry, treatment, and cooling. A process that works once is not enough. The control plan must be followed for every heat and every mold.
| Control Point | Target | Range | Verification Method |
|---|---|---|---|
| Carbon equivalent | 4.35 | 4.20–4.50 | Spectrometer and thermal analysis |
| Magnesium | 0.045 wt.% | 0.035–0.055 wt.% | Spectrometer |
| Nodularity | ≥90% | 90–95% | Metallographic image analysis |
| Mold hardness | 87 units | 85–90 units | Mold hardness tester |
| Coating thickness | 0.25 mm | 0.2–0.3 mm | Coating thickness gauge |
| Baking temperature | 200 °C | 180–220 °C | Thermocouple |
| Pouring temperature | 1340 °C | 1330–1350 °C | Infrared pyrometer |
| Pouring time | 40 s | 35–45 s | Stopwatch and visual control |
| Time after treatment | 12 min | ≤15 min | Process clock |
I also used a defect prediction index based on the local modulus and the chilling effect:
$$SPI = \frac{M_{local}}{M_{critical}} \times \frac{1}{C_{chill}} \times \frac{1}{H_{mold}}$$
where \(SPI\) is a shrinkage porosity index, \(M_{local}\) is the local modulus, \(M_{critical}\) is the critical modulus above which feeding is difficult, \(C_{chill}\) is the chill effectiveness, and \(H_{mold}\) is the mold hardness factor. A higher \(SPI\) indicates a higher risk. I used this index only as a relative guide, not as an absolute predictor. It helped me compare different chill layouts and mold designs before cutting tooling. For ductile iron castings, the best prediction still comes from combining simulation, thermal analysis, and actual sectioning of trial castings.
Discussion
I found that the most important principle in this work was integration. A single change rarely solves shrinkage in thick ductile iron castings. If I only added chills, I could create cold spots and carbides. If I only increased carbon equivalent, I could create graphite flotation. If I only increased mold hardness, I could still have gas defects from moisture. If I only improved the pouring cup, I could still have feeding problems in the last solidifying regions. The successful process came from combining all the measures in a balanced way.
External chills were effective because they reduced the local modulus and promoted directional solidification. The dedicated pouring cup was effective because it reduced turbulence and slag entrapment. Sand hardness control was effective because it preserved the graphite expansion pressure. The high-alumina coating was effective because it reduced burn-on and gas defects. Baking was effective because it removed moisture. Melting control was effective because it improved nodularity and graphite count. Pouring control was effective because it prevented magnesium fade and graphite degeneration. Each measure addressed a different part of the same problem.
I also learned that the human factor is critical. The pouring operator must keep the cup full and must not interrupt the stream. The molding operator must compact the sand uniformly and must not leave soft spots around the chills. The melting operator must follow the charge sequence and must not add wet or oily material. The inspection team must section castings and record the location of defects. Without disciplined execution, even a good process can fail. For ductile iron castings, process discipline is as important as process design.
Conclusion
I improved the casting process for thick-walled, low-temperature ductile iron castings used in wind-power cover rings. The improved process included uniform external chills at the bottom, inner ring, and outer ring; a dedicated pouring cup to reduce air contact and slag entrainment; controlled sand mold and core hardness; a higher-refractoriness alcohol coating; a validated baking procedure; a cleaner melting charge; and a tightly controlled magnesium treatment and pouring window. These measures reduced shrinkage cavities and dispersed porosity, lowered gas defects, improved nodularity and graphite count, and increased the yield of acceptable ductile iron castings.
The results confirmed that ductile iron castings with a high modulus and a wide mushy zone can be produced reliably when the mold is rigid, the thermal field is balanced, the metal is clean, and the graphite expansion is used effectively. I successfully completed the production of 4.2 MW front and rear cover rings and gained a repeatable process window for similar heavy-section circular parts. I also built a foundation for future work on other large wind-power ductile iron castings, including bearing housings, brake discs, and other thick-wall ring components. The key lesson is that shrinkage control in ductile iron castings is not a single action. It is a system of thermal, metallurgical, and molding controls that must work together from charge preparation to final inspection.