
In my experience with precision manufacturing, the production of critical components like hydraulic brake rotors for diesel locomotives presents a significant challenge. These rotors are integral to the braking system, demanding monolithic casting, high dimensional accuracy, and excellent surface finish, all while contending with a complex geometry featuring substantial variations in wall thickness. This article details our comprehensive approach to successfully manufacturing such a component through the lost wax casting process, also known as investment casting. The journey involved meticulous planning across several stages: process and structural design, wax pattern fabrication, shell building and dewaxing, and finally, firing and pouring. The lost wax casting method was chosen for its ability to produce net-shape parts with intricate details and superior surface quality, which are paramount for this application.
The component in question is a large rotor, approximately 528 mm in diameter and 161 mm in height, with a mass of around 135 kg. Its most defining features are the 28 blades arranged symmetrically on both its top and bottom surfaces. The functional surfaces of these blades require a surface roughness of Ra ≤ 6.3 µm. The stark difference in thickness between the robust hub sections and the thin, extended blades creates inherent difficulties in achieving sound casting without defects. Our successful production relied on a series of optimized steps specific to the lost wax casting process.
Process and Structural Design for Lost Wax Casting
The initial phase in any lost wax casting project is designing the process layout to mitigate casting defects and ensure shell mold integrity. Given the rotor’s symmetrical design, we opted to create two identical half-wax patterns. This strategy simplified the tooling (pattern die) required and facilitated easier assembly. The primary concern in lost wax casting for such a large, open-cavity part is shell mold collapse, especially during the high-temperature firing stage where the shell’s strength reaches a minimum.
To address this, we designed and implemented an internal support system. This system consisted of a network of supports made from the same alloy as the final casting. These supports were strategically placed within the wax assembly to bolster the shell during its vulnerable phases. A critical design parameter was the clearance between opposing supports. If the supports were in direct contact, their thermal expansion during shell firing could generate sufficient stress to crack the ceramic shell. Therefore, a calculated gap was introduced. The required clearance (δ) is derived from the linear thermal expansion formula:
$$\delta = 2 L \alpha t$$
Where:
\(L\) = Length of an individual support rod.
\(\alpha\) = Coefficient of thermal expansion for the support/casting material (approximately \(12 \times 10^{-6} \, \text{/°C}\) for typical low-alloy steels).
\(t\) = Maximum shell firing temperature (approximately 850°C in our process).
This gap allows the supports to expand freely without exerting destructive force on the shell, while the shell’s inherent elasticity and the supports’ presence prevent collapse. The effectiveness of this support system is paramount in large-scale lost wax casting operations.
Another crucial aspect was venting. Initial trials using only the gating system for venting resulted in gas entrapment at the periphery of the rotor, leading to mistuns and poor definition. The solution was to incorporate four additional vent channels at the upper rim of the pattern. This provided direct escape paths for gases displaced by the incoming metal, ensuring complete filling and sharp replication of the blade profiles. The final wax pattern assembly, incorporating gating, vents, and the internal support structure, was thus finalized for the lost wax casting process.
Wax Pattern Fabrication in Lost Wax Casting
The creation of a precise and stable wax pattern is the foundation of the lost wax casting process. For this rotor, we utilized a low-melting-point wax blend to reduce thermal stress and improve dimensional stability. The composition was a 50/50 mixture by weight of paraffin wax and stearic acid. This formulation offers a good balance of flowability for injection, strength for handling, and ease of removal later.
1. Half-Pattern Production: The wax was injected into a specially machined aluminum die using a pneumatic injection machine. The process parameters were carefully controlled:
• Injection Pressure: 0.35 – 0.40 MPa
• Injection Time: 60 – 70 seconds
• Holding/Cooling Time in Die: 3.0 – 3.5 hours
After ejection, the half-patterns were immediately immersed in a controlled-temperature water bath to prevent warping and ensure consistent geometry—a critical step for subsequent assembly in lost wax casting.
2. Pattern Assembly and Finishing: The two half-patterns were meticulously aligned and welded together using a heated spatula and additional wax. The internal supports, prefabricated from wax-coated metal rods (to be replaced by ceramic later), were then positioned and welded into place according to the design. Finally, the central pouring cup, feeder heads, and the four peripheral vent wax forms were attached. Surface finishing is vital for a high-quality ceramic shell and, consequently, the final cast surface. We found that lightly swabbing the assembled wax pattern with a solvent like methyl ethyl ketone (MEK) or a similar “banana oil” compound effectively smoothed seam lines and minor imperfections, yielding an excellent surface preparation for the first ceramic coat in the lost wax casting sequence.
| Component | Weight Percentage (%) | Primary Function |
|---|---|---|
| Paraffin Wax | 50 | Provides base structure, low melting point |
| Stearic Acid | 50 | Improves hardness, reduces shrinkage, enhances release |
| Optional Additives | 1-2 | Fillers (e.g., polymer) for increased strength |
Shell Mold Building and Dewaxing in Lost Wax Casting
The transformation of the wax pattern into a robust ceramic shell is the core of the lost wax casting process. It involves successive dips in ceramic slurries followed by stuccoing with refractory grains.
1. Slurry Preparation (Silica Sol Binder System): We employed a silica sol-based binder system for its excellent dimensional stability and surface finish. The slurry was prepared using a combined hydrolysis method. Ethyl silicate was hydrolyzed in a controlled reaction with ethanol, water, and a catalyst (hydrochloric acid) to form a silica binder. Refined silica flour (quartz) was then added to create the primary coating slurry. Precise control of temperature (45-50°C) and mixing time is critical to achieve the correct viscosity and gelling characteristics for the lost wax casting shell.
| Material | Quantity | Role |
|---|---|---|
| Ethyl Silicate (SiO₂ ~32%) | 1000 mL | Binder precursor |
| Ethanol (Anhydrous) | 735 mL | Solvent |
| Distilled Water | 178 mL | For hydrolysis |
| Hydrochloric Acid (HCl) | 8.6 mL | Catalyst |
| Sulfuric Acid (H₂SO₄) | 12.4 mL | Stabilizer/Secondary catalyst |
| Refined Silica Flour | ~3.3 kg | Refractory filler (adjusted for viscosity) |
The target viscosity for the primary slurry, measured with a Zahn cup (No. 4), was 10.0 – 11.5 seconds. Subsequent backup slurries had slightly lower viscosities, as shown in the process table. The relationship between slurry viscosity (\(\eta\)), solid loading (\(\phi\)), and binder content can be approximated for process control:
$$\eta = \eta_0 (1 – k \phi)^{-n}$$
Where \(\eta_0\) is the viscosity of the liquid binder, \(\phi\) is the volume fraction of solids, and \(k\) and \(n\) are empirical constants specific to the powder shape and size distribution.
2. Stuccoing and Drying Cycle: The shell was built up using a multi-layer approach with progressively coarser stucco materials. Each layer involved dipping the assembly in slurry, draining, raining on refractory sand (stucco), and then drying. Drying was enhanced by ammonia gas curing, which accelerates the gelation of the silica binder by increasing the pH. A typical sequence for a large part like the rotor in lost wax casting is detailed below.
| Layer | Stucco Sand Grit (Mesh) | Slurry Viscosity (Zahn #4, sec) | Air Dry (min) | Ammonia Cure (min) | Final Air Dry (min) |
|---|---|---|---|---|---|
| 1 (Prime) | 70-140 | 10.0-11.5 | 120-150 | 20 | 25-30 |
| 2 | 20-40 | 9.0-10.0 | 120-150 | 20 | 25-30 |
| 3 | 20-40 | 9.0-10.0 | 120-150 | 20 | 25-30 |
| 4 | 20-40 | 9.0-10.0 | 120-150 | 20 | 25-30 |
| 5 | 20-40 | 8.5-9.0 | 120 | 25 | 25-30 |
| 6 | 10-20 | 8.5-9.0 | 120 | 25 | 25-30 |
| 7 | 10-20 | 8.0-8.5 | 120 | 25 | 25-30 |
| 8 | 10-20 | 8.0-8.5 | 120 | 25 | 25-30 |
| 9 | 10-20 | 7.5-8.0 | 120 | 25 | 25-30 |
| 10 | 10-20 | 7.5-8.0 | 120 | 25 | 25-30 |
3. Shell Reinforcement: Given the part’s size and the risk of shell deformation under its own weight during handling or dewaxing, an intermediate reinforcement step was introduced. After several initial layers, the shell was dipped in a special strengthening solution—essentially a more concentrated ethyl silicate hydrolyzate—and then fully cured. This significantly increased the green strength of the shell, a vital tactic for successful lost wax casting of heavy sections.
4. Dewaxing: The wax removal must be rapid and complete to avoid shell cracking from wax expansion. We used an autoclave dewaxing method. The shell was placed in a pressurized vessel, and steam at approximately 92°C was introduced rapidly. The pressure (typically 0.6-0.8 MPa) forces the steam into the shell, melting the wax quickly from the inside out. The addition of 1-3 wt% boric acid to the water reservoir helps to neutralize any residual ammonia and slightly saponify the stearic acid in the wax, improving its flow and removal. The dewaxing cycle lasted 25-30 minutes for this large shell in our lost wax casting process.
Shell Firing and Metal Pouring in Lost Wax Casting
After dewaxing, the ceramic shell is fragile and contains moisture and residual volatiles. Firing serves to burn out any remaining pattern material, sinter the ceramic particles together for strength, and bring the mold to a temperature suitable for casting.
1. Firing Schedule: A controlled, staged heating cycle is essential to prevent thermal shock and cracking of the shell. The firing curve we developed for this rotor in the lost wax casting process is illustrated below and can be described by key temperature holds:
• Stage 1 (0-250°C, Slow Ramp): Gentle heating to remove absorbed moisture. Rate: ~100°C/hour.
• Stage 2 (250°C Hold): Dwell for 60-90 minutes to ensure complete removal of constitutional water from the binder.
• Stage 3 (250-600°C, Moderate Ramp):• Stage 4 (600°C Hold): A critical hold to allow temperature uniformity and complete burnout. This is near the region of minimum shell strength.
• Stage 5 (600-850°C, Final Ramp):• Stage 6 (850°C Hold): Sintering hold for 60-120 minutes to develop adequate hot strength.
• The shell is then cooled in the furnace to the desired pre-heat temperature for pouring, typically between 350°C and 400°C for steel castings in lost wax casting.
The time-temperature relationship during firing is crucial for shell property development. The sintering of ceramic particles can be modeled by various diffusion-based equations. A simplified form for the growth of a neck between two spherical particles is given by:
$$x^n = K(T) \cdot t$$
Where \(x\) is the neck radius, \(n\) is an exponent dependent on the dominant diffusion mechanism (typically 3-7), \(K(T)\) is a temperature-dependent rate constant following an Arrhenius law \(K(T) = K_0 \exp(-Q/RT)\), and \(t\) is time. This underscores why the hold at the peak temperature is necessary for sufficient bond formation in the lost wax casting shell.
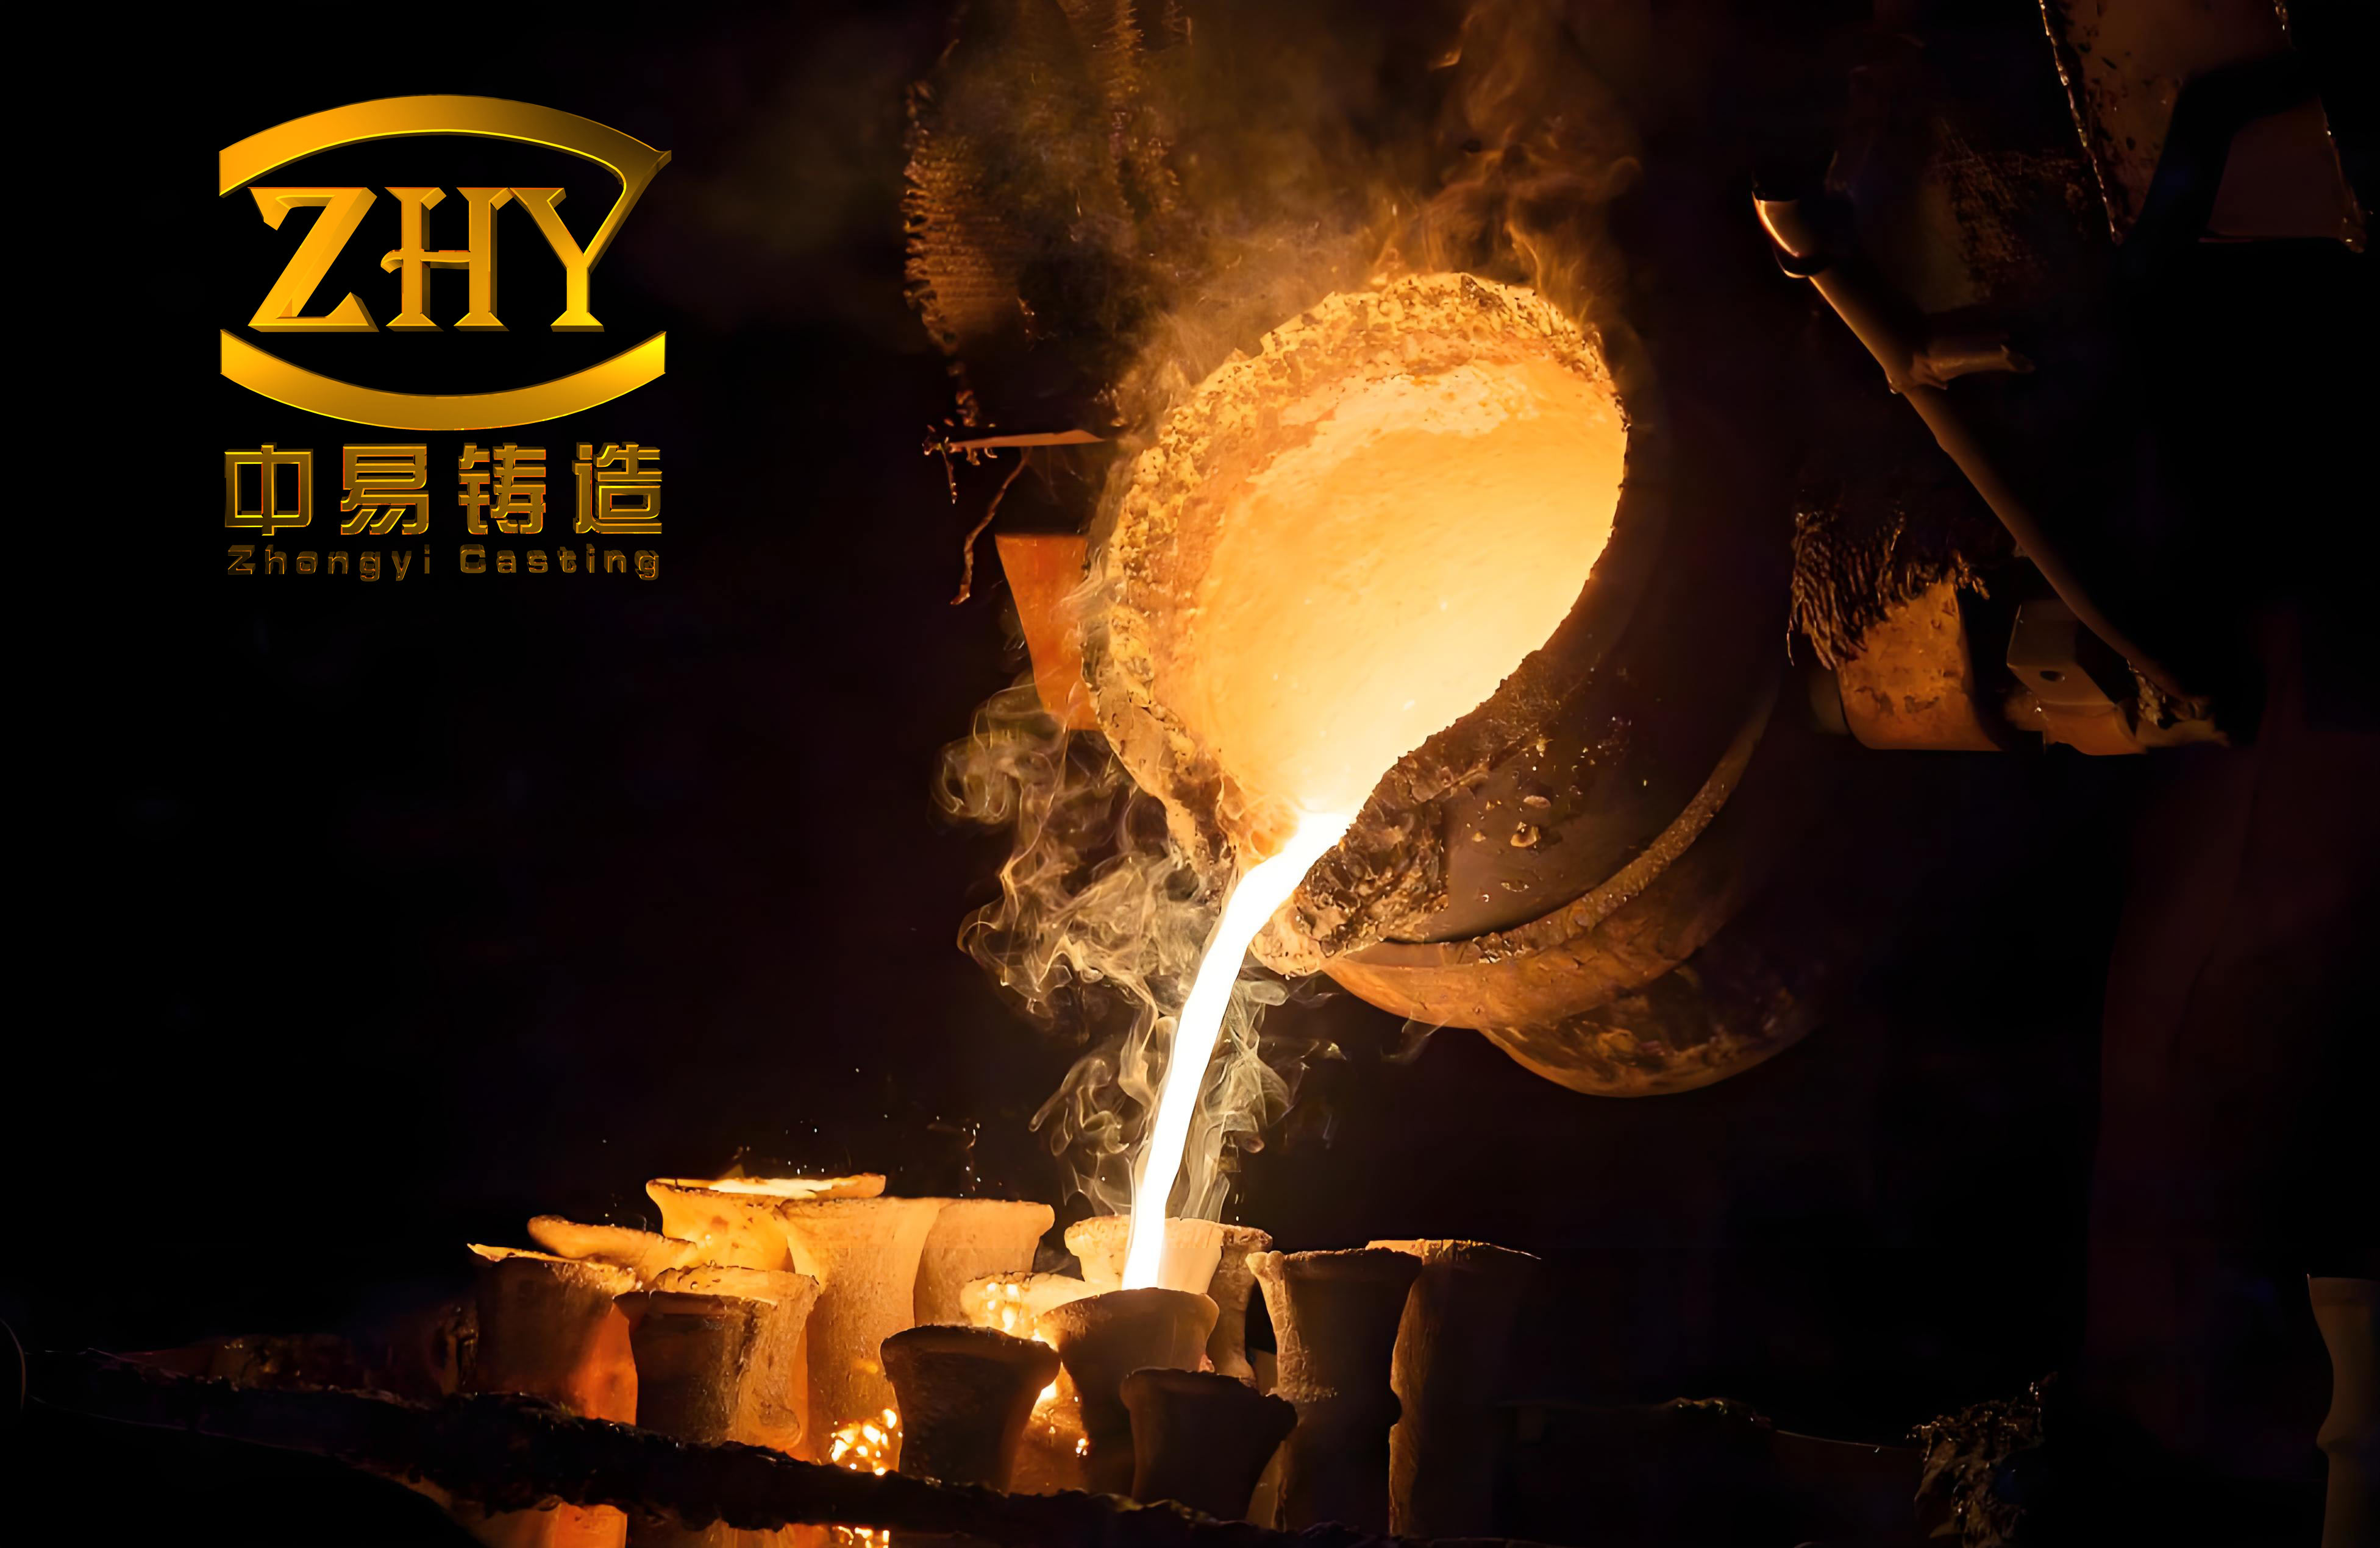
2. Melting and Pouring: The rotor was cast from a low-alloy steel. The molten metal was prepared in an induction furnace. To ensure proper fluidity and feeding, the pouring temperature was maintained between 1540°C and 1550°C. The preheated shell (at 350-400°C) was placed in a flask surrounded by loose sand for support. Pouring was done swiftly and smoothly to fill the mold cavity before metal temperature dropped significantly; the target pour time was 30-40 seconds. The gating system was designed to ensure laminar flow and act as a feeder to compensate for solidification shrinkage—a fundamental principle in lost wax casting. The heat transfer during solidification governs the microstructure. The local solidification time \(t_f\) at a point in the casting is related to the thermal parameters:
$$t_f = \frac{V}{A} \cdot \frac{\rho L}{h (T_{pour} – T_{mold})}$$
Where \(V/A\) is the volume-to-surface area ratio (modulus) of the section, \(\rho\) is density, \(L\) is latent heat, \(h\) is the heat transfer coefficient, and \(T_{pour}\) and \(T_{mold}\) are the pouring and mold temperatures, respectively. This explains why thicker sections like the hub require adequate feeding via risers in the lost wax casting setup.
Results, Metallurgical Considerations, and General Principles of Lost Wax Casting
The implementation of the described lost wax casting process yielded a rotor casting that met all dimensional and surface finish specifications. The internal supports, which became integral parts of the casting, were later removed by machining. The blades were formed completely, with clear contours and the required surface smoothness, demonstrating the effectiveness of the venting design. Non-destructive testing confirmed the absence of major shrinkage porosity or gas holes, validating the gating and feeding design.
The success of this project highlights several universal principles in lost wax casting for complex, heavy-section parts:
1. Thermal Management: This is the recurring theme. From the wax cooling rate to the shell firing curve and the metal pouring temperature, every step involves precise thermal control. The differential expansion between materials (wax, ceramic, metal support) must be calculated and accommodated, as shown in the support gap formula \(\delta = 2L\alpha t\).
2. Sequential Strength Building: The lost wax casting process progressively builds strength: first in the wax pattern assembly, then in the “green” ceramic shell via binder gelling and reinforcement dips, and finally in the “fired” shell via sintering. Each stage must be robust enough to survive handling until the next stage provides greater strength.
3. Material Science Interplay: The process sits at the intersection of multiple material systems. The wax must have tailored rheological and thermal properties. The ceramic slurry’s rheology, described by parameters like viscosity and thixotropy, is critical for coating uniformity. The relationship is often non-Newtonian, approximated by the power-law model:
$$\tau = K \dot{\gamma}^n$$
Where \(\tau\) is shear stress, \(K\) is the consistency index, \(\dot{\gamma}\) is shear rate, and \(n\) is the flow behavior index (n<1 for shear-thinning slurries common in lost wax casting).
| Process Stage | Critical Parameter | Target Value / Range | Influences |
|---|---|---|---|
| Wax Injection | Injection Pressure (P) | 0.35-0.40 MPa | Pattern detail, internal stresses |
| Slurry Application | Viscosity (\(\eta\)) | 7.5-11.5 sec (Zahn #4) | Coating thickness, defect coverage |
| Shell Drying | Relative Humidity (RH) | 40-60% | Drying rate, crack prevention |
| Dewaxing | Steam Pressure & Temperature | 0.7 MPa, ~92°C | Wax removal completeness, shell survival |
| Shell Firing | Peak Temperature (Tmax) & Hold Time | 850°C, 60-120 min | Shell strength, burnout completeness |
| Metal Pouring | Superheat (\(\Delta T = T_{pour} – T_{liquidus}\)) | ~100-150°C | Fluidity, feeding, grain structure |
4. Design for Manufacturability (DFM) in Lost Wax Casting: The original part design must be interpreted for the lost wax casting process. This includes:
• Parting Line Selection: Using symmetry to create half-patterns.
• Support Design: Adding temporary internal structures for shell stability.
• Gating and Venting Design: Ensuring proper metal flow, feeding, and gas escape. The choke area \(A_c\) of the gating system is sized based on the desired fill time \(t_f\) and Bernoulli’s principle:
$$A_c = \frac{V_{casting}}{t_f \cdot C_d \cdot \sqrt{2gH}}$$
Where \(V_{casting}\) is the cavity volume, \(C_d\) is a discharge coefficient, \(g\) is gravity, and \(H\) is the effective metallostatic head.
• Draft and Tolerances: Accounting for pattern removal, shell shrinkage, and metal contraction.
In conclusion, the production of the diesel locomotive hydraulic brake rotor stands as a testament to the capabilities of the lost wax casting process when applied with rigorous engineering analysis. It requires a holistic view that integrates mechanical design, fluid dynamics, heat transfer, and material science. From the calculation of thermal expansion clearances to the precise formulation of ceramic slurries and the controlled kinetics of shell firing, each step is a calculated link in the chain. The lost wax casting process, with its unique ability to capture intricate geometries in high-performance alloys, remains indispensable for such critical components. The principles outlined here—thermal management, sequential strength building, material interplay, and proactive DFM—form a foundational framework that can be adapted and scaled for a wide variety of challenging lost wax casting projects beyond this specific rotor, ensuring reliability and precision in the most demanding applications.