
Transitioning from conventional green sand molding to the lost foam casting process for manufacturing motor housings presents a unique set of challenges and opportunities. The promise of superior surface finish, reduced cleaning effort, and intricate detail replication is often tempered by initial difficulties with surface defects such as sand inclusions, slag, cold shuts, and dimensional distortion. My experience in implementing and refining this process has underscored that success hinges not on a single parameter but on the stringent, holistic control of every stage—from raw material pre-expansion to final pouring. This article details a comprehensive, first-person journey through the optimization of the lost foam casting process for a demanding thin-walled motor shell, highlighting the interconnected nature of each step and the critical adjustments required to achieve flawless castings.
Initial Process Assessment and Defect Analysis
The starting point was an established lost foam casting process for an HT200 motor housing. The initial setup utilized a top-gating system with a central sprue, eight radial runners, and multiple thin ingates, forming a pressurized system. The coating was applied via brushing, and casting was conducted at approximately 1500°C under a vacuum of 0.04-0.05 MPa. The results, however, were far from acceptable, revealing several critical defects that necessitated a root-cause analysis.
The primary surface defects observed were sand inclusions, slag entrapment, and cold shuts. A systematic breakdown revealed their multifaceted origins within the lost foam casting process:
- Slag and Sand Inclusions: These defects stemmed from inadequate molten iron slag treatment and poor slag trapping at the ladle, allowing impurities into the mold cavity. Furthermore, weak coating strength at the junctions of the gating system or coating layer collapse due to metal turbulence led to direct sand incursions.
- Cold Shuts and Surface Roughness: These were primarily attributed to low pouring temperature combined with an excessive foam pattern density. This combination prevented complete and rapid gasification of the foam, leading to residual carbonaceous deposits and incomplete metal fusion. Additionally, poor bead fusion during pattern molding created a discontinuous pattern surface, which translated directly into a pitted and rough casting surface.
- Process Control Gaps: The intermittent, non-standardized drying of coatings and patterns led to potential moisture retention, a fatal flaw in the lost foam casting process. The gating design, while seemingly adequate, may have been too restrictive for the thin sections, affecting fill velocity.
The collective analysis pointed to deficiencies across the entire lost foam casting process chain. Achieving quality required moving beyond isolated fixes to a fully integrated and controlled system.
Systematic Process Redesign and Stage-by-Stage Control
The optimization focused on a specific 225-type motor housing, a challenging part with a diameter of 343 mm, height of 420 mm, a main wall thickness of only 5 mm, and 60 closely spaced cooling fins. The target was zero-defect production, demanding unprecedented control.
1. Raw Material and Foam Pattern Production
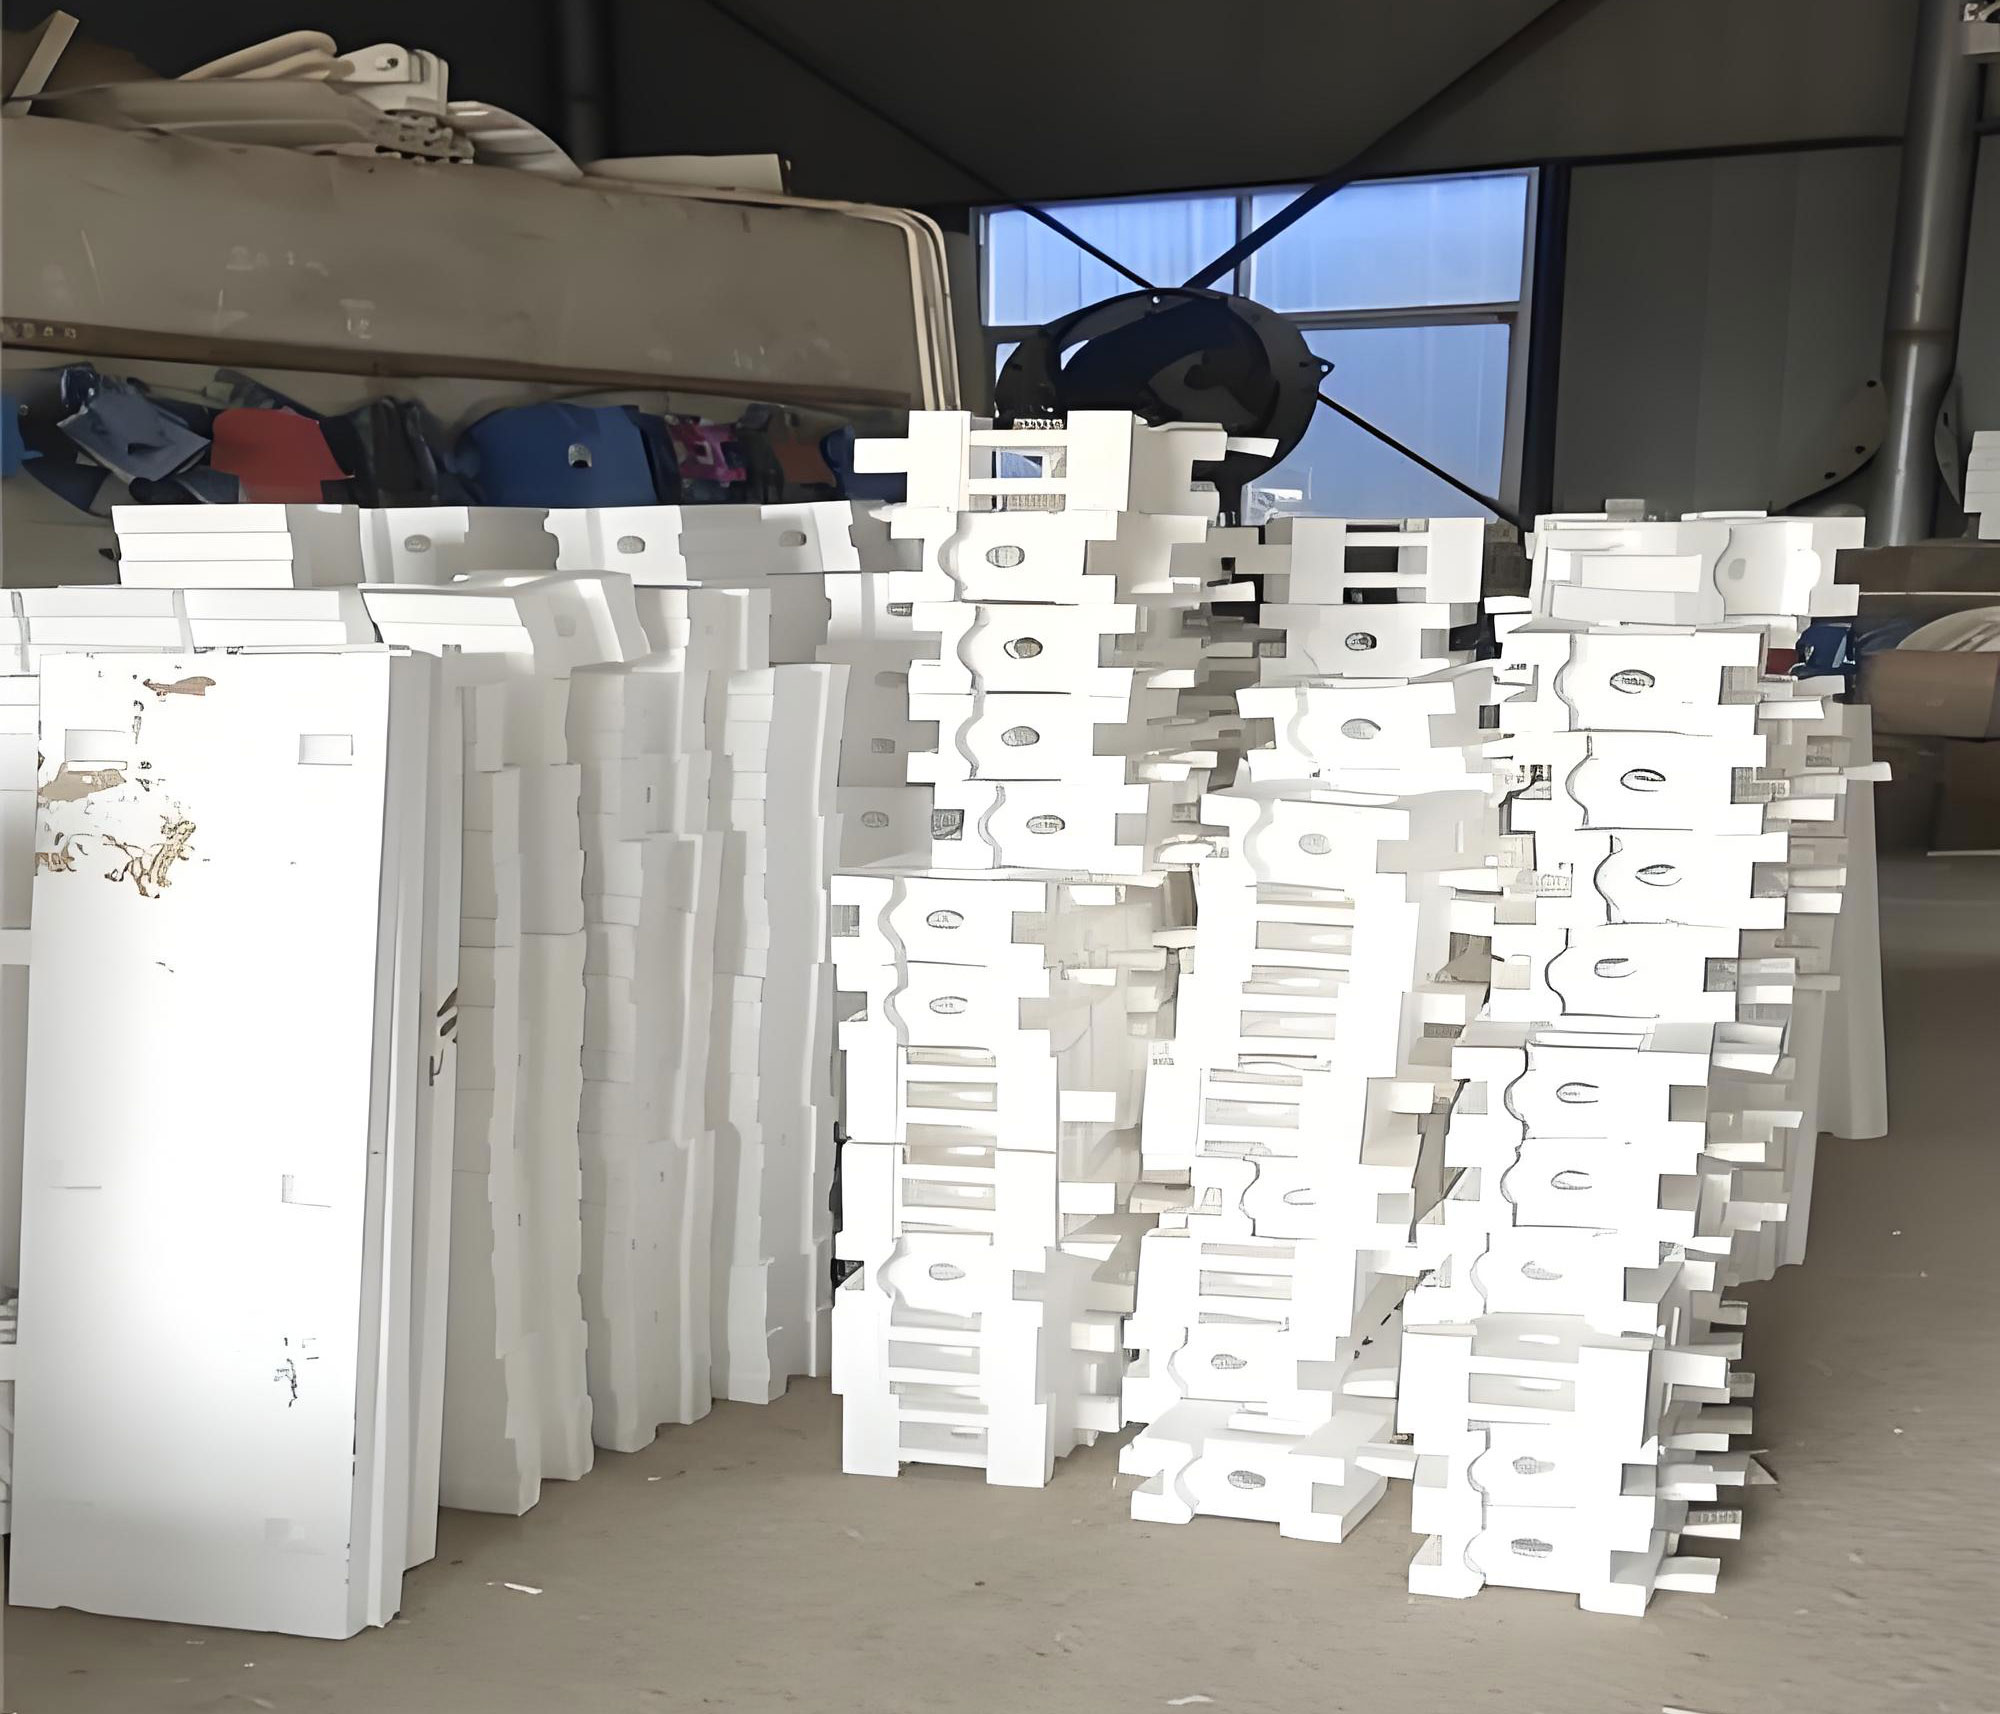
The foundation of a sound lost foam casting process is a dimensionally stable and high-integrity foam pattern. For this thin-walled part, a specialized copolymer bead was selected to minimize distortion. Pattern density became the first critical control parameter. An excessively low density risks pattern weakness and deformation, while high density leads to gasification defects. The target was set at 24-25 g/L. The pre-expansion relationship can be conceptualized by monitoring the expansion ratio, which should be consistent:
$$ \text{Target Density} (\rho_t) = \frac{\text{Head Mass}}{\text{Final Pattern Volume}} \approx 24.5 \, \text{g/L} $$
Steam pressure and cycle times were rigorously controlled: main line pressure at 0.08 MPa, chamber pressure at 0.02 MPa, and a heating time of 18 seconds. Manual molding demanded exceptional operator skill. The multi-gated mold required a precise sequence of bead injection to avoid unfused areas. Common pattern defects and their causes were catalogued and addressed:
| Pattern Defect | Likely Cause | Corrective Action |
|---|---|---|
| Unfilled sections / Poor fusion | Incorrect fill sequence; wet mold surfaces; low steam pressure/time. | Standardize fill order; ensure dry cavities; verify steam parameters. |
| Grainy surface (“orange peel”) | Under-expanded beads; aged beads; low density. | Increase heating; use fresh beads; achieve uniform target density. |
Only patterns passing visual inspection for surface continuity and completeness were allowed to proceed, establishing the first quality gate in the lost foam casting process.
2. Pattern Drying and Stabilization
Freshly molded patterns retain significant moisture and internal stresses. A controlled drying cycle is non-negotiable. The drying oven was set to 53°C to maintain a relative humidity below 15%, a crucial adjustment for humid climates. Patterns were dried for a minimum of 72 hours, with weight monitoring used to verify stabilization (constant weight indicated complete drying). This step ensures dimensional stability before assembly and coating in the lost foam casting process.
3. Pattern Assembly and Gating Modification
The assembly phase addresses both metallurgical and dimensional needs. The original gating was modified by increasing the ingate cross-section from 2×10 mm to 5×10 mm to improve filling velocity for the thin walls. To combat distortion—a critical issue for roundness—the pattern was supported using a combination of stiffening wooden strips and triangular bracing at the base. This jigging ensured the pattern maintained its true geometry throughout subsequent handling, coating, and molding, a vital aspect of the lost foam casting process for precision parts.
4. Coating Application and Drying: A Critical Barrier
The coating is the barrier between the degrading foam and the compacted sand. Its application is arguably the most sensitive step in the lost foam casting process. A two-layer approach was implemented:
- First Coat: Applied at a lower viscosity (~1.6 Bé) for good penetration into the fine fin gaps. Drying time >10 hours.
- Second Coat: Applied at a higher viscosity (~1.7-1.8 Bé) to build thickness and strength. Drying time >24 hours.
The total dry coating thickness was controlled to 1.0-1.2 mm. Crucially, patterns were handled only at the gating system and support points to prevent coating damage. The drying oven was maintained at 55°C with humidity below 15%. Weight checks confirmed complete dryness before molding. Perhaps the most important rule instituted was the segregation of fully dried patterns (“ready-to-pour”) from freshly coated ones to prevent moisture absorption. Any patching required a further 8-hour drying period. This meticulous control of the coating stage directly prevents sand erosion and metal penetration defects in the lost foam casting process.
5. Molding and Compaction
Patterns were taken from the dryer and molded immediately. A base sand layer of 150 mm was leveled and vibrated. The coated pattern (cluster) was carefully positioned, and sand was added while vibration ensured uniform and adequate compaction around the complex geometry, especially between the fins. Inadequate compaction, as later discovered, is a direct cause of veining or rough surface finish. The sprue cup was meticulously sealed with a plastic film and cover sand to prevent sand fall-in during pouring—a simple but critical detail in the lost foam casting process.
6. Pouring Practice and Parameters
The final act of the lost foam casting process brings all preparations to the test. The parameters were defined and strictly adhered to:
- Pouring Temperature: 1510°C (initially). This is a key variable. Too low leads to cold shuts and slag defects; too high can attack the coating. The optimal range is a balance defined by section thickness and pattern density.
- Vacuum Level: 0.05 MPa. This must be strong enough to evacuate pyrolysis products promptly but not so strong as to draw coating particles into the metal.
- Pouring Speed: The 75 kg casting was poured rapidly and continuously, aiming to fill within 10 seconds to maintain thermal momentum.
- Ladle Practice: A clean, well-preheated ladle was used. Slag was thoroughly skimmed, and a slag barrier (stone wool covered with an iron plate) was placed at the ladle spout.
- Hold Time: The vacuum was maintained for 12 minutes after pouring to ensure solidification under pressure.
The initial pouring temperature can be related to the section modulus (modulus of the thinnest section) to ensure complete foam degradation. While simplified, the need for a higher temperature for thinner sections is paramount:
$$ T_{pour} \propto \frac{1}{M} $$
where \( M \) is the casting modulus (Volume/Surface Area). Thinner walls (smaller M) require a higher \( T_{pour} \).
Iterative Problem Solving and Refinement
Even with a controlled process, first results were not perfect. The initial pour at 1510°C yielded castings with localized slag/porosity in the lower regions and some burn-in/bonded sand on the fins. This triggered an iterative problem-solving cycle, essential in mastering the lost foam casting process.
Iteration 1: Hypothesizing that the issues were due to low temperature and thin coating on fins, the temperature was raised to 1530°C and an extra coat was applied to the fins. Result: Minor improvement, but defects persisted. This indicated the root cause was not fully addressed.
Iteration 2 (Root Cause Analysis & Fix): A deeper investigation revealed two subtle setup errors:
- Asymmetric Sand Compaction: The vibration table’s X-axis amplitude was unbalanced, leading to less dense sand compaction on two opposite sides of the mold—exactly where the bonded sand was worst.
- Pattern Tilt During Molding: The pattern was not perfectly level during sand filling. This caused an uneven metal fill profile. The higher sections of the tilted cavity filled with less, cooler metal, leading to localized poor fusion and slag entrapment (the observed porosity).
The corrections were precise:
- The vibration motor eccentric blocks were adjusted to achieve a 90% balance for uniform compaction.
- A strict procedure was enforced: the base sand must be perfectly leveled, and the flasks must be shimmed to ensure the pattern cluster was absolutely horizontal during sand filling and vibration.
This final intervention, addressing the fundamentals of mold compaction and fill dynamics, resolved all remaining defects. The castings produced exhibited excellent surface finish, dimensional accuracy, and were free from slag, sand, and cold shuts. This underscores that in the lost foam casting process, even minor deviations in foundational steps like molding can override correct parameters in later stages.
Comprehensive Control Summary and Learnings
The successful implementation of the lost foam casting process for this demanding component can be distilled into a control matrix, highlighting the interdependence of all factors:
| Process Stage | Key Control Parameter | Target/Requirement | Impact on Final Casting |
|---|---|---|---|
| Pattern Making | Bead Density & Fusion | 24-25 g/L; Visual surface integrity | Prevents cold shuts, porosity, rough surface. |
| Pattern Drying | Time, Temperature, Humidity | >72h, 53°C, RH <15% | Ensures dimensional stability, prevents blistering. |
| Coating | Viscosity, Thickness, Dryness | 1.6-1.8 Bé, 1.0-1.2 mm, Weight-stable | Prevents sand erosion, metal penetration, gas defects. |
| Molding | Compaction Uniformity, Pattern Level | Balanced vibration, Absolute horizontal alignment | Prevents veining/bonded sand, ensures uniform fill. |
| Pouring | Temperature, Speed, Vacuum, Ladle | ~1520°C, Fast & Continuous, 0.05 MPa, Clean | Ensures complete foam removal, minimizes slag/turbulence. |
The overarching learning is that the lost foam casting process is a perfectly linked chain. A weakness in any single link—be it a slightly damp pattern, an unbalanced vibrator, or a poorly skimmed ladle—will manifest as a defect in the final casting. There is no compensating parameter. The process demands discipline, measurement, and a systemic view. Furthermore, environmental factors like ambient humidity are not merely background conditions; they are active process variables that must be countered with adjusted drying protocols. This project confirmed that with rigorous, stage-by-stage control and a commitment to root-cause problem solving, the lost foam casting process is capable of producing exceptionally high-quality, complex thin-walled castings like motor housings, even in challenging climatic conditions. The consistency achieved transforms it from an art into a reliable, repeatable manufacturing science.