
I have worked through the manufacturing route for a guide support used in a compression system, and I treat it as a high-integrity precision casting problem rather than a simple welded fabrication. The part must carry impact loads during rod dropping, maintain alignment, resist corrosion, and satisfy radiographic acceptance. In my approach, the casting must be produced as one integrated body with a guide tube and a ribbed support plate. The guide tube is a hollow cylinder with an upper cylindrical bore, a conical transition, and a smaller lower cylindrical bore. The support plate is square, ribbed, and contains four large flow openings plus twenty-four assembly holes arranged in defined orientations. These features create severe local thickness changes, long unsupported sections, and narrow ribs, all of which make full mold casting, investment casting, and any related precision route sensitive to pattern deformation, shell strength, feeding, and cooling balance.
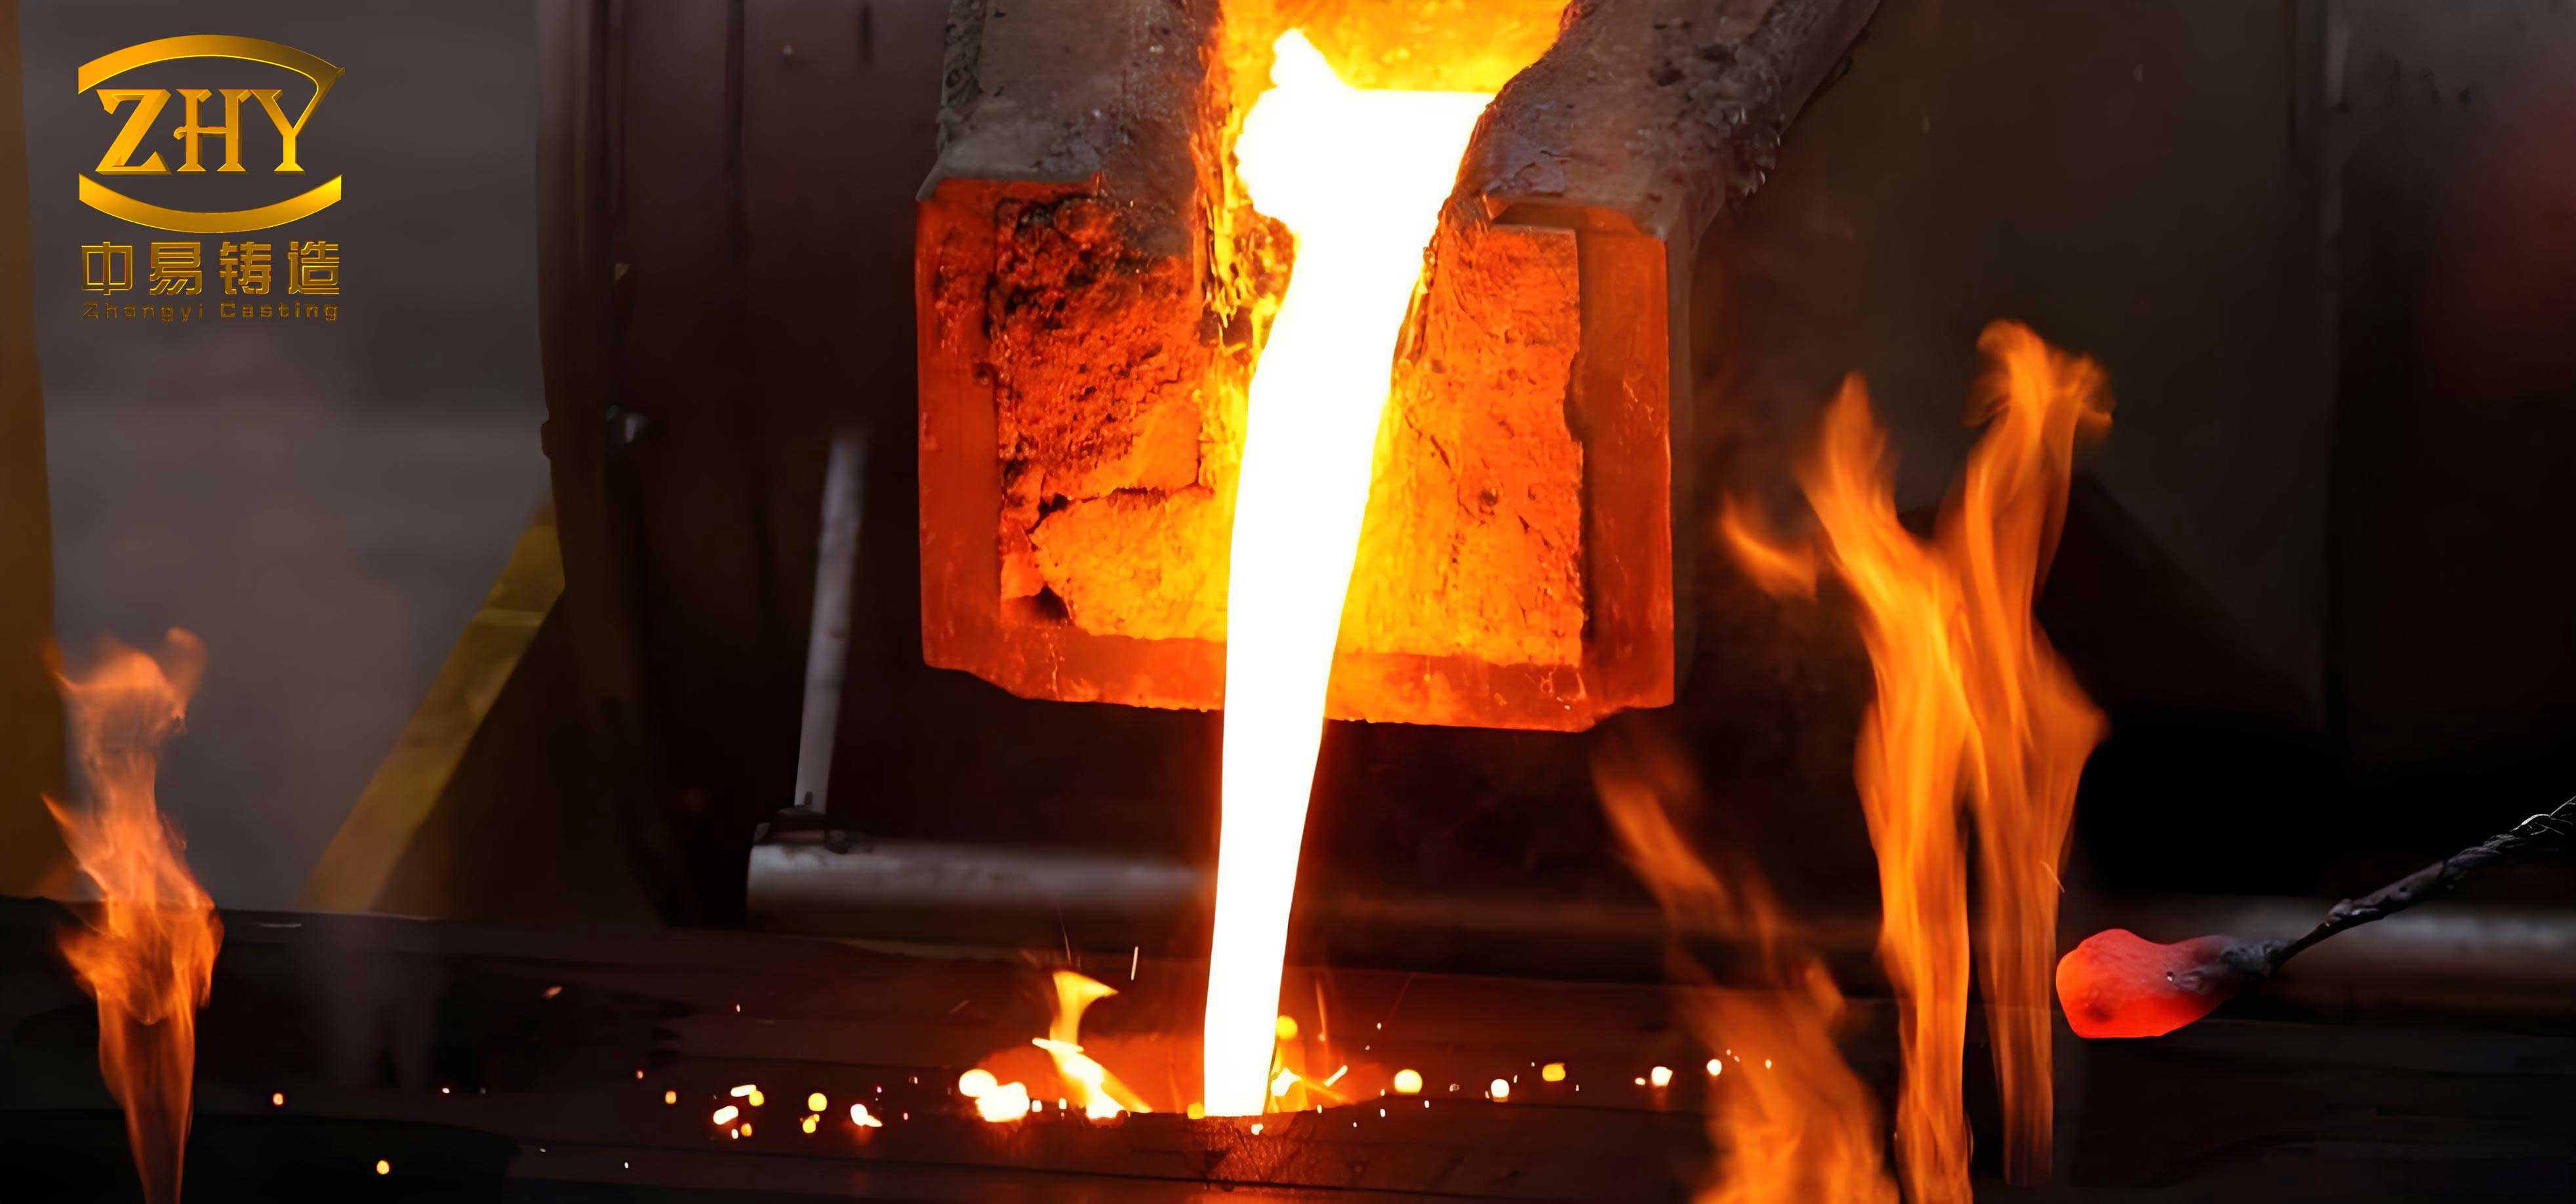
I base the process on an expendable-pattern philosophy. In full mold casting, the pattern defines the cavity and must be dimensionally stable until the mold or shell is ready. In the precision route I use, the same principle appears through a wax pattern, a ceramic shell, and a controlled dewaxing step. I therefore evaluate every operation by one question: does it preserve the geometry of the guide support while allowing clean filling, directional solidification, and reliable inspection? That question drives pattern design, gating, shell building, melting, heat treatment, and final machining.
Functional and Geometric Requirements
The guide support is not a general-purpose casting. It is a safety-related component. The guide tube guides motion and absorbs lateral loading. The support plate distributes load into the surrounding structure. The twenty-four holes are assembly interfaces, so their position relative to the main cylindrical datum controls whether the completed part can be installed. The four large flow openings reduce weight and allow coolant or flow passage, but they also interrupt the load path and create thin ligaments. The conical transition between the upper bore and the lower bore is a stress concentration zone. I therefore define the casting requirements before I design any tooling.
| Feature | Geometry | Manufacturing Risk | Control Method |
|---|---|---|---|
| Upper guide tube | Cylindrical bore | Core shift, bore distortion, shrinkage porosity | Cold wax core, symmetrical gating, slow cooling |
| Middle transition | Conical bore | Hot spot, incomplete fusion, coarse grain | Progressive shell thickness, chill or sand bed |
| Lower guide tube | Small cylindrical bore | Mold erosion, gas entrapment, cold shut | Viscosity control, venting, pour temperature control |
| Support plate | Square ribbed plate | Warping, plate distortion, incomplete fill | Split pattern, ribbed gating, uniform support during firing |
| Flow openings | Four large holes | Thin webs, hot tears, shell cracking | Rounded corners, controlled cooling, mechanical shell handling |
| Assembly holes | Twenty-four holes | Position error, draft error, machining stock variation | Machining fixture, datum control, first-article layout |
I express the basic functional demand as a load-to-area relationship. If the applied rod-drop force is F and the effective load-bearing area is A, then the nominal stress is:
$$ \sigma = \frac{F}{A} $$
This is only a screening formula, because the real part has ribs, holes, and a conical transition. However, it tells me where to add machining stock and where to avoid porosity. I also use a simple safety ratio:
$$ R = \frac{\sigma_{\text{UTS}}}{\sigma_{\text{allow}}} $$
For the cast material, I require R to remain above the design margin after heat treatment and after the worst-case section loss from machining. This is why I do not treat full mold casting as a near-net process alone. I treat it as a precision casting route in which the as-cast geometry must be close enough to allow reliable machining without exposing subsurface defects.
Process Route Selection
I compared several expendable-pattern routes before fixing the process. Full mold casting is attractive for complex shapes because the pattern can be buried or invested and then removed, but the same route demands strict pattern stability and shell or mold integrity. Investment casting with a wax pattern and ceramic shell gives me finer surface finish and better dimensional repeatability for the guide tube and ribbed plate. The route I selected is therefore a wax-pattern precision casting route supported by the same full mold casting logic: an expendable pattern creates the cavity, and process control protects the cavity until metal is poured.
| Route | Pattern | Mold or Shell | Advantage | Limitation |
|---|---|---|---|---|
| Full mold casting | Expendable foam or similar pattern | Sand or ceramic mold | Complex geometry, fewer joints, integrated shape | Pattern deformation, gas evolution, surface control |
| Investment casting | Wax or plastic pattern | Ceramic shell | Fine detail, good surface, high precision | Shell cost, dewaxing risk, cycle time |
| Sand casting | Reusable pattern | Sand mold | Lower tooling cost for simple parts | Poor detail, draft limits, more machining |
| Welded fabrication | Plate and tube components | Not applicable | Simple procurement | Weld distortion, heat-affected zones, inspection burden |
My decision matrix weights dimensional capability, internal soundness, integration, and production repeatability. Full mold casting scores well on integration. Investment casting scores well on detail and surface. I use the investment variant because the twenty-four holes, the conical bore, and the ribbed plate require a shell that can reproduce fine features and because the material is CF3 cast steel, which benefits from a clean ceramic face and controlled cooling.
Pattern and Wax Mold Design
I split the pattern into a cylindrical product section and a main body section. This split is not arbitrary. If I make the entire pattern in one rigid cavity, the guide tube and the ribbed plate oppose each other during extraction, and the thin ribs are likely to tear or distort. By splitting the pattern, I can extract each section along its own natural direction. I also use a cold wax core for the cylindrical section because the upper tube is thick and the central bore must not collapse during cooling. The cold core absorbs heat, accelerates local solidification, and reduces shrinkage-driven ovality.
The pattern shrinkage must be compensated. If the final cold dimension is Lfinal and the total shrinkage factor is ε, the pattern dimension is:
$$ L_{\text{pattern}} = \frac{L_{\text{final}}}{1-\varepsilon} $$
I apply this separately to the axial direction, the radial direction, and the plate direction because the constraint from the ceramic shell is not isotropic. For the guide tube, radial shrinkage differs from axial shrinkage. For the plate, the ribs constrain contraction more than the open flow regions. I also account for wax shrinkage after injection:
$$ L_{\text{wax,cold}} = L_{\text{die}} \left(1 – \varepsilon_{\text{wax}}\right) $$
where εwax is the wax contraction from injection temperature to room temperature. If I ignore this term, the wax pattern will be undersized before shell building even begins. In full mold casting, the same logic applies to the expendable pattern: the pattern must be oversized to leave the correct final cavity after all thermal contractions.
| Wax Injection Parameter | Target Value | Reason |
|---|---|---|
| Wax storage temperature | 72 ± 3 °C | Maintains uniform viscosity and flow |
| Injection cylinder temperature | 52 ± 2 °C | Prevents premature freezing and surface folds |
| Injection time | 30 to 40 s | Allows complete fill without turbulence |
| Injection pressure | 22 to 25 kg/cm² | Compensates for wax shrinkage and avoids sinks |
| Cooling method | Water cooling | Speeds setting and reduces distortion |
| Cooling time before removal | Controlled by section | Prevents tearing and warping |
| Placement after removal | Neat, uniform rows | Prevents mechanical damage and creep |
I hold the injection pressure for a sufficient time because wax is compressible and shrinks as it cools. The pressure decay inside the die can be approximated as:
$$ P(t) = P_0 e^{-t/\tau} $$
where P0 is the initial injection pressure, t is time, and τ is a die-dependent relaxation time. I want the pressure to remain high until the gate freezes. If it does not, the pattern surface can sink, especially on the thick cylindrical section. For full mold casting, the same pressure-holding concept appears in pattern molding, but the material and tooling differ.
Wax Pattern Assembly and Tree Design
After injection, I inspect each wax pattern for flash, short fill, bubbles, and deformation. I trim the parting line until it is smooth. The two halves of the main body are then joined. I align the locating features completely and use bonding wax around the joint. I also add hot wax into the joint to ensure complete fusion. After cooling, I scrape the excess wax flat. The surface must not have depressions or raised points, because those defects would transfer directly to the ceramic shell and then to the casting.
The wax tree is a thermal and hydraulic network. I use a cross-shaped header so that the main sprue has enough steel to feed the thick cylindrical section and the smaller gates can feed the plate ribs. The header must not be starved. I treat the tree as a set of channels with pressure losses:
$$ \Delta P = f \frac{L}{D} \frac{\rho v^2}{2} $$
where f is the friction factor, L is channel length, D is hydraulic diameter, ρ is density, and v is velocity. The gate cross-section must be large enough to deliver metal before the thin ribs freeze. At the same time, the gate must not create a hot spot that cannot feed the casting. This balance is central to both full mold casting and investment casting.
| Tree Feature | Design Choice | Purpose |
|---|---|---|
| Header shape | Cross type | Provides sufficient reservoir for directional feeding |
| Main sprue | Large enough for CF3 steel flow | Prevents premature freezing |
| Small gates | Distributed around plate ribs | Ensures fill of thin sections |
| Pattern spacing | Uniform and clean | Improves shell coverage and drying |
| Joint quality | No virtual welds, gaps, or wax drops | Avoids shell defects and inclusion paths |
| Water contact | Prohibited before assembly welding | Prevents steam and shell blowholes |
Shell Making and Slurry Control
Shell making determines surface finish, dimensional accuracy, and resistance to pouring pressure. I control the face coat carefully because the face coat touches the liquid CF3 steel. Zircon flour and zircon sand give a stable face layer with good refractory behavior. Backup layers use mullite flour and mullite sand. The slurry viscosity is measured by a cup efflux method. I treat the efflux time as a proxy for apparent viscosity:
$$ \eta_{\text{eff}} = K \rho t_{\text{cup}} $$
where K is a cup constant, ρ is slurry density, and tcup is the measured efflux time. This formula is empirical, but it helps me keep the slurry within a window. If the slurry is too thin, the face coat drains away and the shell is weak. If it is too thick, the slurry cannot wet fine details and may bridge the twenty-four holes or the narrow rib gaps.
| Shell Layer | Slurry Material | Viscosity Efflux Time (s) | Sand Material | Temperature (°C) | Humidity RH (%) | Drying Time (h) |
|---|---|---|---|---|---|---|
| Face layer | Zircon flour | 36 to 40 | Zircon sand 80 to 120 mesh | 20 to 26 | 60 to 70 | 6 to 12 |
| Second layer | Mullite flour | 20 to 24 | Mullite sand 60 to 80 mesh | 20 to 26 | 40 to 60 | ≥4 |
| Third layer | Mullite flour | 12 to 16 | Mullite sand 16 to 30 mesh | 20 to 26 | 40 to 60 | ≥4 |
| Fourth layer | Mullite flour | 12 to 16 | Mullite sand 16 to 30 mesh | 20 to 26 | 40 to 60 | ≥4 |
| Fifth layer | Mullite flour | 12 to 16 | Mullite sand 16 to 30 mesh | 20 to 26 | 40 to 60 | ≥4 |
| Seal coat | Mullite flour | 8 to 12 | No sand | 20 to 26 | 40 to 60 | ≥4 |
After the second layer, I use a mechanical shelling arm. The mechanical arm gives a more uniform coating than manual dipping and reduces operator-to-operator variation. It also allows a faster drying room cycle. In my experience, the shell can be handled after about twenty-four hours in the controlled drying room, which is much shorter than a conventional manual route. The shell thickness growth can be represented as:
$$ h(t) = h_0 + k\sqrt{t} $$
where h0 is the initial retained layer thickness, k is a slurry and sand dependent coefficient, and t is drying time. I use this relationship to check whether each backup layer is building thickness at the expected rate. If the shell thickness is too low, it can crack during pouring. If it is too high, it can retain stress and cause hot tearing because the mold constrains contraction. This is another place where full mold casting and investment casting share the same physical demand: the mold must be strong enough to contain metal but compliant enough to avoid cracking the casting.
Dewaxing and Shell Firing
Once the shell is dry, I remove the wax in a steam autoclave. The wax must melt and flow out without cracking the green shell. I clean the sprue cup flash before dewaxing because loose flash can fall into the shell and become an inclusion. After dewaxing, I place the shell with the sprue cup downward so dust and debris cannot settle inside. I also inspect and clean the autoclave filter regularly. A clogged filter changes the pressure release and can cause shell cracking.
| Dewaxing Parameter | Target |
|---|---|
| Placement | Sprue cup downward |
| Pressure | 0.5 to 0.6 MPa |
| Pressure release time | Greater than 50 s |
| Dewaxing time | 10 to 15 min |
| Temperature setting | 150 to 160 °C |
The pressure release rate is important. A rapid release can create a pressure differential across the shell wall and crack thin sections. I use a slow release because the guide support has thin ribs and narrow holes. For full mold casting, the equivalent concern is pattern removal or burn-out without damaging the mold cavity. The principle is the same: the cavity must remain intact after the pattern is gone.
Melting and Pouring
Melting is the highest-risk operation for internal soundness. The material is CF3 cast steel, and the component must pass radiographic inspection. I clean the furnace completely before charging. Residual slag and leftover steel can shift the chemistry or introduce inclusions. I follow the approved charge recipe strictly. The melt must be deoxidized properly, and I use electrostatic slag removal to reduce nonmetallic inclusions.
| Melting and Pouring Parameter | Target |
|---|---|
| Shell firing temperature | 1 100 ± 20 °C |
| Shell firing time | ≥90 min |
| New-to-return charge ratio | ≥60:40 |
| Pouring temperature | 1 550 ± 10 °C |
| Slag removal | Electrostatic deslagging |
| Mid-melt deoxidation | Electrolytic manganese, ferrosilicon, calcium silicon, 50 to 70 g each |
| Exothermic insulating agent | Yes |
| Riser boxing | No |
| Cooling method | Wet sand bed for lower section |
The guide tube is long and thick, while the plate ribs are thin. This creates a classic feeding conflict. The thick tube needs a hot, open feeding path. The thin ribs need rapid filling before they freeze. I therefore set the pouring temperature tightly and use a dual thermal strategy: the lower half of the shell sits on a wet sand bed to promote rapid cooling, while the header is wrapped with insulation to keep the feeder hot. This creates directional solidification from the plate toward the header.
I estimate solidification time using a Chvorinov-type relation:
$$ t_s = B M^n $$
where ts is solidification time, B is a mold constant, M is the casting modulus, and n is usually close to 2 for many castings. The modulus is:
$$ M = \frac{V}{A} $$
where V is volume and A is heat-transfer surface area. For feeding, I want the feeder modulus to exceed the casting modulus:
$$ M_{\text{feeder}} > M_{\text{casting}} $$
This inequality is fundamental in full mold casting as well. If the feeder solidifies first, the thick tube will shrink without liquid steel to compensate, and radiographic porosity will appear. I also check the pouring rate:
$$ Q = A_{\text{gate}} \sqrt{2 g H} $$
where Q is volumetric flow rate, Agate is gate area, g is gravitational acceleration, and H is effective metal head. The pour time is:
$$ t_p = \frac{W}{Q \rho} $$
where W is the poured weight and ρ is density. If the pour is too slow, the thin ribs cold-shut. If the pour is too fast, the flow becomes turbulent and entraps gas or erodes the shell. I use a controlled pour that fills the plate first and then continues to feed the tube.
Heat Treatment
After casting and cleaning, I heat treat the CF3 steel. The objective is to homogenize the matrix, relieve residual stress, and produce the required mechanical properties. I use a sealed pit-type resistance furnace with an air atmosphere. The parts must be spaced uniformly so that each guide support sees the same thermal cycle. Stacking is prohibited because it creates shadowing and uneven cooling.
| Heat Treatment Step | Parameter |
|---|---|
| Furnace type | Sealed pit resistance furnace |
| Atmosphere | Air |
| Solution temperature | 1 100 °C |
| Hold time | 80 min |
| Quench medium | Water |
| Initial water temperature | Not greater than 50 °C |
| Removal from water | After complete cooling |
The cooling curve can be approximated by Newtonian cooling:
$$ T(t) = T_{\infty} + \left(T_0 – T_{\infty}\right)e^{-kt} $$
where T0 is the initial part temperature, T∞ is the quench bath temperature, and k is a cooling constant that depends on section thickness and agitation. Thick sections cool more slowly than thin ribs. That difference creates thermal stress. I therefore require rapid transfer from the furnace to the quench tank and adequate agitation. The heat removed from the part is:
$$ Q = m c_p \Delta T $$
where m is mass, cp is specific heat, and ΔT is the temperature drop. This heat must be absorbed by the water without raising the bath above the specified limit. If the bath warms excessively, the quench rate drops and the mechanical properties become inconsistent.
Machining and Datum Control
Heat-treated castings are then machined. The support plate top and bottom faces, the guide tube body, and the twenty-four holes require machining. The critical requirement is the position of the twenty-four small holes relative to datum cylinder A. Because the part has a long cylindrical section and a ribbed square plate, I cannot rely on the as-cast surface for final location. I use a dedicated fixture that clamps on the cylindrical datum and supports the plate at multiple points.
The positional tolerance for each hole can be expressed as:
$$ T_{\text{pos}} = 2\sqrt{x^2 + y^2} $$
where x and y are the coordinate deviations from the true position. In a maximum-material condition, bonus tolerance may be available, but I do not depend on bonus tolerance for the assembly holes because the guide support must fit consistently. I also control perpendicularity between the cylindrical datum and the plate plane. If the plate is tilted, the twenty-four holes may be in tolerance locally but out of position globally.
| Machining Feature | Requirement | Fixture Strategy |
|---|---|---|
| Guide tube outer and inner diameters | Concentricity and roundness | CNC turning with axial datum stops |
| Plate top and bottom faces | Flatness and parallelism | Multiple supports and low-distortion clamping |
| Twenty-four assembly holes | Position relative to datum A | Machining center with index fixture and probe verification |
| Flow openings | Profile and edge quality | Contour milling or controlled drilling |
| Datum A cylinder | Reference for all hole positions | Turn first, then locate all drilling from datum A |
I prefer to turn the cylindrical section first because it establishes datum A. Then I transfer the part to the machining center and locate from that turned cylinder. I use a probe to verify the center position before drilling. The first article is checked on a coordinate measuring machine. If the hole pattern is correct but the plate is distorted, I adjust the clamping sequence rather than the drill program. This is important because full mold casting and precision casting both produce near-net shapes that can relax during machining.
Inspection and Qualification
Inspection is not a final gate only. I place inspection points throughout the route. Wax patterns are checked for dimensions and surface defects. Shells are checked for cracks and thickness. Castings are checked for chemical composition, microstructure, penetrant indications, radiographic soundness, intergranular corrosion resistance, mechanical properties, and hardness. The twenty-four holes and datum relationships are checked after machining.
| Inspection Stage | Method | Acceptance Focus |
|---|---|---|
| Wax pattern | Visual and dimensional check | No flash, no sink, no distortion |
| Shell | Visual and thickness check | No cracks, no bridging, uniform coverage |
| Chemical composition | Spectral analysis | CF3 specification compliance |
| Microstructure | Metallography | Grain size, phase balance, no harmful precipitates |
| Surface integrity | Penetrant testing | No cracks, no open porosity, no cold shuts |
| Internal integrity | Radiographic testing | Porosity and inclusion levels within acceptance |
| Corrosion resistance | Intergranular corrosion test | No sensitization above allowable limit |
| Mechanical properties | Tensile and hardness tests | Strength, elongation, hardness within specification |
| Final geometry | Coordinate measuring machine | Datum A, hole position, flatness, perpendicularity |
Radiographic acceptance is especially demanding for the thick guide tube. I use a defect-size criterion:
$$ d_{\text{max}} < d_{\text{allow}} $$
where dmax is the largest observed indication and dallow is the maximum allowed indication for the relevant section. I also track the location of indications. A small indication in a low-stress region may be acceptable, while the same indication in the conical transition may not be. This is why I combine radiographic results with finite-element or hand calculations of stress. The casting is not accepted only because it passes a generic porosity level; it must pass the functional requirement.
Defect Prevention and Process Control
I have seen that most defects in this part come from five sources: pattern deformation, shell cracking, incomplete fill, shrinkage porosity, and machining distortion. I address each with a specific control. Full mold casting has analogous failure modes, so I use the same logic when I evaluate alternate suppliers or alternate patterns. The mold or shell is only one part of the system. The pattern, the metal, the thermal field, and the fixture all interact.
| Defect | Likely Cause | Countermeasure |
|---|---|---|
| Wax pattern distortion | Uneven cooling, poor support, thick section shrinkage | Cold core, controlled water cooling, neat storage |
| Joint line defect | Incomplete wax fusion or misalignment | Align locating features, hot wax fusion, scrape smooth |
| Shell crack | Rapid dewaxing pressure release, weak layer, handling damage | Slow release, layer thickness control, mechanical handling |
| Cold shut | Low pouring temperature, slow fill, thin rib | 1 550 ± 10 °C pour, optimized gate area, preheated shell |
| Shrinkage porosity | Insufficient feeder modulus, wrong thermal gradient | Cross header, insulation on header, wet sand on lower shell |
| Gas porosity | Wax residue, wet shell, turbulent flow | Complete dewaxing, dry shell, controlled pour |
| Inclusion | Slag, loose shell, dirty furnace | Clean furnace, electrostatic deslagging, filtered autoclave |
| Machining distortion | Residual stress, poor clamping, datum error | Stress relief, compliant fixture, turn datum first |
I also use process capability indices for critical characteristics. For a characteristic with upper specification limit USL and lower specification limit LSL, the potential capability is:
$$ C_p = \frac{\text{USL} – \text{LSL}}{6\sigma} $$
where σ is the process standard deviation. For a centered process, Cp is enough. For an off-center process, I use:
$$ C_{pk} = \min\left(\frac{\text{USL} – \mu}{3\sigma}, \frac{\mu – \text{LSL}}{3\sigma}\right) $$
I require high Cpk for the twenty-four hole positions and for the wall thickness of the guide tube. If the process is not capable, I do not try to inspect the problem away. I change the tooling, the gating, the thermal profile, or the machining fixture.
Thermal and Fluid Considerations in Full Mold Casting
Although this component is produced by a precision wax route, I continuously compare it with full mold casting because the physics are shared. In full mold casting, the pattern decomposes or is removed, and gas must escape through the coating or sand. In investment casting, the wax is melted out and the shell is fired. Both routes require a cavity that is clean and permeable enough to avoid gas defects. Both require a thermal gradient that feeds the last solidifying region. Both require a pattern or shell that does not distort.
The Reynolds number helps me judge whether the flow is likely to be laminar or turbulent:
$$ \text{Re} = \frac{\rho v D}{\mu} $$
where ρ is density, v is velocity, D is hydraulic diameter, and μ is dynamic viscosity. In a gating system, a high Reynolds number promotes turbulence and gas entrainment. I prefer a gate design that fills the plate smoothly and then pressurizes the tube. That is easier to say than to achieve, because the plate has four large openings and the ribs are thin. The flow front can split and rejoin, creating cold shuts if the temperature drops too much. I therefore keep the pouring temperature high enough and the gate area large enough to avoid premature freezing.
The heat balance in the shell can be written as:
$$ q = h A \left(T_{\text{metal}} – T_{\text{mold}}\right) $$
where q is heat flux, h is the heat-transfer coefficient, A is area, and T is temperature. The wet sand bed increases h on the lower shell, while the insulation on the header decreases h. This deliberately creates a directional heat extraction pattern. In full mold casting, the same idea is applied with chills, sand composition, and coating permeability.
Material Behavior and Microstructure
CF3 cast steel is a low-carbon stainless steel. It must be heat treated to achieve the required combination of strength, ductility, and corrosion resistance. I pay attention to carbon content, ferrite-austenite balance, and sensitization. If the carbon content is too high or the cooling is too slow through the sensitization range, intergranular corrosion resistance can suffer. The solution treatment at 1 100 °C followed by water quenching is intended to homogenize the structure and suppress harmful carbide precipitation.
The cooling rate through a critical temperature range can be approximated by:
$$ \frac{dT}{dt} = -k\left(T – T_{\infty}\right) $$
For thicker sections, dT/dt is smaller. That is why I do not allow stacking during heat treatment. If the guide tube is shadowed by another part, the local cooling rate drops, and the mechanical properties may vary from one side of the part to the other. The same concern applies to full mold casting when thick sections are allowed to cool too slowly in the mold.
| Material Concern | Process Control | Verification |
|---|---|---|
| Carbon content | Strict charge recipe and spectral check | Chemical analysis |
| Ferrite-austenite balance | Controlled chemistry and cooling rate | Metallography |
| Sensitization | Solution treatment and rapid quench | Intergranular corrosion test |
| Grain size | Pour temperature and solidification rate | Microstructural examination |
| Porosity | Feeder design and thermal gradient | Radiography |
| Surface defects | Face coat and shell cleanliness | Penetrant testing and visual inspection |
Production Efficiency and Tooling Improvement
The initial route uses a header assembled from wax strips. That works for development, but it is not ideal for volume production. The header geometry is complex, labor-intensive, and yields a lower casting yield. I would replace it with a dedicated header die once the design is stable. A dedicated die would simplify pattern assembly, reduce wax consumption, improve repeatability, and increase the number of parts per tree. This is a natural next step for full mold casting as well: once the pattern is proven, the tooling should be upgraded for repeatability.
The yield can be expressed as:
$$ Y = \frac{W_{\text{casting}}}{W_{\text{poured}}} \times 100\% $$
If the header and gates are too heavy, Y drops. If they are too light, feeding suffers. I use this metric together with radiographic acceptance to find the best compromise. A high yield is not useful if the internal quality fails. A low yield is not acceptable for volume production. The target is a stable window in which the guide tube is sound, the plate ribs fill completely, and the tree is easy to remove.
| Production Metric | Formula | Interpretation |
|---|---|---|
| Casting yield | $$ Y = \frac{W_{\text{casting}}}{W_{\text{poured}}} \times 100\% $$ | Higher is better if quality is maintained |
| First-pass radiographic acceptance | $$ A = \frac{N_{\text{accept}}}{N_{\text{total}}} $$ | Measures process stability |
| Machining scrap rate | $$ S = \frac{N_{\text{scrap}}}{N_{\text{machined}}} $$ | Reveals casting stock and datum problems |
| Capability index | $$ C_{pk} = \min\left(\frac{\text{USL} – \mu}{3\sigma}, \frac{\mu – \text{LSL}}{3\sigma}\right) $$ | Quantifies hole position and wall thickness control |
Scale-Up and Repeatability
When I move from prototype to batch production, I freeze the process parameters. I do not allow uncontrolled changes in wax temperature, slurry viscosity, shell drying, pour temperature, or quench delay. Each of these variables changes the final geometry and internal soundness. I use a control plan that lists the parameter, the target, the tolerance, the measurement method, and the reaction plan. This is the only way to keep full mold casting or precision casting repeatable over many lots.
I also require traceability. Each casting can be traced to its wax lot, shell lot, heat, heat-treatment batch, and machining lot. If a radiographic indication appears, I can review the entire history. If a dimensional trend appears, I can determine whether the cause is wax shrinkage, shell expansion, or machining datum drift. Traceability is not paperwork for its own sake; it is the fastest way to isolate a process change.
| Control Variable | Target Window | Reaction if Out of Window |
|---|---|---|
| Wax storage temperature | 72 ± 3 °C | Hold and recheck before injection |
| Wax injection pressure | 22 to 25 kg/cm² | Quarantine patterns and inspect for sinks |
| Face slurry efflux | 36 to 40 s | Adjust viscosity before dipping |
| Shell drying humidity | 40 to 70% RH depending on layer | Correct drying room before continuing |
| Pouring temperature | 1 550 ± 10 °C | Do not pour if outside window |
| Quench delay | As short as practical | Reheat and re-quench if delay exceeds limit |
| Hole position capability | $$ C_{pk} \geq 1.33 $$ | Adjust fixture or tooling |
Final Acceptance Logic
I accept the guide support only when three conditions are met. First, the material meets the chemical, microstructural, corrosion, and mechanical requirements. Second, the internal quality meets radiographic and penetrant acceptance. Third, the final machined geometry meets the datum, hole position, flatness, and perpendicularity requirements. These conditions are not independent. A sound casting with poor hole position is scrap. A dimensionally correct casting with internal porosity is scrap. A heat-treated part with correct hardness but sensitized grain boundaries is scrap. The manufacturing route must therefore be judged as a system.
In my view, the precision casting route described here is a practical way to produce the guide support as one integrated body. It eliminates the weld joints of a fabricated route, improves load continuity, and gives better control over the final shape. The use of a split wax pattern, a cold wax core, a controlled ceramic shell, a cross-shaped header, a wet sand bed, and a dedicated machining fixture addresses the main risks. The same thinking can be extended to full mold casting when the production volume, pattern material, and surface requirements make that route more attractive.
For similar components, I would start with the functional load path, then define the casting modulus and feeding strategy, then design the pattern and shell, then qualify the heat treatment and machining datums. I would not treat full mold casting as a shortcut. I would treat it as a precision process that requires the same discipline as investment casting. When the pattern, shell, metal, and fixture are controlled together, the result is a reliable guide support that can withstand rod-drop loading and satisfy the inspection requirements.