
In this paper, I present a comprehensive investigation into the production of a large complicated stainless steel impeller through a combined melting modules-sand mould composite casting process. The impeller has an outer diameter of 700 mm, a height of 130 mm, a net weight of 202 kg, and contains 54 thin curved blades with a wall thickness of only 5 mm. The demanding technical requirements include a surface roughness of Ra3.2–1.6 μm, dimensional tolerance of CT4–CT5, and no casting defects such as cracks, shrinkage cavities, or inclusions. Based on the structural features, I divided the impeller into two parts: the complex blade region and the relatively simple hub-and-spoke region. The blade region was produced by investment casting techniques using a silica sol–sodium silicate composite shell, while the hub-and-spoke region was produced by conventional sand casting foundry processes. By combining the two mould parts, a composite casting mould was obtained. The entire production route, including pattern design, wax assembly, shell building, sand mould making, melting, pouring, post-treatment, and inspection, is discussed in detail. The results show that the composite process successfully produced impellers meeting all technical specifications, with good dimensional accuracy, surface finish, and mechanical properties. The process is stable, economical, and suitable for large complex impellers in sand casting foundry environments.
1. Introduction and Background
Casting impellers are critical components in many large machines used in shipbuilding, power generation, pharmaceutical industries, pump and valve systems, and transportation. The overall performance of the equipment strongly depends on the quality of the impeller. In current production, the casting of complex integral impellers still presents significant difficulties, especially when the impeller is large and has many thin, closely spaced blades. Therefore, research on impeller casting processes has always been a hot topic in the casting industry.
Traditional manufacturing routes for such impellers often rely on either sand casting foundry processes or investment casting alone. Sand casting foundry methods are generally suitable for large, simple impellers but cannot easily achieve the required surface finish and dimensional accuracy for complex blades. Investment casting, on the other hand, can produce intricate shapes with high precision but is limited in part size and weight because of shell strength constraints and difficulties in feeding thick sections. In my research, I propose a hybrid approach that combines the advantages of both methods: the complex blade section is made by investment casting (melting modules) while the simpler hub-and-spoke section is made by sand casting foundry techniques. This integration allows the production of a large, complicated integral impeller with high quality and lower cost.
2. Casting Method Selection and Process Planning
2.1 Impeller Structure and Technical Requirements
The impeller studied in this work is a key component of a large pharmaceutical machine. Its main dimensions are: outer diameter Φ700 mm, height 130 mm, and single net weight 202 kg. The spoke portion is a large flat plane, while the blades are thin (5 mm), curved, closely spaced, and arranged in a complex three-dimensional pattern. The material is ZG1Cr18Ni9Ti austenitic stainless steel, which must conform to GB2100-80.
The technical requirements include:
- Maximum carbon content ≤0.12%, and other alloy elements in accordance with standards.
- No cracks, slag inclusions, gas pores, shrinkage cavities, or porosity on the blades.
- Surface roughness Ra3.2–1.6 μm.
- Dimensional tolerance CT4–CT5.
- Ovality of the rim within 0–4 mm; distance difference between adjacent blades not exceeding 2 mm.
- Defects in the hub, rim, and spoke regions must not exceed Φ2 mm.
- After heat treatment, the material must be non-magnetic and meet mechanical property requirements.
2.2 Analysis of Single-Method Casting
If the entire impeller were produced by sand casting foundry methods, severe obstacles would appear. The blade shape is complicated and thin, with 54 overlapping blades. Achieving a surface roughness of Ra3.2–1.6 and CT4–CT5 by conventional sand moulding is impossible because of the difficulty in withdrawing the pattern, the poor surface quality of sand moulds, and the high risk of sand erosion and misruns. In addition, the narrow spaces between blades make core assembly extremely difficult and inaccurate.
If the entire impeller were produced by investment casting, the blade section could be formed precisely. However, the large size and heavy mass would overload the shell, especially at the thick hub and spoke. The large flat spoke area could easily deform during shell making or dewaxing. Moreover, attaching large risers and complicated gating systems to the shell is not practical. Therefore, neither method alone can satisfy the technical requirements.
2.3 Composite Casting Strategy
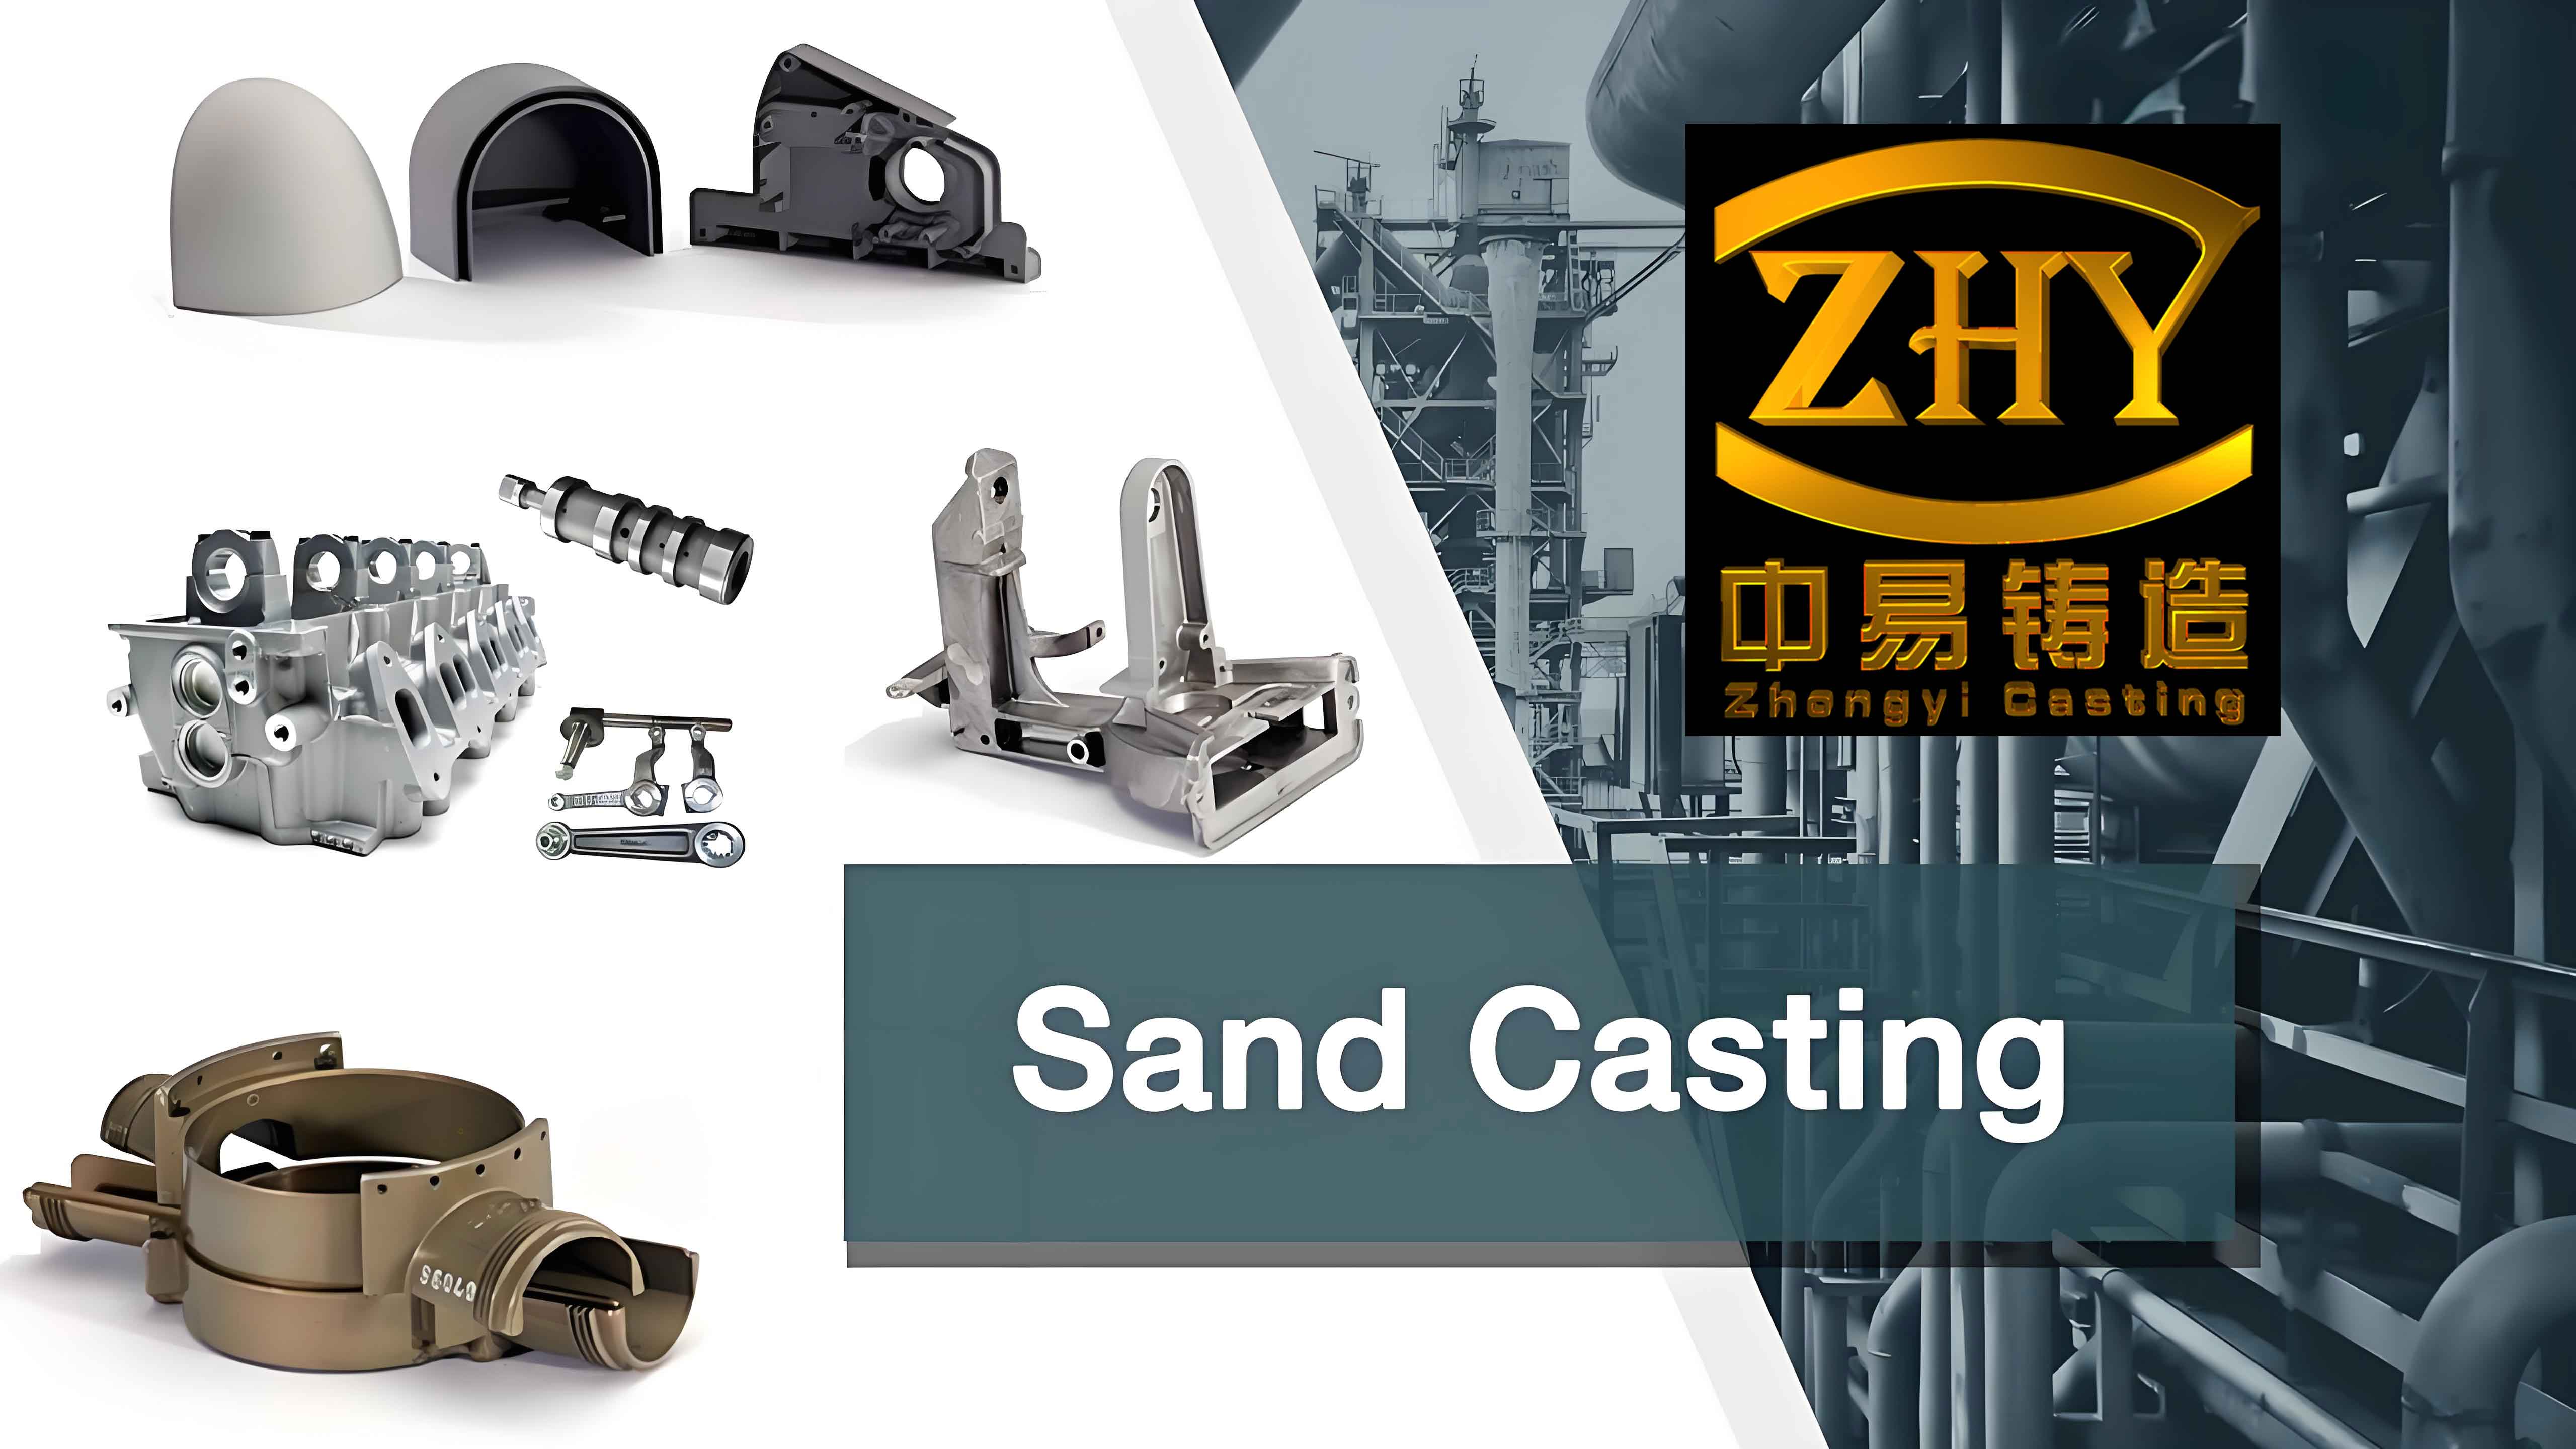
I decided to split the impeller at the inner diameter of the rim (Φ416 mm). The inner portion consists of the hub and spoke, which are relatively simple and thick. The outer portion consists of the 54 complex blades. For the blade portion, I used investment casting: making a single-blade wax pattern, assembling 54 wax blades into an integral blade cluster using a specially designed fixture, applying a silica sol–sodium silicate composite shell, and finally dewaxing and roasting to obtain a strong shell. For the hub and spoke portion, I used sand casting foundry technology: making wooden patterns and core boxes, preparing sodium silicate sand moulds and cores, and incorporating gating and riser systems. The two parts were then combined into a single composite casting mould, as illustrated by the following schematic representation of a typical large sand casting foundry operation.
3. Preparation of the Blade Investment Shell
3.1 Wax Pattern Design and Moulding
The first step was to produce the wax pattern for a single blade. I designed a manual two-piece metal die made of 45 steel, hardened to HB 280–350. The die cavity dimensions were calculated using the overall linear contraction factor:
$$ \varepsilon_s = \varepsilon_1 – \varepsilon_2 + \varepsilon_3 $$
where:
- $\varepsilon_1$ = shrinkage of the wax pattern material (taken as 0.75%)
- $\varepsilon_2$ = expansion of the shell during heating (taken as 0.50%)
- $\varepsilon_3$ = solidification contraction of the ZG1Cr18Ni9Ti casting (taken as 2.5%)
Thus, $\varepsilon_s = 0.75\% – 0.50\% + 2.5\% = 2.75\%$. Based on practical experience, I adopted an actual combined shrinkage of 2.6% for the die cavity design. Table 1 lists the recommended surface roughness values for different portions of the die.
| Die portion | Roughness Ra (μm) |
|---|---|
| Cavity surface | 0.2–0.8 |
| Insert/guide faces | 0.8–3.2 |
| Parting surface | 0.8–1.6 |
| Non-working surface | 6.3–12.5 |
For the wax material, I formulated a rosin-based blend. The composition and properties are shown in Table 2.
| Polymerized rosin (%) | Modified rosin (%) | Paraffin wax (%) | EVA (%) | Melting point (°C) | Softening point (°C) | Ultimate tensile strength (MPa) | Shrinkage (%) |
|---|---|---|---|---|---|---|---|
| 17 | 40 | 30 | 3 | 74–78 | ≥40 | 54 | 0.4–0.7 |
The wax injection process parameters are summarized in Table 3.
| Parameter | Value |
|---|---|
| Wax temperature | 70–85 °C |
| Die temperature | 20–30 °C |
| Injection pressure | 0.3–1.5 MPa |
| Holding time | 1–3 min |
| Cooling medium | Water at 16–25 °C |
| Cooling time | ≤1 h |
| Storage temperature | 15–28 °C |
3.2 Assembly of the Blade Wax Cluster
Because the blade cluster consists of 54 blades arranged on a circular rim, I designed a special welding fixture to guarantee the correct position and shape during assembly and shell coating. The fixture included an upper plate, lower plate, locating ring, tie rods, and spacer plates. The locating ring diameter was calculated as:
$$ D_{loc} = 416 \times (1 + 2.2\%) = 425.15 \pm 0.25\ \text{mm} $$
The height of the locating ring was:
$$ H_{loc} = (130 + 3 + 5) \times (1 + 2.2\%) = 141.04\ \text{mm} $$
The assembly process involved:
- Placing the 54 individual wax blades around the locating ring with the curved profile in close contact with the ring.
- Welding the upper joints of the blades using a heated soldering iron at approximately 80 °C.
- Flipping the assembly after installing the lower plate and welding the lower joints.
- Filling the gaps between the plates and the wax cluster with wax to prevent unwanted penetration of hardening solution during shell building.
3.3 Silica Sol–Sodium Silicate Composite Shell
To achieve a high-quality surface and adequate strength, I employed a two-layer silica sol coating followed by several sodium silicate coatings. Table 4 gives the composition of the composite hydrolyzate.
| Component | Amount |
|---|---|
| Silica ester | 1.0 kg |
| Ethanol (95%) | 0.6 L |
| Distilled water | 0.18 L |
| Hydrochloric acid | 3.0 mL |
| Acetic acid | 3.5 mL |
| Sulfuric acid | 3.5 mL |
For the face coats, the density of the slurry was adjusted to 1.62–1.65 g/cm³. The shell building process is given in Table 5.
| Layer | Slurry | Slurry viscosity (s) | Stucco sand size (mm) | Drying | Hardener | Hardening time (min) |
|---|---|---|---|---|---|---|
| 1 | Silica sol-quartz | 28–32 | 0.425/0.212 | Air + NH₃ ≥2 h | NH₃ atmosphere | 30–40 |
| 2 | Silica sol-quartz | 28–32 | 0.425/0.212 | Air + NH₃ ≥2 h | NH₃ atmosphere | 30–40 |
| 3 | Water glass-alumina-quartz | 30–45 | 0.850/0.425 | Air drying | NH₄Cl solution | 5–10 |
| 4–6 | Water glass-alumina-quartz | 30–45 | 1.70/0.850 | Air drying | NH₄Cl solution | 5–10 |
During application, I poured the silica sol slurry over the slowly rotating wax cluster and removed excess slurry by spinning. After each coating, the cluster was stuccoed and dried. For the sodium silicate layers, careful attention was given to avoid delamination from the silica sol layers. The third layer (first sodium silicate layer) was applied with a lower viscosity and allowed to self-dry for 1–2 h before hardening.
3.4 Shell Reinforcement and Dewaxing
After the sixth shell layer, the wax cluster was still relatively flexible for such a large size. To prevent deformation during dewaxing and roasting, I added a sodium silicate sand jacket around the shell. A ring-shaped mould was used to form the sand jacket (thickness about 100 mm) on the lower fixture plate. A cast iron reinforcement ring with two lifting lugs was embedded in the sand jacket. After CO₂ hardening and removal of the ring mould, the shell assembly was strong enough for lifting and subsequent handling.
Dewaxing was carried out in a high-pressure steam autoclave at 0.6–1 MPa with an air charge time of less than 5 s and a total dewaxing time of 6–10 min. The shell was then allowed to rest for at least 12 h before firing.
Firing was performed in a 75 kW box resistance furnace at 850±30 °C for 1.5–2 h. The shell was placed horizontally on a refractory sand bed to avoid distortion. After firing, the shell surface appeared white and smooth, indicating complete burnout of residual wax.
4. Composite Mould Design and Sand Casting Foundry Operations
4.1 Process Parameters
I allowed machining allowances of 5 mm on the upper surface and 3 mm on the lower surface. The single-side allowance for the central hole was 5 mm.
4.1.1 Riser Design
The risers were designed using the modulus method. For the hub region, the equivalent modulus was calculated as:
$$ M_{hub} = \frac{a \cdot b}{2(a+b-c)} $$
with a = 55 mm, b = 138 mm, c = 30 mm:
$$ M_{hub} = \frac{55 \times 138}{2(55+138-30)} = 20.7\ \text{mm} = 2.07\ \text{cm} $$
For an open riser, $M_{riser} = k \cdot M_{hub} = 1.2 \times 2.07 = 2.48$ cm. Similarly, for the rim region, a = 50 mm, b = 138 mm, c = 30 mm, giving $M_{rim} = 1.89$ cm and $M_{rim,riser} = 2.27$ cm.
The volume contraction of ZG1Cr18Ni9Ti at 1600 °C was calculated using the contributions in Table 6.
| Element | Content (%) | Contraction factor (%) | Contribution (%) |
|---|---|---|---|
| C | 0.10 | 3.2 | 3.20 |
| Mn | 1.20 | 0.0585 | 0.0702 |
| Si | 1.20 | 1.03 | 1.236 |
| Cr | 18.0 | 0.10 | 1.80 |
| Ni | 10.0 | -0.0354 | -0.354 |
| Total | 5.952 ≈ 6% | ||
I chose standard waist-shaped open risers. For the hub, one riser (120 mm × 180 mm × 150 mm) was sufficient, verified by the feeding distance: $4.5 \times 50 + 180 = 405$ mm, exceeding the hub circumference of π×125 ≈ 392.5 mm. For the rim, three risers (110 mm × 165 mm × 150 mm) were selected. Their combined feeding length with the chilling effect of the blades was sufficient for the rim circumference of π×456 ≈ 1431.8 mm.
4.1.2 Pouring Time and Yield
With a total mould weight (casting plus gating/risers) of about 288 kg, the pouring time was kept between 10 and 12 s. The resulting liquid rise velocity was:
$$ v = \frac{0.138\ \text{m}}{10\ \text{s}} \approx 0.0138\ \text{m/s} $$
which exceeds the recommended minimum of 0.01 m/s for thick-wall castings. The process yield was:
$$ \text{Yield} = \frac{202}{202+88} \times 100\% = 69.6\% $$
4.2 Wooden Patterns and Core Boxes
Because this is a single-piece small-batch production, I chose wooden patterns. The pattern dimensions were calculated using:
$$ A_M = (A_C \pm A_t)(1 + \varepsilon) $$
where $\varepsilon = 2.2\%$ for ZG1Cr18Ni9Ti in sand casting foundry practice. The outer diameter of the mould cavity for the shell placement was set to Φ973 mm to coincide with the sand jacket outside diameter.
The core for the central hub hole was made using a split wooden core box. The core sand was 100% chromite sand to ensure high refractoriness and good thermal conductivity.
4.3 Sand Mixtures and Moulding
The facing sand and core sand composition is shown in Table 7.
| Component | Chromite sand (40/70 mesh) | Sodium silicate | Water |
|---|---|---|---|
| Mass fraction (%) | 100 | 6–7 | 4–5 |
The sand was mixed in a muller: first dry-mix for 2–3 min, then add sodium silicate and water, and continue mixing for 2–4 min. The mould was rammed manually around the pattern and hardened by blowing CO₂ gas through inserted tubes at a pressure of 0.10–0.15 MPa for 20–30 s. After hardening, the pattern was withdrawn and the mould cavity was coated with a zirconia alcohol-based coating to improve surface finish and prevent metal penetration.
Table 8 gives the coating composition.
| Zircon powder | Alumina | Resin | PVB | Sodium bentonite | Clay | Hexamine | Ethanol | Water |
|---|---|---|---|---|---|---|---|---|
| 70 | 30 | 1.2–2.0 | 1–4 | 1–5 | 0.5–1.5 | 8 | Balance | 3.5–4.5 |
4.4 Mould Assembly
The assembly of the composite mould was carried out in the following order:
- Clean the bottom sand mould and place the core for the central hole.
- Lower the fired investment shell (with its surrounding sand jacket) into the Φ973 mm circular recess in the bottom mould.
- Place the top mould over the shell, aligning the locating pins.
- Seal the parting line with clay and place the pouring cup and riser sleeves.
- Clamp the mould with weights to resist the metallostatic lift.
The upward force was calculated as:
$$ F_{lift} = 1.2 \times 7800 \times 10 \times \pi \times 0.33^2 \times 0.335 \approx 10.56 \times 10^3\ \text{N} $$
The masses were sufficient to secure the mould.
5. Melting and Pouring of ZG1Cr18Ni9Ti
5.1 Melting Equipment and Charge Calculation
I used a 300-kg medium-frequency induction furnace with an alkaline magnesia lining. The charge calculation was based on a target composition shown in Table 9.
| Element | C | Si | Mn | Cr | Ni | Ti | S | P |
|---|---|---|---|---|---|---|---|---|
| Target (wt%) | 0.07 | 0.80 | 1.50 | 18.0 | 10.0 | 0.50 | ≤0.020 | ≤0.030 |
Using the element recovery rates in Table 10, I calculated the required amount of each ferroalloy for a 100 kg baseline.
| Element | Recovery (%) | Required amount (kg per 100 kg base) |
|---|---|---|
| C | 100 | 0.07 |
| Si | 90 | 0.89 |
| Mn | 95 | 1.58 |
| Cr | 98 | 18.36 |
| Ni | 99.9 | 10.0 |
| Ti | 80 | 0.625 |
Table 11 lists the full charge calculation for 100 kg of metal.
| Material | Mass (kg) | C | Si | Mn | Cr | Ni | Ti |
|---|---|---|---|---|---|---|---|
| Return scrap | 60.00 | 0.0480 | 0.480 | 0.840 | 10.50 | 5.10 | 0.30 |
| Low-phosphorus steel scrap | 20.302 | 0.0217 | 0.0651 | 0.1086 | – | – | – |
| Chromium ferroalloy | 12.68 | 0.0063 | 0.049 | 0.038 | 7.867 | – | – |
| Electrolytic nickel | 5.010 | 0.0015 | – | – | – | 5.00 | – |
| Titanium ferroalloy | 1.083 | 0.0007 | 0.054 | – | – | – | 0.325 |
| Electrolytic manganese | 0.601 | 0.0002 | – | 0.594 | – | – | – |
| Silicon ferroalloy | 0.324 | 0.0006 | 0.244 | – | – | – | – |
| Aluminum | 0.18 | – | – | – | – | – | – |
| Total | 100.18 | 0.079 | 0.887 | 1.585 | 18.37 | 10.10 | 0.625 |
5.2 Melting Procedure
I used a non-oxidizing melting practice in the induction furnace. The process steps are summarized in Table 12.
| Step | Operation | Details |
|---|---|---|
| 1 | Charging | Place small scrap at bottom, then alloys, then larger scrap on top. Pack tightly. |
| 2 | Melting | Start at 60% power for 6–8 min, then increase to full power. |
| 3 | Slagging | After 95% melted, add slag former (lime:fluorspar = 2:1) and take a sample. |
| 4 | Deoxidation | Add a mixture of lime and aluminum powder to the slag for diffusion deoxidation. |
| 5 | Composition adjustment | Adjust Si before tapping; verify Cr and Ni. |
| 6 | Ti addition | At 1630–1650 °C, add titanium ferroalloy and push below the slag. |
| 7 | Final deoxidation | Add 0.1% aluminum, hold 2–3 min. |
| 8 | Tapping | Tap at 1620±10 °C. |
5.3 Pouring
The pouring temperature was 1580±10 °C. The pouring time was 10–12 s, with a slow start followed by fast filling. Argon was used to protect the stream during tapping and pouring to minimize oxidation. After filling, the risers were topped with insulating material to improve feeding. The mould was knocked out 40–60 minutes after pouring to accelerate cooling of the thick sections.
6. Post-Processing of the Impeller
6.1 Knockout and Cleaning
The mould was first cleared of the outer sodium silicate sand jacket and sand mould by mechanical means. The remaining investment shell around the blades was removed by alkaline boiling. The impeller was immersed in a boiling 15–20% NaOH solution for 4–8 hours. After boiling, the residual shell was easily removed manually. The casting was then neutralized in a chromic acid solution (90 g CrO₃ + 30 g H₂SO₄ + 1.2 g NaCl + 1 L water) at 18–28 °C for 2–3 minutes, followed by a clear-water rinse.
6.2 Cutting of Risers
Because stainless steel cannot be cut easily by ordinary oxy-fuel cutting, I used the vibration oxy-fuel cutting method. The cutting parameters are shown in Table 13.
| Amplitude (mm) | Frequency (cycles/min) | Flame type | Oxygen pressure (MPa) | Acetylene pressure (MPa) |
|---|---|---|---|---|
| 10–15 | ≈80 | Neutral | 0.8–1 | 0.05–0.1 |
The residual riser stubs were 5–8 mm high, which was acceptable because the subsequent machining removed them.
6.3 Heat Treatment
The impeller was subjected to a solution treatment at 1050–1100 °C for 3–4 hours followed by water quenching to dissolve chromium carbides and obtain a homogeneous austenitic matrix. Then a stabilizing treatment at 850–950 °C for 2–4 hours followed by air cooling was applied to prevent intergranular corrosion. After this treatment, the impeller was non-magnetic.
7. Results and Analysis
7.1 Chemical Composition
The chemical composition was determined by spark optical emission spectroscopy. The results are compared with the standard in Table 14.
| Element | C | Si | Mn | Cr | Ni | Ti | S | P |
|---|---|---|---|---|---|---|---|---|
| Measured | 0.080–0.083 | 1.0–1.1 | 1.3–1.5 | 18.0–18.5 | 9.0–10.0 | 0.58–0.62 | 0.025–0.026 | 0.030–0.032 |
| GB2100-80 | ≤0.12 | ≤1.5 | 0.8–2.0 | 17–20 | 8–11 | 0.5–0.7 | ≤0.030 | ≤0.045 |
The composition satisfied all specifications.
7.2 Surface Quality and Dimensional Inspection
Visual inspection showed no scars, erosion, cold shuts, or misruns. The surface roughness of the blades was Ra1.6 μm, and the rest of the casting was Ra3.2–1.6 μm. Dimensional measurements showed that the ovality of the rim was less than 0.5 mm, the maximum adjacent-blade distance error was 0.8 mm, and the overall dimensions reached CT4–CT5 tolerances.
7.3 Non-Destructive Testing
Liquid penetrant inspection of the blade roots and spoke transitions revealed only very small linear indications (≤1.5 mm length, total 3.5 mm), corresponding to class 01, which is acceptable. Ultrasonic testing using a CTS-26 flaw detector with a 2.5P20Z probe was performed on the hub, rim, and spoke. The sensitivity was set to detect a Φ2 mm flat-bottom hole. The received waveforms showed no indications of defects larger than Φ2 mm. Therefore, the internal quality of the impeller met the technical requirements.
7.4 Microstructure
Metallographic samples were taken from a riser stub. In the as-cast state, the microstructure consisted of austenite dendrites with ferrite distributed along dendrite arms and carbide particles at grain boundaries. After solution treatment, the carbides were dissolved, leaving austenite and a small amount of ferrite. After the stabilizing treatment, the microstructure remained essentially austenitic plus a small amount of ferrite. The impeller was confirmed to be non-magnetic.
7.5 Mechanical Properties
Hardness was measured with a Brinell tester (HB 5/750). Tensile tests were performed on standard round specimens machined from separately cast test bars. The results are shown in Table 15.
| Property | Tensile strength σ_b (MPa) | Yield strength σ_s (MPa) | Elongation δ_5 (%) | Reduction of area ψ (%) | Impact toughness (×10⁵ J/m²) |
|---|---|---|---|---|---|
| Measured | 495–510 | 240–260 | 35–39 | 45–50 | 13–17 |
| Standard (GB228-87) | ≥450 | ≥196 | ≥25 | ≥32 | ≥10 |
All values comfortably exceeded the standard. The hardness was 170–180 HB, as shown in Table 16.
| Location | Hardness (HB 5/750) |
|---|---|
| Blade | 175 |
| Rim | 180 |
| Hub | 170 |
8. Conclusion
In this research, I successfully developed a melting modules–sand mould composite casting process for producing large, complicated stainless steel impellers. The key conclusions are as follows:
- The specially designed blade assembly fixture effectively solved the problems of positioning and shell coating for the complex blade cluster.
- The silica sol–sodium silicate composite shell system combines excellent surface finish with adequate strength and low cost.
- The composite moulding technique integrates the advantages of investment casting and sand casting foundry methods, enabling the production of an integral impeller that could not be made by either method alone.
- Strict control of charge materials, induction furnace melting practice, and pouring at 1580 °C ensured a clean, oxide-free stainless steel melt.
- The produced impeller met all technical requirements, including CT4–CT5 dimensional accuracy, Ra3.2–1.6 surface roughness, absence of defects, and superior mechanical properties.
- The process proved to be economical and reproducible; ten impellers were successfully produced with significant cost savings.
This work provides a practical solution for the production of large complex impellers and opens new possibilities for other similar castings in sand casting foundry applications.