
The evolution of manufacturing is witnessing a paradigm shift, driven by technologies that promise unprecedented flexibility, speed, and complexity. Among these, 3D printing, or Additive Manufacturing (AM), stands out as a cornerstone of this industrial revolution. Its integration into traditional foundry practices, particularly the precision investment casting process, is not merely an incremental improvement but a transformative force. From my experience, this synergy is redefining how we approach the creation of complex, high-integrity metal components for sectors such as aerospace, defense, medical, and automotive. The core advantage lies in the ability to bypass the lengthy and costly tooling stage associated with conventional pattern making, thereby enabling rapid prototyping, low-volume production, and the fabrication of geometries previously deemed impossible or prohibitively expensive to cast. This article delves deeply into the technical integration, methodologies, benefits, and future trajectory of employing 3D printing within the investment casting process.
The traditional investment casting process, also known as the lost-wax process, is a multi-step procedure renowned for its ability to produce components with excellent surface finish, dimensional accuracy, and complex shapes. The fundamental steps involve: creating a wax or polymer pattern, assembling these patterns onto a wax gating system to form a cluster, repeatedly dipping the cluster in ceramic slurry and stucco to build a robust ceramic shell, melting or dissolving out the wax pattern (dewaxing), firing the hollow ceramic mold, pouring molten metal, and finally, breaking away the shell to reveal the casting. While effective, this process heavily relies on the initial pattern, which for complex parts requires intricate and expensive metal molds (dies). This creates a significant bottleneck for design iterations and small-batch production.
This is where 3D printing intervenes as a disruptive solution. Instead of machining a metal die to inject wax patterns, we can now directly 3D print the sacrificial pattern. This digital-to-physical approach eliminates the need for hard tooling, dramatically compressing lead times from weeks or months to mere days. The implications for the investment casting process are profound, facilitating a more agile and responsive manufacturing workflow. The primary 3D printing technologies employed for this purpose include Stereolithography (SLA), Digital Light Processing (DLP), and Binder Jetting, each using different photopolymer or powder materials to build the pattern layer by layer.
Comparative Analysis of 3D Printing Technologies for Pattern Production
Selecting the appropriate 3D printing technology is critical for success in the investment casting process. The choice depends on factors such as required resolution, material burnout characteristics, build size, and cost. The following table summarizes the key technologies:
| 3D Printing Technology | Material Type | Principle | Advantages for Investment Casting | Considerations |
|---|---|---|---|---|
| Stereolithography (SLA) | Photopolymer Resin (Castable) | UV laser selectively cures liquid resin layer by layer. | Excellent surface finish, high dimensional accuracy, fine feature resolution. | Requires support structures, resin can be expensive, thermal expansion during burnout must be managed. |
| Digital Light Processing (DLP) | Photopolymer Resin (Castable) | UV projector flashes an entire layer image to cure resin. | Faster than SLA for full-layer details, good accuracy and surface finish. | Similar burnout considerations as SLA. Pixelation can affect very smooth surfaces. |
| Material Jetting (PolyJet) | Photopolymer (Castable or Support) | Inkjet-style print heads jet and UV-cure droplets of material. | Can print multiple materials simultaneously (e.g., rigid pattern with soluble support), very high detail. | High machine and material cost, limited build volume. |
| Binder Jetting | Powder (e.g., PMMA, Sand) | Inkjet print head deposits a liquid binder onto a powder bed. | No support structures needed, can produce large patterns, lower material cost. Direct sand mold printing is also possible. | Typically lower resolution and surface finish than vat polymerization. Porosity and binder residue affect burnout. |
| Fused Deposition Modeling (FDM) | Filament (e.g., ABS, PLA, PVA) | Thermoplastic filament is extruded through a heated nozzle. | Low cost, wide material availability, large build volumes. | Layered appearance (stair-stepping), requires careful tuning for investment casting, support removal. |
The thermal behavior of the printed pattern during the shell building and dewaxing stages is paramount. The coefficient of thermal expansion (CTE) and ash content after burnout are key material properties. An ideal material for the investment casting process expands minimally, burns out completely without residue, and does not crack the ceramic shell. The burnout kinetics can be modeled using an Arrhenius-type equation:
$$ k = A e^{-E_a/(RT)} $$
where \( k \) is the reaction rate constant for polymer decomposition, \( A \) is the pre-exponential factor, \( E_a \) is the activation energy, \( R \) is the universal gas constant, and \( T \) is the absolute temperature. Understanding this helps in designing the optimal burnout cycle for a 3D-printed pattern to avoid shell fracture.
Integrating Simulation-Driven Design into the 3D-Printed Investment Casting Process
A pivotal step before committing to printing a pattern is the virtual validation of the entire investment casting process through simulation software. This computational approach allows us to predict and eliminate defects, optimizing the gating and feeding system design for the specific geometry. The workflow is integral to modern practice:
- Geometry Import and Meshing: The CAD model of the desired final part is imported. A high-quality computational mesh is generated. For accuracy, the element size is often refined to 1-2 mm, resulting in models with several million elements (e.g., 8 million as mentioned in some studies). The mesh quality directly impacts simulation accuracy: $$ \text{Quality Metric} \approx \frac{V_{element}}{(h_{max})^3} $$ where a value closer to a constant for tetrahedral elements indicates good quality.
- Process Parameter Definition: Critical parameters are assigned:
- Material properties: Alloy (e.g., WCB steel, Aluminum A356, Inconel 718), ceramic shell (e.g., silica, zircon, alumino-silicate).
- Thermal parameters: Pouring temperature (\(T_{pour}\)), mold preheat temperature (\(T_{mold}\)), interfacial heat transfer coefficient (\(h\)).
- Boundary conditions: Ambient temperature, radiation effects.
- Numerical Solving: The software solves the coupled equations of fluid dynamics (for filling) and heat transfer (for solidification). The governing energy equation during solidification is: $$ \rho C_p \frac{\partial T}{\partial t} = \nabla \cdot (k \nabla T) + \rho L \frac{\partial f_s}{\partial t} $$ where \( \rho \) is density, \( C_p \) is specific heat, \( k \) is thermal conductivity, \( L \) is latent heat, and \( f_s \) is the solid fraction.
- Defect Prediction and Analysis: The simulation outputs visually identify potential issues:
- Shrinkage Porosity: Predicted using the Niyama criterion (\(G/\sqrt{\dot{R}}\), where \(G\) is temperature gradient and \(\dot{R}\) is cooling rate) or by tracking fractional solidification and liquid pressure drop.
- Hot Spots: Locations that solidify last, indicating where feeders (risers) are needed.
- Misruns & Cold Shuts: Identified by tracking fluid front advancement and temperature during filling.
- Design Iteration: Based on the results, the virtual gating system (sprue, runners, gates, risers) is modified iteratively. The modulus method is often used for riser sizing initially: $$ M = \frac{V}{A_s} $$ where \( M \) is the modulus (cm), \( V \) is volume (cm³), and \( A_s \) is the surface area (cm²) through which heat is lost. A riser must have a larger modulus than the section it feeds to ensure directional solidification.
This simulation-led design, when combined with 3D printed patterns, creates a potent digital thread. We can design, simulate, optimize, and then directly print the validated pattern cluster, achieving first-pass success in the physical investment casting process. This drastically reduces the traditional “trial-and-error” scrap cost.
A Detailed Workflow: From Digital File to Metal Casting
Let’s walk through a comprehensive, first-person perspective of executing an investment casting process using a 3D-printed pattern.
Stage 1: Digital Preparation and Pattern Printing
After finalizing the CAD model and simulation-optimized gating system, the combined “pattern cluster” digital model is prepared for printing. A critical step is applying a scaling factor to the model to compensate for shrinkages. The total linear shrinkage (\(S_{total}\)) is a product of several factors:
$$ S_{total} = (1 + S_{pattern}) \times (1 + S_{ceramic}) \times (1 + S_{metal}) – 1 $$
where \( S_{pattern} \) is the shrinkage of the 3D printed material post-curing, \( S_{ceramic} \) is the sintering shrinkage of the ceramic shell, and \( S_{metal} \) is the solidification and thermal contraction of the alloy. Each factor is determined empirically for the specific materials and process parameters. This scaled file is then sliced, and support structures are auto-generated if required by the printing technology (e.g., SLA).
The printing proceeds layer by layer. For instance, in a Powder Bed Fusion process for sand molds (a direct approach), a recoater spreads a thin layer of foundry sand, and an inkjet print head deposits a binder agent in the cross-section of the mold. The platform lowers, and the process repeats. For pattern printing via SLA, a laser draws each layer, solidifying the resin. A build of moderate complexity might take 12-20 hours.
Stage 2: Pattern Post-Processing and Cluster Assembly
Once printed, the pattern requires post-processing. For resin patterns, this involves washing in a solvent (e.g., isopropyl alcohol) to remove uncured resin, followed by post-curing under UV light to achieve final mechanical properties. The surface may then be lightly sanded or smoothed (e.g., with chemical vapor) to improve finish and ensure easier shell release. For powder-based patterns, excess powder is removed via blasting or brushing.
If printed as separate components, the patterns and the printed gating system (sprue, runners, feeders) are assembled into a cluster using a compatible adhesive (e.g., a wax-based glue or more of the photopolymer cured with a UV pen). The assembly must be rigid and leak-proof to withstand subsequent slurry dipping.
Stage 3: Shell Building (Investment)
The assembled cluster undergoes the traditional shell-building steps. It is first dipped into a primary slurry, often a fine refractory like zircon flour suspended in a colloidal silica binder. This first coat is critical for surface finish. Stucco (coarse refractory sand, e.g., zircon) is immediately applied via rain sander or fluidized bed. The coated cluster is dried in a controlled environment (temperature, humidity, airflow). This dip-stucco-dry cycle is repeated, typically 5-9 times, with secondary and backup slurries using cheaper refractories like fused silica or alumino-silicate. The final shell thickness can range from 6 to 15 mm, depending on the casting size and alloy.
Stage 4: Dewaxing and Firing
This is a delicate phase for 3D printed patterns, especially polymeric ones. Unlike conventional wax, which melts and flows out easily, photopolymers decompose thermally. The two common methods are:
- Autoclave Dewaxing (Steam): The shell is placed in an autoclave. High-pressure superheated steam (e.g., 150-170°C, 0.6-0.8 MPa) rapidly heats the pattern, causing it to expand and melt/soften. The pressure forces the majority of the pattern material out through the open bottom of the shell. This is fast but requires patterns that soften sufficiently.
- Flash Fire Dewaxing (Furnace): The shell is placed upside-down in a hot furnace (≥800°C). The intense heat causes the pattern to combust and vaporize almost instantaneously. This method is suitable for materials that leave low ash but generates high thermal shock on the shell, requiring robust shell formulations.
After dewaxing, the shell is fired at high temperatures (e.g., 900-1100°C) for several hours to remove any residual volatiles, sinter the ceramic for strength, and bring the mold to a predetermined preheat temperature ready for pouring.
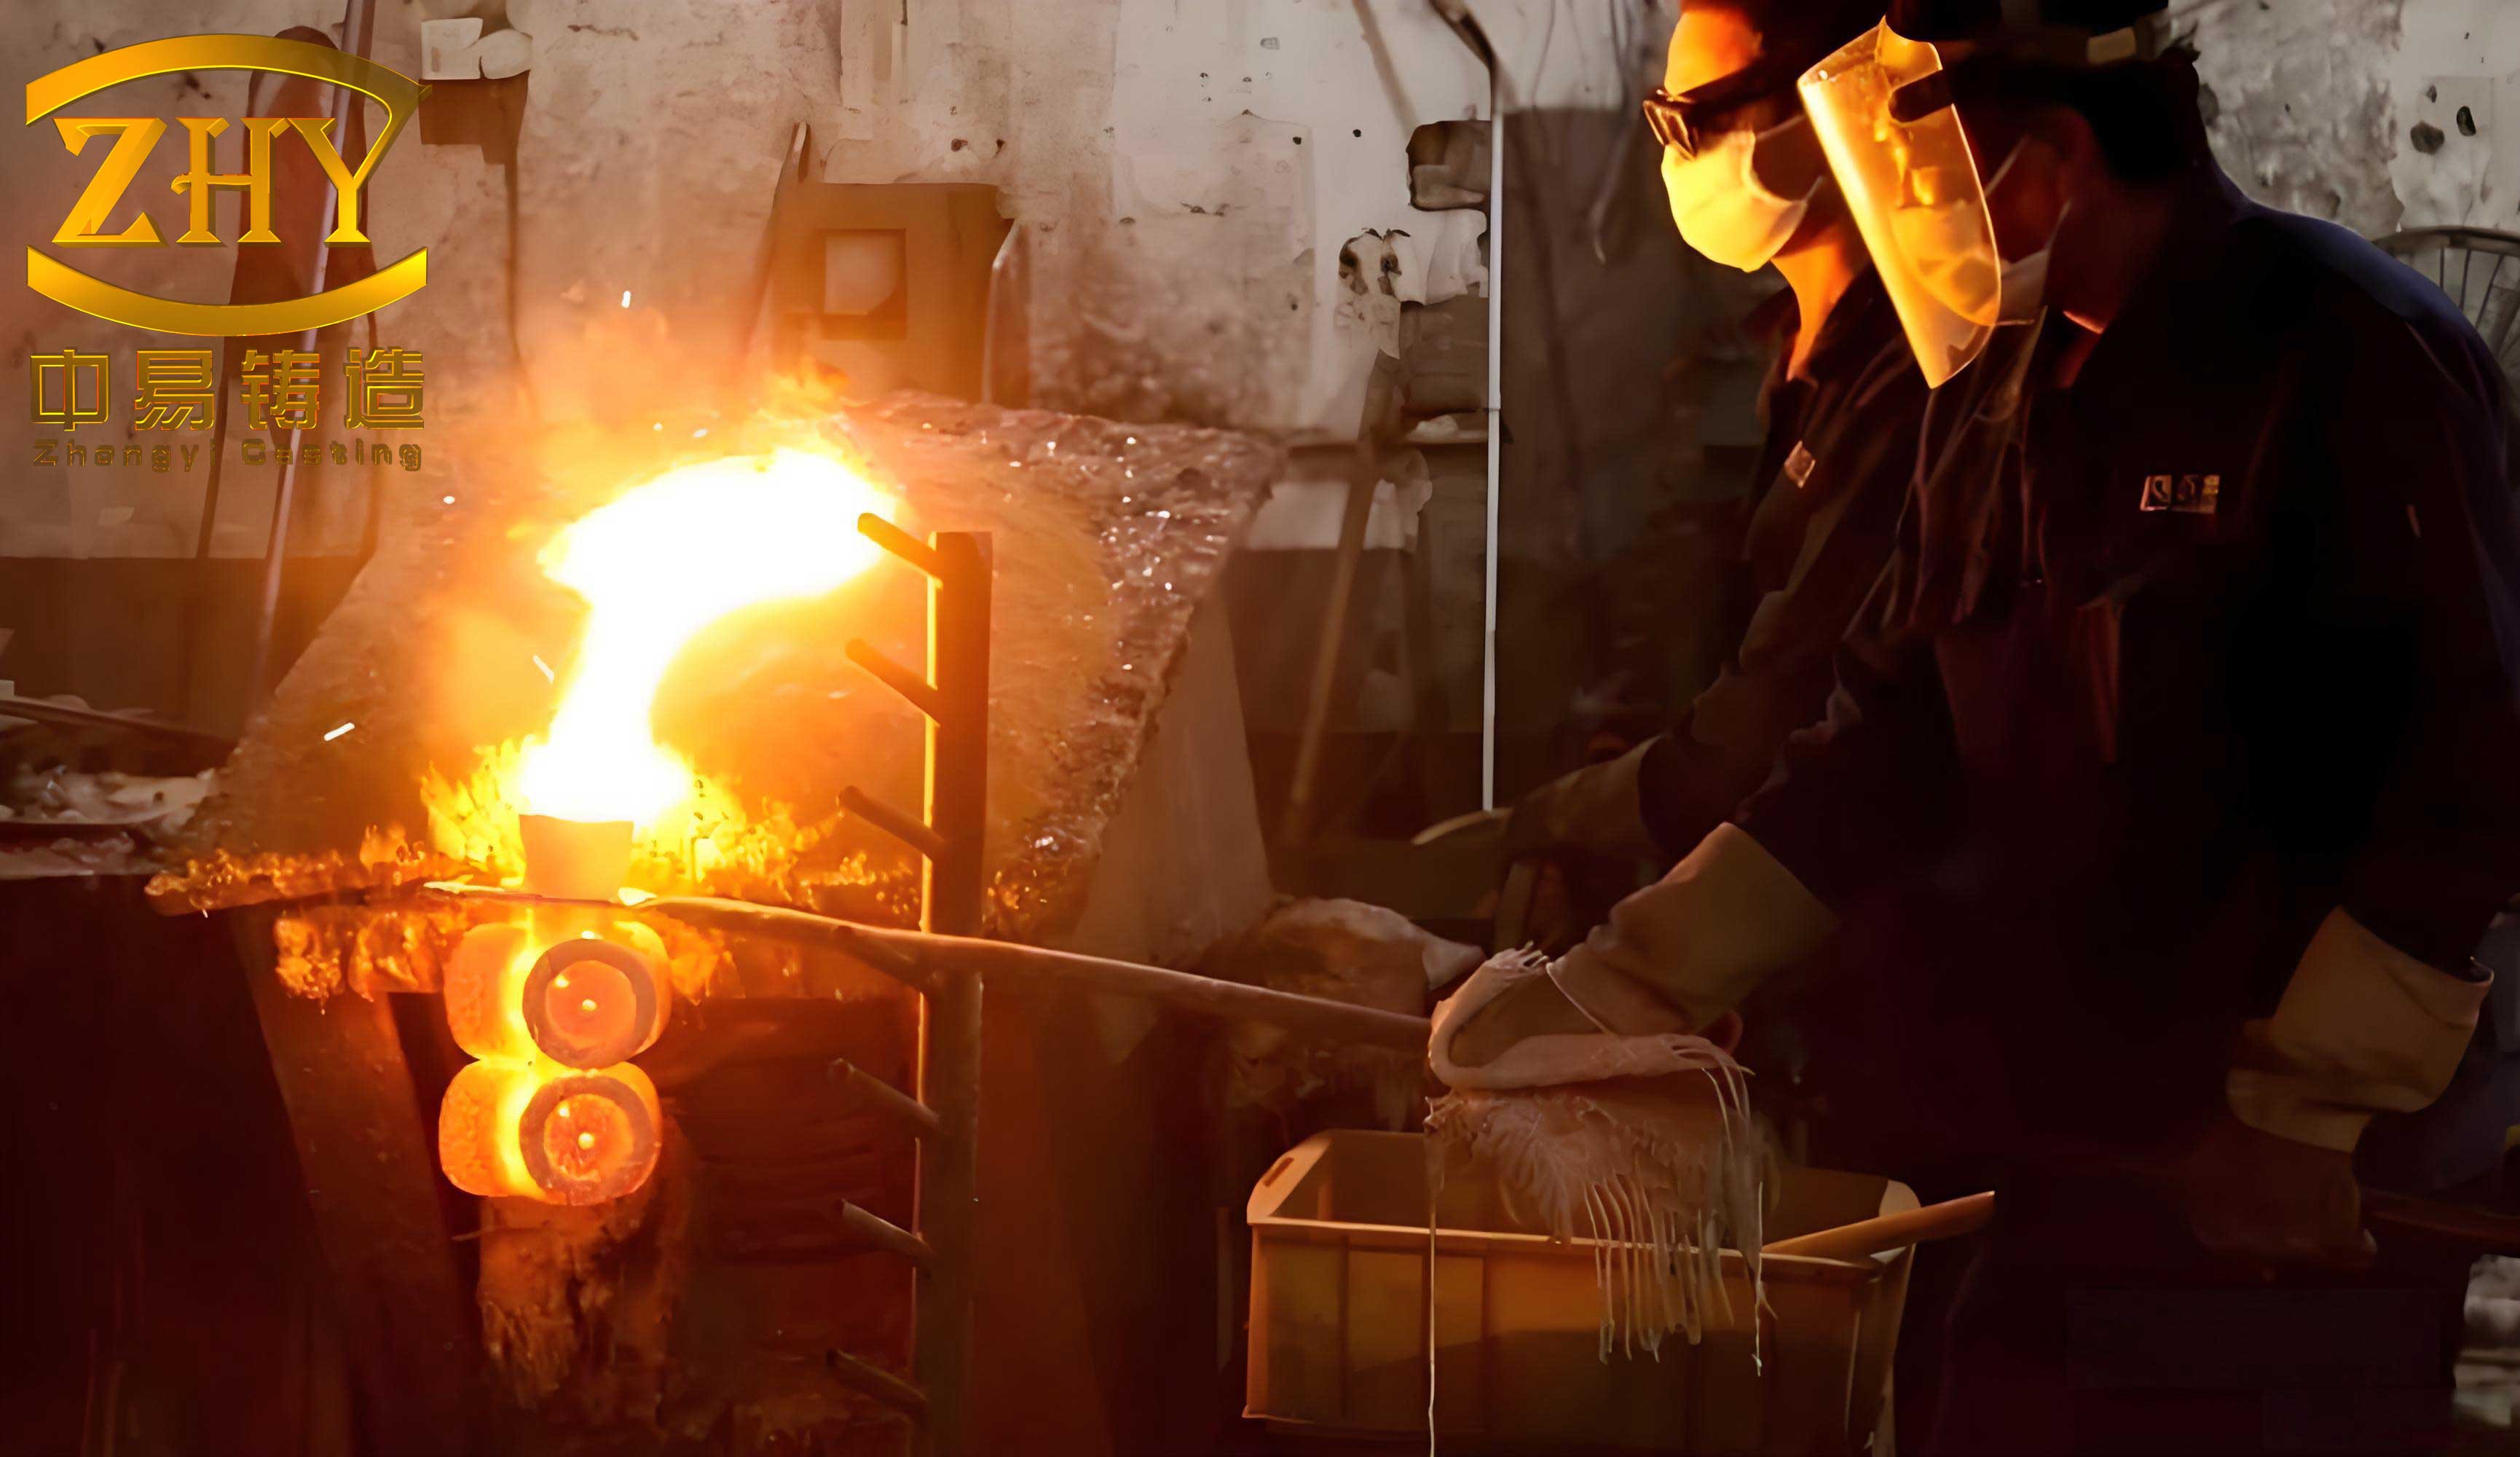
Stage 5: Metal Pouring, Cooling, and Finishing
The molten alloy is poured into the preheated ceramic shell. The filled molds are allowed to cool and solidify completely, often in a controlled cooling oven to prevent cracking. Once cool, the ceramic shell is mechanically removed via vibration hammering or high-pressure water jetting. The castings are cut off from the gating system using saws or abrasive wheels. Finally, they undergo finishing operations like grinding, shot blasting, heat treatment, and inspection (X-ray, CMM, dye penetrant).
Quality Assurance and Technical Challenges
While revolutionary, the 3D-printed pattern investment casting process introduces unique quality considerations that must be rigorously managed.
| Aspect | Challenge | Mitigation Strategy |
|---|---|---|
| Pattern Material Residue | Incomplete burnout can leave carbonaceous ash, causing surface defects or gas porosity in the metal. | Use certified “low-ash” (<0.01%) castable resins. Optimize burnout cycle (ramp rates, soak times, atmosphere). |
| Shell Cracking (Dewax) | Rapid thermal expansion of polymer during dewaxing induces stress exceeding shell strength. | Design shell thickness and permeability appropriately. Use autoclave dewaxing for controlled expansion. Modify polymer composition for lower CTE. |
| Dimensional Accuracy | Cumulative errors from printing, scaling, shell deformation, and metal shrinkage. | Establish and validate process-specific scaling factors. Use high-accuracy printers (SLA/DLP). Maintain consistent shell and pouring parameters. |
| Surface Finish | Layer lines from the 3D printed pattern can transfer to the ceramic shell and ultimately the casting. | Apply finer primary slurry coats. Use pattern smoothing techniques (chemical, thermal). Opt for printing technologies with minimal layer lines (e.g., Material Jetting). |
| Process Economics | High cost of 3D printing materials and machines for large-volume production. | Justified for prototypes, complex geometries, and low-volume batches. For higher volumes, hybrid approaches (3D-printed master for silicone rubber molding) may be more economical. |
The mechanical properties of castings from this route are generally on par with traditional investment castings, provided the burnout is complete. Studies often validate properties against specifications like AMS or ASTM standards.
The Future Trajectory: Direct Metal Tooling and Beyond
The fusion of 3D printing and the investment casting process continues to evolve. The next frontier is the direct 3D printing of ceramic molds or cores, completely eliminating the pattern stage. Binder Jetting of foundry sand is already a commercial reality for sand casting and is being adapted for complex ceramic cores for investment casting. Furthermore, the rise of Direct Metal Laser Sintering (DMLS) presents an alternative for end-use parts, but for larger components or certain alloys, the investment casting process often remains more cost-effective and provides superior metallurgical qualities (e.g., equiaxed grain structure).
The ultimate vision is a fully digital, agile foundry. A digital thread connects the CAD design, through multi-physics simulation (modeling filling, solidification, stress, and microstructure), directly to the AM machine printing either the optimal pattern or the ceramic mold itself. This integrated computational materials engineering (ICME) approach will enable the reliable first-time production of “right-first-time” castings with tailored properties. The formula for success in this new era lies in mastering both the digital tools and the traditional metallurgical principles of the investment casting process.
Conclusion
In my assessment, the application of 3D printing technology within the precision investment casting process represents a seminal advancement in manufacturing. It successfully addresses the long-standing trade-off between geometric complexity, production speed, and cost, particularly for low-to-medium volumes. By digitalizing the pattern production, it injects unprecedented agility into the investment casting process, enabling rapid iteration, mass customization, and the realization of lightweight, topology-optimized designs that were once confined to the digital realm. While challenges related to material science and process economics persist, ongoing innovations in printer technology, material development, and simulation software are steadily overcoming them. The synergy between this additive approach and the subtractive (machining) and formative (casting) principles is a quintessential example of Industry 4.0 in action. As we move forward, the continued integration and refinement of these technologies will undoubtedly solidify the investment casting process’s role as a vital, future-ready manufacturing method for producing the high-performance metal components that underpin modern industry.