
As a foundry engineer deeply involved in advanced manufacturing techniques, I have witnessed firsthand the transformative potential of lost foam casting for producing complex components. This article details a comprehensive, systematic approach developed for the design and production of a diesel engine cylinder head via this innovative method. The cylinder head, with its intricate network of internal passages and challenging geometry, serves as an ideal case study to demonstrate the power of a fully integrated digital workflow in lost foam casting.
Lost foam casting is a near-net-shape, environmentally conscious manufacturing process. It involves creating a precise replica of the desired final part from expandable polystyrene foam. This foam pattern, often assembled from several glued sections, is coated with a refractory ceramic layer and embedded in unbonded, dry sand within a flask. The mold is then placed under a vacuum, and molten metal is poured, causing the foam pattern to rapidly vaporize and be replaced by the metal, which subsequently solidifies into the final casting. The advantages are profound: minimal core usage, excellent dimensional accuracy, reduced cleaning and machining needs, and the ability to produce highly complex geometries that are difficult or impossible with conventional methods. The entire process flow is elegantly illustrated below:
The success of any lost foam casting project hinges on the initial digital design phase. For the cylinder head, this begins with creating a perfect digital twin. Starting from the functional CAD model of the finished machined part, we must work backward to define the foam pattern geometry. This requires the application of several critical engineering compensations in a precise sequence. The fundamental transformation from the final part dimension to the foam pattern dimension can be summarized by the following relationship:
$$ D_{foam} = (D_{part} + M) \times S $$
Where:
$D_{foam}$ = Dimension of the foam pattern,
$D_{part}$ = Dimension of the final machined part,
$M$ = Machining allowance applied to relevant surfaces,
$S$ = Total shrinkage compensation factor (accounting for both metal contraction and pattern expansion during casting).
For this project, the foundational casting parameters were established as follows:
| Parameter | Value | Application Note |
|---|---|---|
| Original Part Size | 125 mm x 120 mm x 60 mm | Base dimensions for the machined cylinder head. |
| Modeling Precision | 0.03 mm | Tolerance for the digital CAD model. |
| Draft Angle | 1° | Applied to all vertical faces to facilitate pattern extraction from the die. |
| Total Shrinkage Allowance | 1.3% (Factor of 1.013) | Critical compensation for metal solidification and cooling. |
| Machining Allowance | 1.5 mm | Added to all surfaces requiring post-casting machining (e.g., deck face, ports). |
The order of operations in the digital modeling stage is paramount. First, the base part model is uniformly scaled by the 1.013 factor. Subsequently, solid bodies representing the machining stock are modeled and added to the corresponding faces of the scaled model. This additive approach is crucial in lost foam casting, as it ensures the foam pattern has the necessary extra material. Finally, all internal and external corners are filleted with appropriate casting radii to improve metal flow and reduce stress concentrations. The resulting digital model is the exact geometry of the foam pattern to be produced. This systematic digital preparation is a cornerstone of efficient lost foam casting.
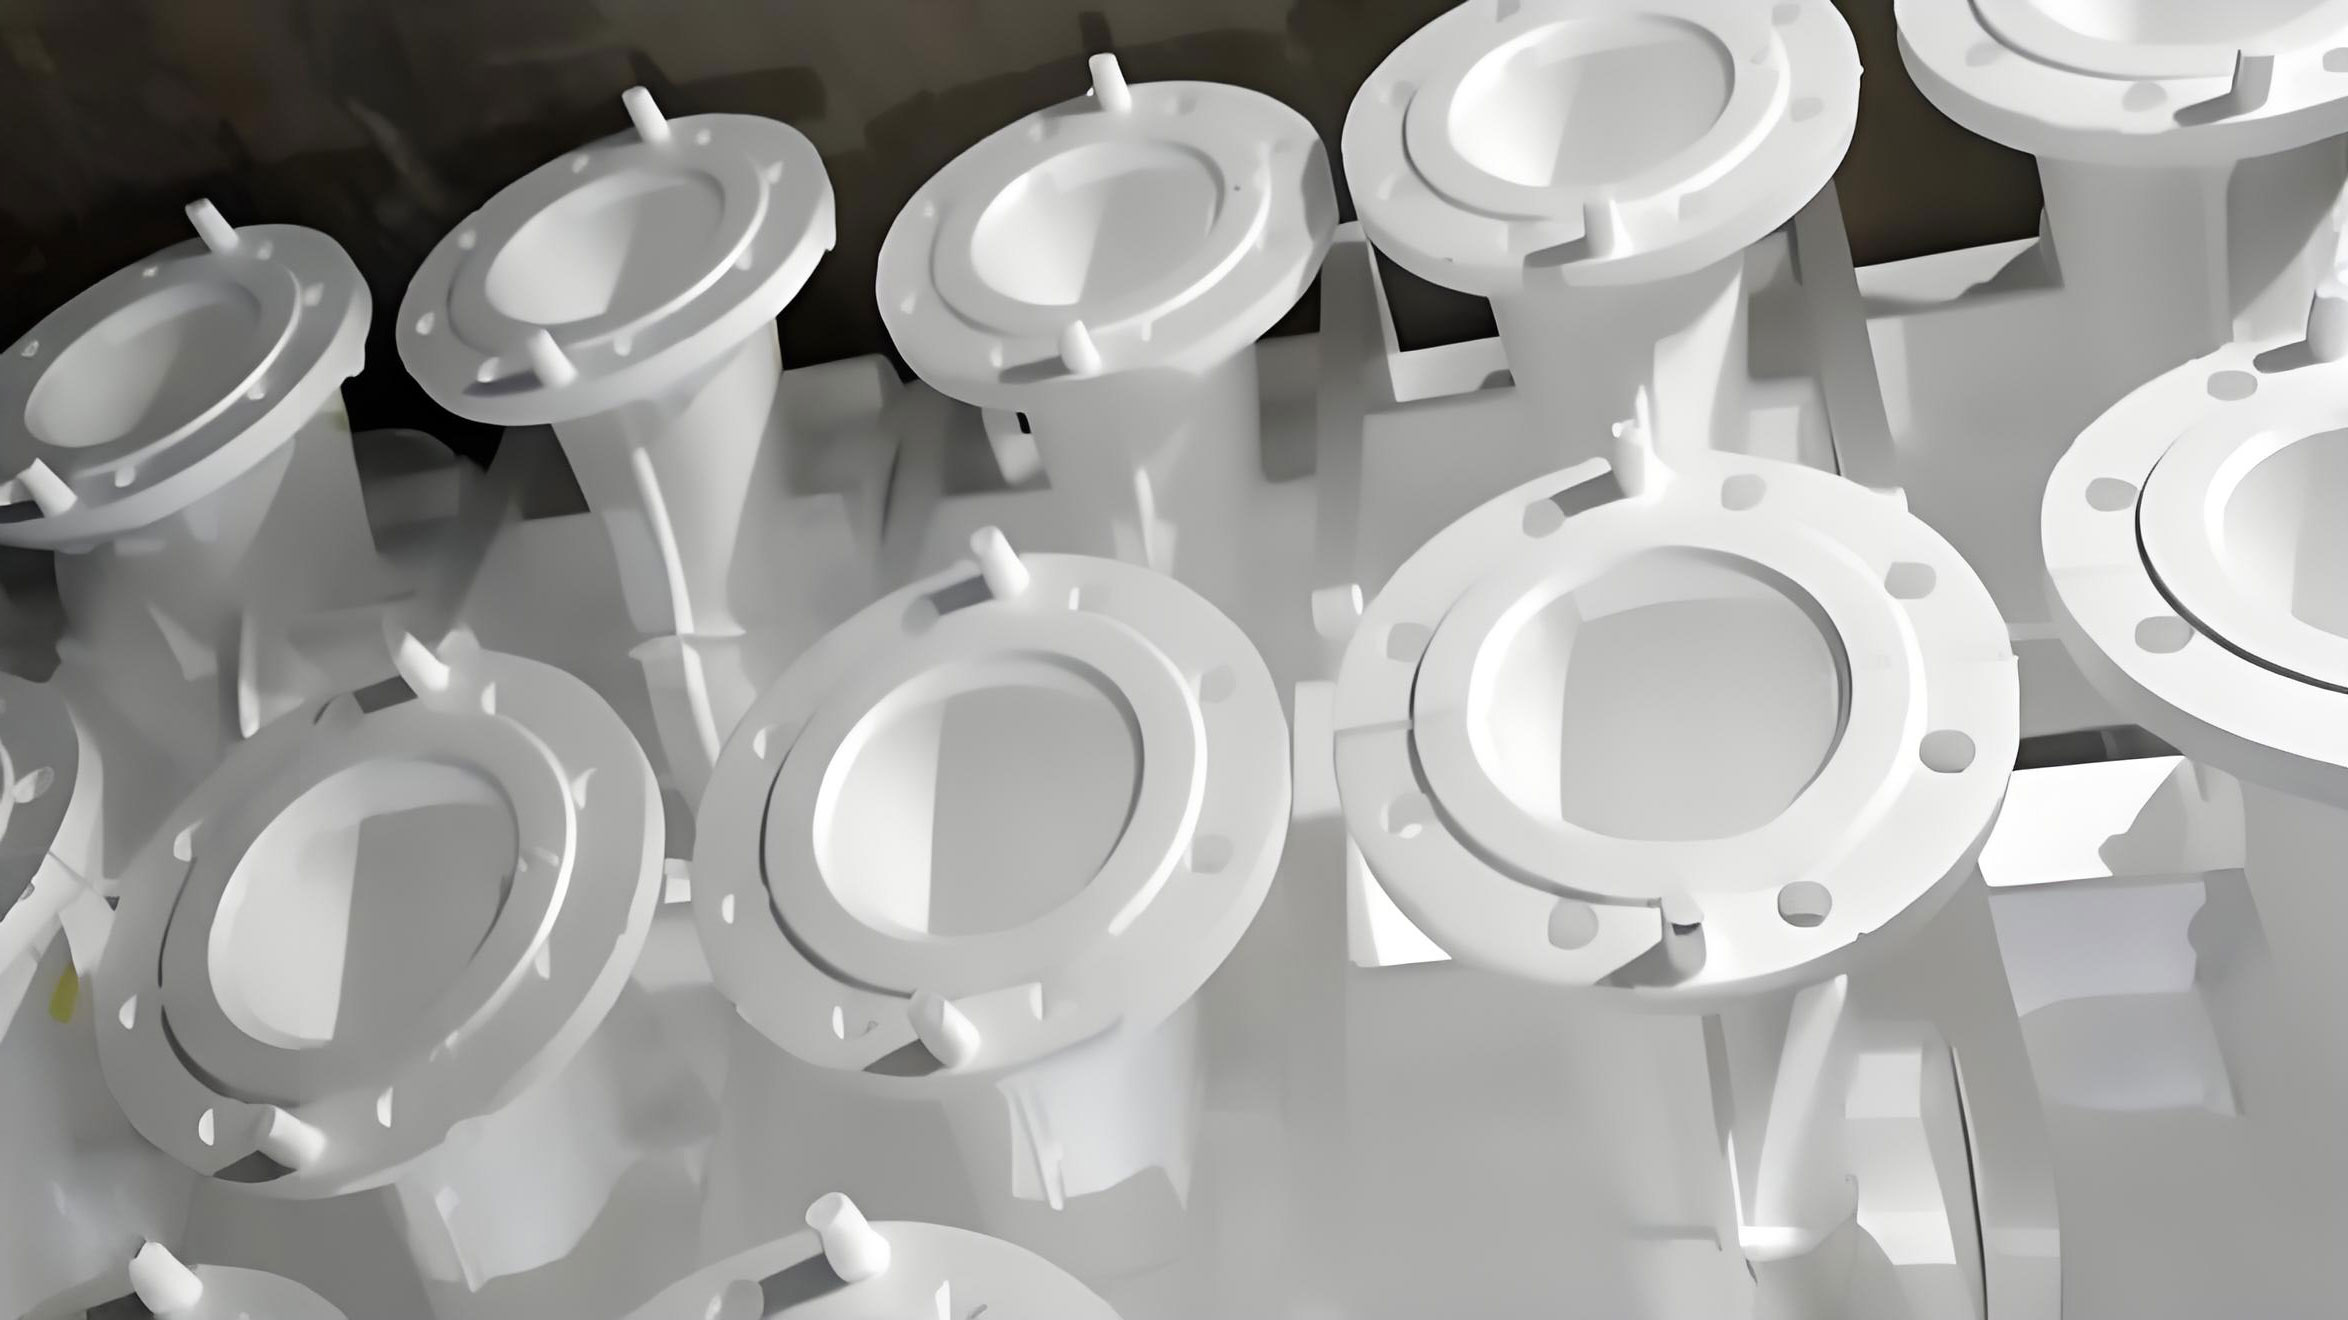
However, a cylinder head is far too complex to be molded as a single foam piece. It features deep recesses, undercuts, and complex internal voids like the water jacket and intake/exhaust ports. Therefore, the monolithic foam pattern must be intelligently divided, or “sliced,” into multiple segments that can be individually molded in simple, cost-effective dies and then assembled. The strategy for this division is a critical engineering decision in lost foam casting. The primary goals are: to allow for easy extraction from the molding tool (considering draft angles), to minimize the number of segments for assembly efficiency, to ensure robust gluing joints, and to maintain the overall structural integrity of the glued pattern cluster.
For the subject cylinder head, an analysis of the geometry led to a four-piece split strategy. The part was essentially divided into a top half and a bottom half along a primary parting plane, and each of these was further split to resolve specific undercuts related to the port geometry. This can be represented in a decision matrix:
| Split Option | Number of Pieces | Advantages | Disadvantages |
|---|---|---|---|
| Two-Piece (Horizontal Split) | 2 | Minimal gluing; simple assembly. | Impossible due to severe undercuts in ports and water jacket. |
| Three-Piece | 3 | Potentially simpler than four-piece. | May result in complex, non-planar split surfaces that are difficult to mold and glue. |
| Four-Piece (Selected) | 4 | Resolves all undercuts; planar split surfaces for reliable gluing; optimal die simplicity. | Slightly more assembly steps than fewer pieces. |
| Five-Piece or More | ≥5 | Maximum molding simplicity for each piece. | Excessive gluing joints increase labor, glue consumption, and potential for dimensional error or seam defects. |
The split surfaces are not merely cut planes; they must be engineered to create strong, inconspicuous glue joints. A standard practice is to incorporate a stepped or offset lip at the joint. In this design, a uniform glue land width of 2.5 mm was specified. This is achieved by offsetting the split surface outward from the nominal part surface. The benefits are twofold: it provides a controlled, consistent area for adhesive application, and it prevents excess glue from being squeezed into the cavity during clamping, which would create internal flash or “veining” on the final casting. The volume of glue per joint can be approximated to ensure consistency and cost control:
$$ V_{glue} \approx A_{joint} \times t_{glue} $$
Where $A_{joint}$ is the surface area of the 2.5 mm wide glue land and $t_{glue}$ is the target glue film thickness (typically 0.05-0.1 mm).
With the foam pattern segments defined, the next phase is designing the tooling—the dies used to foam-mold each segment. The design of the upper and lower die plates is a systematic exercise in incorporating all necessary functionalities. Each die half must contain the negative cavity of its respective pattern segment. Beyond this, several essential features are integrated:
- Ejector Pin Locations: Strategically placed to apply uniform force for demolding the delicate foam piece without distortion.
- Vent Holes/Slots: A network of fine vents allows steam and air to escape during the steam-heated expansion cycle, ensuring complete cavity fill and fine bead fusion.
- Cooling Channels: Internal passages for water cooling to solidify the molded foam piece and achieve a stable cycle time.
- Alignment Pins and Bushings: Critical for ensuring precise alignment between the upper and lower die halves, guaranteeing dimensional accuracy of the foam segment.
The dimensional stability of the final casting is a direct function of the foam pattern’s accuracy. Key process parameters during foam molding must be meticulously controlled and optimized through a structured approach. The following table outlines critical variables and their influence:
| Process Stage | Key Parameter | Target/Influence | Engineering Rationale |
|---|---|---|---|
| Pre-Expansion & Aging | Bead Pre-Density | 20-25 g/L | Determines final pattern density, affecting strength and gas evolution during pouring. |
| Aging Time | 4-12 hours | Allows internal pressure to stabilize, preventing post-molding shrinkage or warpage. | |
| Steam Pressure & Time | Optimized Cycle | Drives bead expansion and fusion in the mold cavity. | |
| In-Mold Expansion | Steam Pressure | 0.8 – 1.2 bar | Primary energy source for heating and expanding the beads. |
| Cycle Time | Function of wall thickness | Must be sufficient for complete fusion but not so long as to cause over-heating and bead collapse. | |
| Cooling & Demolding | Water Cooling Time | To achieve pattern stability | Solidifies the fused structure for handling strength. |
| Ejector Force & Balance | Minimized, uniform | Prevents distortion or crushing of the soft foam pattern. |
Once molded, the four foam segments are assembled using a fast-curing, low-residue adhesive. The assembly fixture is crucial for maintaining dimensional accuracy across the cluster. After assembly, the complete pattern cluster undergoes coating. The refractory coating serves multiple vital functions in lost foam casting: it provides a barrier between the sand and the metal, prevents sand erosion and penetration, enhances foam pattern rigidity, and allows the controlled evacuation of pyrolysis gases from the decomposing foam. The coating thickness, typically between 0.2 mm and 0.5 mm, is a critical variable. It can be modeled as a uniform layer applied over the entire pattern surface area $A_{pattern}$:
$$ V_{coating\_slurry} \approx A_{pattern} \times t_{coating} $$
The coated cluster is then dried and placed in a molding flask, where dry, unbonded sand is filled around it while the flask is subjected to controlled vibration to achieve optimal and uniform compaction. The final and critical step is establishing a vacuum, typically in the range of 0.04 to 0.06 MPa (approximately 400-600 mbar below atmospheric pressure). This vacuum serves three key purposes: it stabilizes the un-bonded sand mold, it accelerates the removal of pyrolysis gases from the mold through the permeable coating and sand, and it helps draw the molten metal into the cavity, improving fill fidelity for thin sections.
The primary quality metrics for castings produced via this lost foam casting process include dimensional accuracy, surface finish, and internal soundness. The systematic digital design approach directly controls the first two. Internal soundness, particularly the avoidance of carbonaceous defects from incomplete foam degradation, is managed by process parameters. The vacuum level $P_{vac}$ and the foam density $\rho_{foam}$ are key factors. A higher vacuum improves gas evacuation, while a lower foam density reduces the total mass of hydrocarbons to be decomposed. An empirical relationship for defect risk reduction can be considered:
$$ \text{Gas Evacuation Efficiency} \propto \frac{P_{atm} – P_{vac}}{\rho_{foam} \cdot \mu_{coating}} $$
Where $\mu_{coating}$ represents the coating’s permeability. This underscores the interconnectedness of pattern design, material properties, and process control in lost foam casting.
In conclusion, the application of lost foam casting to the production of a diesel engine cylinder head demonstrates the profound advantages of this technology when supported by a rigorous, systematic design framework. From the initial digital compensation and intelligent pattern segmentation to the detailed design of molding tools and the precise control of process parameters, each step is interlinked. This methodology ensures the realization of lost foam casting’s core benefits: the ability to produce exceptionally complex geometries as single-piece castings, excellent dimensional repeatability, significant reduction in machining costs due to near-net-shape forming, and a cleaner, more efficient foundry process with minimal waste. The lost foam casting process, as detailed through this cylinder head case study, stands as a superior manufacturing solution for high-volume, high-complexity automotive components, perfectly aligning with the industry’s demands for performance, cost-effectiveness, and sustainable manufacturing practices.