Turn the [coarse depth adjustment] knob to 250mm.
Adjustment of scanning speed: align the longitudinal wave straight head with the 40mm large flat bottom of austenitic stainless steel Ⅱ W2 test block at the ratio of 1:4 time adjustment baseline, and adjust the instrument so that the first and second bottom waves 1b and 2b are aligned with the horizontal scales 10 and 20 respectively. Then put the probe on the measured workpiece and observe whether the first and second bottom waves are at the scales of 35 and 70. If not, repeat the above process until the first and second bottom waves are at the scales of 35 and 70. At this time, the scanning speed can be considered as well adjusted.
with Φ 2mm is the flaw detection sensitivity( Φ More than 2 defects can be detected).
Sensitivity adjustment method: take the bottom surface of the casting impeller workpiece as the large plane Φ 2mm flat bottom hole sensitivity, [attenuator] retains 40d B attenuation allowance, adjusts [attenuator] to make B1 wave reach 100% reference wave height, make the waveform unsaturated, and [gain] is zero; Use the [attenuator] gain of 34.3d B, and then adjust the [gain] to make the wave reach 80% of the basic wave height. At this time φ The sensitivity of 2mm flat bottom hole is adjusted well.
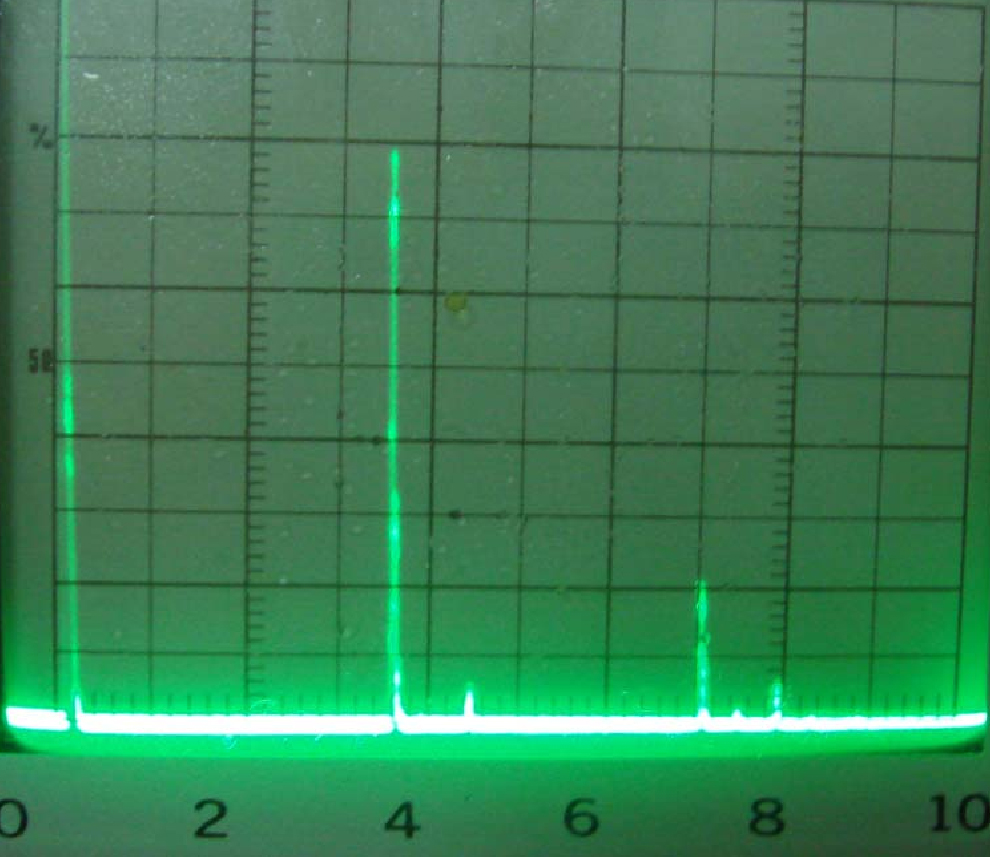
Under this sensitivity, the positions of the cast impeller hub and rim are detected respectively. The wave pattern is shown in the figure, and no defects are found, indicating that the positions of the cast impeller hub and rim are not damaged Φ Casting defects above 2mm.


