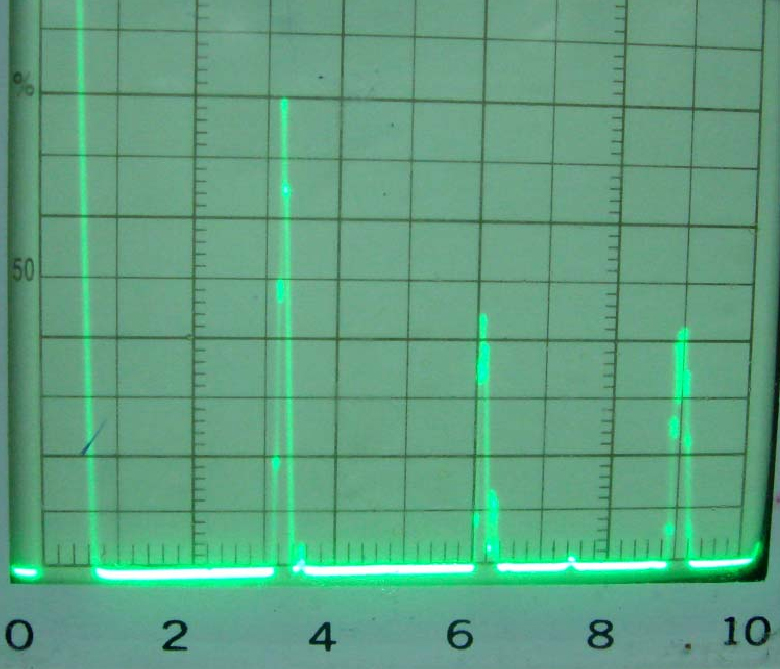
Adjustment of scanning speed: when adjusting the baseline with 1:1, the method is the same as above.
Turn the [coarse depth adjustment] knob to 50mm gear.
The ultrasonic flaw detection of spokes is also based on Φ 2mm is the sensitivity.
Sensitivity adjustment method: also take the spoke bottom as the large plane adjustment Φ 2mm sensitivity, [attenuator] retains 30dB attenuation margin, adjusts [attenuator] to make B1 wave up to 100% reference wave height, make waveform unsaturated and [gain] fixed; Use [attenuator] gain 21d B, and then adjust [gain] to make the wave height reach 80% of the basic wave height. At this time φ 2. The sensitivity is adjusted well.
Under this sensitivity, the spoke position is detected, and the wave pattern is shown in the figure. No defects are found, indicating that the spoke position is not damaged Φ Casting defects above 2mm. Therefore, using this process, the internal quality of casting impeller hub, rim and spoke can meet the technical requirements.


