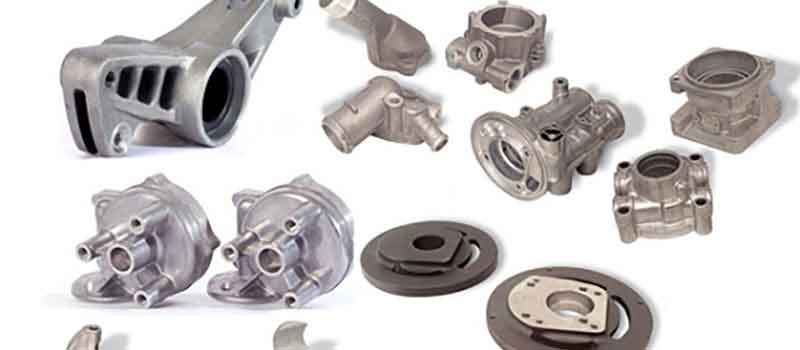
Nitriding is a thermochemical process where nitrogen atoms diffuse into the surface of metal alloys to form a nitride-rich layer, enhancing properties like hardness, corrosion resistance, and fatigue strength. For automotive components—especially precision casting parts in transmissions—this process is critical for durability. However, inconsistent surface hardness after plasma nitriding often plagues casting parts due to inherent process variations. This article details our systematic investigation using Design of Experiments (DOE) to resolve these challenges.
Measurement Challenges with Rough Surfaces
Initial surface hardness measurements on nitrided casting parts showed unacceptable variability (up to 100 HV0.5). The high surface roughness (Rz ≈ 23 μm) of as-cast parts distorted Vickers hardness readings. Vickers hardness (HV) is calculated as:
$$ HV = \frac{1.8544 \cdot P}{d^2} $$
where \(P\) is the applied load (kgf) and \(d\) is the diagonal length (mm) of the indentation. Rough surfaces cause inconsistent \(d\), leading to erroneous HV values. We tested lower loads and surface preparation:
| Surface Prep | Rz (μm) | HV0.5 | HV0.2 |
|---|---|---|---|
| As-cast | 23 | 441–603 | N/A |
| Light grinding | 14 | 234–298 | 311–324 |
| Polished | 0.4 | 297–304 | 293–297 |
Using HV0.2 on ground surfaces (Rz ≤ 14 μm) reduced variability to ±14 HV. We also implemented HNO3-ethanol etching to confirm the integrity of the white layer (Fe2-3N) before measurement.

DOE Methodology for Root-Cause Analysis
We structured a fishbone diagram to identify factors causing low hardness in casting parts. Key categories included:
| Category | Factors |
|---|---|
| Material | Casting oxidation, surface roughness |
| Process | Nitriding temp/time, gas concentration |
| Equipment | Furnace stability, vacuum integrity |
| Pre-treatment | Annealing oxidation, tempering defects |
Hypotheses were tested sequentially. First, equipment parameters (temperature, gas flow) were validated using real-time furnace monitoring, confirming stability. Next, identical 22NiMoCr56 alloy parts—machined (Rz = 0.4 μm) and cast—were co-nitrided. Results showed stark differences:
- Machined parts: 780–800 HV0.2
- Casting parts: 480–500 HV0.2
This confirmed that material properties, not process parameters, caused the deficiency.
Metallurgical Analysis of Nitrided Layers
Cross-sectional microscopy revealed critical differences. Machined parts exhibited a compact white layer (ε-Fe3N) and uniform diffusion zone. Casting parts showed:
- Porous white layer: Voids reduced load-bearing capacity.
- Internal oxidation: Oxygen diffusion during casting formed sub-surface oxides, impeding nitrogen diffusion. The diffusion depth \(\delta\) follows:
$$ \delta = \sqrt{D \cdot t} $$
where \(D\) is the diffusion coefficient (m2/s) and \(t\) is time (s). Oxide barriers lowered \(D\), reducing \(\delta\).
Process Optimization for Casting Parts
Tracing the manufacturing workflow revealed oxidation occurred during shell mold casting. High-temperature exposure (1,160–1,200°C) allowed oxygen ingress. Subsequent annealing/tempering exacerbated diffusion. We introduced a sealing step within 30 seconds of casting:
- Parts were placed in sealed containers with charcoal and motor oil.
- Charcoal combustion consumed residual oxygen via:
$$ 2C_{(s)} + O_{2(g)} \rightarrow 2CO_{(g)} $$
This created an oxygen-depleted atmosphere, preventing oxidation. Post-sealing, nitrided casting parts achieved 680–700 HV0.2—surpassing the 600 HV requirement.
Conclusion
Surface oxidation inherent to precision casting parts was identified as the root cause of inconsistent nitrided hardness. Traditional fixes like parameter adjustments were ineffective. By deploying DOE-driven root-cause analysis and adding a low-cost sealing step, we eliminated subsurface oxidation, ensuring robust nitride layers. This approach underscores the value of material-centric DOE in enhancing casting parts for demanding applications.
