
The development of new casting parts, particularly large and complex components, has traditionally been hampered by a critical bottleneck: the need for hard tooling. The design and fabrication of patterns and core boxes are processes fraught with long lead times, significant financial investment, and inherent inflexibility. For a new component requiring only a handful of prototype pieces, this upfront cost and delay can stifle innovation and prolong time-to-market. In the context of developing a major new sprocket hub—a demanding casting part for heavy-duty machinery—this challenge was acute. The component’s intricate geometry, stringent quality requirements for critical sections, and the urgent need for functional prototypes rendered the conventional mold-making route impractical. To overcome these barriers, we turned to binder jetting, or 3D sand printing, to manufacture the entire mold assembly. This report details our first-person experience in successfully applying this additive manufacturing technology to the rapid development of this complex casting part, focusing on the strategic advantages it unlocks in process design, validation, and cost-effective prototyping.
From Constraints to Freedom: The Paradigm Shift of 3D Sand Printing
The fundamental advantage of 3D sand printing for prototyping casting parts lies in its decoupling of geometry from manufacturability constraints. Traditional foundry processes dictate design rules based on the need to extract a pattern from a mold or a core from a box. Draft angles, parting line locations, and core complexity are all compromised to serve the tooling process, not necessarily the optimal function or soundness of the final casting part. Additive manufacturing eliminates these constraints. The mold and cores are built layer by layer directly from a digital model, allowing for geometries previously considered impossible or prohibitively expensive to cast. For our sprocket hub development, this meant we could design the optimal feeding and gating system and the most logical core partitions without a single thought given to draft or pattern withdrawal.
The impact on lead time and cost for low-volume production of casting parts is transformative. The comparative analysis is stark, as shown in the table below:
| Aspect | Traditional Tooling Approach | 3D Sand Printing Approach |
|---|---|---|
| Tooling Lead Time | 30+ days for pattern/core box design & machining | 0 days (Digital tooling) |
| Tooling Cost | High ($$$ for pattern equipment) | Negligible for software; cost scales with sand volume |
| Very low (Costly and time-consuming mold modifications) | Very high (Modify CAD model and re-print) | |
| Geometric Complexity | Limited by draft and parting line | Virtually unlimited |
| Ideal Application | High-volume production | Prototyping, low-volume, complex geometry casting parts |
This project aimed to produce four functional prototype casting parts. The decision to employ 3D printing saved an estimated 30 days in lead time and approximately $28,000 in tooling costs that would have been sunk into pattern equipment for a short production run. The financial and temporal efficiency for developing such casting parts is undeniable.
Crafting the Digital Mold: Process Design for a Sprocket Hub Casting Part
The component in question was a large ductile iron (QT500-7) sprocket hub. This critical casting part featured a complex geometry with significant variations in wall thickness, from 10mm thin sections to 50mm thick flanges and rims. The functional requirements mandated sound, defect-free material in the high-stress flange and bottom rim areas.
1. Pouring Position and Parting Philosophy
Despite the freedom from traditional constraints, practical foundry considerations for handling and finishing the printed sand cores guided our design. We selected a vertical pouring orientation with the large flange facing down. This positioned the heaviest thermal masses (the flanges and bottom rim) in areas where we could most effectively apply chills and feeder heads. While the parting line for the sand cores could be arbitrary, we deliberately placed it at the central flange’s major plane. This decision was not for mold closure but for post-printing practicality: it created the largest possible openings for effective sand removal and complete coating application, ensuring the internal surfaces of the mold for our casting part were perfectly prepared.
2. Gating System Design
The hollow, rotational symmetry of the casting part inspired an efficient gating strategy. We positioned the sprue vertically through the center axis, minimizing the total volume of printed sand and thus reducing material cost and print time. The system was designed as a bottom-gating, choked-pouring system to ensure calm filling. The key design calculations for the gating system are based on the principle of controlling metal flow through the smallest cross-section, the choke.
The total pour weight was 400 kg, with a target fill time of 16 seconds. The average pouring rate $ Q $ is therefore:
$$ Q = \frac{Weight}{Time} = \frac{400}{16} = 25 \text{ kg/s} $$
Using established hydraulic principles for iron, the choke area $A_{choke}$ can be approximated. A more detailed design uses the relationships between the sprue, runner, and ingate areas to achieve the desired flow characteristics. We designed a system with the ratio:
$$ A_{sprue} : A_{choke} : A_{ingate} = 1.3 : 1 : 1.4 $$
This created a initially pressurized system that quickly filled the gates, transitioning to an open, non-pressurized state for calm mold filling. To further reduce turbulence and filter inclusions, we incorporated two layers of 10 ppi ceramic foam filters within the sprue well. The ingates were four flat, cross-positioned gates at the base of the casting part to ensure even distribution of metal.
3. Feeding and Chill Design Based on Numerical Simulation
The development of reliable casting parts hinges on predicting and controlling solidification. We employed MAGMAsoft numerical simulation software iteratively. An initial simulation without feeders or chills clearly identified three isolated thermal centers: the top hub, the central flange, and the bottom rim. The thin walls connecting these sections solidified quickly, creating isolated hot spots that required individual feeding.
The modulus method is a reliable technique for calculating feeder size for casting parts. The modulus $M$ is the ratio of volume $V$ to cooling surface area $A_{cool}$:
$$ M = \frac{V}{A_{cool}} $$
For the central flange (modulus $M_f = 1.8$ cm), the required feed volume $V_{feed}$ based on a 4% volumetric shrinkage of the feed metal is:
$$ V_{feed} = V_f \times 0.04 $$
A feeder must have a larger modulus than the casting section it feeds, typically $M_{feeder} > 1.2 \times M_{casting}$. For the flange, we selected four high-efficiency sleeve feeders with a modulus of 2.3 cm. The calculation for the bottom rim was performed similarly, leading to the placement of two insulating sleeve feeders. Additionally, external chills were placed between feeders on the flange and bottom rim to extend their feeding range and sharpen the solidification gradient towards the feeder. The final simulation confirmed sound solidification, with no predicted shrinkage in critical areas of the casting part.
| Casting Section | Modulus (M) | Volume (cm³) | Req. Feed Volume (cm³) | Feeder Solution | Feeder Modulus | Effective Feed Volume |
|---|---|---|---|---|---|---|
| Central Flange | 1.8 cm | 7,200 | 288 | 4x TELE140R | 2.3 cm | 320 cm³ (4×80) |
| Bottom Rim | 1.5 cm | 4,300 | 172 | 2x 7/10 Insulating Sleeve | 2.0 cm | 200 cm³ (2×100) |
| Top Hub | 1.6 cm | 3,800 | 152 | 6x Vents (Non-feeding) | – | – |
Implementing the Strategy: 3D Sand Core Design and Assembly
The digital mold was decomposed into printable sand cores. Practical handling, coating, and assembly drove the decomposition logic. The assembly was split into a main outer core and an inner core complex. The large outer core was further divided into top, middle, and bottom segments for manageability. The inner core incorporated the down sprue, filters, and ingates, while a separate cap core contained the feeder sockets and pouring cup. Strategic hollowing and ribbing were applied to non-critical core sections to reduce sand usage and print time without compromising strength. The table below summarizes the key parameters selected for the 3D printing process of these sand cores, reflecting the high precision achievable.
| Process Parameter | Value | |
|---|---|---|
| Pattern Allowance (Shrinkage) | 1.0% | Standard for ductile iron with restrained contraction using rigid 3D printed sand molds. |
| Machining Allowance | 7 mm (top), 5 mm (other) | Extra on top surfaces to account for potential slag/sand entrainment and greater shrinkage tendency. |
| Core Print/Core Gap | 0.3 mm (fit), 0.5 mm (clearance) | Tight tolerances for precise assembly of cores, ensuring dimensional accuracy of the final casting part. |
| Draft Angle | 0° | Eliminated due to the absence of a physical pattern extraction process. |
| Sand Material | Furan resin-coated sand | Provides high strength and good collapsibility after casting. |
After printing, the cores were cleaned, coated with an alcohol-based refractory wash to prevent metal penetration, and assembled. Locating pins and sockets designed into the cores ensured accurate alignment. The chills and feeder sleeves were placed into their pre-printed cavities during assembly. The entire core package was then fastened together and secured within a flask using steel shot for support against metallostatic pressure.
Metal Processing and Results: Validating the Prototype Casting Parts
The metal was melted in a medium-frequency induction furnace. Composition control is paramount for achieving the desired microstructure and mechanical properties in ductile iron casting parts. We aimed for a carbon equivalent (CE) that promoted good graphitization while avoiding excessive shrinkage tendency. Carbon equivalent is calculated as:
$$ CE = \%C + \frac{1}{3}(\%Si + \%P) $$
Our target range was approximately 4.3 – 4.5. Magnesium treatment was performed using a sandwich method in the pouring ladle to spheroidize the graphite. The precise chemical composition targets are listed below:
| Element | Target Range (wt.%) | |
|---|---|---|
| C | 3.4 – 3.7 | Primary graphitizing element, contributes to fluidity and reduces shrinkage. |
| Si | 2.5 – 2.8 | Promotes graphitization, strengthens ferrite. |
| Mn | 0.40 – 0.50 | Strengthens pearlite, but kept low to avoid segregation. |
| Mg | 0.040 – 0.056 | Essential for graphite spheroidization. |
| P | ≤ 0.05 | Kept low to avoid phosphide eutectic, which embrittles the casting part. |
| S | ≤ 0.015 | Kept very low to minimize Mg consumption during treatment. |
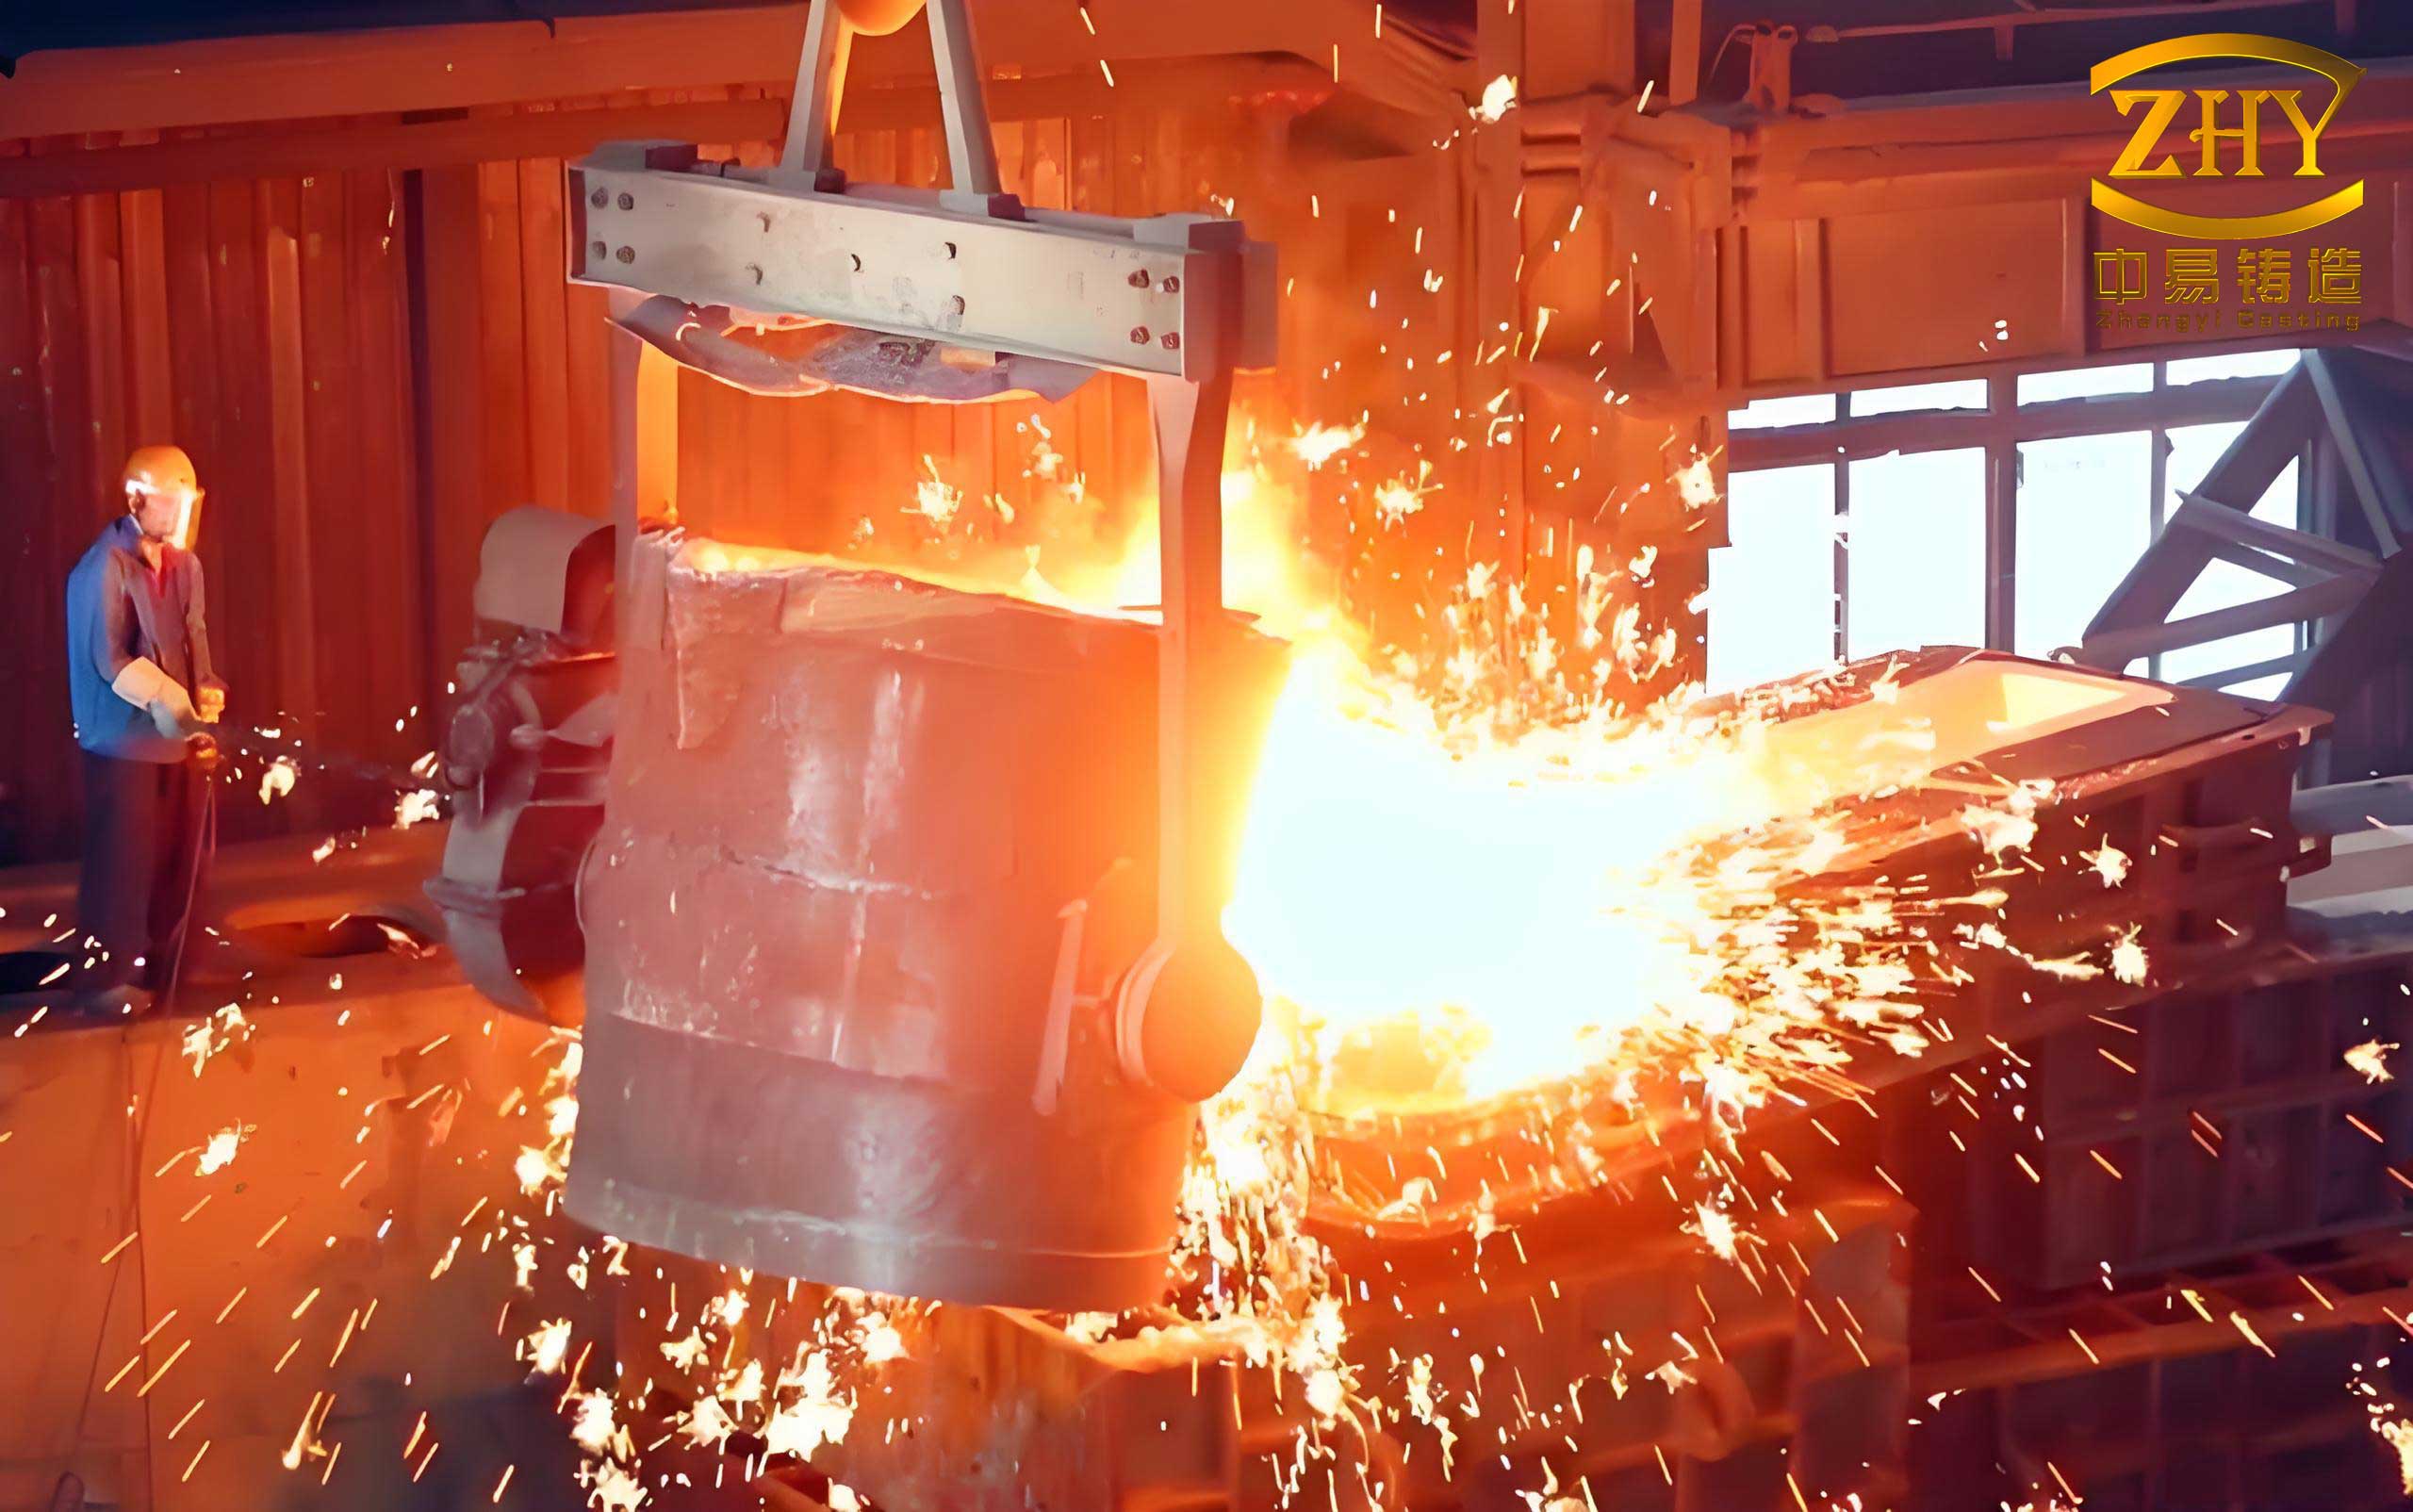
Pouring was conducted at 1,370 ± 10°C. After cooling, the casting parts were cleaned. The 3D printed molds produced remarkably clean castings with minimal flash, as the core assembly had far fewer parting lines than a traditional mold. Non-destructive testing (Ultrasonic) revealed no internal defects in the critical sections. The mechanical properties and microstructure, evaluated from separately cast test coupons, met all specifications for QT500-7. The graphite was well-spheroidized (90-95% nodularity), and the matrix consisted of a mixed pearlite-ferrite structure, yielding excellent strength and ductility for the casting part.
Conclusion and Broader Implications for Casting Parts Development
The successful development of the sprocket hub prototype unequivocally demonstrates that 3D sand printing is more than just a rapid prototyping tool; it is a transformative methodology for the foundry industry, especially for complex, low-volume casting parts. The key takeaways from this project are:
- Unprecedented Design Freedom: The most significant advantage is the liberation of the casting and mold design process from the constraints of tooling manufacturability. Engineers can now design for optimal part performance and soundness first, enabling the production of highly optimized, lightweight, and efficient casting parts that were previously uncastable or prohibitively expensive.
- Accelerated Development Cycle: The condensation of a multi-month tooling phase into a few days of printing slashes the lead time for functional prototypes. This enables faster design iterations, more comprehensive testing, and a dramatically reduced time-to-market for new products involving critical casting parts.
- Cost-Effectiveness for Low Volumes: For prototype series, small batches, or large, complex parts, 3D printing eliminates the high sunk cost of hard tooling. The economic model shifts from high fixed costs (tooling) to more linear variable costs (sand volume and print time), which is ideal for development and niche production.
- Enhanced Process Validation: The ability to quickly produce and test a physical mold that exactly matches the digitally simulated design closes the loop in virtual process optimization. It provides tangible validation of feeding and gating designs, leading to more reliable and robust processes when transitioning to high-volume production tooling.
In conclusion, the integration of 3D sand printing into the development workflow for casting parts represents a paradigm shift. It empowers foundries to respond with agility to innovation demands, manage risk through physical validation, and produce superior components. As the technology continues to advance in speed, material properties, and cost-effectiveness, its role will expand from prototyping into direct digital manufacturing for an ever-wider range of high-value, complex casting parts.