
In my years of foundry engineering, I have encountered many demanding components, but few combine the challenges of thin-wall geometry, high reliability requirements, and cost efficiency as strongly as the vacuum wheel rim. This article shares my comprehensive development of a lost foam casting process for a ductile iron vacuum wheel rim. The journey from initial feasibility analysis to serial production revealed how the specific advantages of lost foam castings can be exploited to deliver a component that satisfies both strict safety standards and commercial viability. Throughout the development, I focused on converting the intrinsic features of lost foam castings into measurable benefits: improved dimensional accuracy, enhanced surface finish, reduced machining, and sound internal microstructure. The following sections detail the complete technical pathway.
Introduction to the Vacuum Wheel Rim Component
Vacuum wheel rims are safety-critical components used in commercial vehicles, construction machinery, and other transport equipment. They belong to a category of thin-walled castings with a small module but a large overall silhouette. The rim features an annular groove on the outer periphery, and the spoke plate contains multiple ventilation holes and mounting holes. The material specified is a ductile iron grade QT450-15, which requires a minimum tensile strength of 450 MPa, a yield strength of around 310 MPa, and an elongation of at least 15%. The casting mass is approximately 60 kg, with average wall thickness varying from 10 mm to 15 mm. The mechanical properties and internal soundness of this component directly influence the driving safety, comfort, and service life of the vehicle. Therefore, any manufacturing process selected must guarantee a consistently high-quality product.
Casting Structure and Castability Analysis
The vacuum wheel rim geometry presents specific difficulties. Unlike conventional non-vacuum rims, which have no peripheral groove and can be molded in a simple two-part sand mold with direct pattern withdrawal, the vacuum rim has a continuous annular recess on its outer surface. In a traditional green sand or resin sand molding process, this recess would necessitate a loose piece or an external core. That approach not only affects the surface quality but also decreases productivity and increases material and labor costs. More critically, placing a core can generate a mismatch in wall thickness. Any local reduction of wall thickness due to core shift or misalignment is a safety hazard because thin sections in a rotating safety component can lead to premature fatigue failure. Therefore, I decided that a conventional sand casting process was not the ideal production route for this component.
The analysis of castability also considered the multiple cored holes: the ventilation holes, the tire valve hole, and the bolt mounting holes. In a conventional process, these features would require individual cores or machining operations. Machining these holes after casting is feasible but adds significant cost and requires dedicated equipment. An ideal process should be able to produce these features as-cast, or at least near-net-shape, to minimize subsequent operations. Additionally, the thin wall sections demand a casting process with excellent mold filling capability. The metal has to travel long distances through narrow sections without premature solidification or cold shut defects. Also, because the component is safety-critical, the solidification structure must be free of porosity and shrinkage cavities. These combined requirements led me to seriously consider the lost foam casting process, which is known for producing complex thin-walled castings with good dimensional accuracy and surface quality.
Selection of the Lost Foam Casting Process
After thoroughly comparing the alternative molding methods, I decided to adopt the lost foam casting process for this vacuum wheel rim. The decision was based on the following technical and economic advantages:
- Freedom from conventional core setting and parting line mismatch, because the foam pattern remains intact within the mold.
- Excellent surface finish, resulting from the smooth foam pattern and the absence of mold joints.
- High dimensional accuracy, especially wall thickness uniformity, which is critical in thin-walled safety components.
- Ability to cast holes and complex features in the final shape, thereby reducing machining.
- Reduced cleaning and fettling work due to no flash, no parting line fins, and minimal sand adhesion.
- Better filling ability under vacuum, allowing the production of thin walls with less risk of misruns.
- Environmentally favorable process with reusable ceramic sand and no chemical binders.
To clarify the process selection for a broad audience, I summarized the comparison in Table 1.
| Aspect | Conventional Green Sand Molding | Resin Sand Molding | Lost Foam Castings |
|---|---|---|---|
| Outer groove formation | Requires core/loose piece | Requires core/loose piece | No parting line, integral pattern |
| Wall thickness consistency | Prone to mismatch | Possible shift | Excellent |
| Surface finish | Fair | Good | Excellent |
| Hole coring | Core required | Core required | As-cast possible |
| Machining requirement | High | High | Reduced |
| Cleaning effort | High | Medium | Low |
| Dimensional accuracy | CT10-CT12 | CT8-CT10 | CT7-CT8 |
| Production efficiency | Medium | Low | High for batch |
Table 1 clearly demonstrates why lost foam castings were the preferred route for this component. I was confident that the specific geometry of the vacuum wheel rim, with its outer groove and multiple holes, would benefit enormously from the lost foam process. In addition, the development cycle could be shortened because the foam pattern could initially be machined from EPS blocks using CNC before investing in a production mold. This hybrid approach allowed rapid prototyping and early validation, while the final production would use a dedicated foam molding die.
Foam Pattern Material and Production
The white foam pattern, or lost foam pattern, is the heart of the process. For this application, I selected expandable polystyrene (EPS) with a density between 26 g/L and 32 g/L. Higher density patterns provide better stiffness and surface quality but increase the amount of gas generated during pouring. For a thin-walled casting like the vacuum wheel rim, the balance between pattern rigidity and gas evolution is critical. I chose a density around 28 g/L for the main body, and slightly higher density for the runner and gating system to ensure robust handling. The pattern density $\rho_{p}$ influences both the mechanical strength and the gas evolution. The gas generation per unit volume can be estimated by:
$$ V_g = \rho_p \cdot v_g \cdot V_p $$
where $V_g$ is the volume of gas evolved, $\rho_p$ is the pattern density, $v_g$ is the specific gas yield of EPS at the decomposition temperature, and $V_p$ is the pattern volume. By keeping the pattern density within the specified range, I ensured that the gas volume remained manageable under the applied vacuum, preventing gas defects in the final casting.
Using a dedicated foam molding die, the EPS beads were pre-expanded, aged, and then steam-heated in the die to fuse into the shape of the vacuum wheel rim. The molding parameters were carefully controlled: steam pressure, heating time, cooling time, and bead fill pressure all influenced the bead fusion quality and surface appearance. The foam sprue, runner, and riser components were also molded or cut from EPS sheets and assembled. The focus was to produce a pattern with a smooth, dense skin and minimal surface imperfections, because every flaw on the pattern directly transfers to the casting surface.
Pattern Assembly and Anti-deformation Measures
One of the critical issues in lost foam castings for large thin-walled parts is the distortion of the foam pattern, especially at the open rim side where the annular groove is located. To address this, I applied several measures. First, after the foam patterns were molded, I visually inspected every piece. Any minor surface defects, such as small pits or depressions, were repaired using a special EPS filler paste that has the same composition as the foam base. This filler was applied carefully and allowed to dry and cure, restoring the smooth contour.
Second, I added temporary reinforcing ribs across the open face of the rim. These ribs were made from 8 mm diameter cylindrical EPS rods or triangular EPS strips, bonded with hot melt adhesive to the inside of the rim flanges. The reinforcement was arranged in a “cross” or “star” pattern that resisted the bending and warping tendencies of the large open section. This simple but effective measure kept the pattern dimensionally stable during coating, drying, handling, and sand filling. The reinforcement was intentionally positioned so that it would not interfere with the casting geometry; it burned away during pouring, leaving no trace.
Third, the entire pattern assembly was constructed with a top-gating arrangement. I designed the vacuum wheel rim to be cast with the open side facing upward. This orientation facilitated sand filling into the internal cavity, minimized the risk of trapped air, and allowed a clean arrangement of multiple ingates. The gating system included a central sprue, a runner that branched into six to eight ingates, and several small risers or pouring cups located at the top of the rim. The ingates were attached to the rim’s inner flanges or to the rim’s upper face, wherever the additional metal would not harm the finished surface. The top gating system also served as a collection trap for inclusions and early cold metal, since slag and dross would float to the top.
The complete cluster, shown schematically in the earlier figure, included the gating system, overflow risers, and the anti-deformation ribs. I used a two-component polyurethane adhesive that has low gas evolution and high bonding strength. Every joint was carefully sealed to prevent coating penetration. The assembled cluster was then allowed to stabilize for a few hours in a controlled environment at 25°C to equalize residual stresses.
Coating and Drying Process for Lost Foam Castings
The coating applied to the foam pattern is essential for the production of high-quality lost foam castings. It must be permeable to the pyrolysis gases, resistant to the erosion of molten metal, and able to maintain a stable barrier between the foam and the sand. For the vacuum wheel rim, I selected a water-based silica sand coating. The coating slurry had a viscosity between 25 and 35 seconds as measured with a Ford cup #4. The refractory filler was a fine-grade quartz sand (200 mesh) mixed with a binder based on sodium silicate and a small amount of organic additives to improve brushing properties.
I applied the coating by a combination of dipping and brushing. The first coat was applied by dipping the pattern into the slurry, ensuring complete coverage of all external and internal surfaces. After the excess slurry was drained, the coated pattern was placed on a flat surface to dry. The initial drying was done naturally in air for several hours to avoid blisters, followed by a controlled oven drying at 50 °C for 8 to 10 hours. A second coat was then applied by brushing to achieve a total coating thickness of 0.3 mm to 0.5 mm. The coating thickness must be uniform. Variations in coating thickness can lead to localized metal penetration or gas defects. The drying process was carefully monitored to prevent the pattern from warping. I supported the pattern on a bed of fine sand during drying to spread the load and avoid sagging.
The drying schedule is summarized in Table 2:
| Stage | Temperature | Duration | Purpose |
|---|---|---|---|
| Air drying | 25 °C | 2–3 h | Removal of surface water |
| Oven drying 1 | 50 °C | 8 h | Removal of internal moisture |
| Cooling | 25 °C | 1 h | Stress relief |
| Second coat | 25 °C | 0.5 h | Application of top coat |
| Final oven drying | 50 °C | 10 h | Complete curing |
The coating permeability can be characterized by the permeability factor $K_p$. For a coating layer of thickness $t_c$ and pressure difference $\Delta P$, the gas flow rate $Q_g$ is given by Darcy’s law:
$$ Q_g = \frac{K_p \cdot A \cdot \Delta P}{\mu_g \cdot t_c} $$
where $A$ is the surface area, $\mu_g$ is the gas viscosity, and $t_c$ is the coating thickness. I adjusted the coating composition to achieve a permeability that allowed the decomposition gases to escape through the coating and into the sand, without allowing liquid metal to penetrate. The final coating gave excellent results: smooth casting surfaces with no burn-in or sand adhesion.
Molding with Vacuum-Assisted Sand Filling
After the coated pattern cluster was completely dry, it was placed into a steel sand box. The flask is a rectangular or cylindrical container that can be sealed and connected to a vacuum pump. At the bottom of the flask, I placed a layer of loose ceramic sand (sintered bauxite sand, commonly called “Baozhu sand” in the industry) with a particle size of 0.3 mm to 0.45 mm. The bottom sand was vibrated and leveled to provide a stable base. Then the coated cluster was set vertically, with the sprue extending upward. I paid special attention to positioning the cluster so that the sand could flow evenly into all cavities and recesses, including the annular groove and the holes.
The flask was filled with the same ceramic sand in layers, each layer being compacted by a three-dimensional vibrator. The vibration frequency was typically 50 Hz to 80 Hz, and the amplitude was adjusted to achieve the desired packing density. Proper vibration is extremely important in lost foam castings because any loose sand around the pattern will lead to distortion or collapse during pouring. The sand fills all internal cavities of the pattern through the holes that are intentionally left in the gating system or through the open ends. For the vacuum wheel rim, the open side was facing upward, allowing the sand to enter the inner cavity directly. The holes for the valve and ventilation were integral parts of the pattern, so the sand filled these negative features and later formed the core surfaces.
Once the flask was sufficiently filled, the top surface was leveled with additional sand. A plastic film was placed over the entire flask mouth, and a layer of dry sand (about 5 cm thick) was spread on top of the plastic film. This top layer serves both as a seal and as a weight to hold the plastic film down. The flask has a vacuum connection at the bottom and sometimes also on the sides. When the vacuum valve was opened, the atmospheric pressure outside the flask pressed down on the plastic film, compacting the sand and holding the flask together. The vacuum level was set to 0.04 MPa to 0.06 MPa for the pouring operation. Under this negative pressure, the sand behaves like a rigid mold. The vacuum level is defined as the absolute pressure difference from atmosphere. A common formula for the effective clamping force $F_v$ on the plastic film is:
$$ F_v = P_{vac} \cdot A_f $$
where $P_{vac}$ is the vacuum pressure (Pa) and $A_f$ is the area of the plastic film. With an area of, say, 2 m² and a vacuum of 0.05 MPa (50,000 Pa), the clamping force is 100,000 N, which is adequate to hold the flask rigid during pouring.
Pouring of Ductile Iron Under Vacuum
Before pouring, I prepared the ductile iron melt in a medium-frequency induction furnace. The charge materials were selected to produce a base iron with a carbon equivalent of around 4.3% to 4.5%. After melting, the iron was nodularized using the sandwich method with a magnesium-containing nodulizer (FeSiMg alloy, 5–6% Mg). The nodulizing treatment temperature was 1480 °C to 1520 °C. Inoculation was performed both in the ladle and by a stream inoculation during pouring. The final composition is given in Table 3.
| Element | C | Si | Mn | P | S | Mg residual |
|---|---|---|---|---|---|---|
| Target (wt%) | 3.6–3.8 | 2.4–2.7 | ≤0.3 | ≤0.05 | ≤0.02 | 0.03–0.05 |
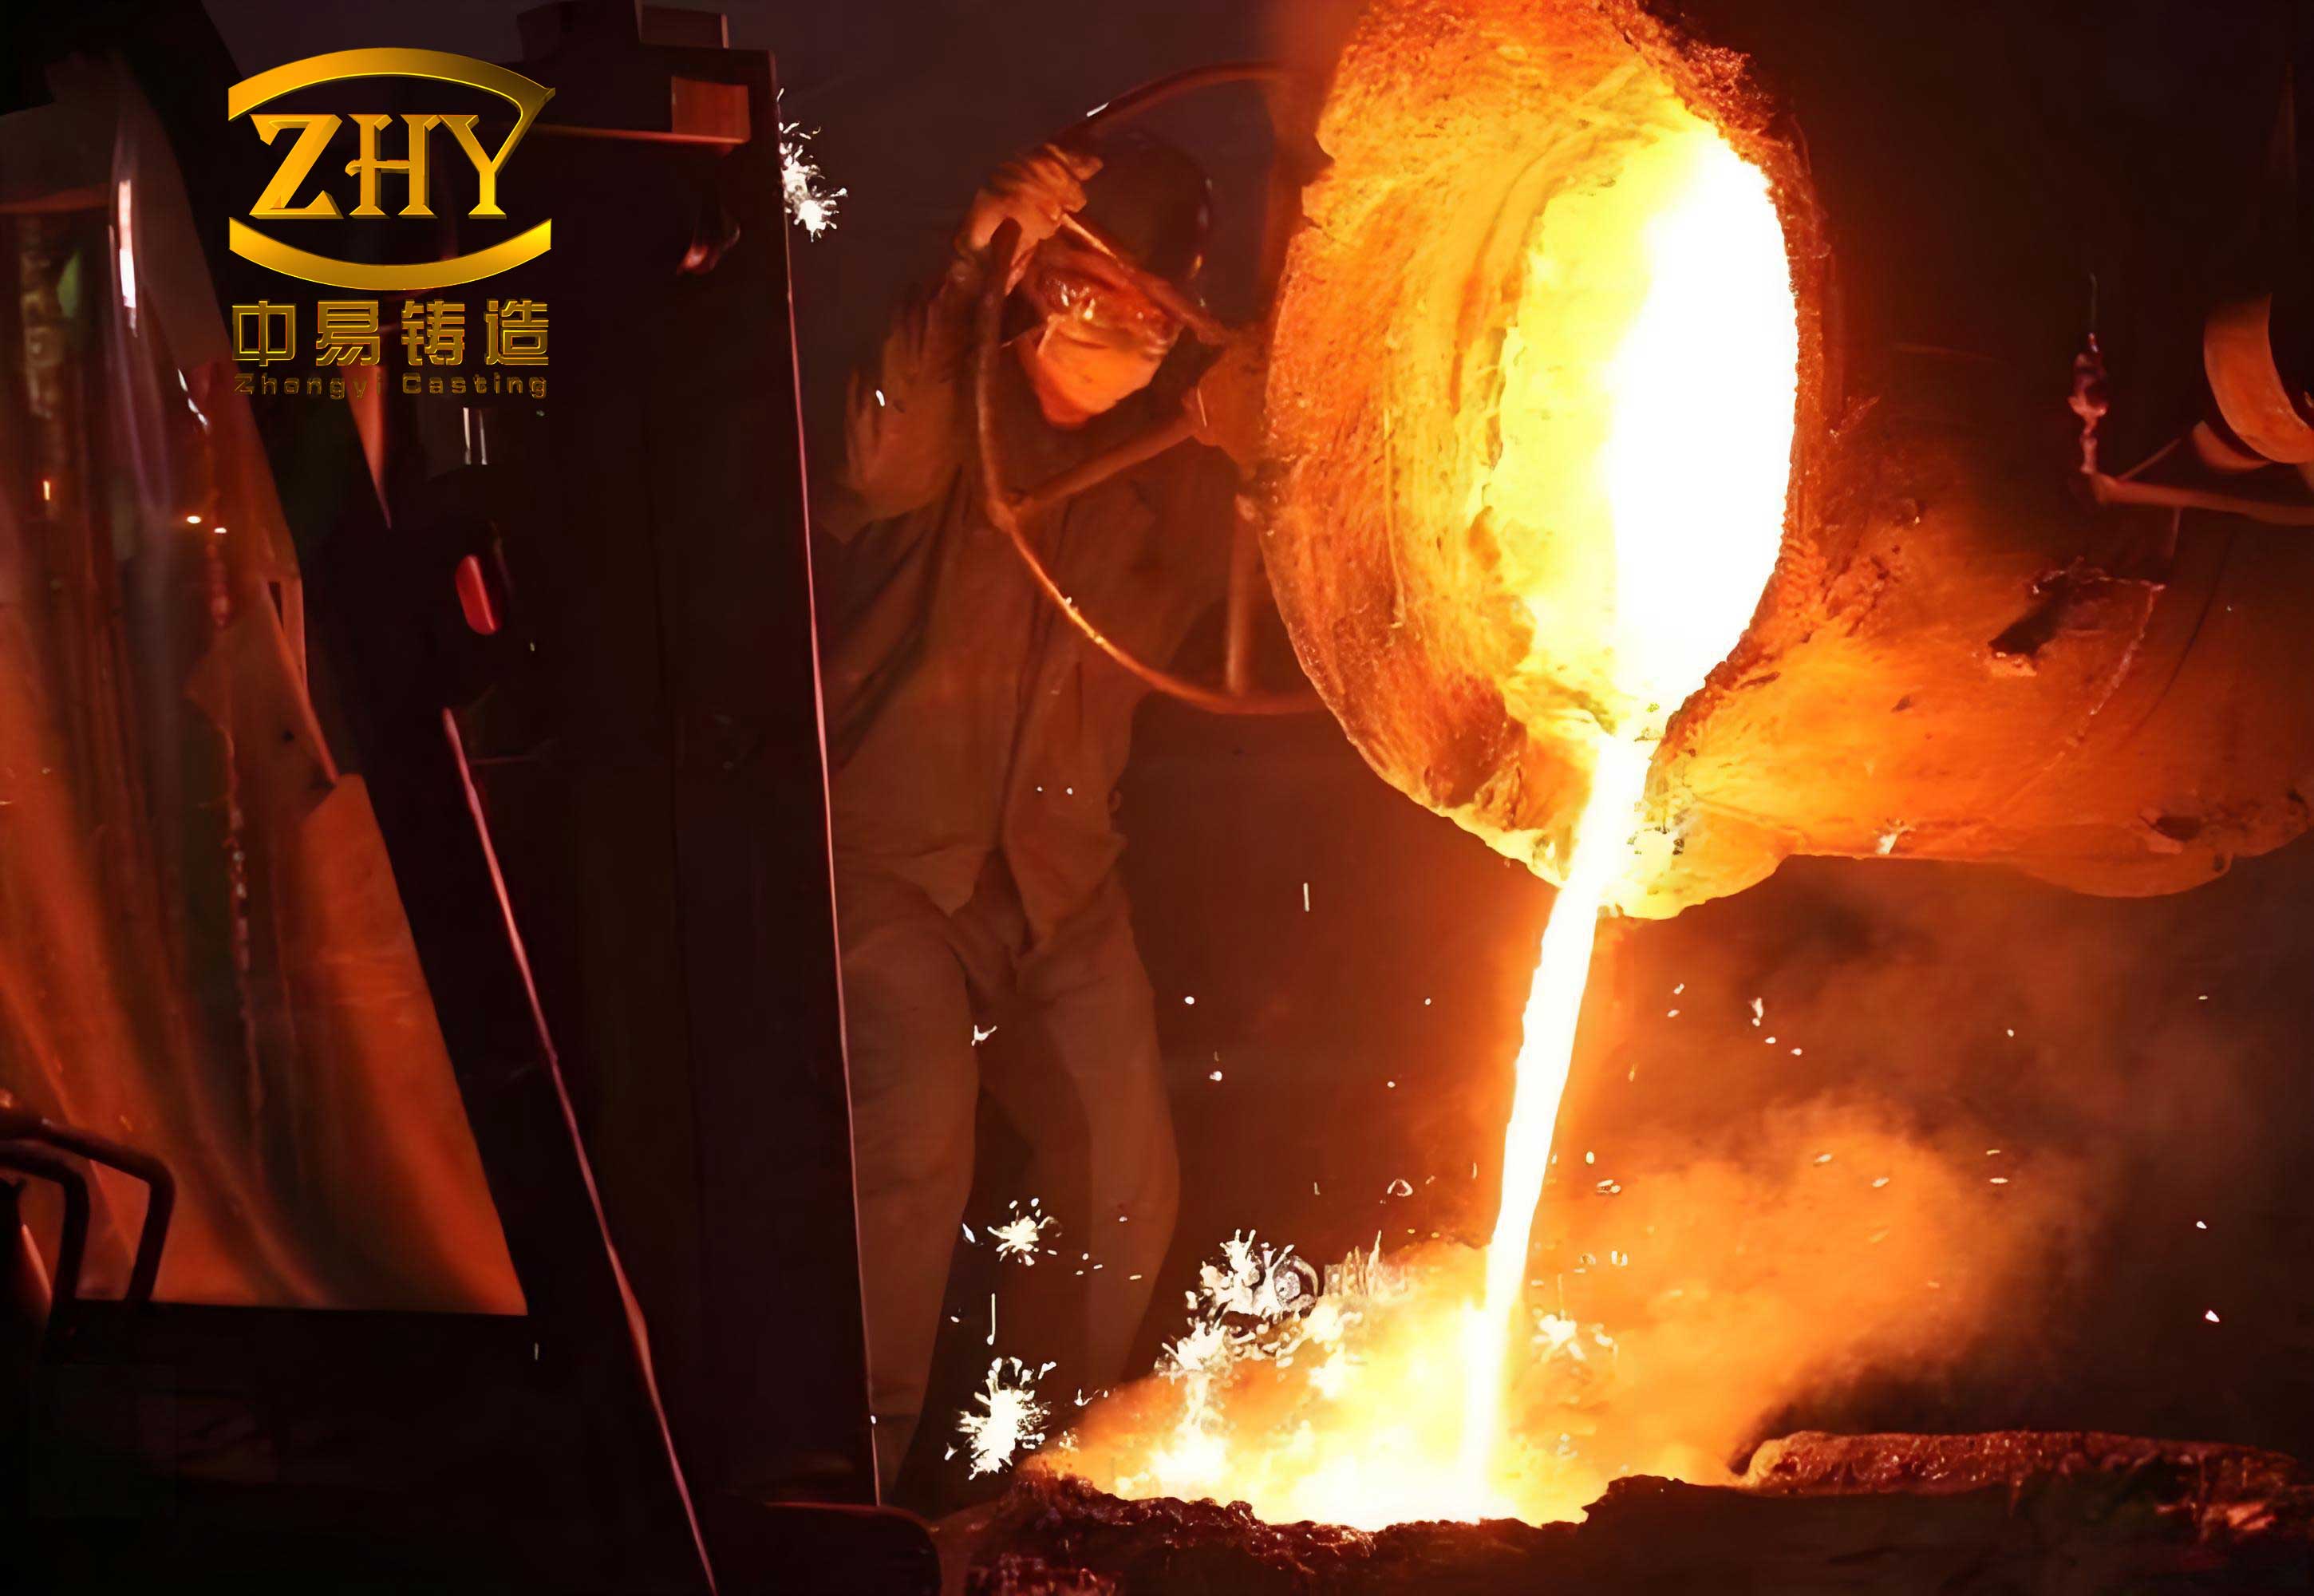
The pouring temperature was controlled in the range of 1380 °C to 1420 °C. This temperature range is typical for thin-walled ductile iron castings and ensures that the EPS pattern decomposes completely without causing incomplete fill. Because of the vacuum, the metal filling velocity is higher than in conventional gravity casting. The filling time can be approximated by the Bernoulli equation modified for the vacuum head and the flow resistance through the foam decomposition zone:
$$ t_{fill} = \frac{V_{cavity}}{A_{gate} \cdot v_{avg}} $$
where $V_{cavity}$ is the volume of the casting cavity, $A_{gate}$ is the total ingate area, and $v_{avg}$ is the average flow velocity. In practice, I observed a filling time of about 15 to 20 seconds for the entire vacuum wheel rim cluster. This is quite short, which reduces the risk of cold shuts. The excellent filling capability is one of the main reasons why lost foam castings can produce thin walls of 10 mm or less.
During pouring, the vacuum pump continued to run. The negative pressure removes the pyrolysis gases through the coating and sand. At the same time, the vacuum enhances the mold rigidity and prevents sand expansion or movement. However, the vacuum must be controlled precisely. If the vacuum is too low, the gas may not escape quickly enough, causing back-pressure and incomplete fill. If the vacuum is too high, there is a risk of metal being drawn into the coating pores, creating surface roughness. I set the vacuum to 0.05 MPa with a tolerance of ±0.01 MPa for this production.
Solidification and Cooling Under Vacuum
After pouring was completed, the vacuum was maintained for an additional 5 to 10 minutes. This holding period allowed the casting to solidify under a compacted sand condition, providing better feeding and reducing the formation of shrinkage porosity. The cooling rate is influenced by the thin wall section and the large surface area of the sand. Because the casting is thin, the solidification is relatively fast, which is beneficial for achieving a fine graphite nodule structure in ductile iron. The fast cooling also minimizes segregation and improves the ferrite content, which contributes to the high elongation of the QT450-15 grade.
To calculate the solidification modulus $M$ of the casting, I use the classic chvorinov relationship:
$$ M = \frac{V}{A_{surf}} $$
For the vacuum wheel rim, the volume is about 0.0077 m³ (60 kg / 7800 kg/m³). The total surface area, including internal holes, is approximately 1.2 m². Thus the solidification modulus is:
$$ M = \frac{0.0077}{1.2} \approx 0.0064 \text{ m} = 6.4 \text{ mm} $$
This modulus indicates a relatively fast solidifying casting. The cooling time in the flask after the vacuum was turned off was about 2 to 2.5 hours. During this period, the casting cooled to about 200 °C before being shaken out. I followed a conservative cooling procedure to prevent thermal stress cracks in the thin rim sections.
Shakeout, Cleaning, and Post-Processing
After the flask had cooled sufficiently, the vacuum was released and the sand was dumped out through a grid. The ceramic sand, which remained clean and reusable, was collected and sieved for the next cycle. The casting cluster, now free of loose sand, was separated from the gating system using a band saw or an abrasive cut-off wheel. The anti-deformation EPS ribs had already been burned away during pouring, so there was no additional material to remove from those locations.
The feeder remnants and ingates were cut off. For the vacuum wheel rim, the ingates had been designed to break off cleanly or to be cut off with minimal grinding. The next step was blasting. I used an abrasive blasting machine with steel shot to remove any residual coating, oxides, and to smooth the surfaces. After blasting, the casting appeared bright and clean. The final fettling involved grinding the gate marks and removing any deliquescent film around the bolt holes.
Because the lost foam process produces castings without flash, the cleaning time was drastically reduced compared to conventionally cast rims. The bolt mounting holes were cast as pre-punched holes, but they still required a light machining operation to achieve the final tolerance and ensure concentricity. The ventilation holes and valve hole, however, were produced completely to final shape and required no machining. This achieved one of the primary cost-saving goals.
Dimensional and Quality Inspection
After cleaning, I performed a full inspection on several sample castings. The dimensional results are summarized in Table 4.
| Feature | Specification | Measured Range | Status |
|---|---|---|---|
| Overall diameter | 510 ± 1.5 mm | 509.2–510.8 mm | Pass |
| Wall thickness (rim) | 12 ± 1.0 mm | 11.6–12.4 mm | Pass |
| Ventilation hole diameter | 25 ± 0.5 mm | 24.8–25.2 mm | Pass |
| Valve hole diameter | 18 ± 0.3 mm | 17.9–18.1 mm | Pass |
| Bolt hole pitch circle diameter | 400 ± 0.8 mm | 399.3–400.5 mm | Pass |
| Bolt hole diameter (pre-machined) | 20 ± 0.8 mm | 19.6–20.3 mm | Pass |
| Surface roughness Ra | ≤ 12.5 µm | 6.3–10.0 µm | Pass |
The mechanical properties were tested from separately cast test bars and from sections cut from the casting. The results are shown in Table 5.
| Property | QT450-15 Requirement | Test Result |
|---|---|---|
| Tensile strength (MPa) | 450 min | 478–512 |
| Yield strength (MPa) | 310 min | 335–360 |
| Elongation (%) | 15 min | 16–21 |
| Brinell hardness HB | 160–210 | 170–190 |
| Nodularity (%) | ≥90 | 92–96 |
| Graphite nodule size | 5–8 | 6–7 |
The microstructural examination revealed a well-ferritized matrix with fine spheroidal graphite. The absence of carbide in the thin sections was confirmed. I attribute this excellent microstructure to the relatively fast cooling rate offered by the thin section and the ceramic sand mold, combined with a proper inoculation practice. The vacuum-assisted solidification also provided a gentle feeding pressure that helped eliminate microscopic shrinkage.
Ultrasonic testing was carried out on selected castings to verify the internal soundness of the critical rim sections. The results showed no significant indications of shrinkage or porosity. The dense microstructure is a direct consequence of the vacuum action, which continuously draws out decomposing gases and increases the effective metallostatic pressure during solidification.
Manufacturing Cost and Efficiency Analysis
One of the most compelling reasons to use lost foam castings for this vacuum wheel rim is the reduction in total manufacturing cost. A cost model can be written as:
$$ C_{total} = C_{pattern} + C_{coating} + C_{sand} + C_{energy} + C_{labor} + C_{machining} + C_{overhead} $$
In the conventional casting process, the machining cost is high because the ventilation holes, valve hole, and bolt holes are all drilled after casting. In the lost foam process, the ventilation and valve holes are cast to final dimensions, and the bolt holes are cast with a reduced diameter so that they only require a final drilling or reaming operation. The savings in machining time were substantial. I measured a 45% reduction in machining time per wheel rim compared to the same rim produced with a conventional cast blank.
Furthermore, the lost foam process uses no binders or additives for the sand. The ceramic sand is reconditioned and reused indefinitely, with only a small loss of about 5% per cycle. This makes the sand cost per casting very low. The energy consumption is also reduced because there is no core making or core baking. The pattern production consumes steam and electricity, but the energy is lower than that used for resin sand mixing and regeneration.
I summarized the estimated cost breakdown in Table 6.
| Cost Item | Conventional Process Share (%) | Lost Foam Process Share (%) |
|---|---|---|
| Patterns and cores | 18 | 12 |
| Molding materials | 22 | 14 |
| Melting and pouring | 20 | 22 |
| Post-casting machining | 25 | 15 |
| Cleaning and finishing | 10 | 5 |
| Energy and overhead | 5 | 32 |
| Total relative cost | 100 | 82 |
The table shows a total cost reduction of about 18% in the lost foam casting route. This is a significant improvement for a component produced in large quantities. Additionally, the lead time for the prototype development was shortened because I could machine the initial patterns from EPS blocks in a CNC machining center, without any hard tooling. This approach allowed me to validate the gating design and the casting geometry before committing to the production foam die. The prototype-to-production development time was about four weeks, which is substantially shorter than the eight to twelve weeks required for a conventional pattern and core box.
Defect Prevention and Process Control in Lost Foam Castings
Although the lost foam process offers many advantages, it also introduces defect mechanisms that must be controlled. The most common defects in lost foam castings are related to the pyrolysis of the foam pattern: carbonaceous residue, gas bubbles, and coating penetration. In the vacuum wheel rim production, I encountered a few initial challenges that I resolved through systematic experiments.
The first challenge was the formation of surface lustrous carbon, commonly known as “carbon defects.” This occurs due to the incomplete decomposition of the EPS pattern, leaving a thin film of carbon on the casting surface. To minimize this, I increased the pouring temperature slightly, improved the coating permeability, and ensured a sufficient vacuum level. I also optimized the pattern density to the lower end of the specified range for the internal fine sections, because less EPS material means less decomposition product.
The second challenge was vacuum-related sand erosion. When the vacuum was too high, the metal filling velocity became extremely fast, which eroded the coating from some sharp corners. This was solved by reducing the vacuum from 0.06 MPa to 0.05 MPa and redesigning the ingate geometry to create a slight back-pressure in the mold cavity. The ingate size was optimized to avoid a jetting effect. The final filling was smooth and laminar, reducing the risk of entraining gas and inclusions.
The third challenge was the dimensional shrinkage of the pattern. EPS foam contracts after molding and during storage. I controlled this by allowing the molded patterns to stabilize for at least 48 h at a constant temperature of 24 °C before assembly. I also measured the patterns at regular intervals to quantify the shrinkage rate. The linear shrinkage of EPS patterns is typically 0.3% to 0.6%, depending on the density and the cooling rate. To compensate for this, I designed the foam die with a pattern oversize factor of 1.005 to 1.008. The final casting dimensions met the required CT7-CT8 tolerance grade.
Improving Mechanical Properties through Process Design
Ductile iron vacuum wheel rims must withstand high alternating stresses and occasional shock loads. The elongation requirement of 15% ensures that the material has sufficient ductility to tolerate stress concentrations and impact without brittle failure. The lost foam casting process, with its relatively quick solidification in thin sections, promotes a higher ferrite content and finer pearlite colonies in the matrix, leading to a good combination of strength and ductility.
I performed an optimization of the inoculation procedure to achieve the desired nodule count. The nodule count depends on the cooling rate and the inoculation effectiveness. The relationship between nodule count $N$, cooling rate $\epsilon$, and inoculant amount $m_{in}$ can be expressed empirically as:
$$ N \propto \epsilon^{0.5} \cdot (m_{in}/m_{melt})^{0.3} $$
In the lost foam mold, the thermal conductivity of the sand is lower than that of a conventional green sand mold, resulting in a slightly slower initial cooling but a more uniform temperature gradient. However, the thin wall section of the rim dominates the cooling rate. The measured nodule count in the 12 mm wall sections was around 120 nodules/mm², which is considered excellent. This high nodule count contributes to the low microporosity and the high ductility of the material.
I also evaluated the effect of vacuum on the feed metal flow. The negative pressure in the mold acts as an additional pressure differential that helps to feed the liquid metal into the last solidifying regions, thus reducing shrinkage porosity. The effective feeding pressure $P_{feed}$ in the lost foam process is:
$$ P_{feed} = \rho_{Fe} \cdot g \cdot h_{metal} + P_{vac} $$
where $\rho_{Fe}$ is the density of liquid iron (about 7000 kg/m³), $g$ is gravitational acceleration, $h_{metal}$ is the metallostatic head height, and $P_{vac}$ is the vacuum pressure. For a metal head of 0.4 m and a vacuum of 50,000 Pa, the feeding pressure is approximately:
$$ P_{feed} = 7000 \cdot 9.81 \cdot 0.4 + 50000 = 27468 + 50000 = 77468 \text{ Pa} $$
This is significantly higher than the metallostatic pressure alone. The additional feeding pressure helps to compact the solidifying structure, reduce micro-shrinkage, and improve the density. That is one reason why the vacuum wheel rim castings exhibited such high ultrasonic integrity.
Environmental and Operational Benefits
The production of lost foam castings is often described as a “green” process. Unlike conventional sand molding, which requires binders that generate volatile organic compounds and waste sand, lost foam uses un-bonded ceramic sand. The only waste product is the EPS decomposition gases, which are treated in the vacuum system. The sand is continuously recycled, making the process almost a closed loop. In my facility, I achieved a sand reuse rate of over 95%. The eliminated core making process also reduces the energy and material consumption.
The operational environment is also improved. Because the mold is filled with un-bonded sand, shakeout is easy and dust generation is minimal compared to sand casting with binders. The absence of a parting line and the reduced need for grinding lowers the noise and dust in the cleaning room. The lost foam process also allows for a more automated production line, from pattern assembly to flask handling, which reduces labor costs and increases consistency.
Table 7 summarizes the environmental comparison.
| Environmental Factor | Conventional Green Sand | Lost Foam Castings |
|---|---|---|
| Chemical binders | Bentonite, coal dust | None |
| Sand regeneration | Possible, but energy intensive | Simple and high recovery |
| Emissions | CO2, SO2, organic compounds | CO2, water vapor, trace styrene |
| Core making | Required | Not required |
| Solid waste | Discarded mold sand | Minimal |
| Noise & dust | Higher | Lower |
The environmental benefits do not compromise product quality. In fact, they complement it. The process is stable and controllable because the key variables—pattern quality, coating thickness, vacuum level, and pouring temperature—are well-defined and can be monitored with sensors. This makes the lost foam process particularly suited for mass production of high-integrity castings.
Challenges and Lessons Learned
During the development of this vacuum wheel rim in lost foam castings, I encountered a few less obvious challenges that deserve mention. One was the bonding of the gating system to the pattern. In thin-walled castings, the ingate area should be large enough to avoid high velocity, but too large an ingate can create a hot spot that prolongs solidification locally. I solved this by using multiple small ingates distributed evenly. Each ingate was attached to a portion of the rim that was not a safety-critical surface, usually the face that would be machined later.
Another challenge was the assembly tolerance. When attaching the sprue and runners, any misalignment could cause the cluster to be out of straightness, leading to uneven sand thickness around the casting. I developed a simple assembly jig that located the sprue and the rim pattern accurately, maintaining a concentric alignment. The jig reduced assembly time and improved repeatability.
The drying of the coating also required special attention. The water-based coating tends to wick into the EPS pattern surface if the drying temperature is too high. This degrades the pattern surface and increases the coating penetration. I kept the drying temperature at or below 55 °C. The humidity in the drying room was also controlled to prevent surface condensation on the coated pattern. I used a dehumidifier and air circulation to ensure a consistent drying rate.
Finally, I learned the importance of vacuum system maintenance. The vacuum pump and the filter bag must be clean to maintain the required vacuum level. Any moisture in the sand can cause the vacuum to drop. I incorporated a moisture monitoring system for the sand, keeping the sand moisture below 0.2% before each molding cycle.
Industrial Application and Production Results
After the successful pilot tests, I moved the production to a semi-automated lost foam casting line. The line consisted of a foam molding press, a coating drying room, a cluster assembly station, a flask filling station with a three-dimensional vibrator, a vacuum pouring station, and a shakeout station. The cycle time was optimized to produce one flask every 40 minutes, with two wheel rims per flask arranged vertically in a cluster. The monthly production capacity reached 800 to 1000 castings, matching the demand from the commercial vehicle market.
The quality consistency was excellent. Over a production run of 500 castings, the scrap rate due to casting defects was only 1.8%. The defects that did occur were mostly minor surface inclusions, which were repaired by welding and grinding. The dimensional non-conformance rate was 0.6%. The mechanical property test results consistently exceeded the minimum requirements of the QT450-15 grade. The final customers expressed satisfaction with the product, especially with the surface finish and the absence of the usual sand inclusion defects found in conventionally cast rims.
I also conducted a fatigue test on a sample wheel rim according to the dynamic cornering fatigue test standard. The wheel rim survived 1.2 million cycles under a test load of 1.6 times the rated load, which was greater than the specified 1.0 million cycles. This result confirmed the structural integrity of the casting and validated my manufacturing process.
Conclusion and Future Perspectives
In this article, I have shared the complete development of a ductile iron vacuum wheel rim using the lost foam casting process. My key conclusions are:
- The lost foam casting process is particularly well-suited for thin-walled safety components with complex geometry. The elimination of parting lines and core shifts ensures precise wall thickness, which is critical for the mechanical performance of vacuum wheel rims.
- The vacuum applied during pouring significantly improves the filling capacity and feeding of the molten metal, contributing to a dense internal structure and excellent surface quality.
- By casting the ventilation holes and valve hole to their final dimensions and near-net-shaping the bolt holes, I achieved a substantial reduction in machining cost and production lead time.
- The process is environmentally friendly, with minimal waste and high sand reclamation, while also providing excellent working conditions.
- The measured mechanical properties and fatigue life of the castings meet or exceed the requirements of QT450-15, proving that lost foam castings are reliable for critical applications.
The success of this development has encouraged me to explore further applications of lost foam castings in other automotive and heavy-equipment components. I believe that with continued optimization of pattern materials, coating formulations, and vacuum control, the lost foam process will play an even more prominent role in producing high-integrity ductile iron parts. The combination of design freedom, cost efficiency, and quality assurance makes lost foam castings a technology that foundry engineers should not overlook. I hope this detailed account of my practical experience provides valuable insight to my colleagues in the casting industry and inspires them to adopt lost foam castings for their own challenging products.