
In our foundry, we have successfully applied the lost foam casting technology to produce large-scale sintering machine trolleys. These trolleys are critical components for sintering plants, operating under severe thermal and mechanical conditions. Over the past years, we have refined the process through rigorous control of coating, drying, inoculation, and pouring, enabling mass production of 42 m², 75 m², and 90 m² sintering machine trolleys. This paper summarizes our complete manufacturing approach for the 90 m² trolley, emphasizing the key process parameters, problem-solving strategies, and quality outcomes.
1. Casting Characteristics and Technical Requirements
1.1 Structural Features
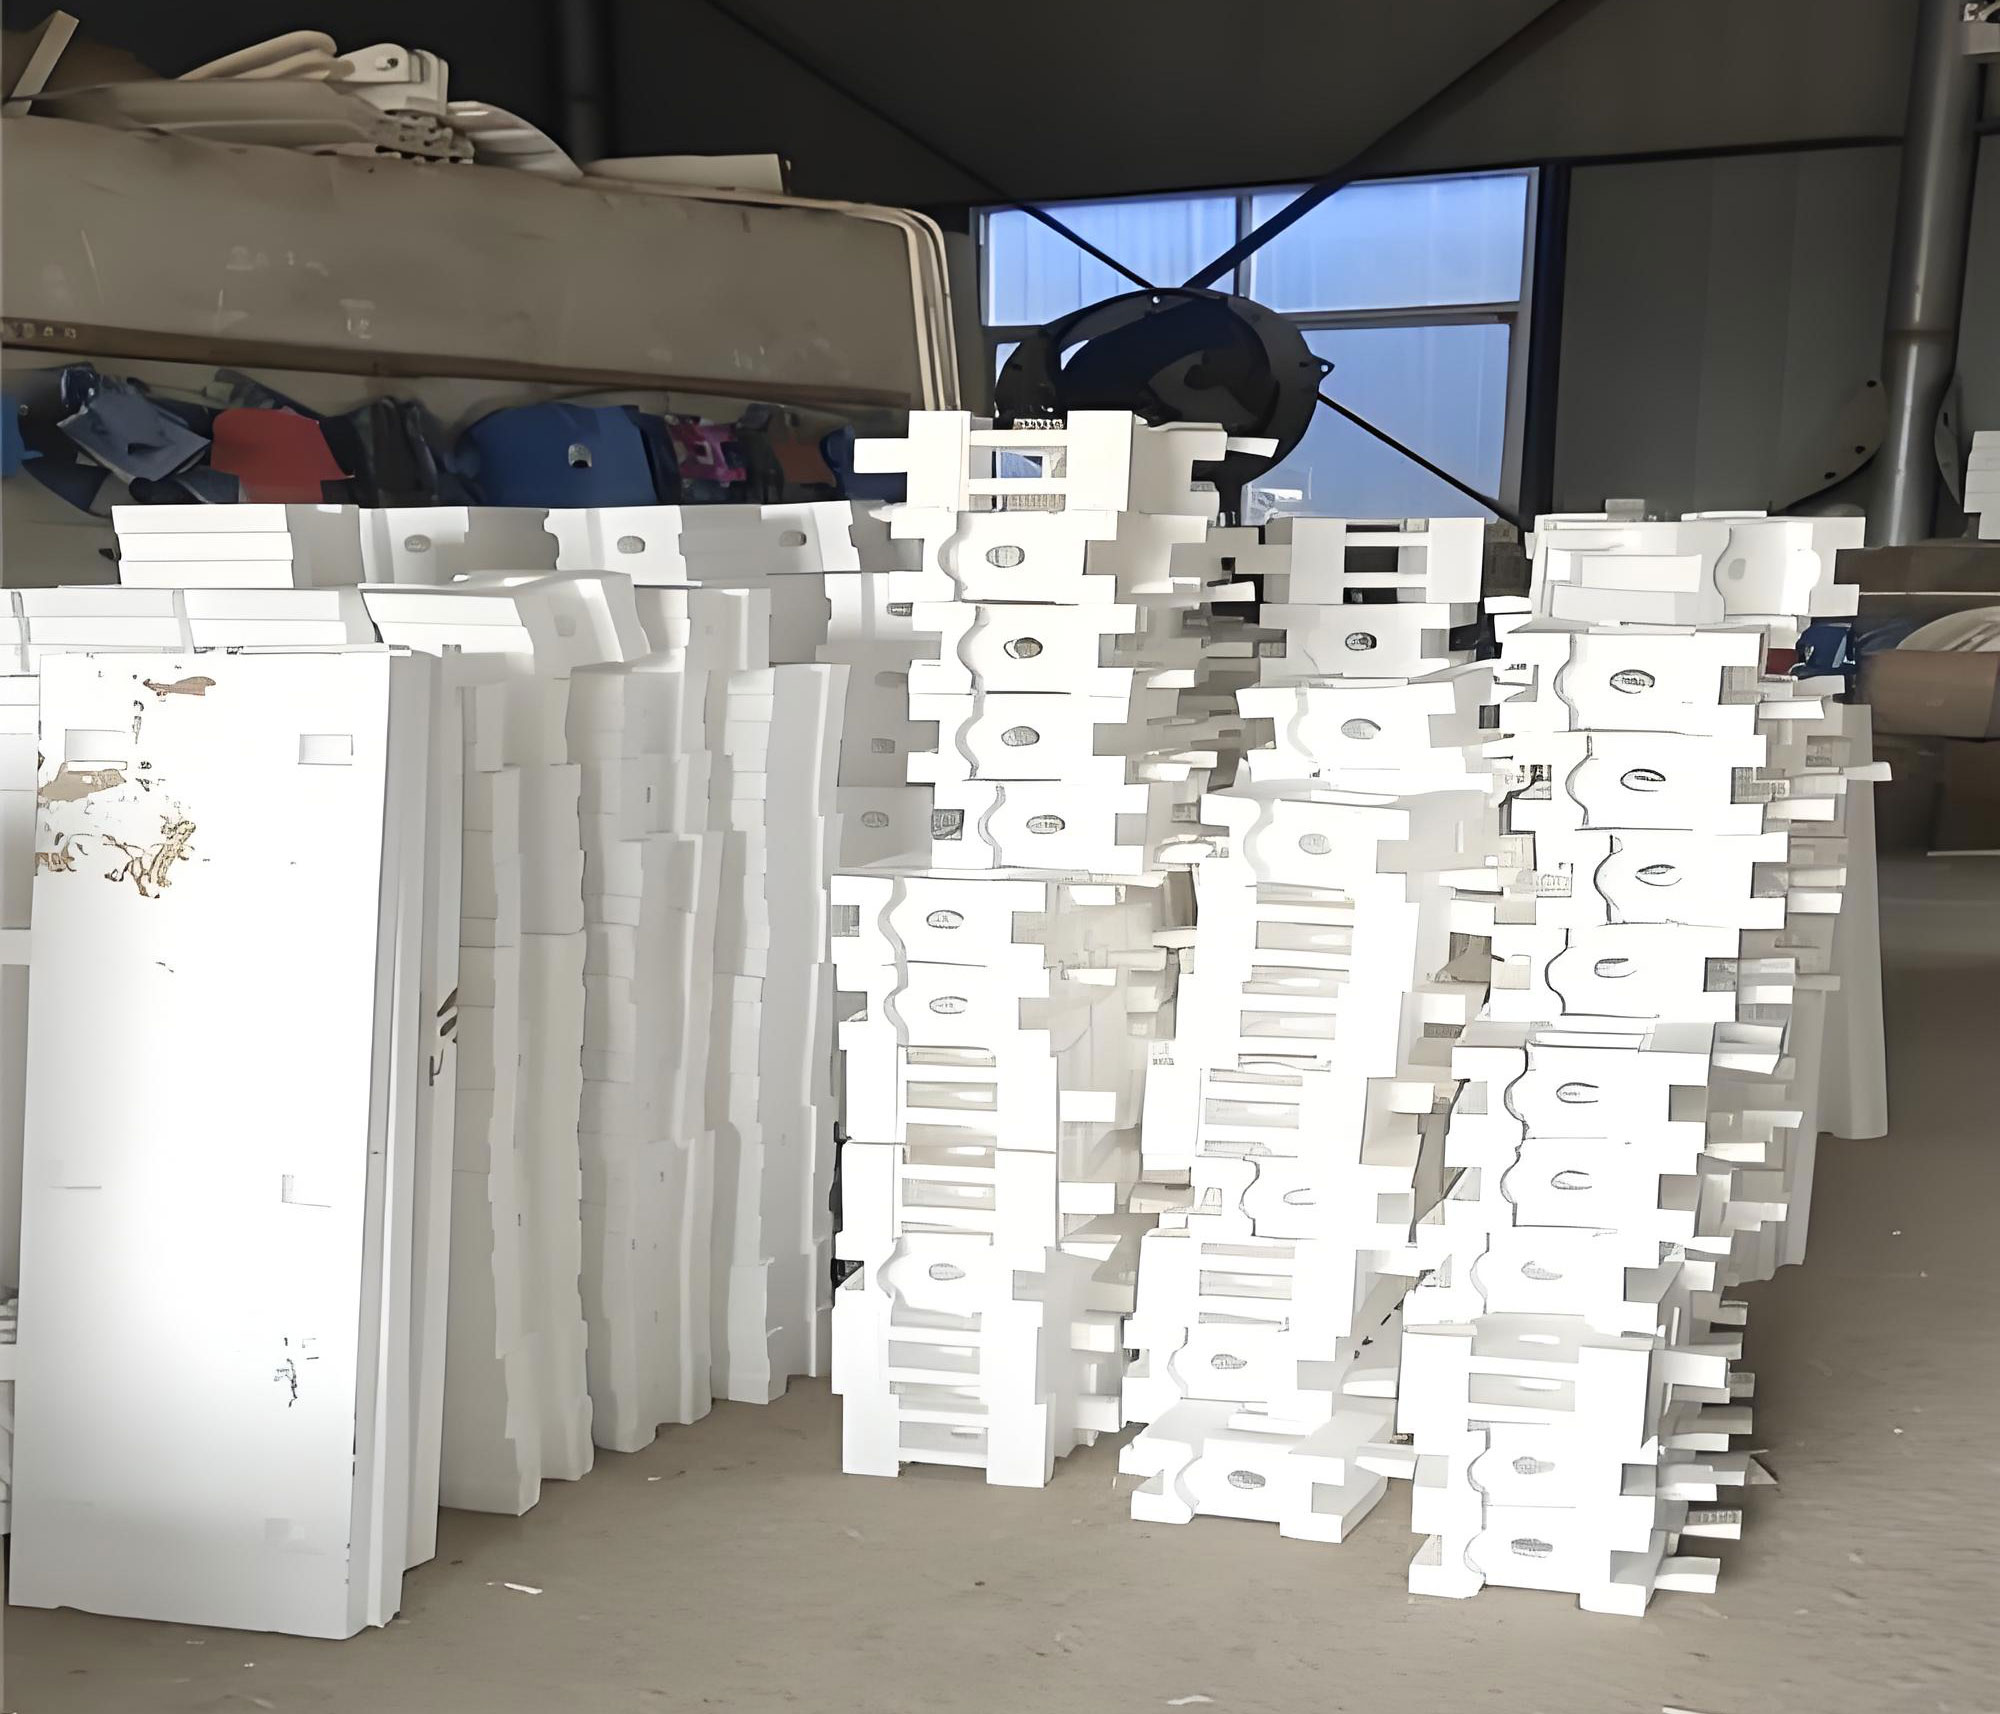
The sintering machine trolley is essentially a large frame structure, as shown in the conceptual representation below. It must be free from distortion and twisting to ensure proper sealing between adjacent trolleys. The overall dimensions are 3062 mm × 970 mm × 420 mm, with a total mass of 1640 kg. The wall thickness varies between 20 mm and 40 mm. The frame consists of side beams, cross ribs, wheel axle housings, and sliding rails. Due to the large planar area and relatively thin walls, the casting is prone to deformation and misalignment if the process is not carefully controlled.
1.2 Service Conditions
The trolley operates in a high-temperature environment, moving continuously on the sintering machine. It must withstand thermal cycling, abrasive wear, and mechanical loading. The trolleys must fit tightly with each other to prevent air leakage, which is essential for efficient sintering. Any cracking, deformation, or warping will lead to premature failure and costly downtime.
1.3 Physical and Chemical Requirements
The specified material is QT500-7 (ductile iron). The mechanical properties must meet the following minimum values:
| Property | Value |
|---|---|
| Tensile strength, Rm | ≥ 500 MPa |
| Yield strength, Rp0.2 | ≥ 320 MPa |
| Elongation, A | ≥ 7% |
| Hardness | 170 – 230 HBS |
| Nodularity grade | 1 – 4 (per standard) |
| Pearlite content | ≤ 35% |
The chemical composition must be strictly controlled as follows:
| Element | Mass fraction (%) |
|---|---|
| Carbon, C | 3.6 – 3.8 |
| Silicon, Si (furnace charge) | 1.5 – 1.7 |
| Silicon, Si (final) | 2.7 – 2.9 |
| Manganese, Mn | 0.5 – 0.7 |
| Sulfur, S | ≤ 0.03 |
| Phosphorus, P | ≤ 0.07 |
Additionally, the casting must be free from shrinkage cavities, cracks, or any other defects that could compromise its structural integrity.
2. Lost Foam Casting Process Design
2.1 Tooling and Equipment Preparation
We fabricated a dedicated sand box matching the outer contour of the trolley. The clearance between the pattern and the sand box is 200–300 mm on each side, with a bottom clearance of at least 200 mm. Considering the upward buoyancy force during pouring, the top clearance is controlled within 350–450 mm. To achieve balanced vacuum distribution inside the sand box, a five-sided suction design is adopted.
The sand box is equipped with six suction pipes: two on each long side and one on each short side. Each pipe has a diameter of 60 mm and a length of 200 mm. These pipes are connected to the vacuum system to extract the large volume of gas generated during the pyrolysis of the EPS pattern.
Because the filled sand box weighs approximately 10 tons, we built a dedicated three-dimensional vibration table outside the production line. This table ensures uniform compaction of the sand around the fragile foam pattern.
2.2 Pattern Fabrication
The pattern is made of EPS (expandable polystyrene) with a density of 15–17 kg/m³. The material must be thoroughly dried before use. We designed the pattern in CAD, incorporating shrinkage allowance and machining allowance. Based on the structural complexity, the pattern is divided into several sections, which are then cut by a CNC hot-wire cutter.
To assemble the sections accurately, we made a dedicated assembly platform with positioning blocks. The blocks hold each section in place with controlled gaps. The sections are bonded together using a suitable adhesive. After bonding, five reinforcing bars (15 mm × 15 mm wooden sticks) are attached across the width of the model to prevent distortion during handling and subsequent processing. This method not only ensures dimensional accuracy but also improves assembly efficiency.
2.3 Coating and Drying
We use a water-based coating composed of Guilin No. 5 refractory and high-alumina bauxite fine powder. The coating slurry is stirred for at least 4 hours before application. The coating is applied in 3–4 layers, achieving a total thickness of 2.5–3 mm. Because the pattern is large and fragile, we place it on a specially welded support frame before coating. The first layer is sprayed uniformly using a spray gun. Once the pattern is moved into the drying room, it remains stationary for subsequent layers, which are applied by brushing.
The drying room temperature is maintained at 40–50°C. After each coating application, the pattern is dried for at least 24 hours before applying the next layer. After the final drying, the coating thickness is checked, and thin areas are locally patched.
2.4 Gating System Design
The gating system is designed using the semi-closed principle. Based on the casting weight and pouring time, we calculated the total cross-sectional area of the inner gates. The required area is 3600 mm². We selected four inner gates, each with a cross-section of 15 mm × 50 mm, giving a total of 4 × 750 = 3000 mm². To match the required area more closely, we adjusted the gate dimensions to 15 mm × 60 mm (four gates total), resulting in 3600 mm². The gating ratios are:
$$ \Sigma A_{\text{inner}} : \Sigma A_{\text{runner}} : \Sigma A_{\text{sprue}} = 1 : 1.2 : 1.3 $$
From this ratio, we obtain:
$$ \Sigma A_{\text{runner}} = 1.2 \times 3600 = 4320 \, \text{mm}^2 $$
$$ \Sigma A_{\text{sprue}} = 1.3 \times 3600 = 4680 \, \text{mm}^2 $$
We use one sprue with a diameter of 70 mm, giving a cross-sectional area of:
$$ A_{\text{sprue}} = \frac{\pi}{4} d^2 = \frac{\pi}{4} (70)^2 \approx 3848 \, \text{mm}^2 $$
To meet the required sprue area, we increase the sprue diameter to 80 mm:
$$ A_{\text{sprue}} = \frac{\pi}{4} (80)^2 \approx 5027 \, \text{mm}^2 $$
This value is slightly larger than the theoretical requirement, but the difference is acceptable. The runner is a single rectangular channel with a cross-section of 60 mm × 60 mm, giving 3600 mm², which is lower than the target 4320 mm². Therefore we adjust it to 60 mm × 72 mm:
$$ A_{\text{runner}} = 60 \times 72 = 4320 \, \text{mm}^2 $$
Since the casting is a flat frame structure with no obvious heavy sections, we adopt a bottom-gating system to ensure smooth filling and minimize turbulence. The gating arrangement is shown in the following schematic. The metal enters from the bottom and rises uniformly, reducing oxidation and sand erosion.
Because the wall thickness is relatively uniform and there are no large thermal nodes, and because ductile iron experiences graphitic expansion during solidification, we rely on self-feeding. Therefore, we designed the casting without risers. The final gating system parameters are summarized below:
| Component | Details |
|---|---|
| Inner gates | 4 units, each 15 mm × 60 mm |
| Runner | 60 mm × 72 mm, single |
| Sprue | Ø80 mm round, single |
| Gating ratio (Σinner:Σrunner:Σsprue) | 1 : 1.2 : 1.4 |
| Pouring position | Parallel bottom gating |
| Riser | None (self-feeding) |
2.5 Molding and Embedding (Burying) Procedure
One day before embedding, the axle holes and slide recesses of the trolley pattern are filled with furan resin sand and dried. This prevents metal penetration in these areas where the vacuum cannot effectively reach during pouring.
The sand box is set up with the following sand thicknesses around the pattern:
| Location | Sand thickness (mm) |
|---|---|
| Bottom | 200 |
| Gating side | 300 |
| Opposite gating side | 200 |
| Both ends | 280 |
| Top | 350 |
| Pressure sand (over film) | 100 |
A conformable pipe grid is placed above the model to ensure uniform negative pressure throughout the sand mass. The down sprue is surrounded by a steel pipe of Ø200 mm filled with sodium silicate sand to provide rigidity. A buffer well beneath the runner is reinforced with a steel plate of 100 mm × 100 mm × 15 mm to avoid sand erosion.
The vibration compaction is performed in three stages:
- First: after leveling the bottom sand, compact for 5 seconds (in 5 cycles of 2 seconds each).
- Second: after placing the pattern, compact for 7 seconds (in 7 cycles of 2 seconds each).
- Third: after completely filling the sand box, compact for 5 seconds (in 5 cycles of 1 second each).
After vibration, a 0.07 mm plastic film is placed over the sand box in two layers. The film is carefully sealed around the two suction outlets on the top pipe grid to avoid vacuum leakage. The pressure sand is then applied, but not excessively; it should be kept 10–20 mm below the top edge of the sand box.
A large pouring cup with a diameter of 320 mm and height of 400 mm is used. The cup is anchored with sodium silicate sand to prevent displacement. The outlet hole at the bottom of the cup is made larger than 70 mm to ensure a steady metal flow and prevent spillage.
The vacuum system requires 8 suction lines: 6 from the sand box pipes and 2 from the conformable pipe grid. We ensure that all pipes are unobstructed. The flexible vacuum hoses are tightly sealed with plastic film. The pipe grid near the pouring sprue is protected with steel plate or steel pipe, and the hoses on the floor near the pouring area are raised on bricks to avoid contact with the ground.
2.6 Melting and Inoculation
We use a charge of 55% ductile iron returns and 45% steel scrap, with 2.5% carburizer added layer by layer. The carburizer is charged with the furnace burden in the order: a layer of carburizer, then a layer of scrap. About 60–70% of the total carburizer is added with the initial burden, and the remaining is added after melting to adjust the carbon content.
The nodularizing treatment is performed by the sandwich method (tundish cover). The nodulizer (containing magnesium) is added at 1.2% of the melt weight. The inoculant FeSi75 (10–25 mm particle size) is added at 0.8–1.0% of the melt weight. Both nodulizer and inoculant are placed at the bottom of the pouring ladle and compacted, then covered with steel chips to delay the reaction.
Manganese is controlled at 0.6% as the target. If the furnace analysis shows a lower Mn content, we add ferromanganese to the ladle to compensate.
The melt is tapped at 1510–1530°C. To ensure the pouring temperature of 1390–1410°C, the pouring must be completed within 50–55 seconds after a short holding time.
2.7 Summary of Process Parameters
The complete list of controlled parameters for our lost foam casting process is given in the table below:
| Parameter | Value / Range |
|---|---|
| Tapping temperature | 1510 – 1530 °C |
| Pouring temperature | 1390 – 1410 °C |
| Pouring time | 50 – 55 s |
| Vacuum (negative pressure) | 0.05 – 0.07 MPa |
| Vacuum holding after pouring | 22 min |
| EPS density | 15 – 17 kg/m³ |
| Coating thickness | 2.5 – 3 mm |
| Drying temperature between coats | 40 – 50 °C |
| Drying time per coat | ≥ 24 h |
| Total coating drying duration | ≥ 5 days |
| Nodulizer addition | 1.2% of melt weight |
| Ladle inoculant (FeSi75) | 0.8 – 1.0% of melt weight |
| Stream inoculant (FeSi75, 20–40 mesh) | 0.17 – 0.25% of melt weight |
| Time from nodulizing completion to pouring end | ≤ 8 min |
3. Problems Encountered and Corrective Actions
3.1 Mechanical Properties Not Meeting Specification
During initial production trials, some castings failed to meet the required tensile strength or elongation. The main cause was inadequate inoculation, leading to a low ferrite content and the presence of carbides. To improve the microstructure and mechanical properties, we implemented a dual inoculation strategy: primary (ladle) inoculation plus stream inoculation. The stream inoculant (FeSi75, 20–40 mesh) is added at a rate of 0.17–0.25% of the pouring weight. The inoculant feeder is calibrated and directed at the metal stream entering the pouring cup. The flow must be continuous and stop only when the cup is full. We also strictly limited the time between nodulizing and the end of pouring to 8 minutes to prevent nodule degeneration.
The final ferrite content increased, and the mechanical properties consistently met the QT500-7 specification. The hardness range was controlled within 170–230 HBS, and the nodularity was maintained at grade 1–3.
3.2 Sand Collapse (Mold Collapse)
Occasionally, we observed collapse of the mold cavity during pouring, especially at the top surfaces. This was traced to three factors: insufficient coating thickness, inadequate drying of the coating, and low vacuum level. To resolve this, we increased the coating layers to ensure a total thickness above 3 mm. We extended the drying time so that from the first coat to the time of embedding, at least 5 days pass, with the oven temperature not below 40°C. Furthermore, we added additional pipe grids inside the frame of the pattern to improve vacuum transmission and maintain mold rigidity. The vacuum level was adjusted to not fall below 0.05 MPa during pouring.
3.3 Distortion of the Casting
Some of the early castings exhibited distortion in the main beams, making them unusable. We identified that the deformation originated from handling the foam pattern during coating and drying, as repeated lifting and turning caused bending. The solution was to build a dedicated base plate. After the first spraying, the pattern remains on this base plate and is never moved again; subsequent coats are applied by brushing while the pattern stays in the drying room. For transporting and embedding, we use a specially made pallet that lifts the entire base plate without bending the pattern. This approach virtually eliminated the distortion problem.
4. Conclusions
Based on our extensive production experience, we draw the following conclusions:
- Lost foam casting offers significant advantages over conventional sand casting for large frame-like and box-like castings made of gray iron and ductile iron. The process is economical and yields excellent dimensional consistency.
- Proper melting, nodularization, and inoculation are the keys to achieving high internal quality in ductile iron castings. The combination of ladle inoculation and stream inoculation ensures the required ferritic-pearlitic microstructure and mechanical properties.
- Coating strength and internal vacuum are the two critical factors for preventing mold collapse. A coating thickness of at least 3 mm and a vacuum of 0.05–0.07 MPa are mandatory for successful pouring of large lost foam castings.
- Minimizing the number of pattern handling steps is essential to prevent deformation. A fixed support system during coating and drying, combined with a specially designed transport pallet, proved to be an effective solution.
- Using this process, we have produced more than 200 trolleys for sintering machines. These have been in service for over one year without any reported failures, confirming the reliability of the process.
Our work demonstrates that lost foam casting, when carefully controlled, is a robust manufacturing route for large ductile iron structural components such as sintering machine trolleys. The knowledge gained from this project can be transferred to similar large thin-walled frame castings requiring high dimensional accuracy and superior mechanical properties.