
In my daily work at a foundry that specializes in additive manufacturing for metal castings, I have concentrated on the problem of shrinkage porosity and shrinkage cavities in ductile iron casting produced with 3D-printed sand molds. The combination of a ductile iron casting and a 3D-printed sand mold is powerful because it removes the rigid constraints of a conventional pattern. When a shrinkage defect appears in a ductile iron casting, I can change the gating system, the riser design, or the chilling arrangement without waiting for a new pattern. This freedom is especially important for rapid sample development, where time is short and the cost of tooling must be kept low. Over many trials, I have learned that the most reliable way to eliminate shrinkage defects in a ductile iron casting is to combine a suitable pouring method, an effective riser with sufficient feed metal, and a controlled solidification sequence created by chills. The following sections describe my analysis, the formulas I used, the tables I prepared, and the improvements I achieved.
A ductile iron casting behaves differently from a steel casting or a gray iron casting because of its graphite morphology. The spheroidal graphite nodules affect thermal conductivity, expansion behavior, and feeding requirements. In a ductile iron casting, the volume change during solidification is not simply a uniform contraction. There is liquid contraction, solidification contraction, and solid contraction. If the sum of the liquid and solidification contractions exceeds the solid contraction, internal voids can form. I express this balance as follows:
$$ \Delta V_{total} = \Delta V_{L} + \Delta V_{S} + \Delta V_{solid} $$
Here, \(\Delta V_{L}\) is the liquid contraction, \(\Delta V_{S}\) is the solidification contraction, and \(\Delta V_{solid}\) is the solid contraction. In a ductile iron casting, graphite precipitation can partly compensate for solidification contraction, but the compensation is not always sufficient, especially in heavy sections. When the local modulus is high and the riser cannot feed the last solidifying region, shrinkage porosity appears. I therefore focus on the modulus of the casting, the modulus of the riser, and the solidification time.
The first task was to analyze the structure of the component. The part was a retainer-like casting with a relatively uniform wall in the cavity region. In sections below about 20 mm, I rarely observed defects. The problematic regions were the heavier sections and the thermal nodes. One heavy section reached a thickness of 72 mm and a height of 140 mm. I calculated the modulus of that region using the standard modulus formula:
$$ M = \frac{V}{A} $$
where \(V\) is the volume of the region and \(A\) is the surface area through which heat is extracted. For the heavy section in question, the preliminary calculation gave a modulus of approximately 2.3 cm. Using the modulus method, I estimated the required riser height. The initial calculation produced a riser height of 138 mm. Because the riser modulus must be greater than the casting modulus, I increased the height by 12 mm and selected a final height of 150 mm. This decision was based on the requirement:
$$ M_{r} > M_{c} $$
where \(M_{r}\) is the riser modulus and \(M_{c}\) is the casting modulus. The table below summarizes the geometric and thermal parameters of the ductile iron casting that I used in my first design.
| Parameter | Value |
|---|---|
| Material | QT450 ductile iron casting |
| Wall thickness in cavity region | Not more than 20 mm |
| Heavy section thickness | 72 mm |
| Heavy section height | 140 mm |
| Calculated casting modulus | 2.3 cm |
| Initial riser height by modulus method | 138 mm |
| Final riser height after safety addition | 150 mm |
| Pouring temperature | 1450–1480 °C |
| Pouring weight | 32 kg |
| Sand mold weight | 40 kg |
I used a 3D-printed sand mold instead of a conventional green sand mold. The printing method was a layered additive process. The machine had a build chamber of 1200 mm by 1000 mm by 600 mm. In a full build, I could produce more than 300 kg of molds. Each build required about 8 to 10 hours, which allowed rapid production of small batches. The sand system used furan resin, a curing agent, and high-silica sand with a grain size of 100 to 120 mesh. The internal cavity was coated with a water-based coating at 38 Baume. The process steps are listed in the table below.
| Step | Content |
|---|---|
| 1 | Design data preparation: convert the ductile iron casting into a printable sand mold model |
| 2 | Data processing: repair the sand mold data, arrange the build, and slice the model |
| 3 | Printing: transfer the data to the production machine and start the build |
| 4 | Sand removal: clean loose sand from the mold surface |
| 5 | Coating: dip the mold in a coating bath at 38 Baume |
For the first trial, I used a horizontal pouring method, one mold for one casting. The sand core and the sand mold were integrated. The ductile iron casting was poured at 1450–1480 °C. The riser was placed on the heavy section, and the gating system was a side gating system. The gate was opened at the heavy section. I expected the riser to feed the heavy section, but the result was disappointing. After machining, internal shrinkage cavities appeared in the heavy section. The defects were large enough to cause leakage and to reduce the overall strength of the ductile iron casting. This was a serious quality problem.
The cause of the shrinkage cavities was a combination of liquid contraction and solidification contraction that exceeded the solid contraction. The basic relation for shrinkage is:
$$ \varepsilon_{total} = \varepsilon_{L} + \varepsilon_{S} – \varepsilon_{solid} $$
where \(\varepsilon_{total}\) is the effective shrinkage, \(\varepsilon_{L}\) is the liquid shrinkage, \(\varepsilon_{S}\) is the solidification shrinkage, and \(\varepsilon_{solid}\) is the solid shrinkage. For a ductile iron casting, the graphite expansion can reduce the effective shrinkage, but it cannot eliminate the need for proper feeding. In my first design, the side gating system introduced hot metal directly into the heavy section. The riser was connected to a flat surface, and its feeding efficiency was limited. The riser began to solidify too early. I observed that after a few minutes, the riser no longer supplied liquid metal to the heavy section. The feeding path was blocked, and the last solidifying region remained isolated. The result was shrinkage porosity and shrinkage cavities.
Temperature also played an important role. At 1480 °C, the liquid metal had a high superheat. High superheat increases liquid contraction and can enlarge the final shrinkage cavity. At too low a temperature, cold shuts and misruns can occur in thin walls. Therefore, temperature control is critical. I used the following relation to describe the effect of superheat on liquid contraction:
$$ \Delta V_{L} = \alpha_{L} V_{0} \Delta T $$
where \(\alpha_{L}\) is the volumetric coefficient of liquid contraction, \(V_{0}\) is the initial volume, and \(\Delta T\) is the temperature drop. The equation shows that a higher pouring temperature increases liquid contraction. For a ductile iron casting, I therefore try to pour within a narrow range and to ensure that the riser remains liquid long enough to feed the heavy section.
To solve the problem, I considered three main directions: changing the manufacturing method, strengthening riser feeding, and adding chills to achieve directional solidification. These three directions are summarized in the table below.
| Direction | Action | Expected effect |
|---|---|---|
| Manufacturing method | Use 3D-printed sand molds and modify the gating system without tooling changes | Faster iteration and better process flexibility for ductile iron casting |
| Riser feeding | Use a发热 riser and increase the riser volume | Longer liquid feeding time and larger feed metal volume |
| Solidification control | Add chills at the heavy bottom region | Promote directional solidification toward the riser |
I first changed the manufacturing method. Because the mold was produced by 3D printing, I did not need to make a pattern. I used MAGICS software to arrange the data and a slicing software to prepare the build. This rapid data processing meant that I could go from a modified CAD model to a printed sand mold in a very short time. In conventional casting, a process change requires modifying the pattern, remaking the mold, and then verifying production. That cycle usually takes 3 to 5 days. With 3D printing, I only need to modify the CAD model and then verify production. The pattern-making step is eliminated. In my case, the modification and production time was reduced to about 1 day. This saved both time and cost. The table below compares the conventional route and the 3D-printed route for a ductile iron casting.
| Activity | Conventional casting | 3D-printed sand mold casting |
|---|---|---|
| Modify CAD model | Required | Required |
| Make or modify pattern | Required, 2–3 days | Not required |
| Produce sand mold | Pattern and sand molding | Direct printing from CAD data |
| Process change cycle | 3–5 days | About 1 day |
| Tooling cost | High | Low or none |
| Flexibility for ductile iron casting | Limited by existing pattern | High; gating and risers can be changed freely |
Next, I redesigned the gating system. I changed from side gating to top gating. I rotated the ductile iron casting so that the original top surface became the bottom surface. The riser connection was changed to a conformal shape. This conformal connection improved the feeding path because the riser could follow the contour of the heavy section. The top gating system also allowed the metal to enter the mold in a more favorable thermal pattern. The new arrangement is described in the table below.
| Feature | Original design | Improved design |
|---|---|---|
| Pouring position | Horizontal | Top gating after rotation |
| Gating system | Side gating | Top gating |
| Riser connection | Flat surface | Conformal connection |
| Feeding path | Indirect and limited | Direct and improved |
| Solidification pattern | Isolated heavy section | Better feeding toward riser |
Even with the improved gating system, the riser feeding was still not sufficient in the first modified trial. I observed that the riser at the heavy section did not feed effectively. The riser neck was connected directly to the flat surface of the product. The available feed metal was limited. After a few minutes, the riser stopped feeding. I enlarged the riser, but shrinkage cavities still appeared. I then decided to use an exothermic riser. The exothermic riser generated additional heat and kept the liquid metal in the riser at a higher temperature for a longer time. In the third trial, the feeding effect was much better. The liquid in the riser began to solidify only after about 15 minutes. The liquid level in the riser dropped by more than half compared with the previous trials. This confirmed that the exothermic riser supplied a much larger volume of feed metal to the ductile iron casting. The table below compares the three riser trials.
| Trial | Riser type | Feeding time | Liquid level drop | Shrinkage result |
|---|---|---|---|---|
| 1 | Original riser | A few minutes | Small | Shrinkage cavities |
| 2 | Enlarged riser | Slightly longer | Moderate | Shrinkage cavities still present |
| 3 | Exothermic riser | About 15 minutes | More than half | No shrinkage cavities |
The theoretical basis for the exothermic riser is the Chvorinov rule, which states that the solidification time of a casting or riser is proportional to the square of its modulus:
$$ t = B \left(\frac{V}{A}\right)^{n} $$
where \(t\) is the solidification time, \(B\) is a mold constant, \(V\) is volume, \(A\) is surface area, and \(n\) is an exponent typically close to 2. For a ductile iron casting, the riser must solidify later than the heavy section. Therefore, I require:
$$ t_{r} > t_{c} $$
and consequently:
$$ M_{r} > M_{c} $$
An exothermic riser increases the effective solidification time of the riser by supplying extra heat. This shifts the last solidifying region into the riser and protects the ductile iron casting from internal shrinkage. I also used an insulating sleeve around the riser to reduce heat loss. The combination of exothermic material and insulation gave a much better feeding result.
The third measure was to add chills. The solidification sequence in a casting normally proceeds from the mold wall toward the center. The last region to solidify is often in the thermal center. If the feed metal cannot reach that region, shrinkage porosity forms. To avoid this, I added chills around the heavy bottom region. The chills increased the local heat extraction rate and caused the bottom region to solidify earlier. This moved the last solidifying point toward the riser. The result was a more directional solidification pattern. The effect of a chill can be described by the heat flux equation:
$$ q = h A (T – T_{0}) $$
where \(q\) is the heat flux, \(h\) is the heat transfer coefficient, \(A\) is the contact area, \(T\) is the local metal temperature, and \(T_{0}\) is the chill temperature. By placing chills at the heavy bottom, I increased \(h\) and \(A\) locally, which increased \(q\). The local cooling rate increased, and the solidification front advanced from the bottom toward the riser. The table below lists the chill parameters that I used.
| Parameter | Value |
|---|---|
| Chill material | Mild steel or graphite |
| Chill location | Around the heavy bottom region |
| Chill thickness | 10–20 mm |
| Chill contact area | Adjusted to match the heavy section |
| Purpose | Promote directional solidification in the ductile iron casting |
| Expected result | Last solidification at the riser |
With the combination of top gating, conformal riser connection, exothermic riser, and chills, the feeding behavior of the ductile iron casting improved significantly. The mold filling was stable. The riser remained liquid long enough to feed the heavy section. The chills caused the bottom region to freeze first, and the solidification front moved upward toward the riser. The final solidification occurred in the riser, not in the casting. After machining, I inspected the internal structure. There were no shrinkage cavities and no shrinkage porosity. The structure was dense and uniform. The ductile iron casting met the quality requirements.
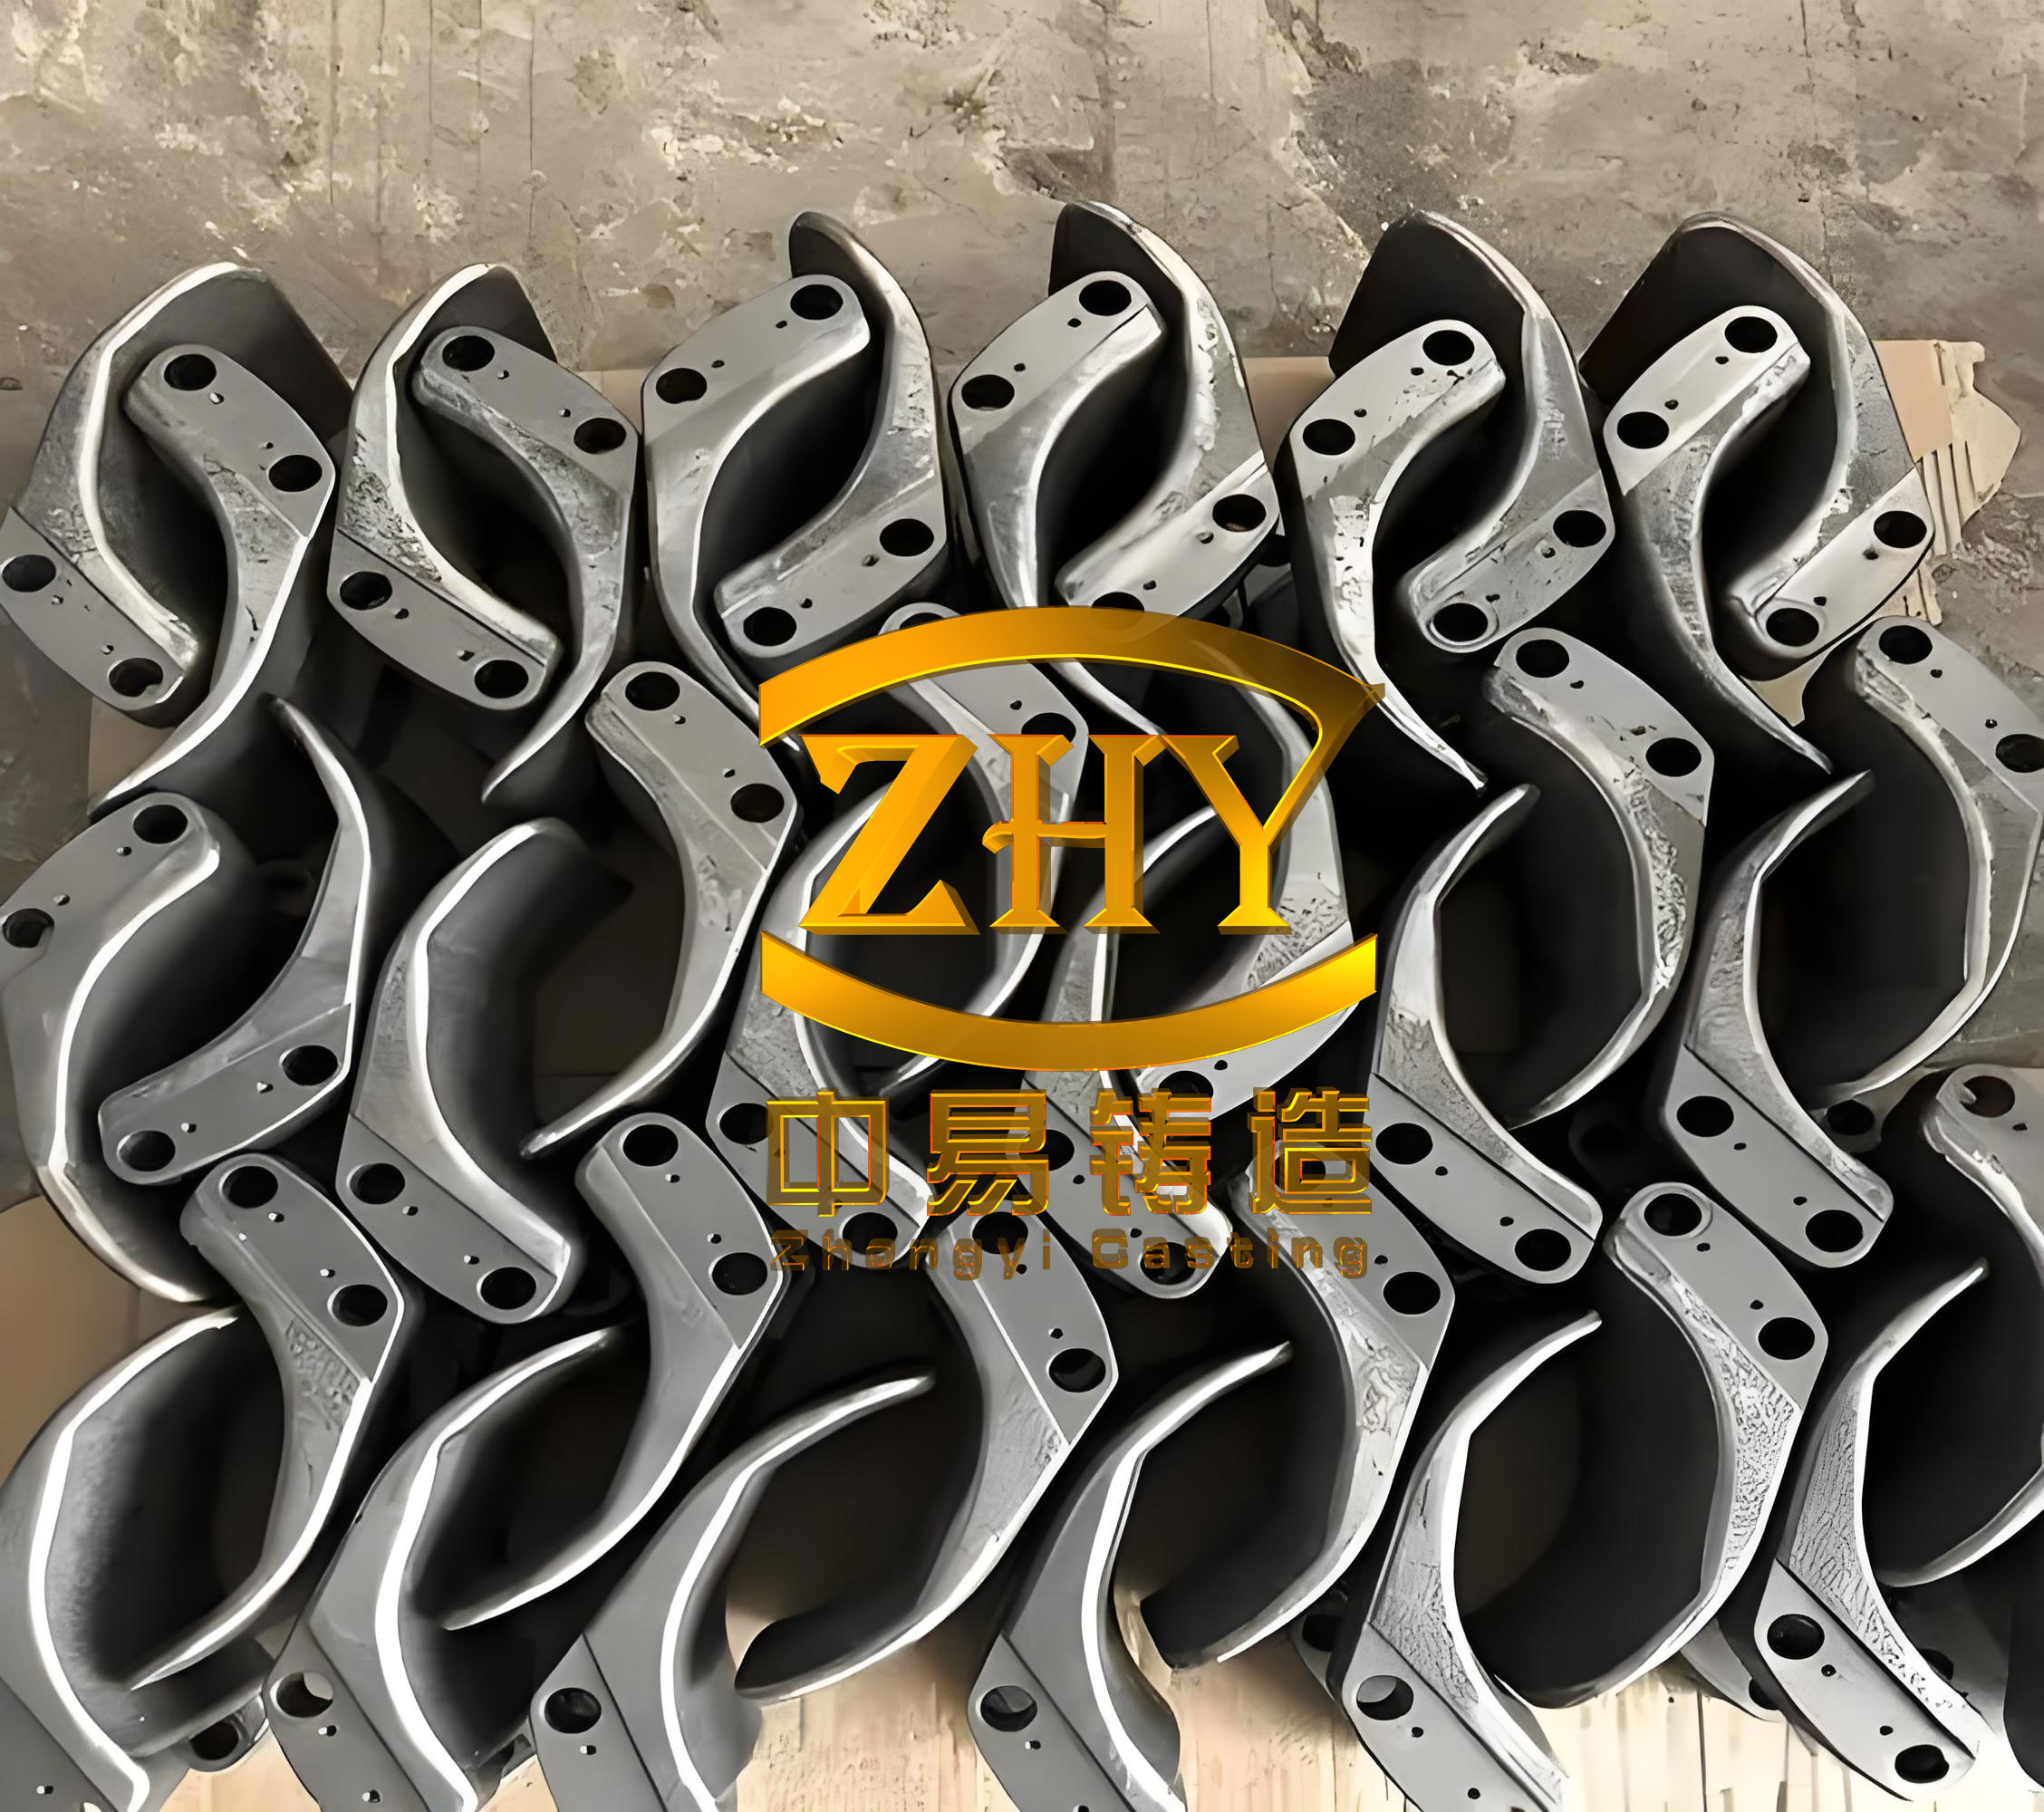
A representative ductile iron casting is shown below for visual context.
The improvement in quality can also be expressed numerically. I defined a defect rate as the number of rejected castings divided by the total number of castings inspected. The table below shows the defect rate before and after the process improvement.
| Stage | Process description | Defect rate | Main defect |
|---|---|---|---|
| Before improvement | Side gating, original riser, no chills | High | Shrinkage cavities and shrinkage porosity |
| After first change | Top gating, conformal riser, no chills | Reduced but still present | Local shrinkage porosity |
| After second change | Top gating, exothermic riser, no chills | Low | Minor porosity |
| After final change | Top gating, exothermic riser, chills | Zero in the inspected sample | None |
I also used a simple feeding criterion to check the riser design. The feeding distance of a riser in a ductile iron casting depends on the modulus of the heavy section, the pouring temperature, and the thermal conductivity of the mold. A practical criterion is:
$$ L_{f} = k \frac{M_{r} – M_{c}}{M_{c}} $$
where \(L_{f}\) is the feeding distance, \(k\) is an empirical coefficient, \(M_{r}\) is the riser modulus, and \(M_{c}\) is the casting modulus. When \(M_{r}\) is much larger than \(M_{c}\), the feeding distance increases. In my design, increasing the riser modulus and using an exothermic riser increased \(L_{f}\) and allowed the riser to feed the heavy section effectively. The chills further reduced the required feeding distance by moving the hot spot toward the riser.
Another important factor was the pouring temperature. I found that a pouring temperature of 1450–1480 °C was suitable for this ductile iron casting. If the temperature was too high, liquid contraction increased and the risk of shrinkage cavities increased. If the temperature was too low, the metal could freeze before filling the thin sections. I therefore maintained the temperature within a narrow range and used a thermal analysis to confirm the pouring conditions. The relation between pouring temperature and shrinkage volume can be approximated as:
$$ V_{shrink} = V_{0} \left( \alpha_{L} \Delta T + \alpha_{S} \right) $$
where \(V_{shrink}\) is the shrinkage volume, \(V_{0}\) is the initial volume, \(\alpha_{L}\) is the liquid contraction coefficient, \(\Delta T\) is the superheat, and \(\alpha_{S}\) is the solidification contraction coefficient. This equation shows that reducing superheat reduces shrinkage volume. However, the temperature must still be high enough to avoid cold shuts. I therefore optimized the temperature rather than simply lowering it.
In addition to the thermal factors, the mold material and coating also influenced the result. The 3D-printed sand mold had a furan resin binder and a high-silica sand aggregate. The coating at 38 Baume provided a smooth surface and controlled the heat transfer between the metal and the mold. A proper coating can reduce sand burn-on and improve surface finish. It also affects the local cooling rate. I used a water-based coating and ensured that the coating thickness was uniform. The table below summarizes the mold materials and their functions.
| Material | Function | Effect on ductile iron casting |
|---|---|---|
| High-silica sand, 100–120 mesh | Mold aggregate | Provides refractory resistance and permeability |
| Furan resin | Binder | Gives strength to the printed sand mold |
| Curing agent | Catalyst | Controls curing speed and mold strength |
| Water-based coating, 38 Baume | Surface coating | Improves surface quality and controls heat transfer |
The 3D printing process itself also had advantages for defect control. Because the mold was built layer by layer, I could place the riser and the gating system exactly where I wanted them. I could also print internal channels and conformal cooling features if needed. In a conventional sand casting process, the gating system is cut into the pattern and the molding sand, so changes are difficult. In a 3D-printed sand mold, the gating system is part of the digital model. I can modify it in the CAD environment and print a new mold immediately. This flexibility is a major advantage for solving shrinkage defects in a ductile iron casting. The table below compares the flexibility of conventional molding and 3D-printed sand molding.
| Feature | Conventional sand molding | 3D-printed sand molding |
|---|---|---|
| Gating system change | Difficult; requires pattern modification | Easy; modify CAD and reprint |
| Riser change | Difficult; limited by pattern | Easy; any shape can be printed |
| Chill placement | Manual and sometimes inconsistent | Can be designed into the mold |
| Lead time for a new design | 3–5 days | About 1 day |
| Tooling cost | High | Low |
| Suitability for ductile iron casting prototypes | Moderate | High |
After the final process was established, I repeated the production several times to confirm stability. The results were consistent. The exothermic riser provided sufficient feed metal, and the chills promoted directional solidification. The ductile iron casting showed no shrinkage cavities or shrinkage porosity in the inspected sections. The surface quality was good, and the dimensional accuracy was acceptable. The production cycle was short, and the tooling cost was low. This confirmed that the combination of 3D-printed sand molds and optimized feeding design is an effective solution for shrinkage defects in a ductile iron casting.
From a theoretical point of view, the success of the method can be explained by the solidification sequence. The chills increased the cooling rate at the heavy bottom. According to the Chvorinov rule, the solidification time at the bottom was reduced. The riser, especially the exothermic riser, had a longer solidification time. Therefore, the last liquid region was located in the riser. The feeding path remained open until the casting had solidified. The shrinkage that would have formed inside the ductile iron casting was transferred to the riser. The riser then acted as a reservoir of liquid metal and as a location for the final shrinkage cavity. This is the ideal situation for a sound ductile iron casting.
I also considered the effect of graphite expansion. In a ductile iron casting, graphite nodules form during solidification and cause a volume expansion. This expansion can partly compensate for solidification shrinkage. However, the expansion occurs at a certain stage of solidification and depends on the cooling rate and the chemical composition. In heavy sections, the expansion may not be sufficient to compensate for the contraction of the liquid and the austenite. Therefore, external feeding from a riser is still necessary. The exothermic riser and the chills helped to use the graphite expansion more effectively by controlling the solidification sequence. The table below summarizes the expansion and contraction mechanisms in a ductile iron casting.
| Mechanism | Effect on volume | Control method |
|---|---|---|
| Liquid contraction | Volume decrease | Lower superheat; proper pouring temperature |
| Solidification contraction | Volume decrease | Riser feeding; chills; directional solidification |
| Graphite expansion | Volume increase | Control chemistry and cooling rate |
| Solid contraction | Volume decrease | Allow adequate mold strength and shakeout time |
In my experience, the most common mistake in a ductile iron casting is to rely only on a large riser without considering the solidification sequence. A large riser may have a high modulus, but if the feeding path is blocked or if the riser solidifies too early, the heavy section will still contain shrinkage defects. The exothermic riser solves the problem of early solidification. The chills solve the problem of an unfavorable thermal gradient. The top gating system solves the problem of hot metal entering the wrong location. When these three measures are combined, the result is a sound ductile iron casting.
I also found that the 3D-printed sand mold allowed me to use a conformal riser connection. In a conventional mold, the riser neck is often a simple cylinder or a rectangular block. In a 3D-printed mold, the riser neck can follow the shape of the casting surface. This increases the contact area and improves the feeding efficiency. The conformal connection also reduces the risk of a hot spot at the riser neck. The table below shows the effect of the riser connection shape on feeding.
| Riser connection | Contact area | Feeding efficiency | Risk of hot spot |
|---|---|---|---|
| Flat surface | Small | Limited | High |
| Simple cylindrical neck | Moderate | Moderate | Moderate |
| Conformal connection | Large | High | Low |
The use of chills also required careful design. If the chills are too small, they will not extract enough heat. If they are too large, they may cause cold shuts or hard spots. I used mild steel or graphite chills with a thickness of 10–20 mm. I placed them around the heavy bottom region. The chills were coated with the same water-based coating to avoid sand sticking. I also ensured that the chills were in good contact with the mold surface. The table below lists the chill design guidelines that I followed.
| Guideline | Reason |
|---|---|
| Place chills at the heavy bottom, not at the riser | To promote solidification from the bottom toward the riser |
| Use a chill thickness of 10–20 mm | To balance cooling rate and avoid excessive chilling |
| Ensure good contact with the mold | To maximize heat transfer |
| Coat the chill surface | To prevent sand burn-on and improve surface finish |
| Do not place chills near thin walls | To avoid cold shuts and misruns |
After the process was optimized, I documented the final parameters for future production. The table below presents the final process window for the ductile iron casting.
| Parameter | Final value |
|---|---|
| Material | QT450 ductile iron casting |
| Mold type | 3D-printed sand mold |
| Gating system | Top gating |
| Riser type | Exothermic riser with insulating sleeve |
| Riser connection | Conformal |
| Chill material | Mild steel or graphite |
| Chill location | Heavy bottom region |
| Pouring temperature | 1450–1480 °C |
| Pouring weight | 32 kg |
| Sand mold weight | 40 kg |
| Coating | Water-based, 38 Baume |
| Inspection result | No shrinkage cavities or porosity |
In conclusion, I solved the shrinkage cavity and shrinkage porosity problem in a ductile iron casting by changing the manufacturing method, strengthening the riser feeding, and adding chills. The use of a 3D-printed sand mold allowed rapid process changes without tooling. The top gating system and conformal riser connection improved the feeding path. The exothermic riser extended the feeding time and increased the feed metal volume. The chills promoted directional solidification and moved the last solidifying region into the riser. The final ductile iron casting was dense and free from internal shrinkage defects. This approach is especially valuable for rapid sample development, where lead time is short and cost must be controlled. The same principles can be applied to other ductile iron casting geometries with heavy sections and thermal nodes.
For future work, I plan to use computer simulation to predict the solidification sequence before printing the mold. A simulation can show the hot spots, the feeding distance, and the effect of chills. By combining simulation with 3D printing, I can reduce the number of trials and further shorten the development cycle. I also plan to study the effect of different exothermic riser materials and chill coatings on the feeding efficiency of ductile iron casting. With more data, I can build a knowledge base for riser and chill design in 3D-printed sand molds. This will make the process more robust and more efficient for a wide range of ductile iron casting products.
The equations that I used most frequently in this work are summarized below for reference.
$$ M = \frac{V}{A} $$
$$ M_{r} > M_{c} $$
$$ t = B \left(\frac{V}{A}\right)^{n} $$
$$ t_{r} > t_{c} $$
$$ \Delta V_{total} = \Delta V_{L} + \Delta V_{S} + \Delta V_{solid} $$
$$ \varepsilon_{total} = \varepsilon_{L} + \varepsilon_{S} – \varepsilon_{solid} $$
$$ \Delta V_{L} = \alpha_{L} V_{0} \Delta T $$
$$ q = h A (T – T_{0}) $$
$$ L_{f} = k \frac{M_{r} – M_{c}}{M_{c}} $$
$$ V_{shrink} = V_{0} \left( \alpha_{L} \Delta T + \alpha_{S} \right) $$
These equations helped me to quantify the feeding requirement, the solidification time, the heat transfer effect, and the shrinkage volume. They are not a substitute for practical trials, but they provide a useful framework for designing a sound ductile iron casting. When I combine these calculations with the flexibility of 3D-printed sand molds, I can solve shrinkage defects quickly and reliably. The result is a high-quality ductile iron casting with a dense internal structure and consistent performance.