
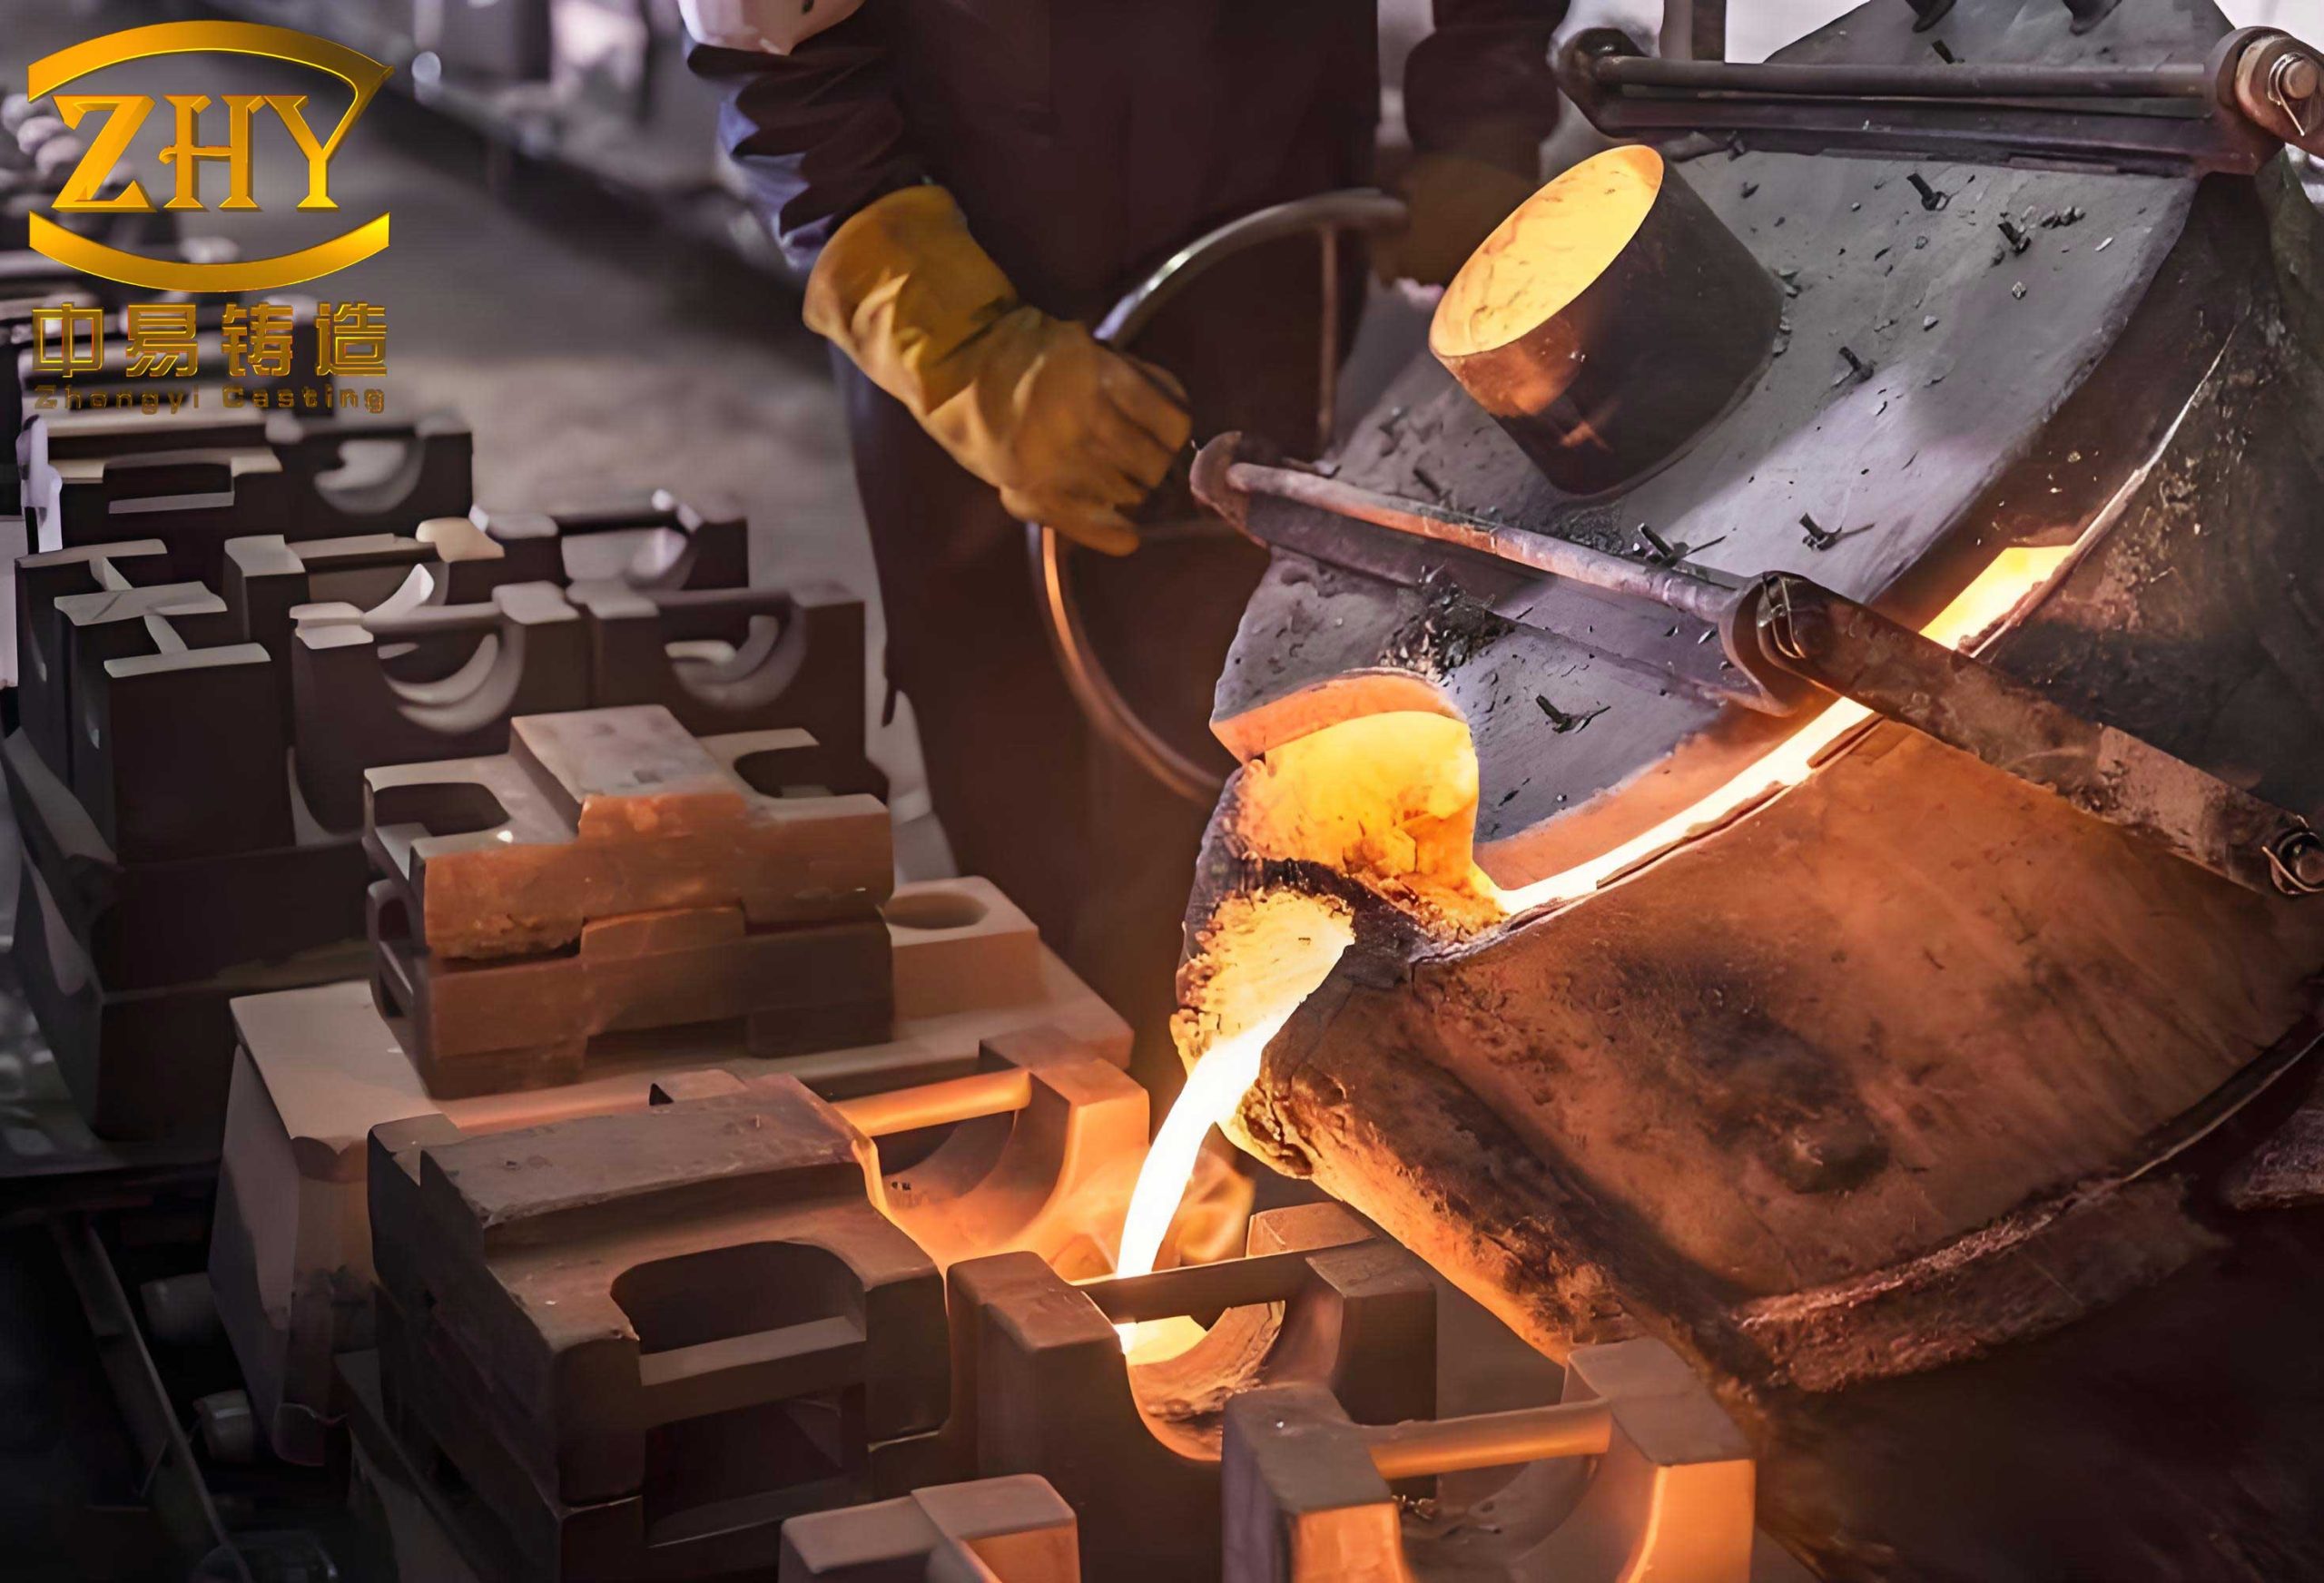
In the field of automotive and heavy machinery maintenance, the repair of damaged cast iron parts is a frequent and economically significant challenge. These components, ranging from engine blocks and cylinder heads to gear housings and brake calipers, are integral to vehicle operation. Their failure, often in the form of cracks or fractures due to thermal stress, impact, or wear, can lead to costly replacements. While dedicated cast iron electrodes exist for welding, their high cost and sometimes limited performance in specific scenarios prompt the exploration of alternative methods. My extensive experience has demonstrated that with a refined arc cold welding technique, even common structural steel electrodes can be successfully employed to repair cast iron parts, yielding significant economic benefits without compromising repair quality.
The widespread use of cast iron parts is attributed to their excellent castability, good machinability, and favorable damping properties. However, these very materials present distinct difficulties during fusion welding. The primary challenges stem from the high carbon content and the resultant microstructural characteristics:
- Formation of Hard, Brittle White Iron (Chill Zones): The rapid cooling inherent in welding can cause carbon to remain in solution, forming iron carbide (cementite, Fe3C). This phase, known as white iron, is extremely hard (can exceed 400 HB) and brittle, making the Heat-Affected Zone (HAZ) prone to cracking and nearly unmachinable. The tendency for white iron formation is directly related to the cooling rate. A simplified model for the critical cooling rate ($R_c$) to avoid martensite/white iron can be considered, though for cast iron, the concern is primarily carbide formation:
$$ R_c \propto \frac{C_{eq}}{t} $$
where $C_{eq}$ is the carbon equivalent and $t$ is the material thickness. - High Susceptibility to Cracking: Cast iron parts have very low ductility and cannot accommodate the significant thermal stresses (shrinkage stresses) generated during weld solidification and cooling. These stresses often lead to cold cracks in the weld metal or the HAZ. The risk is exacerbated by the presence of hard microstructures and internal defects.
- Porosity and Inclusions: Molten cast iron has high fluidity but can readily dissolve gases. Upon solidification, the decreasing solubility of gases like hydrogen and nitrogen can lead to pore formation. Furthermore, the silicon dioxide (SiO2) slag from the oxidation of silicon (a key element in cast iron) can become trapped, creating silicate inclusions.
While specialized nickel-base (e.g., ENi-CI) or nickel-iron (e.g., ENiFe-CI) electrodes are designed to mitigate these issues by producing soft, machinable deposits with reduced shrinkage stress, their high cost and specific handling requirements can be prohibitive for many repair shops. This economic driver led to the development of a robust methodology using standard structural steel electrodes.
The Rationale for Structural Steel Electrodes
The core idea is to manage the weld’s thermal input and the resulting microstructure meticulously. Structural steel electrodes, particularly low-hydrogen basic types, offer several advantages for welding cast iron parts:
- Superior Fusion and Wetting: The flux chemistry of basic electrodes often provides better wetting action on the sometimes contaminated or graphitized surfaces of old cast iron parts, reducing the risk of lack-of-fusion defects and “balling up” of the weld metal.
- Excellent Arc Stability and Low Hydrogen: Basic electrodes (e.g., EXX15, EXX16) when used with DC power produce a very stable arc. More importantly, they have a very low hydrogen potential, significantly reducing the risk of hydrogen-induced cold cracking, which is critical given the high sensitivity of cast iron parts.
- Economic and Logistical Benefits: They are substantially cheaper, readily available in a full range of diameters (from 1.6 mm to 4.0 mm), and familiar to all welders.
The compromise is that the weld metal is a high-carbon steel, which is hard and not readily machinable. Therefore, the strategy shifts from creating a perfectly machinable joint to creating a strong, crack-free, and leak-tight joint where machining is not required, or is limited to the final cap layer which can be addressed with a single pass of a softer electrode.
| Electrode Type | Example Designation | Typical Deposit | Advantages | Disadvantages | Relative Cost |
|---|---|---|---|---|---|
| Nickel-base | ENi-CI (Z308) | Austenitic Nickel | Machinable, crack-resistant, good color match | Very high cost, prone to hot cracking if misused, limited sizes | Very High |
| Nickel-Iron | ENiFe-CI (Z408) | Austenitic Ni-Fe | Strong, somewhat machinable, good for thick sections | High cost, thermal expansion can stress thin sections | High |
| Basic Low-Hydrogen Steel | E7015 (J427) | Low-Carbon Steel / High-Carbon Steel (from dilution) | Low cost, excellent availability, stable arc, low hydrogen, good fusion | Weld is hard and unmachinable, requires precise technique | Low |
| Cellulosic Steel | E6010 | Low-Carbon Steel | Deep penetration, good for root passes in grooves | High hydrogen content, high risk of cracking | Low |
Equipment and Material Selection
Successful repair of cast iron parts with steel electrodes hinges on correct setup.
1. Power Source: A DC arc welding machine is strongly recommended. Operating on DC Reverse Polarity (electrode positive) provides the most stable arc for basic electrodes and ensures minimal hydrogen pickup. If only an AC transformer is available, it must have a high open-circuit voltage (ideally >75V) to reignite the arc reliably after each short circuit, which is common in the stitch welding technique used.
2. Electrode Selection Criteria:
- Type: Always select a basic, low-hydrogen electrode (ISO 2560-A: E 42 5 B … or AWS A5.1: E7015/E7018). The “B” or “15/18” designation indicates the basic coating.
- Strength: Choose a lower strength grade. The tensile strength of common gray cast iron ranges from 150 to 300 MPa. An E7015 electrode (with a tensile strength of ~490 MPa) provides sufficient over-matching without being excessively strong and stiff, which could concentrate stress. The goal is a “forgiving” weld metal strength, following the principle of $$ \sigma_{weld} \geq \sigma_{cast iron} $$ but not excessively higher.
- Diameter Strategy: Employ a multi-diameter strategy. Use a small diameter electrode (2.0 mm or 2.5 mm) for the critical root and first few layers to minimize heat input and dilution. Subsequent layers can be deposited with a larger electrode (3.2 mm) to increase deposition rate. Crucially, each layer provides a thermal cycle that tempers the underlying hard layer, making the overall HAZ structure more benign. The heat input ($Q$) for a pass is given by:
$$ Q = \frac{60 \cdot V \cdot I}{1000 \cdot S} \quad \text{(kJ/mm)} $$
where $V$ is voltage, $I$ is current (A), and $S$ is travel speed (mm/min). Keeping $Q$ low for initial passes is vital.
The Welding Procedure: A Step-by-Step Methodology
This procedure is a systematic cold welding process, meaning the entire workpiece remains at or near ambient temperature, except for the immediate weld zone.
Stage 1: Pre-Weld Preparation
Thorough preparation is 50% of the success in repairing cast iron parts.
A. Defect Identification and Delineation:
Cracks must be fully exposed. Methods include:
- Visual inspection with a magnifying glass.
- Heating the suspected area to 200-300°C with a torch; upon cooling, the crack often reveals itself as a dark line.
- Penetrant testing: apply kerosene, wipe, dust with talcum powder, and tap lightly. Seeping oil will outline the crack.
- For pressure-containing cast iron parts like manifolds or compressor bodies, a hydrostatic test pinpoints leaks.
B. Drilling Stop Holes: At each end of the identified crack, drill a hole with a diameter equal to the section thickness or at least 4-6 mm. This hole relieves the stress concentration and physically prevents the crack from propagating during welding.
C. Groove Preparation: Using a grinding disk, carbide burr, or careful arc gouging with a steel electrode, prepare a 60°-80° included angle groove. The groove must penetrate to at least 2/3 of the section thickness, or to full depth if accessible from both sides. All traces of oil, grease, paint, and corrosion must be removed by grinding or by careful heating with a torch to ~400°C to burn off contaminants, followed by wire brushing. For critical repairs, a final clean with acetone is advisable.
Stage 2: The Welding Sequence
The actual welding of the cast iron parts follows a disciplined, low-energy input sequence.
A. Tack Welding and “Buttering”: Before filling the groove, deposit small, short tack welds (about 10 mm long) at strategic points to hold the assembly. Then, “butter” the groove faces. This involves depositing a very thin layer of weld metal onto the cast iron surfaces. Use a 2.0 mm E7015 electrode at a low current (50-65 A DC+). The buttering layer, by mixing with the base metal, creates a transition zone. While this zone will be hard, it isolates the subsequent, stronger weld metal from the base cast iron parts, reducing overall stress.
B. Stitch (Block) Welding Technique: The core of the method is to fill the groove using a sequence of short, separated welds. Never deposit a continuous bead along the entire length.
- Weld a short bead, typically 10-15 mm in length. Use the smallest practical electrode (2.0-2.5 mm) and low current (60-80 A for 2.5 mm). Hold a short arc and do not weave; use a straightforward drag technique.
- Immediately after removing the arc, while the bead is still at a dull red heat (~600°C), use a round-nose or needle peening hammer to vigorously peen the entire weld bead. This mechanical deformation plastically yields the metal, relieving a significant portion of the tensile shrinkage stress. It also densifies the weld metal, reducing micro-porosity. The stress relief ($\Delta \sigma$) from peening can be conceptually related to the induced compressive strain ($\epsilon_c$):
$$ \Delta \sigma \approx -E \cdot \epsilon_c $$
where $E$ is Young’s modulus. - Allow the weld to cool until it is touchable (below 60°C). This is critical. A useful rule of thumb for cooling time ($t_{cool}$) between stitches is at least 60 seconds per mm of total weld thickness, monitored by hand.
- Begin the next stitch, ideally at the opposite end or side of the groove, “back-stepping” to distribute heat evenly. The pattern should ensure the heat from a new stitch does not directly impinge on the end of a previous, still-hot stitch.
C. Multi-Layer Buildup: Once the first layer is complete using the stitch technique, clean the slag thoroughly. Subsequent layers can use a slightly larger electrode (3.2 mm) and higher current (90-110 A). Continue the stitch-and-peen process for each layer. Each new layer temper-anneals the layer beneath it, reducing its hardness. The final layer’s properties are less critical if it is not to be machined.
| Electrode Diameter (mm) | DC+ Current (A) | Approx. Arc Voltage (V) | Stitch Length (mm) | Primary Function |
|---|---|---|---|---|
| 2.0 | 50 – 65 | 18 – 20 | 8 – 12 | Buttering, root pass in thin sections |
| 2.5 | 60 – 80 | 20 – 22 | 10 – 15 | Primary root and fill passes |
| 3.2 | 90 – 110 | 22 – 24 | 15 – 20 | Fill and cap passes after first 2-3 layers |
Case Application: Repairing an Engine Block Water Jacket
The methodology was applied to a longitudinal crack in the water jacket wall of an inline-six cylinder engine block, a classic example of a stressed cast iron part.
Procedure:
1. The area was degreased and ground clean.
2. Stop holes (Ø5 mm) were drilled at the crack termini.
3. A 70° groove was arc-gouged using a 3.2 mm E6010 electrode at 150 A to a depth of 12 mm (on a 18 mm thick wall). The groove was cleaned by grinding.
4. A root pass was deposited using a Ø2.5 mm nickel-base electrode (Z308) at 70 A DC-. This provided a soft, machinable, and crack-resistant foundation that would seal against coolant.
5. The main filler passes were made using the described stitch technique with Ø2.5 mm E7015 electrodes at 70 A DC+. Each 12 mm stitch was immediately peened and allowed to cool.
6. The final two layers were applied with a Ø3.2 mm E7015 electrode at 100 A, continuing the stitch-and-peen rhythm.
7. After completion, the repair was leak-tested with 0.5 bar air pressure under soapy water. No leaks were detected.
The repaired block returned to service with no reported issues, validating the hybrid approach of a soft root for sealability and a strong, steel-electrode body for structural integrity.
Advanced Considerations and Limitations
While highly effective, this technique has boundaries. It is best suited for cast iron parts that are not subject to full-face machining after welding, or where a final machining pass can be taken over a nickel-butter layer. The weld zone will remain harder than the base iron. For complex, highly constrained geometries, preheating to 150-200°C may be necessary even with this cold process to further reduce thermal gradients and stress. The technique is not generally recommended for ductile or malleable cast iron parts without extreme caution, as their welding metallurgy differs.
Economic Impact Analysis
The financial advantage is substantial. Consider a repair requiring 1 kg of filler metal.
| Cost Component | Nickel Electrode (Z308) | Steel Electrode (E7015) Hybrid* |
|---|---|---|
| Electrode Cost per kg | $80 – $120 | $5 – $8 |
| Filler Metal Cost | $80 – $120 | ~$1 (0.1 kg Ni) + ~$4 (0.9 kg Steel) = ~$5 |
| Labor (Adjustment for Technique) | Standard | ~20% increase due to stitch/peen process |
| Total Relative Cost | 100% (Baseline) | 15% – 25% |
*Hybrid: using nickel for root, steel for fill.
The cost savings of 75-85% on consumables dramatically alters the economic viability of repairing otherwise scrap cast iron parts.
Conclusion
The successful repair of cast iron parts using structural steel electrodes is not a compromise but a technically sound and economically superior alternative when executed with precise control. The key lies in rigorously managing thermal input through the stitch welding technique, actively relieving stresses via immediate peening, and employing a strategic multi-diameter, low-hydrogen electrode approach. This methodology transforms a common, low-cost welding consumable into a powerful tool for sustainable maintenance. It extends the service life of critical cast iron parts, reduces operational downtime, and offers repair shops a highly competitive and profitable service option. By mastering this technique, the maintenance and repair of cast iron parts becomes not only feasible but also exceptionally cost-effective.