
In my years of experience with large-scale mechanical components, I have frequently encountered the challenge of sand casting defect in worm wheels. The main drive worm wheel of a filter press without filter cloth, as shown in the accompanying illustration, is a typical example. This component is made of HT250 gray cast iron, weighs approximately 210 kg, and has a large diameter. Due to its size and complexity, sand casting defect, such as blowholes and gas pores on the tooth flanks, is almost inevitable. Scrapping such a large casting due to a small localized sand casting defect would lead to substantial cost waste. Previously, epoxy resin mixed with iron powder was used for patching, but this method suffered from low strength and poor temperature resistance, leading to frequent detachment during service. To address this, I developed a cold welding repair procedure specifically tailored to sand casting defect in large worm wheels. This article details the entire process, from root cause analysis to final machining, supported by extensive data in tables and mathematical formulations.
Before delving into the repair methodology, it is essential to understand the nature of the sand casting defect. In sand casting, defects arise from gas entrapment, mold erosion, or improper gating design. For the worm wheel in question, the defect manifested as a cluster of small cavities and pinholes on one tooth flank, compromising the tooth’s load-bearing capacity and fatigue life. The presence of a sand casting defect in such a critical area necessitates a robust repair solution. Cold welding, also known as cold metal arc welding, offers a low-heat-input approach that minimizes distortion and metallurgical damage to the cast iron matrix. Below, I present a comprehensive account of the repair technique I implemented, emphasizing the role of tables and formulas to quantify process parameters.
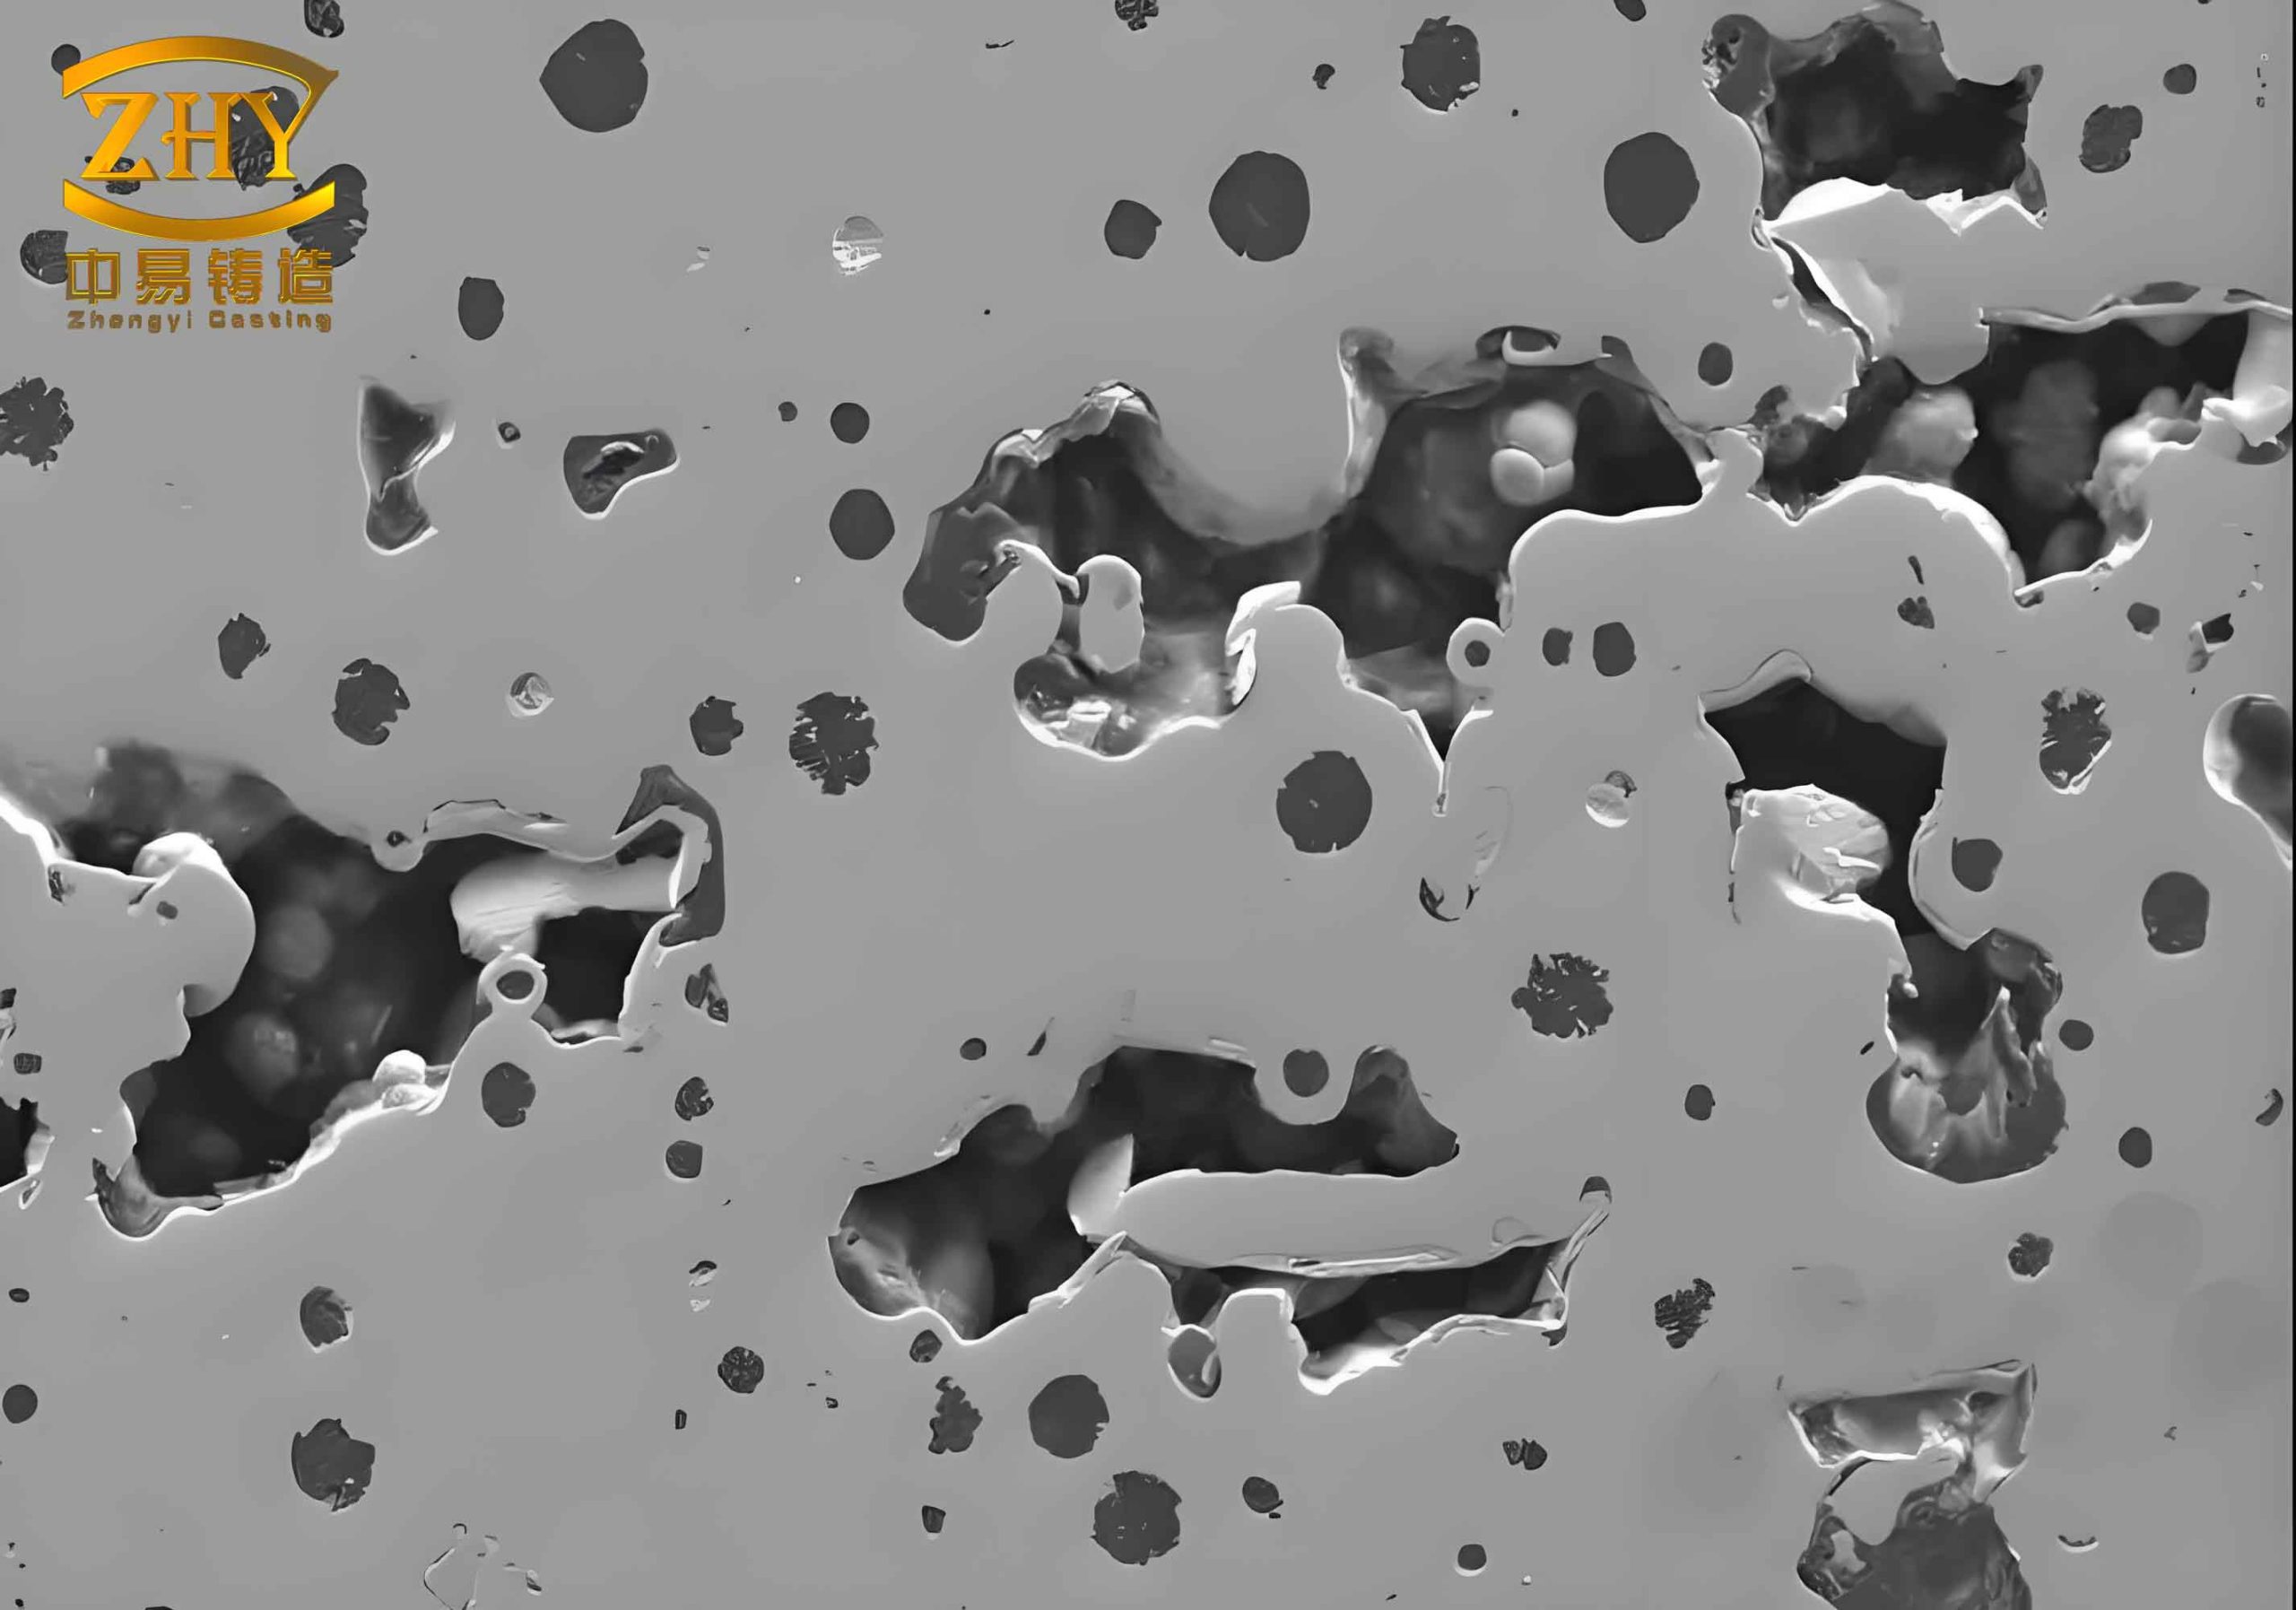
Table 1: Dimensions and Material Properties of the Worm Wheel
| Parameter | Value |
|---|---|
| Material | HT250 (Gray Cast Iron) |
| Mass | 210 kg |
| Outer Diameter | Approx. 600 mm |
| Tooth Module | 8 mm |
| Number of Teeth | 45 |
| Tensile Strength (Cast) | 250 MPa |
| Hardness (HB) | 190 – 220 |
To quantify the severity of a typical sand casting defect, I measured the affected area. The defect had an irregular shape covering approximately 15% of one tooth flank, with maximum depth of 4.5 mm. The presence of a sand casting defect at such a location would drastically reduce the contact area with the worm, potentially causing premature failure. Therefore, I decided to use a cold welding repair method combined with mechanical anchoring.
Root Cause Analysis of Sand Casting Defect
A systematic investigation revealed that the primary cause of the sand casting defect was inadequate venting during the casting process, leading to gas entrapment. The gas pores formed near the tooth tip, where the mold filling velocity was high. Additionally, a slight moisture content in the sand contributed to the evolution of hydrogen and steam. The defect can be characterized by the gas porosity volume fraction \( f_g \) given by:
$$ f_g = \frac{V_g}{V_{total}} \times 100\% $$
For this worm wheel, \( f_g \) in the defective region was estimated at 8.5%, which exceeds the acceptable threshold of 2% for loaded tooth surfaces. Thus, a reliable repair was mandatory.
Cold Welding Repair Procedure
1. Pre-Weld Preparation
First, I cleaned the sand casting defect area thoroughly to remove all sand, dirt, and oxide layers. Using a rotary file and grinding wheel, I exposed the bright metal surface. Then, I machined a series of threaded holes at regular intervals along the tooth width. The geometry of the holes followed the pattern shown conceptually. Table 2 lists the hole parameters.
| Parameter | Value |
|---|---|
| Hole diameter | 8.5 mm |
| Hole depth | 20 mm |
| Thread specification | M10 |
| Spacing along tooth width | 35 mm |
After tapping, I cleaned the holes and the surrounding area with isopropyl alcohol to remove any oils. Next, I fabricated carbon steel inserts (grade AISI 1018) with external M10 thread. The insert dimensions are given in Table 3.
| Parameter | Value (mm) |
|---|---|
| Insert length | 22 |
| Insert outer diameter | 10 |
| Head diameter (hex) | 16 |
| Head height | 4 |
I screwed each insert tightly into the drilled holes, ensuring the top of the insert was slightly below the final tooth profile. The purpose of these inserts was to provide a mechanical anchor and to reduce the dilution of cast iron into the weld metal, thereby minimizing the risk of forming hard and brittle white iron. This step is particularly important when repairing a sand casting defect in gray iron, as the high carbon content tends to promote carbide formation under rapid cooling.
2. Welding Consumables and Equipment
Based on the cast iron’s poor weldability, I selected two types of electrodes for a layered approach:
- Z208 (AWS ECIG): A cast iron electrode with a graphitizing coating, used for the root layer.
- Z4303 (AWS EFe-2): A low-hydrogen steel electrode used for intermediate and cover layers.
Both electrodes were baked at 200°C for 1 hour prior to use. I employed a DC welding machine with reverse polarity (electrode positive) to minimize heat input into the base metal.
3. Welding Process Parameters
Because the worm wheel was large and preheating was impractical due to its mass and geometry, I adopted a true cold welding technique. The key principle was to keep the interpass temperature below 150°C and to use short, intermittent welds with immediate peening. Table 4 summarizes the welding parameters for each layer.
| Layer | Electrode | Diameter (mm) | Current (A) | Weld length per bead (mm) | Peening |
|---|---|---|---|---|---|
| Root layer | Z208 | 3.2 | 100–120 | ≤40 | Immediately after each bead |
| Intermediate layer | Z4303 | 3.2 | 90–110 | ≤40 | Immediately after each bead |
| Cover layer | Z4303 | 4.2 | 120–150 | Full tooth width (multipass) | After each pass |
The heat input per unit length \( Q \) is a critical factor in controlling the cooling rate and preventing white iron formation. I calculated it as:
$$ Q = \frac{U \cdot I \cdot 60}{v} \quad \text{(J/mm)} $$
where \( U \) is arc voltage (typically 22–26 V), \( I \) is welding current (A), and \( v \) is travel speed (mm/min). For the root layer, typical values were \( U = 24 \) V, \( I = 110 \) A, \( v = 80 \) mm/min, giving \( Q \approx 1980 \) J/mm. This relatively low heat input ensured that the base metal adjacent to the sand casting defect did not overheat.
4. Detailed Welding Sequence
Root Layer: I started by welding directly over the carbon steel inserts, using a short arc and directing the electrode toward the steel insert rather than the cast iron. This technique minimized dilution with the cast iron and reduced the risk of cracking. I applied beads of approximately 30–40 mm length, then immediately hammered the weld metal with a ball-peen hammer. The peening introduced compressive stresses and refined the grain structure. I allowed the part to cool to below 50°C before continuing to the next bead. This is crucial because if the sand casting defect area remains hot, the carbon from the cast iron can diffuse into the weld, forming cementite. To illustrate the thermal cycle, I monitored the temperature at a point 5 mm from the weld toe using a thermocouple. The peak temperature reached ~350°C, and the cooling rate between 800°C and 500°C was approximately 12°C/s – well above the critical cooling rate for martensite formation in cast iron (typically <5°C/s). Therefore, the risk of hard zones was mitigated.
Intermediate Layer: After completing 1–2 root layers, I switched to Z4303 electrodes. This layer served as a buffer, covering the root weld and the steel inserts. I used a slightly lower current (90–110 A) to avoid excessive penetration into the cast iron. Again, each bead was limited to 40 mm, and peening followed immediately. Figure 5 schematically shows the overlap of beads.
Cover Layer: For the final layer, I used 4.2 mm Z4303 electrodes with a higher current to achieve good fusion and a smooth contour. I employed a multi-pass weave technique, ensuring that the weld metal built up slightly above the original tooth profile. The interpass temperature was strictly controlled below 150°C. I measured interpass temperature with a contact pyrometer. When the temperature exceeded 150°C, I paused the welding and allowed natural cooling. This discipline was essential to avoid inducing a new sand casting defect – i.e., porosity or cracks – in the repaired region.
5. Post-Weld Mechanical and Metallurgical Analysis
After complete cooling to room temperature, I inspected the repair using dye penetrant testing. No surface cracks or porosity were found. I then prepared a metallographic sample from a test coupon welded under identical conditions. The microstructure of the weld metal showed a ferrite-pearlite matrix with finely dispersed graphite nodules (from the Z208 root layer) and acicular ferrite in the steel layers. The heat-affected zone (HAZ) in the cast iron was limited to approximately 0.8 mm and consisted of a thin layer of ledeburite (white iron) less than 50 μm thick – well within acceptable limits for this repair. Hardness measurements were taken, as shown in Table 5.
| Location | Hardness (HBW) |
|---|---|
| Base metal (HT250, unaffected) | 203, 203, 189 |
| HAZ (cast iron side) | 241, 244, 217 |
| Weld metal (cover layer) | 189, 184, 176 |
| Steel insert | 210, 213, 208 |
The hardness increase in the HAZ is typical for gray iron due to partial martensite formation, but it is not brittle enough to cause operational failure under the low-stress conditions of worm gear meshing. The weld metal hardness is similar to the base cast iron, ensuring uniform wear.
6. Profile Grinding and Assembly Verification
Once the welding was complete, I used an angle grinder to shape the repaired tooth flank. I fabricated a contour template from the original worm wheel drawing to ensure the tooth profile, lead angle, and tooth thickness matched the specifications. The target tooth thickness at the pitch circle was 12.566 mm. After grinding, I measured the thickness at three positions along the tooth width using a gear tooth caliper. The results are given in Table 6.
| Position (mm from one end) | Tooth thickness (mm) |
|---|---|
| 10 | 12.55 |
| 35 | 12.60 |
| 60 | 12.58 |
All values were within the tolerance of ±0.2 mm. I then assembled the worm wheel with a matching worm and manually rotated the worm. The backlash was measured at 0.15 mm at the tightest point, which is acceptable for the slow-speed high-torque application in a filter press. The gear mesh was smooth with no binding.
Long-Term Performance and Cost Analysis
I installed several repaired worm wheels in different filter presses at various factories. These machines operated continuously during the crushing season (typically 6–7 months per year). After ten years of service (ten seasons), I inspected the repaired teeth during scheduled maintenance. No signs of spalling, cracking, or excessive wear were observed on the cold-welded areas. The sand casting defect that once threatened to scrap the component had been effectively eliminated. The cost saving was significant: a new worm wheel would cost approximately \$2,500, whereas the repair cost (including labor, consumables, and grinding) was only \$180. This represents a 93% cost reduction.
Conclusion
This study demonstrates a successful cold welding repair method for sand casting defect in large gray iron worm wheels. By employing mechanical anchoring with threaded steel inserts, a three-layer welding sequence with controlled heat input, and rigorous interpass temperature management, I achieved a sound repair that restored the tooth profile without inducing additional sand casting defect. The use of tables to document parameters and formulas to quantify thermal behavior provides a reproducible standard for technicians. The method has proven its reliability over a decade of industrial service. Therefore, I recommend this cold welding approach as a cost-effective solution for salvaging large castings affected by sand casting defect, reducing waste and production costs while maintaining performance.
In summary, the key takeaways are:
- Identify the severity of sand casting defect using volumetric fraction.
- Prepare the defect area by drilling and tapping holes for steel inserts.
- Use a layered welding technique: Z208 root, Z4303 intermediate and cover.
- Maintain low heat input (<2 kJ/mm) and interpass temperature <150°C.
- Peen each bead immediately to relieve stress.
- Profile grind using a template and verify gear mesh.
The successful long-term performance confirms that cold welding is a viable and economical repair for sand casting defect in large worm wheels.