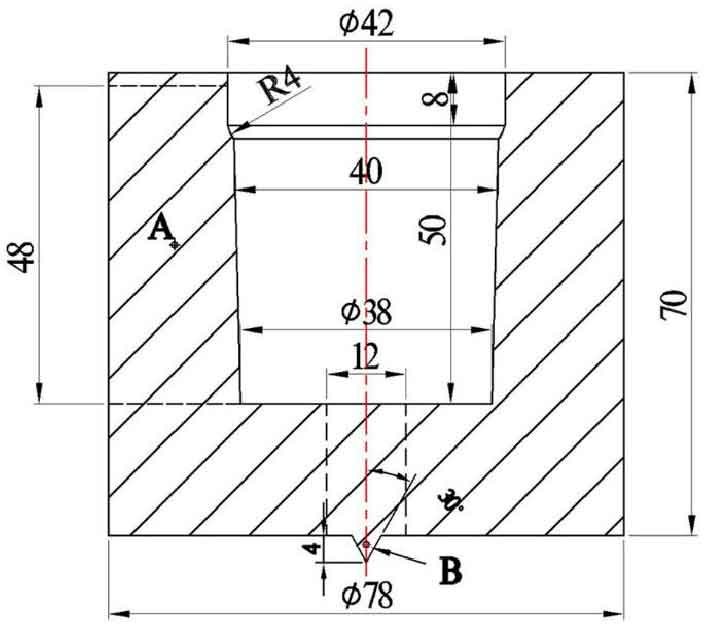
The microstructure of the alloy was observed by metallographic microscope. The metallographic samples were prepared as follows:
(1) Sampling: Using WEDM, take about 20 × 20 × 15mm square samples at 60mm from the bottom of ingot [2] (metal mold casting) or position a (conventional squeeze casting, rheo squeeze casting);
(2) Inlay: the block sample is inlaid with a thermal inlay prototype to make a cylindrical sample of 30 mm × 20 mm in diameter;
(3) Grinding: first, the sample was rough ground with 360 water sandpaper, and then fine ground with 1200, 3000 and 7000 water sandpaper;
(4) Polishing: the samples were polished with MgO particles after grinding;
(5) Corrosion: as cast alloy and T6 alloy were corroded with 4% nitric acid alcohol, T4 alloy was corroded with acetic picral solution (50ml alcohol + 2.5G picric acid + 2.5ml acetic acid + 50ml aqueous solution).
Image Pro Plus 6.0 software was used for quantitative metallographic analysis, including grain size, volume fraction, size and shape factor of primary particles. No less than 5 optical metallographic photos are used for data statistics, and the data results in this paper are average values. The shape factor (f) is obtained by the following formula:
Where C is the perimeter of primary particles and S is the cross-sectional area of primary particles. The value of ideal sphere shape factor is 1. The larger the shape factor is, the more irregular the particle shape is.


