
In my years of experience in the foundry industry, I have frequently encountered two types of sand casting defects that are often confused: slag inclusion and sand holes. These defects occur commonly in green sand molding processes for gray iron castings. The advantages of green sand molding—low cost material, abundant sources, clear mold contours, easy molding, no drying requirement, short production cycle, and easy shakeout—are well known. However, the inherent drawbacks of green sand, such as relatively low strength and moisture content, make castings prone to sand casting defects like gas porosity, slag, and sand holes. Among these, distinguishing between slag and sand holes during visual inspection poses a significant challenge. This article provides a detailed comparative analysis of the morphological characteristics, identification methods, and preventive measures for these two sand casting defects, based on my practical work and laboratory investigations.
Characteristics of Slag and Sand Holes
First, I will describe the typical features of each defect as observed on casting surfaces or inside sections. Slag inclusion appears as non‑metallic foreign material trapped in the casting, forming irregular cavities with uneven distribution. The color of slag is predominantly brownish‑white or white, resembling the furnace slag or ladle slag from the melting process. The cavities are shallow and deep, with rough internal walls, no chill marks, and are tightly bonded to the metal matrix. In contrast, sand holes result from sand particles that become embedded in the casting surface or interior, creating cavities that often contain loose sand. The color of sand holes is brownish‑black, close to the metallic gray of the casting itself. The cavities are also irregular and angular, but after shot blasting, the sand can be easily removed, revealing bright metal underneath. The following table summarizes the key differences I have compiled from numerous inspections of sand casting defects.
| Feature | Slag Inclusion | Sand Holes |
|---|---|---|
| Color | Brownish‑white, white (similar to external slag) | Brownish‑black, close to metal color |
| Shape | Irregular, rough surface, sometimes angular under magnification | Irregular, angular edges |
| Internal wall | Rough, non‑uniform depth, no chill marks | Rough, often containing loose sand |
| Bonding with matrix | Tightly adhered, difficult to remove by shot blasting | Loosely attached, sand can be removed by shot blasting |
| Origin | Non‑metallic impurities from molten metal, slag carryover | Sand from mold or core that falls into cavity |
The image above shows typical appearances of these two sand casting defects on a casting surface. Left side shows a slag inclusion cavity, right side shows a sand hole. However, even with such visual examples, misjudgment is common in the workshop because both appear as irregular cavities. My systematic approach to differentiate them involves three levels of inspection, which I will now explain.
Three Methods to Discriminate Slag from Sand Holes
Method 1: Visual inspection combined with process knowledge
For an experienced engineer, the color difference and the context of the casting process often suffice. Slag inclusions usually have a lighter color (white, brownish‑white) because they are oxides or sulfides from the melt. Sand holes appear darker (brownish‑black) due to the burned organic binders in the sand. Furthermore, if I know that the furan resin‑bonded sand or clay‑bonded sand was used, and there were known issues with sand falling from cores, I would suspect sand holes. Conversely, if the melting charge was contaminated or slagging was poor, slag is more likely.
Method 2: Shot blasting test
When visual inspection is ambiguous, shot blasting can quickly differentiate the two. After blasting, sand holes are cleaned out, leaving a bright metal cavity. Slag inclusions, on the other hand, remain because the slag is tightly bonded and does not respond to blasting. In my foundry, this simple test resolves about 70% of disputed cases. However, sometimes the slag is so thin or the cavity is so deep that blasting does not expose the true nature. Then I resort to the laboratory.
Method 3: Scanning electron microscopy (SEM) and energy‑dispersive X‑ray spectroscopy (EDS)
For the most stubborn cases, I use SEM to observe the micro‑morphology and EDS to reveal the elemental composition. This is the definitive method to identify the chemical nature of the defect. Below I detail a real case study from my work where such analysis was essential.
Case Study: Analysis of a Porous Defect in a Gray Iron Cover
A grey iron casting (a cover) produced via green sand molding repeatedly exhibited small, irregular cavities on the bottom face—the last solidifying region. The cavities were densely distributed, small, dark, and highly irregular in shape. Team members were divided: some thought it was sand holes, others thought it was slag. After shot blasting, the cavities still appeared dark and the disagreement persisted. I decided to cut a sample from a typical defective area and examined it using a Hitachi S‑3400N SEM and an EMAX‑7021‑H EDS analyzer.
SEM Observations
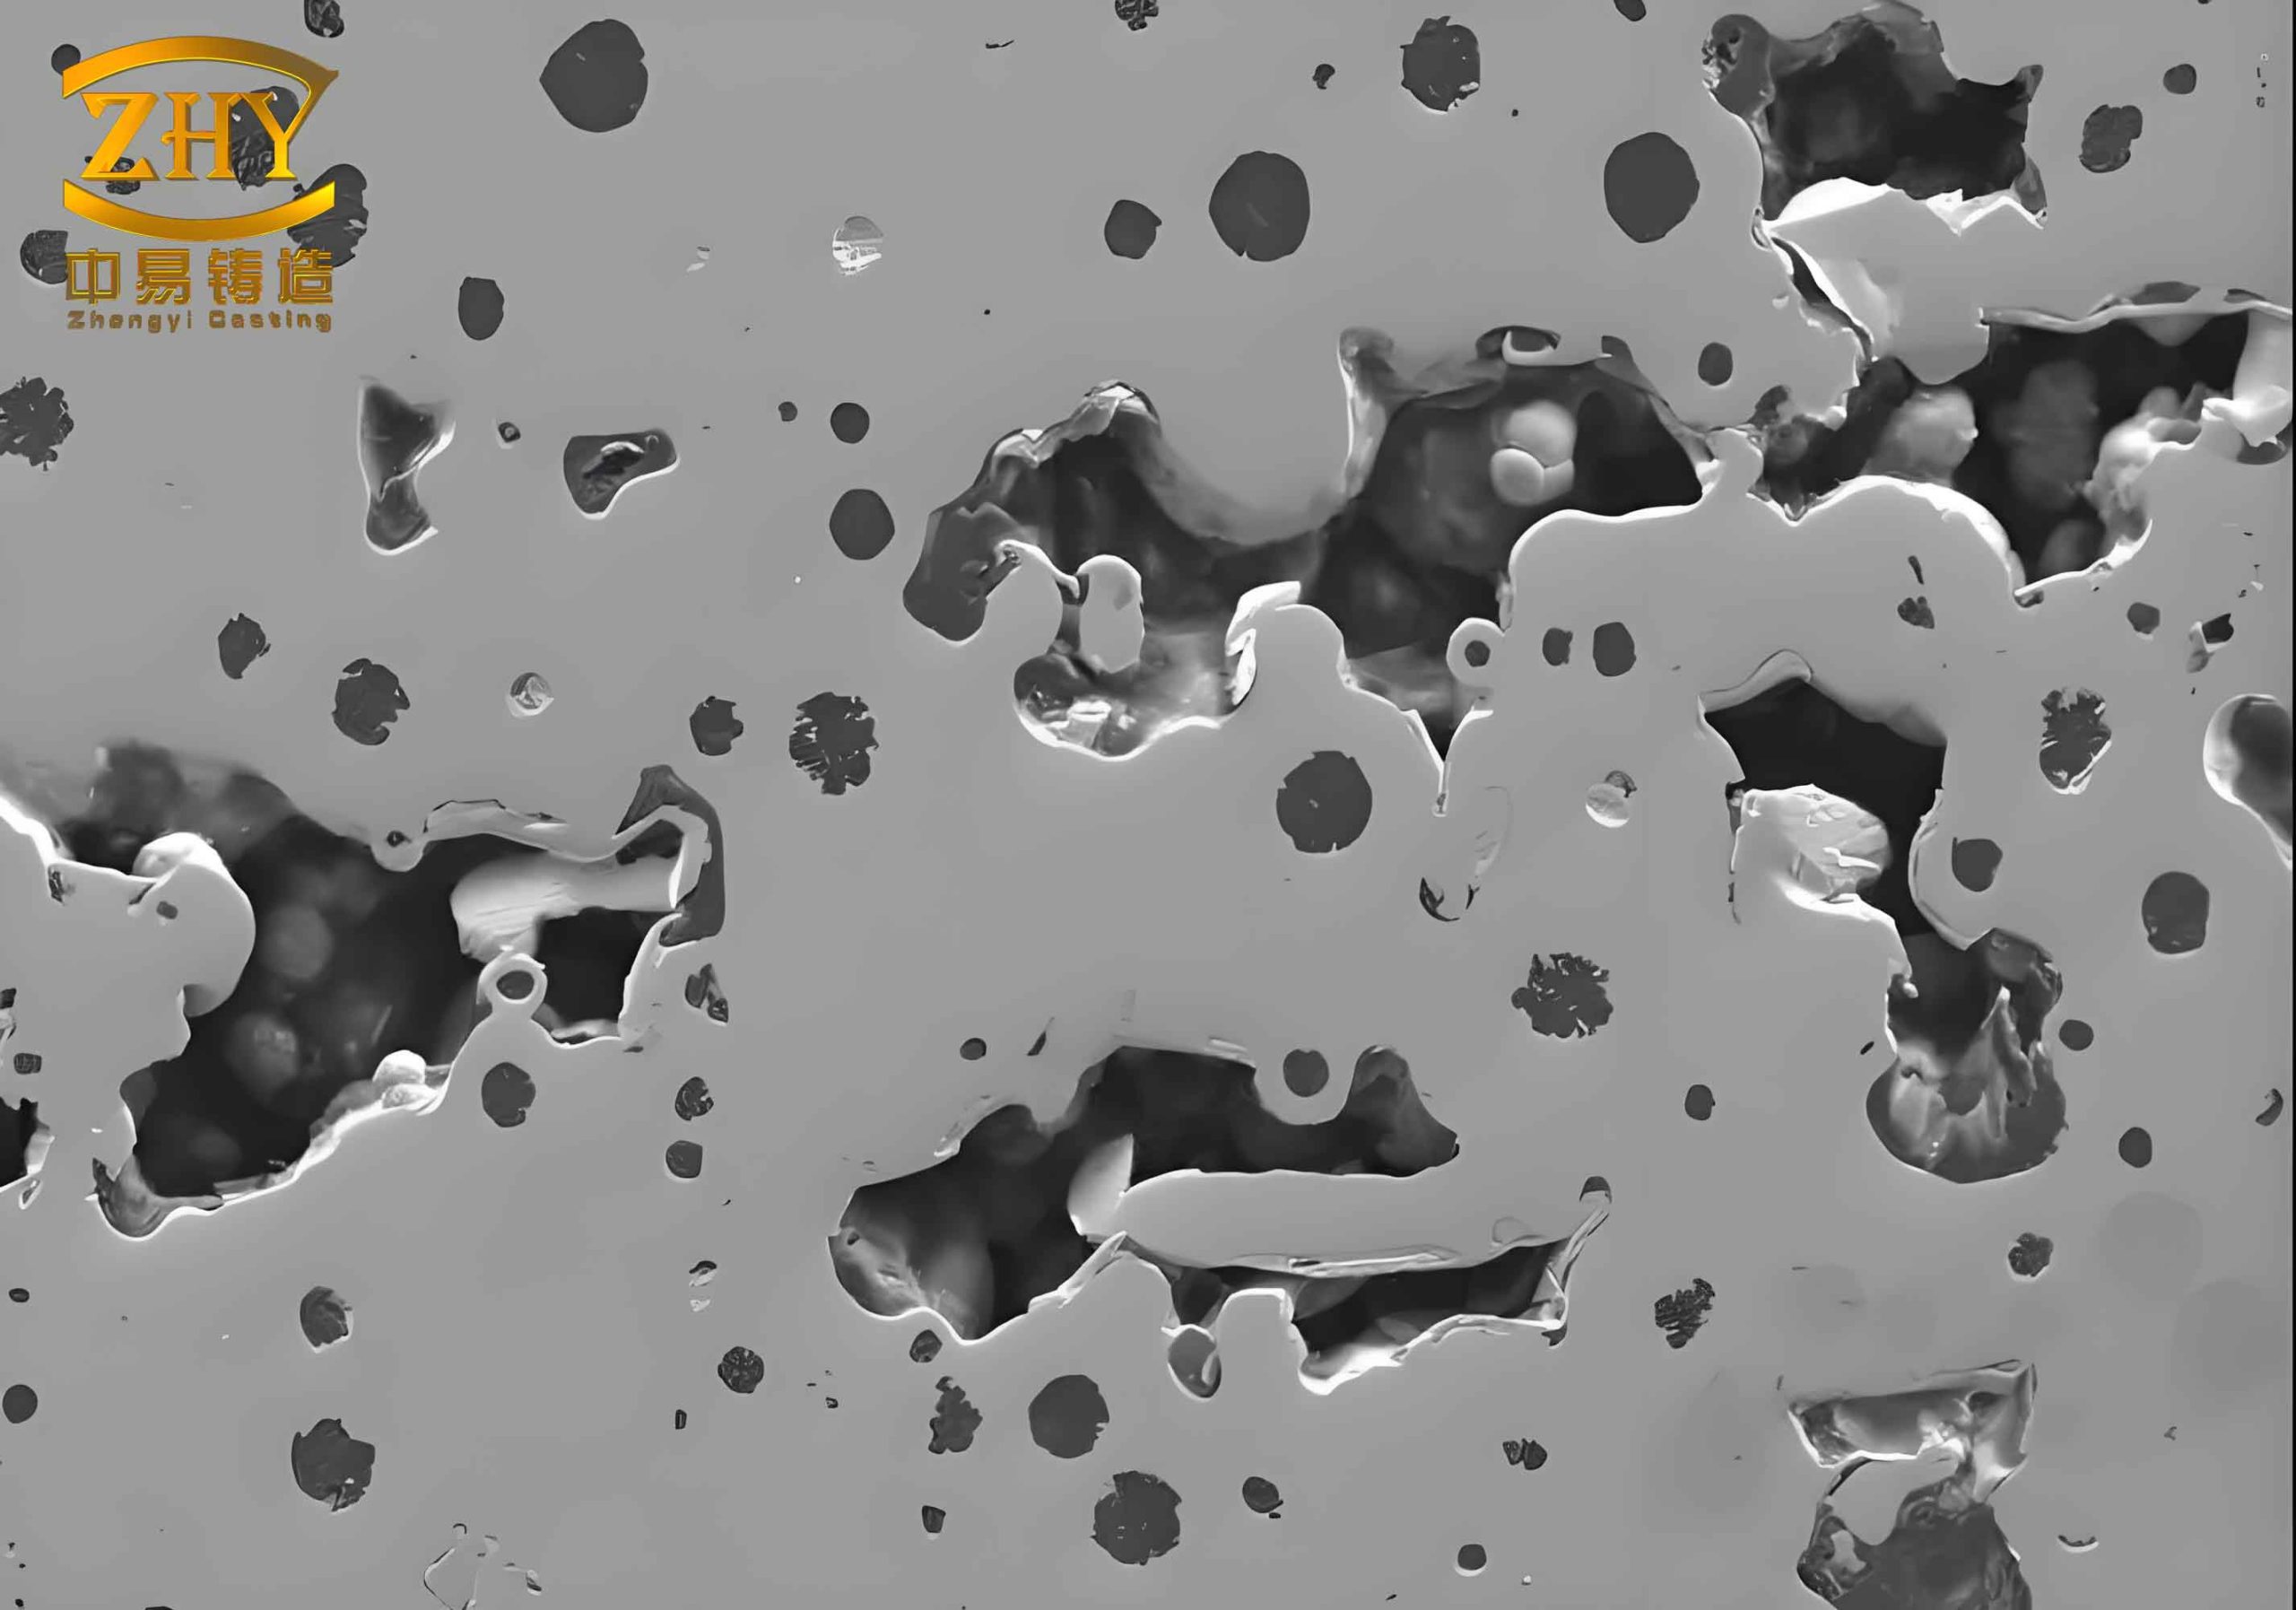
The SEM images at various magnifications revealed the defect cavities as irregular polygons with rough inner walls, loose and porous structures, and clusters of granular and blocky substances. There were clear signs of material detachment. The backscattered electron (BSE) images showed a distinct contrast between the matrix, a transition zone, and the defect interior. The matrix appeared bright (light gray), the transition zone medium gray, and the defect area dark gray, indicating a change in average atomic number. In the transition region, new phases began to appear.
EDS Analysis
I performed point EDS analysis on two locations: the sound matrix and the blocky substance inside a defect cavity. The results are summarized in the following table. On the matrix, the spectrum showed only Fe, C, Si, and Mn with normal contents (typical for gray iron). No oxygen was detected. Inside the defect, a high concentration of oxygen together with iron was found.
| Location | Element | Weight % | Atomic % |
|---|---|---|---|
| Matrix (sound area) | Fe | 94.2 | 78.5 |
| C | 3.4 | 13.2 | |
| Si | 1.9 | 3.2 | |
| Mn | 0.5 | 0.4 | |
| Defect interior (blocky substance) | Fe | 64.64 | 34.6 |
| O | 35.36 | 65.4 |
From the atomic percentages, the defect substance is primarily iron oxide. The ratio of atomic O to Fe is approximately 65.4/34.6 ≈ 1.89, close to that of FeO (1:1) or Fe₂O₃ (1.5:1) or Fe₃O₄ (1.33:1). The measured ratio suggests a mixture, with FeO being dominant. The presence of oxygen and the absence of silicon or aluminum rule out sand (SiO₂, Al₂O₃). Combining the SEM morphology (irregular, porous, blocky) with EDS, I conclusively identified this defect as slag inclusion composed mainly of iron oxides. This case demonstrates how powerful EDS analysis is for distinguishing between slag and sand holes among sand casting defects.
To formalize the identification logic, I derived a simple criterion based on oxygen content. Let w(O) be the weight percentage of oxygen in the defect substance. If w(O) is greater than 10%, the defect is likely slag (oxide). For sand holes, the defect substance is silica (SiO₂) with w(O) ≈ 53% by weight if the sand is pure silica, but in practice the sand particles are often partially burned and may contain carbon, yet oxygen is still present. However, the key is that sand holes contain silicon as well, while slag from iron oxidation contains only Fe and O (plus trace elements). Hence, a more reliable formula is the presence of Si in significant amounts (>5%) alongside O indicates sand holes. In my analysis, Si was absent in the defect interior, confirming slag.
$$ \text{If } \frac{w(\text{O})}{w(\text{Fe})} > 0.4 \text{ and } w(\text{Si}) < 1\% \text{, then defect is slag.} $$
This threshold came from my experience: sand holes usually have Si to O weight ratio around 0.6–0.7 (for silica), while slag from iron oxidation has Fe to O ratio close to that of iron oxides. Note that this is a practical guideline; individual cases may vary.
Preventive Measures for Slag and Sand Holes
Based on my laboratory findings and shop‑floor observations, I have implemented several corrective actions to minimize these sand casting defects. Below I list the measures separately, each supported by technical details.
Preventing Sand Holes
- Improve green sand surface strength: Use high‑quality bentonite or a synthetic binder (e.g., high‑grade industrial flour) in the sand mixture. Increase the clay content by 0.5–1% if needed. The compactability should be maintained at 35–45% to ensure adequate strength.
- Regular mold machine maintenance: Check and calibrate the pattern and flask alignment monthly. Misalignment during closing can create sand erosion that falls into cavities.
- Tooling care: Inspect patterns and core boxes for wear or damage; dress them with wear‑resistant coatings if necessary.
- Clean mold cavities: Use compressed air to blow out loose sand from the cavity and gating system before closing. Install vacuum systems if possible.
- Core quality: Examine core surfaces; reject cores with loose sand or cracks. Design proper core clearance to avoid scraping sand during setting.
- Optimize core setting process: Ensure cores are placed gently and the clearance is sufficient (typically 0.5–2 mm depending on size).
Preventing Slag Inclusion
- Use filters: Install ceramic foam filters or fiberglass mesh filters in the gating system to trap slag before it enters the mold cavity. The filter pore size should be 10–20 pores per inch (ppi) for gray iron.
- Control charge materials: Use clean scrap and pig iron; avoid rust‑laden or oily returns. Limit the amount of steel scrap to reduce oxide formation.
- Proper melt treatment: Stir the melt after inoculation to homogenize, and hold the metal in the ladle for at least 5 minutes to allow slag to float. Use a slag coagulant (e.g., sand or commercial slag‑off compounds) before pouring.
- Ladle maintenance: Keep ladles clean and dry; use a refractory wash (e.g., silica‑based) to prevent dross formation.
- Pouring practice: Pour from the bottom of the ladle to avoid skimming slag; use a skimmer or ceramic stopper.
I further quantify the effectiveness of these measures using a defect‑rate reduction formula. Let D₀ be the initial defect rate (e.g., 5% of castings scrapped due to slag or sand holes). After implementing a combination of the above, I observed a reduction to D₁. The improvement factor can be expressed as:
$$ R = \frac{D_0 – D_1}{D_0} \times 100\% $$
In my foundry, after installing filters and improving core practices, the defect rate dropped from 4.7% to 1.2%, giving an R of 74.5%. This underlines the importance of a systematic approach.
Conclusion
In this article, I have shared my personal methodology for distinguishing between two notoriously confusing sand casting defects: slag inclusion and sand holes. Through careful observation, simple shop‑floor tests, and advanced electron microscopy combined with energy‑dispersive spectroscopy, I have established a reliable diagnosis pathway. The key characteristics—color, bond strength, element composition—can be used in a hierarchical manner. The case study demonstrated that even experienced engineers can be misled, but EDS provides unambiguous evidence. I hope that my experiences and the preventive measures listed will help foundry engineers reduce scrap rates and improve casting quality. The continuous monitoring of sand casting defects and their root causes remains essential for any green sand foundry striving for excellence.
Finally, I emphasize that while this analysis focused on two specific defects, the same principles can be extended to other sand casting defects such as gas porosity or hot tears. Understanding the fundamental differences between contamination from the melt and from the mold materials is the cornerstone of defect diagnosis.