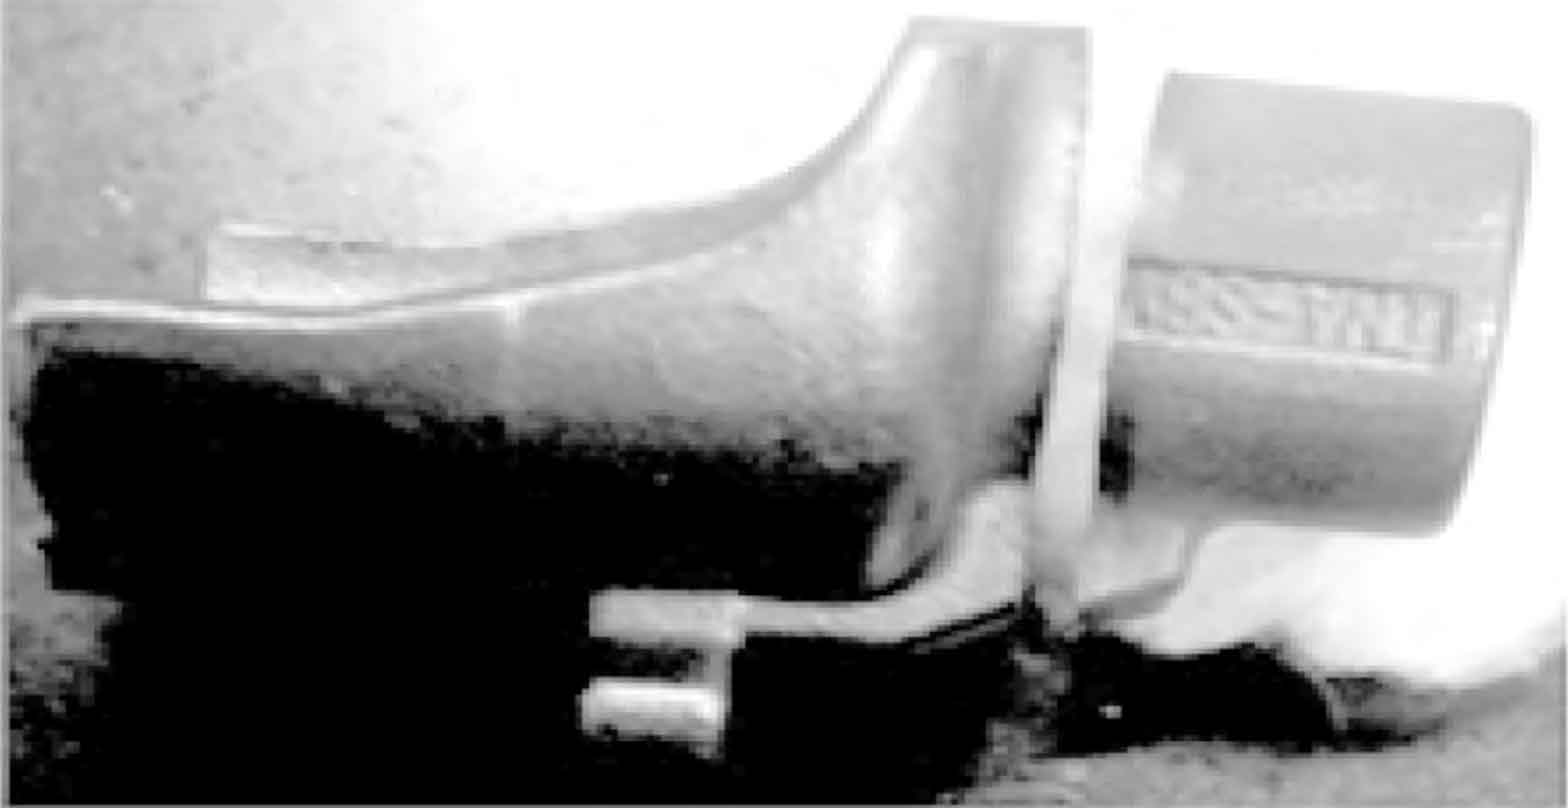
The investment casting method is adopted for precision casting parts. The process is as follows: select appropriate paraffin material to manufacture the investment mold → repeatedly dip refractory sand on the investment mold → harden and dry the shell → melt the internal investment mold to obtain the mold cavity → bake the mold shell to obtain sufficient strength → burn off the residual investment mold materials → pour the required 22nimocr56 alloy materials → solidification and cooling → shelling → sand cleaning. The surface of the precision casting parts is required to have certain wear resistance, and the surface hardness is required to be greater than 600 hv0 5. The outline of precision casting parts is shown in Figure.
Since the main function of precision casting parts is the finger position, the dot position for measuring hardness is defined on the top plane of the finger. The measurement engineer evaluates that the roughness Rz of the top plane is 23 μ m. Take 5 precision casting parts and select 5 points on the same precision casting part for hardness measurement (take the average value).
It can be seen from the measurement results that the hardness measurement results of five precision casting parts do not meet 600 hv0 5, and the hardness value of each precision casting part fluctuates greatly, especially for No. 3 precision casting part, the hardness measurement fluctuation range is 116 hv0 5. Explain the measured load hv0 5. It is not suitable for application on the surface with large roughness.

