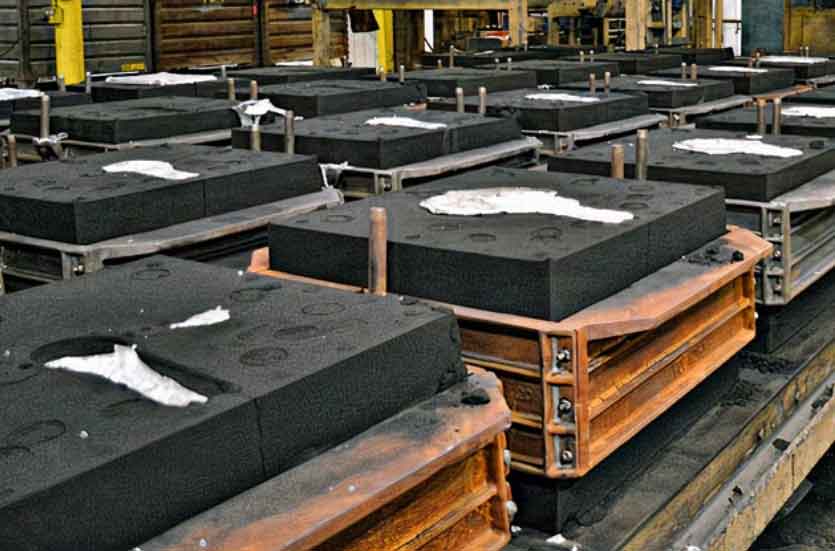
Resin sand casting is a multi-step process that involves several stages, from creating the pattern to producing the final cast product. Below is a step-by-step guide to resin sand casting:
Step 1: Pattern Creation
- Start by designing the pattern, which is a replica of the final product you want to cast. Patterns can be made from various materials like wood, plastic, or metal.
- The pattern should be slightly larger than the desired final casting size to account for the shrinkage of the metal during solidification.
Step 2: Pattern Assembly
- Attach any cores or inserts to the pattern if required. Cores are used to create internal cavities or holes in the casting.
- Assemble the pattern halves to create the complete pattern that matches the desired shape of the final casting.
Step 3: Pattern Coating
- Apply a release agent on the pattern surface to facilitate easy pattern removal from the mold later in the process.
- Dust or spray a thin layer of parting compound on the pattern surface to promote easy separation of the mold halves.
Step 4: Mold Preparation
- Prepare the mold box, also known as the flask, by placing the bottom half on a flat surface.
- Pack the drag (bottom half) with a layer of resin-coated sand. The drag will form the bottom part of the mold.
- Place the pattern on the packed sand in the drag.
- Add more resin-coated sand to cover the pattern, ensuring proper compaction to create an even mold surface.
- Close the flask by placing the cope (top half) on top of the drag.
Step 5: Mold Curing
- The resin-coated sand in the mold is cured by either applying heat or using a curing catalyst, depending on the type of resin used.
- The curing process strengthens the sand, forming a solid mold that matches the shape of the pattern.
Step 6: Pattern Removal
- Open the mold by separating the cope and drag halves.
- Carefully remove the pattern from the mold, leaving behind a cavity in the shape of the desired casting.
Step 7: Mold Assembly
- Inspect the mold for any defects or imperfections and repair if necessary.
- Assemble the cope and drag halves, aligning them precisely to ensure accurate casting dimensions.
Step 8: Metal Pouring
- Preheat the mold to avoid thermal shock during metal pouring.
- Position the assembled mold in a pouring cup, ensuring proper gating and venting for the molten metal.
- Pour the molten metal into the mold cavity through the pouring cup.
Step 9: Cooling and Solidification
- Allow the casting to cool and solidify inside the mold.
- The cooling time varies depending on the size and material of the casting.
Step 10: Casting Removal and Finishing
- Once the casting has solidified and cooled, open the mold and remove the casting.
- Clean, trim, and finish the casting as needed to achieve the desired final product.
Step 11: Inspection and Quality Control
- Inspect the finished casting for any defects or imperfections.
- Conduct quality control checks to ensure the casting meets the required specifications and standards.
By following these steps, manufacturers can successfully produce high-quality castings using the resin sand casting process. Each step requires careful attention to detail to ensure the final product matches the design and meets the desired quality standards.
