
In the realm of automotive manufacturing, the gearbox rear housing is a critical component that supports and protects the gear transmission system. Its quality directly influences the overall performance and reliability of the light truck gearbox. I undertook the task of designing and optimizing a sand casting foundry process for a gray cast iron (HT200) gearbox rear housing intended for mass production. This article details the comprehensive sand casting foundry approach, from three-dimensional modeling and process parameter determination to simulation-based defect prediction and subsequent optimization. The sand casting foundry method was selected due to its cost-effectiveness and versatility for producing medium-complexity iron castings with varying wall thicknesses. By leveraging anycasting simulation software, I identified critical defect zones and refined the design to achieve sound castings. Throughout the study, the term sand casting foundry encapsulates the core methodology used to transform the raw material into a functional component.
The gearbox rear housing exhibits a U-shaped overall geometry with several structural features including grooves, bosses, and reinforcing ribs. Its outer envelope dimensions are 275 mm in length, 176 mm in width, and 160 mm in height. The wall thickness varies significantly, ranging from 4 mm at the thinnest sections to 28 mm at thicker junctions, which poses challenges for controlled solidification and defect prevention. I constructed a detailed three-dimensional model using CAD software to facilitate process planning and simulation. The following table summarizes the key geometric and material characteristics of the component.
| Parameter | Value |
|---|---|
| Material | HT200 (Gray Cast Iron) |
| Overall Length / Width / Height (mm) | 275 × 176 × 160 |
| Major Wall Thickness Range (mm) | 4 – 28 |
| Average Wall Thickness (mm) | ~12 |
| Weight per Casting (kg) | ~4.5 |
| Structural Features | U-shape shell, internal cavity, flanges, bosses, ribs |
| Production Volume | Mass production (batch) |
The sand casting foundry process design began with selecting the appropriate molding method. I chose a two-part mold (cope and drag) with a single core produced via the cold box process using a phenolic urethane resin binder system. The core sand was a silica-based mixture cured with an ester-activated alkaline phenolic resin, which provides good dimensional accuracy and environmental benefits. For the mold and core surfaces, an alcohol-based refractory coating was applied by dipping to enhance surface finish and reduce metal penetration. Additionally, a silver graphite powder was sprayed to facilitate pattern withdrawal and ensure clean cavity surfaces. To address localized defects that might arise during production, a patching compound was used for minor repairs, but the primary goal was to eliminate defects through robust design.
The parting plane was selected at the maximum cross-section of the casting to simplify coring and gating. An important consideration in any sand casting foundry operation is the pouring position. I oriented the casting with its critical machined faces (bottom and side) placed optimally for filling and feeding. A middle gating system was adopted, which ensures smooth mold filling, minimizes turbulence, and allows for efficient venting. The gating system was designed as a closed type, which is typical for small-to-medium gray iron castings to prevent air aspiration and dross entrapment. The cross-sectional area ratio of the gating system components was determined using the choked-area design method. The ratio was set as $$F_{\text{内}}:F_{\text{横}}:F_{\text{直}} = 1:1.2:1.4$$ where \(F_{\text{内}}\) is the total area of ingates, \(F_{\text{横}}\) the runner area, and \(F_{\text{直}}\) the sprue area. Based on the casting weight and filling time calculations, the total ingate area was computed as 2.6 cm². Consequently, the runner area became \(F_{\text{横}} = 1.2 \times 2.6 = 3.12\,\text{cm}^2\) and the sprue area \(F_{\text{直}} = 1.4 \times 2.6 = 3.64\,\text{cm}^2\). The sprue was designed with a taper: top diameter 28 mm, bottom diameter 20 mm, and a length of 260 mm. A funnel-shaped pouring cup was used, incorporating a foam ceramic filter to trap slag and oxides. A sprue well with a diameter 1.6 times the sprue bottom diameter was added at the junction of the sprue and runner to reduce erosion and promote smooth flow transition.
The following table lists the sand casting foundry process parameters established for this component.
| Parameter | Value / Description |
|---|---|
| Molding Process | Two-part flask (cope & drag), machine molding |
| Core Process | Cold box, phenolic urethane resin binder |
| Mold & Core Sand | Ester-cured alkaline phenolic resin + silica sand |
| Coating | Alcohol-based refractory (dipping) |
| Parting Plane | Horizontal at maximum cross-section |
| Pouring Position | Middle gating, casting cavity oriented with critical faces downward/lateral |
| Gating System Type | Closed, ratio 1:1.2:1.4 |
| Number of Ingates | 4 |
| Ingate Dimensions (each) (mm) | 6 mm × 10 mm (rectangular) |
| Runner Length (mm) | 35 mm extension for dross trap |
| Sprue Top / Bottom Diameter (mm) | 28 / 20 |
| Pouring Cup | Funnel type with foam ceramic filter |
| Pouring Temperature (℃) | 1380 – 1420 |
| Pouring Time (s) | ~3.5 |
To control the solidification sequence and prevent shrinkage porosity, I designed vent risers (open risers) at locations where thick sections transition to thin walls, particularly on the flanges. These risers also served to expel gases and indicate the fill level. Additionally, external chills were employed to accelerate cooling at hot spots. Initially, the chill thickness was calculated using the empirical formula $$\delta = (0.25 – 0.5) \times T$$ where \(T\) is the local casting thickness (mm). For the thickest section of 28 mm, the chill thickness was chosen as 3 mm. The chill width was set between 10 and 15 mm and length between 10 and 20 mm. The chills were placed in the mold and core at locations where thermal simulation later indicated potential defects. The core design was dictated by the internal cavity of the gearbox housing. A single, complex core was made to form the internal U-shaped passage and mounting bosses. The core prints were extended to ensure stable positioning within the mold.
After establishing the baseline sand casting foundry design, I proceeded with numerical simulation using anycasting software. The simulation focused on filling behavior, solidification pattern, and defect prediction. The filling analysis, as shown in the color contour output (not reproduced here but described), revealed a smooth progression of the melt front from the ingates toward the extremities. The total filling time was approximately 3.5 seconds, which is acceptable for this size of gray iron casting. No significant turbulence or air entrapment was observed. The solidification simulation provided a probability defect map. In the initial design without chills, the predicted defects concentrated at the junction between the thin web and thick boss regions, as well as at the bottom flanges where abrupt changes in cross-section occurred. These regions correspond to thermal centers where the last liquid metal solidifies, leading to shrinkage porosity. The simulation clearly indicated the need for thermal modification.
The following table summarizes the initial defect predictions and the corresponding casting locations.
| Region / Location | Defect Type | Probability (%) | Cause |
|---|---|---|---|
| Flange-thin web transition (bottom) | Shrinkage porosity | 85 | Hot spot due to geometry change |
| Boss junction with side wall | Micro-shrinkage | 72 | Last solidifying zone |
| Internal rib near core print | Gas porosity | 45 | Inadequate venting |
| Thick section (28 mm) center | Centerline shrinkage | 68 | Slow cooling rate |
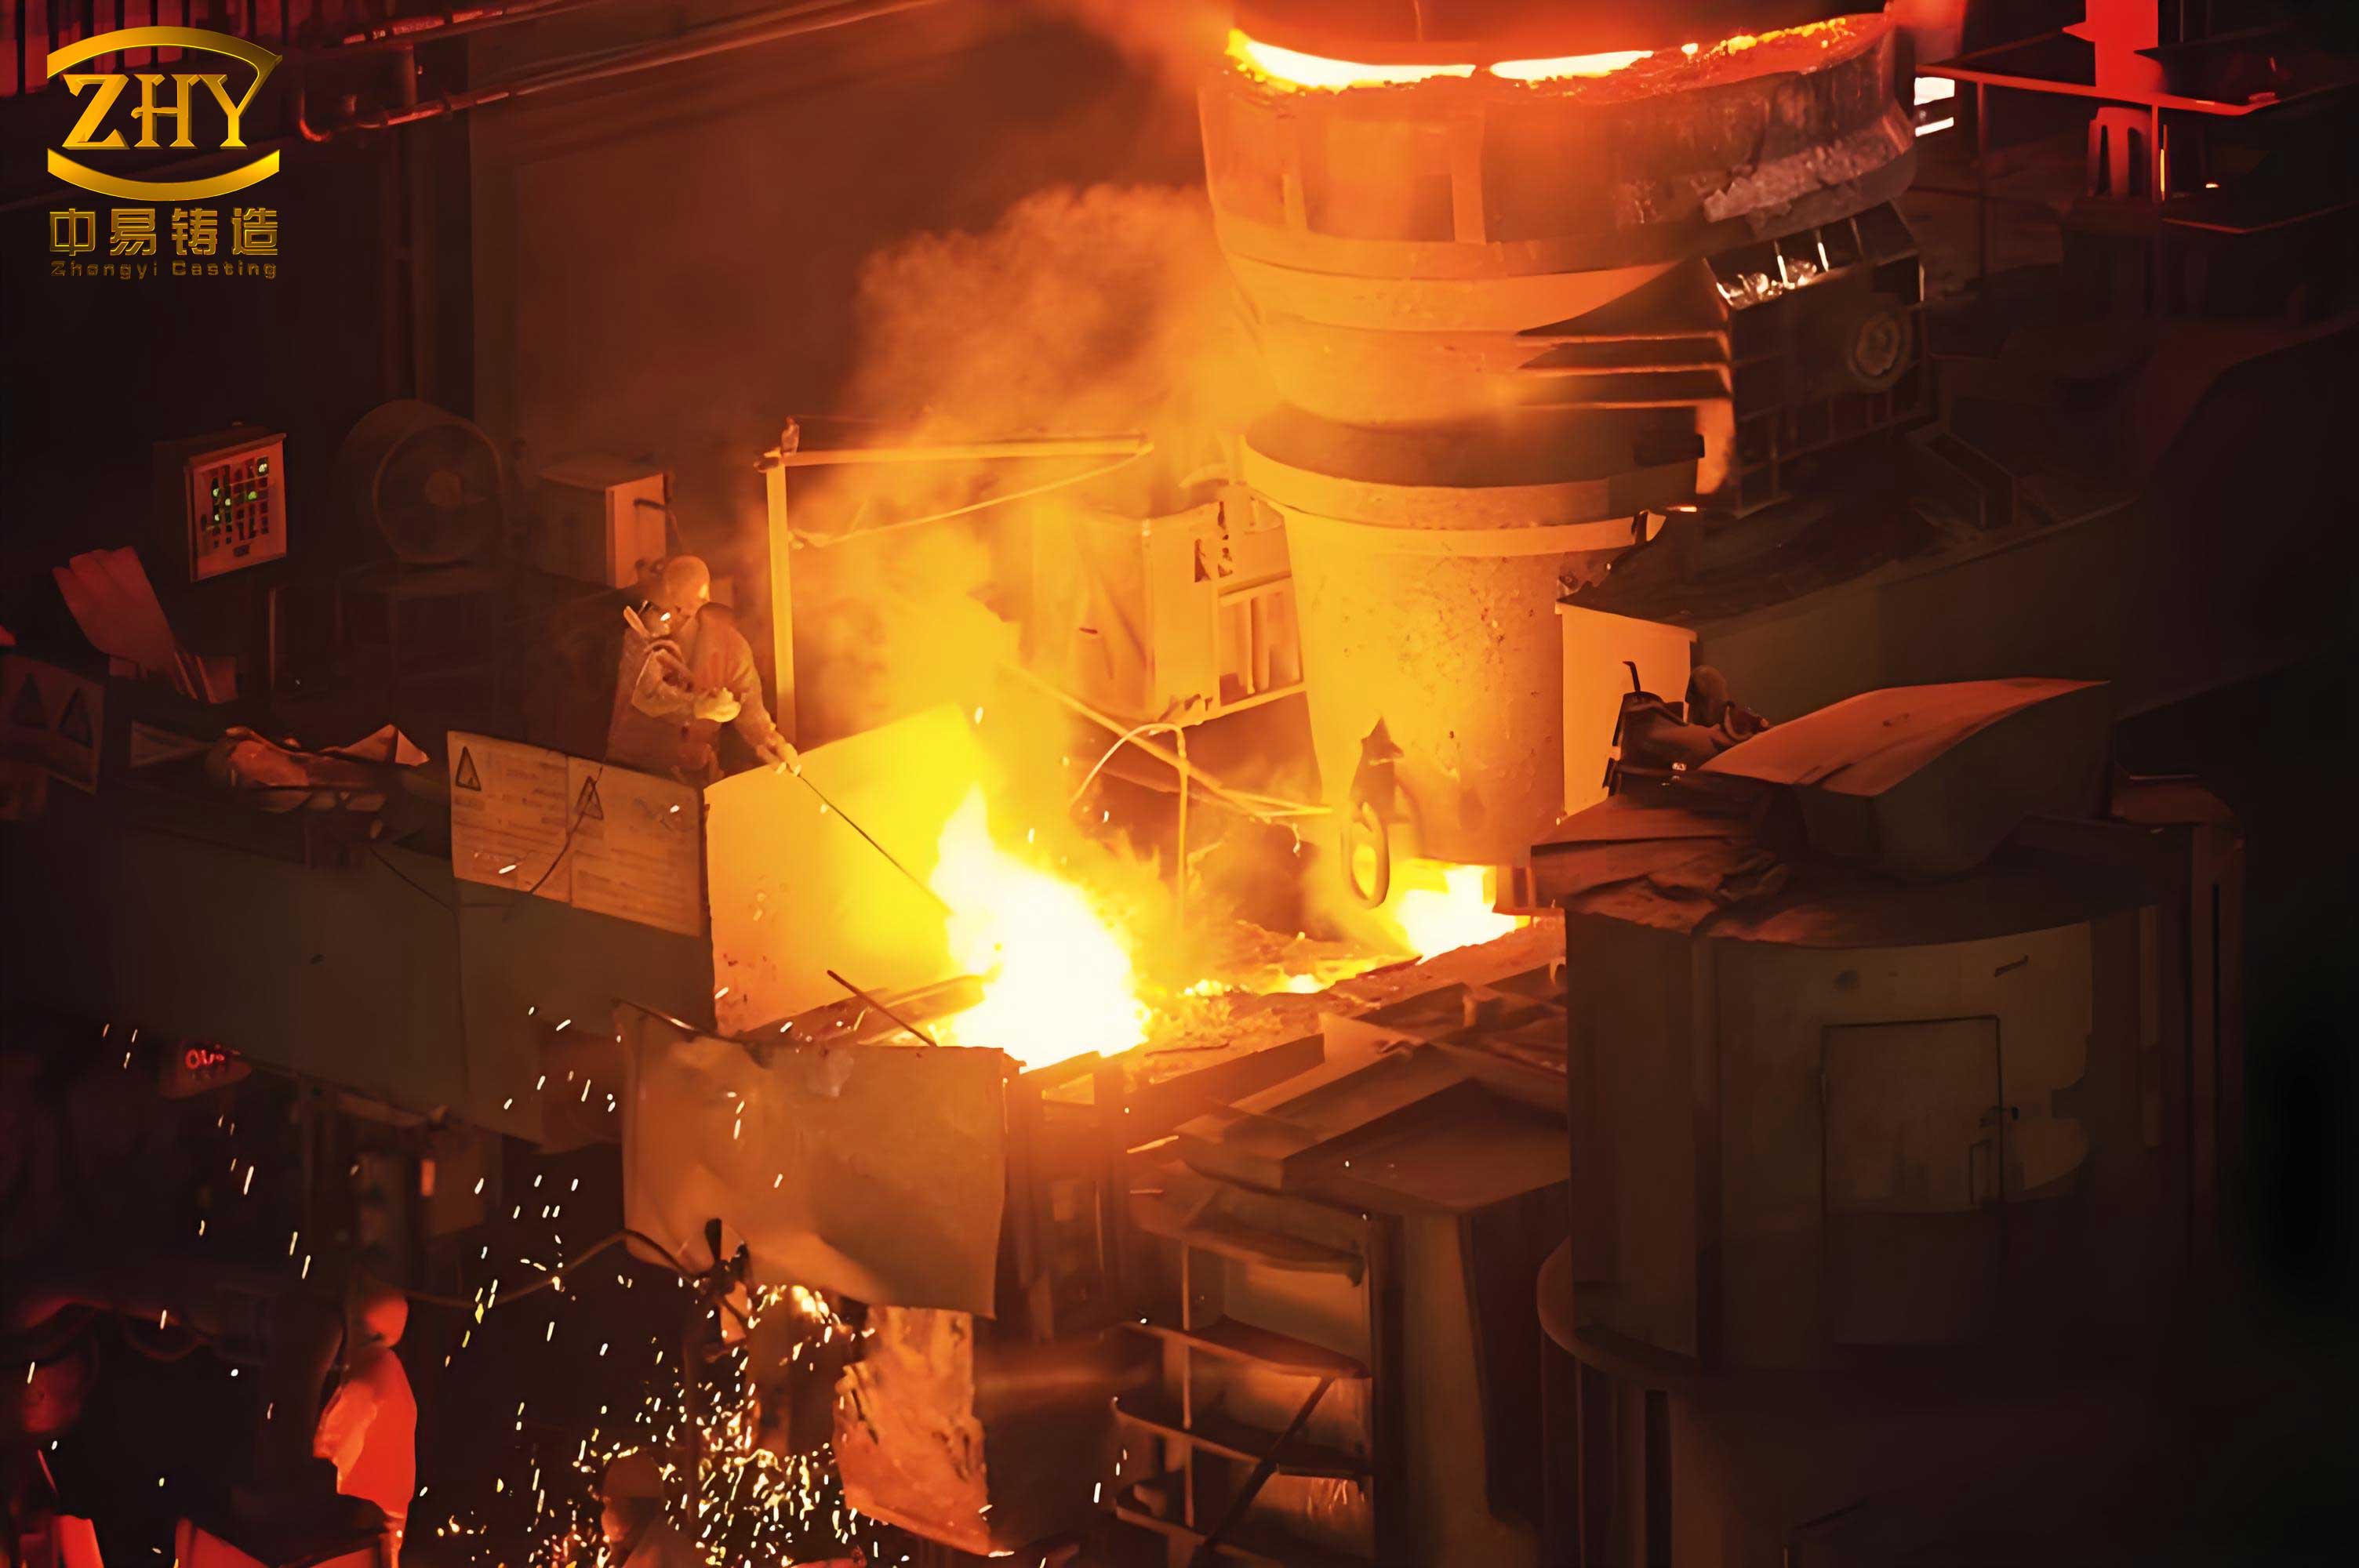
Based on these predictions, I optimized the sand casting foundry design by repositioning the external chills. Initially, chills were placed on the core side near the flange; however, simulation after that modification still showed residual defects at the bottom-web interface. I then moved the chills to the mold (drag) side directly opposite the ribs. The revised placement is illustrated conceptually (refer to the typical sand casting foundry image below).
The chilling effect was enhanced by increasing the chill thickness to 0.6 times the casting thickness at the most critical hot spots. Additionally, I added vent risers directly on the top flanges at the boss locations. These risers provided not only atmospheric pressure but also a channel for gas escape. After these changes, a second simulation was performed. The defect probability map showed a significant reduction: the flange-web transition area now had less than 20% defect probability, and the boss regions were completely sound. The only remaining minor defects were located at the top of the small bosses on the flange face, but these were addressed by extending the riser neck to ensure proper feeding. The final optimized sand casting foundry design achieved defect-free castings according to the simulation criteria.
The thermal modulus calculation also guided the riser sizing. The modulus of the casting critical section was computed using the formula $$M_c = \frac{V}{A}$$ where \(V\) is the volume and \(A\) the cooling surface area of the section. For the thickest flange boss (volume ~120 cm³, surface area ~80 cm²), the modulus was 1.5 cm. The riser modulus was designed to be at least 1.2 times the casting modulus, i.e., \(M_r = 1.2 \times 1.5 = 1.8\) cm. The riser neck diameter was taken as 0.6 times the riser diameter. These calculations ensured that the riser would remain liquid longer than the casting section, providing effective feeding.
Throughout the optimization, the term sand casting foundry remained central. The entire methodology—from core making, molding, gating design, chill placement to riser sizing—is a classic application of sand casting foundry principles tailored to the specific geometry of a light truck gearbox rear housing. The simulation-based approach allowed me to virtually iterate and converge on a robust design without costly physical trials. The final process parameters after optimization are consolidated in the table below.
| Parameter | Value (Optimized) |
|---|---|
| Chill Thickness (mm) – flange/web junction | 5 (0.6 × T = 0.6 × 8 mm) |
| Chill Location | Drag mold side, opposite ribs |
| Vent Riser Diameter (mm) – flange bosses | 20 mm, height 30 mm |
| Riser Neck Diameter (mm) | 12 mm |
| Riser Modulus (cm) | 1.8 |
| Core Venting | Core prints with vent holes (3 mm diameter) |
| Predicted Defect Rate | < 5% (non-critical) |
In conclusion, this sand casting foundry project successfully designed and optimized the manufacturing process for a light truck gearbox rear housing in gray cast iron. The key steps included: three-dimensional modeling, selection of two-part molding with a cold box core, closed gating system with a 1:1.2:1.4 area ratio, application of external chills and vent risers, and iterative simulation using anycasting software. The simulation revealed potential shrinkage defects at geometric transitions, which were mitigated by relocating chills and adding risers. The final sand casting foundry design ensures sound castings with minimal porosity and good dimensional accuracy. The methodology demonstrated here can be adapted to similar automotive housing components, reinforcing the importance of simulation-driven optimization in modern sand casting foundry practice. The use of computational tools not only reduces trial-and-error but also shortens the development cycle, leading to more efficient production of high-quality iron castings. The phrase ‘sand casting foundry’ encapsulates the entire discipline applied to achieve this outcome—a robust, repeatable process for a critical automotive part.