
Lost foam casting (LFC), also known as evaporative pattern casting, has been praised as the “new casting technology of the 21st century” and a “green engineering” process. Because of its exceptional dimensional accuracy, low surface roughness, reduced machining allowance, minimal environmental pollution, low investment, and fast production turnover, this process is widely considered a promising near-net-shape manufacturing technology and a clean production method. In recent years, lost foam castings have become increasingly prevalent in the production of truck components. In the field of cast iron parts for commercial vehicles, almost every type of iron casting—such as differential housings, gear shells, brackets, wheel hubs, brake shoes, brake drums, crankshafts, engine blocks, cylinder heads, exhaust manifolds, flywheel housings, flywheels, transmission cases, and many others—has been successfully mass-produced by the lost foam process, forming a powerful challenge to traditional sand casting processes.
Our foundry specializes in producing truck chassis castings, some engine components, and automotive safety parts. To reduce manufacturing costs and satisfy the requirements of complex structural components, we invested in a dedicated lost foam casting line with an annual production capacity of 10,000 tonnes. This line was intended mainly for complicated chassis shell parts, transmission housings, flywheel housings, and cylinder blocks. During the initial commissioning and production trials, most of the parts, including small transmission cases, flywheel housings, reducer housings, and cylindrical gear shells, were successfully produced. However, when we began producing a thin-wall cylindrical gear shell, we encountered enormous difficulties. The most prominent problem was casting distortion, which severely blocked mass production. This article describes the technical investigations and process improvement we carried out to solve this distortion problem in lost foam castings.
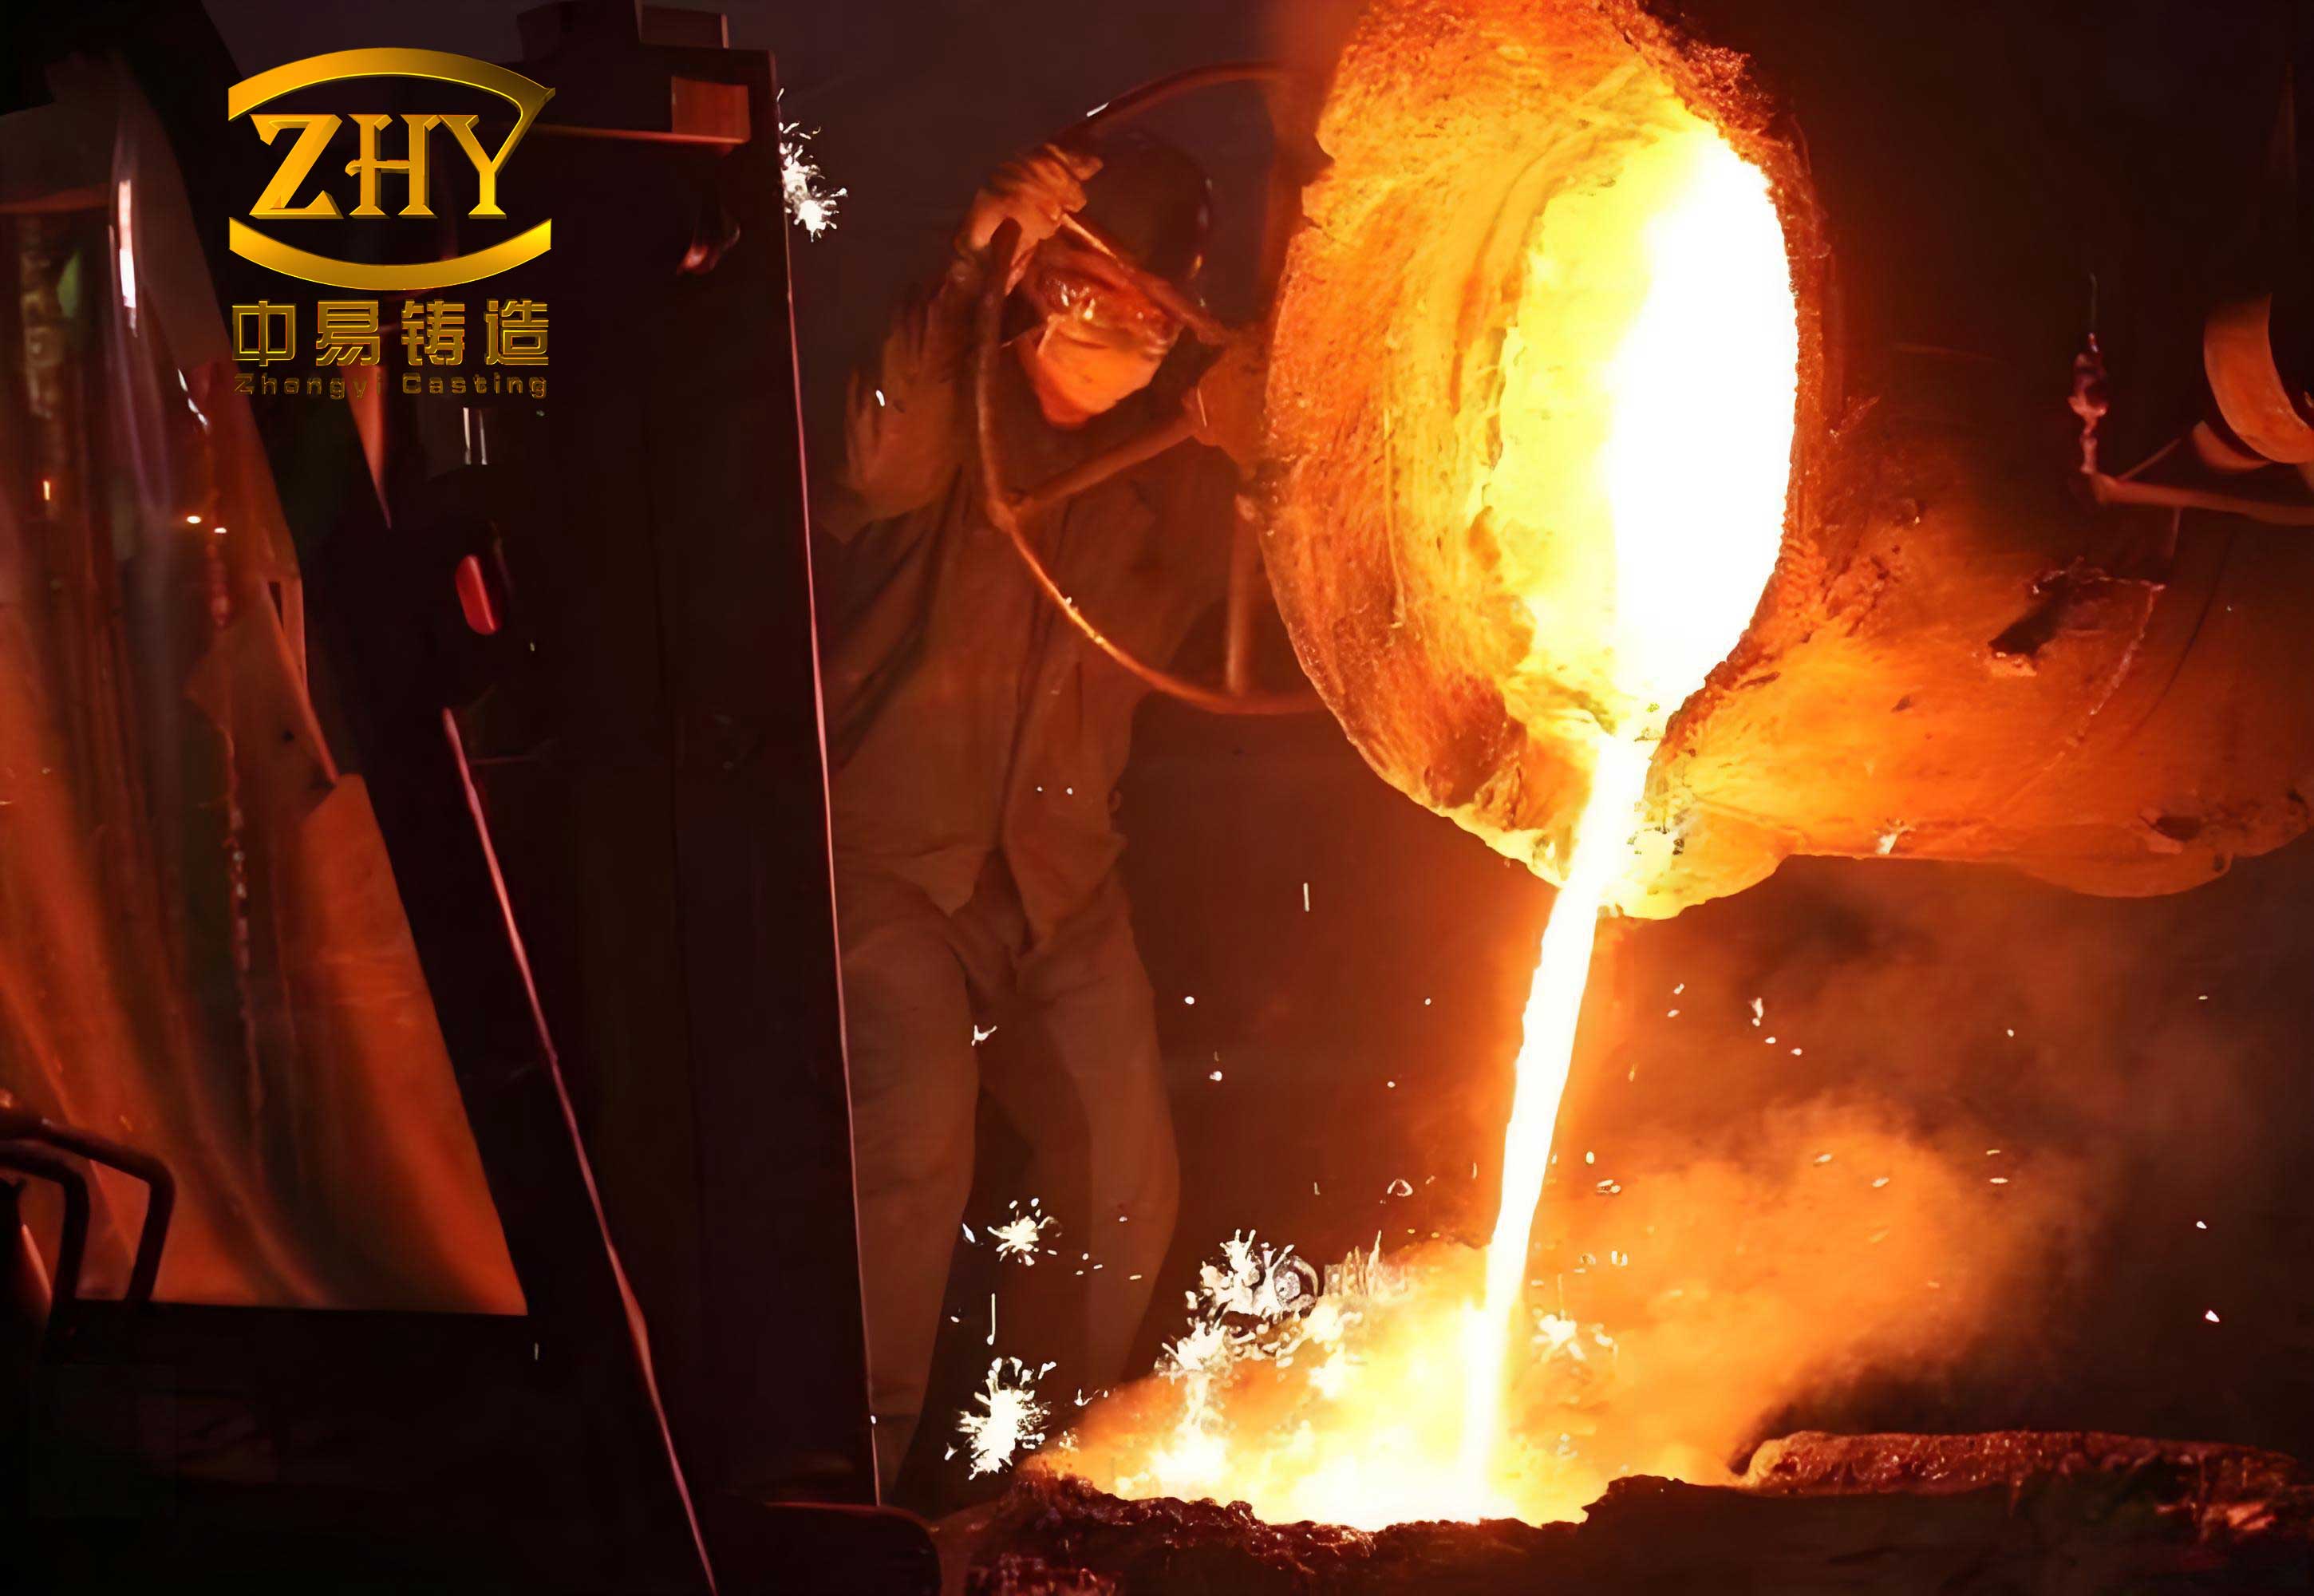
The following image shows a typical gear shell casting arrangement in our lost foam foundry, providing a visual context for the challenges discussed in this article.
1. Introduction
The lost foam casting process begins with a foam pattern made of expanded polystyrene (EPS) or polymethyl methacrylate (PMMA), which is produced by steam-heating pre-expanded beads inside a shaped aluminum mold. The resulting foam pattern replicates the final casting geometry, including allowances for machining and shrinkage. After the pattern has been aged and dried, it is assembled into a cluster with gating and riser systems. The entire cluster is then dipped into a refractory coating slurry and dried. Later, the coated cluster is placed in a sand box, dry unbonded sand is poured around it, and the sand is compacted by vibration to provide uniform support. The mold is then poured with molten metal under a controlled negative pressure (vacuum). The molten metal thermally decomposes the foam pattern and replaces its shape, forming the casting. After solidification and cooling, the sand is dumped and the casting is cleaned and inspected.
This process offers several distinctive advantages: the absence of core binders, the elimination of draft angles in many cases, the ability to create complex internal channels, and a cleaner working environment. However, the foam pattern itself is relatively weak, especially when the wall thickness is small. Thin-wall structures, such as the cylindrical gear shell discussed here, are particularly susceptible to distortion, because the foam pattern lacks sufficient rigidity to endure the mechanical forces encountered during coating, sand filling, and vibration. Therefore, understanding and preventing distortion in thin-wall lost foam castings is a critical research topic.
Our production experience has shown that distortion can originate at any step from the foam pattern injection to the final shakeout. A systematic approach, involving changes to mold design, bead density, drying practice, assembly tooling, coating formulation, and compaction parameters, is necessary to bring distortion under control. In this article, we describe the sequence of measures we introduced, supported by quantitative data, to reduce the distortion scrap rate from over 30% to below 0.5% for this particular cylindrical gear shell. We believe that the principles outlined here are equally applicable to other thin-wall shell-like components produced via lost foam castings.
2. Casting Structure and Distortion Problem
2.1 Geometry and property of the gear shell
The thin-wall cylindrical gear shell is a ductile iron casting with the material specification QT450-10. The nominal dimensions are 495 mm × 237 mm × 181 mm. The main wall thickness is only 7 mm, and the component features a large circular flange at its open end. There are no reinforcing ribs on the wall or on the flange, which makes the part intrinsically flexible. The total casting mass is 23.2 kg. Table 1 lists the typical mechanical properties of QT450-10 that are relevant to machining and service performance.
| Property | Value |
|---|---|
| Tensile strength (MPa) | 450 |
| Yield strength (MPa) | 310 |
| Elongation (%) | 10 |
| Hardness (HB) | 160–210 |
| Matrix structure | Ferrite + Pearlite |
Previously, this gear shell was manufactured by a green sand casting process. That process required six cores, several chillers, and insulating risers to avoid shrinkage porosity and gas defects. The process was complicated, and the production cost was high. When we adopted the lost foam process, the core package was simplified and the cost was reduced, but a new defect appeared: severe distortion of the large flange.
2.2 Distortion characteristics
The distortion was mainly concentrated at the circular flange face around the large ring. On some castings, the warpage was so obvious that it could be detected by naked eye when the casting was placed on a machining fixture. We performed coordinate layout inspection on the distorted castings; the maximum flange deviation reached 5.4 mm. Because the first machining operation uses this large flange as the locating reference and because the initial machining allowance on this face is only 2.5 mm, any distortion greater than about 2.0 mm causes a shortage of material for machining and leads to misalignment in subsequent machining operations. Therefore, we set the acceptance criterion for flange flatness at a maximum of 2.0 mm. Even with this tolerant limit, the distortion-related scrap rate exceeded 30%.
2.3 Mechanics of thin-wall distortion
The large flange of the foam pattern can be approximated as a thin annular plate. The bending stiffness of a thin plate or shell is proportional to the cube of its thickness. According to the classical elasticity theory for a flat plate, the flexural rigidity \(D\) is given by:
$$D = \frac{E h^3}{12\left(1-\nu^2\right)}$$
where \(E\) is the elastic modulus of the foam material, \(h\) is the plate thickness, and \(\nu\) is Poisson’s ratio. With a nominal wall thickness of only 7 mm, the stiffness is very low. Furthermore, because the flange is unsupported over a large span, even a slight differential stress during drying, handling, or vibration can cause a visible permanent distortion.
For a simple cantilever-type deflection model, the maximum deflection \(\delta\) caused by a concentrated force \(F\) at a distance \(L\) from the support can be expressed as:
$$\delta = \frac{F L^3}{3 E I}$$
where \(I\) is the second moment of area of the cross-section. For the flange section, \(I\) is proportional to \(h^3\). This confirms that the 7 mm wall thickness makes the pattern inherently sensitive to bending. Therefore, any measure that effectively increases the local thickness or distributes the applied forces can strongly reduce distortion.
2.4 Contribution of each process stage
To identify the major sources of distortion, we measured the flange flatness immediately after each major operation in the production flow. The measurements were taken with a dial gauge and a surface plate. Table 2 summarizes the average flatness deviation and the approximate contribution of each stage to the final distortion. It is clear that no single stage can be ignored; the final distortion is the cumulative sum of small increments from several steps.
| Process stage | Flatness deviation (mm) | Contribution to final distortion (%) |
|---|---|---|
| After demolding | 0–1.2 | 22 |
| After drying | 0–0.5 | 9 |
| After assembly and gluing | 0.1–1.8 | 30 |
| After coating and drying | 0.1–2.0 | 25 |
| After vibratory compaction | 0.2–2.8 | 14 |
These percentages are approximate, but they reinforce our conclusion that a comprehensive approach is required: we had to reduce the deformation generated at every stage while at the same time increasing the stiffness of the foam pattern so that it can better resist the unavoidable forces.
3. Improvement Measures
3.1 Mold design and parting strategy
The most fundamental measure is to improve the stiffness of the foam pattern at the design stage. For lost foam castings, the aluminum mold is used to steam and expand the beads into the shape of the pattern. The parting scheme of the mold determines how the pattern is divided and how many pieces must be glued together. In our first mold design, we chose a parting line along the axis of the oil holes for convenience of pattern removal. This made the mold design simple and eliminated the need for moving cores, but it had a serious drawback: the parting line cut directly through the large flange, destroying the integrity of the flange and creating two half-flanges that had to be glued. The glue seam reduced the stiffness and, more importantly, the manual gluing operation could easily produce a step mismatch, contributing to deformation.
For the redesigned mold, we adopted a completely different philosophy. We decided to form the pattern as an integral body as much as possible, especially at the critical flange. The oil passages that pass through the flange are now produced by an internal core-pulling mechanism. This means the mold is more complex, but it ensures that the large flange is a single, continuous piece of foam with no glue seam. Additionally, within the allowance permitted by the casting drawing, we increased the fillet radii at locations that influence stiffness in order to improve the bending resistance of the pattern. The new pattern, when simply held in the hand, possessed noticeably greater rigidity than the old one. Under otherwise identical processing conditions, the new mold design alone reduced the distortion scrap rate by approximately 25%.
The lesson for thin-wall lost foam castings is clear: mold design must prioritize the structural integrity of the pattern. Avoid cutting through load-bearing surfaces. Use sliding cores or core-pulling mechanisms for holes and undercuts that would otherwise force a parting line through a critical wall. Moreover, the location of the injection sprue and filling gates should be arranged to ensure a uniform bead density throughout the pattern. Uneven density creates localized weakness and differential shrinkage, both of which exacerbate distortion.
3.2 Bead pre-expansion and density optimization
After the mold design, the next most important factor is the density of the pre-expanded beads. In lost foam castings, the density of the foam pattern dominates its mechanical strength and dimensional stability. We carried out comparative tests using three different pre-expanded densities: 20 g/L, 23 g/L, and 26 g/L. The results are presented in Table 3.
| Density (g/L) | Pattern stiffness and handling quality | Observed distortion tendency | Comment |
|---|---|---|---|
| 20 | Very soft; easy to bend by hand | High warpage during demolding and handling | Too weak for thin-wall structure |
| 23 | Good rigidity; acceptable surface strength | Low, consistent distortion within 2.0 mm | Selected for production |
| 26 | Very stiff; hard surface | Flange expanded outward; distortion increased and became irregular | Secondary expansion during drying |
We observed that increasing the bead density generally improves the strength and stiffness of the foam pattern. However, at 26 g/L, the castings exhibited a new type of distortion: the large flange expanded outward, and the deformation became irregular and unpredictable. This was caused by secondary expansion of the not-fully-aged beads during the drying of the pattern and the coating layer. Higher-density bead contains more residual blowing agent, which can be activated by heat during the drying step, causing the pattern to swell differentially. Consequently, the optimum density for this thin-wall part was 23 g/L, which gave sufficient rigidity but left a stable, low secondary expansion tendency.
We can model the distortion index \(D\) as a function of bead density \(\rho\) using an empirical expression:
$$D = k_1 \frac{1}{\rho^2} + k_2 \left(\rho-\rho_{opt}\right)^2 + D_0$$
where \(\rho_{opt}\) is the optimum density (23 g/L in this case), \(k_1\) and \(k_2\) are empirical constants, and \(D_0\) is the baseline distortion caused by other sources. The first term expresses the loss of stiffness at low densities, while the second term expresses the harmful effect of secondary expansion at high densities. This simple model guided us in selecting the density window for future thin-wall lost foam castings.
We also paid attention to the aging time after pre-expansion. Proper aging, typically for 12 to 24 hours in enclosed silos, allows the internal pressure of the beads to equalize and reduces the amount of residual blowing agent. This stabilizes the bead dimensions and prevents later expansion. The aging time and ambient humidity were recorded for each batch to ensure consistency.
3.3 Foam pattern drying without external constraints
After demolding, the foam pattern contains a certain amount of moisture and must be dried before assembly and coating. In the early production phase, we observed that some patterns were already slightly warped immediately after demolding. We initially tried to correct this by clamping the warped pattern onto a flat table or using brackets to force it flat during drying. We hypothesized that the heat of drying would soften the foam enough to allow it to conform to the flat constraint. In practice, the opposite occurred: the regions in contact with the bracket or table dried at a different rate from the exposed regions, creating differential shrinkage and additional stress. This caused the warping to become more severe, not less. The interaction between the pattern and the bracket was itself a source of distortion.
We then changed our approach fundamentally. Immediately after demolding, when the pattern is still soft and retains some expandability, we perform a gentle manual straightening operation on the distorted areas. After this initial correction, we place the pattern on a flat, open mesh conveyor without any clips, weights, or supporting fixtures. The pattern is then dried freely in a controlled hot-air circulation oven. The temperature and air velocity are kept uniform across the entire pattern. Because no external force acts on the pattern, it shrinks uniformly during drying. Using this practice, the flatness of the flange after drying was consistently within 0.5 mm, which is an acceptable level for the subsequent operations. The most important principle is that for thin-wall lost foam castings, the foam pattern must not be subjected to any mechanical constraint during drying; it must be allowed to shrink naturally in a uniform thermal field.
3.4 Assembly and calibration fixture
The dried pattern still has low stiffness, especially at the flange. The next step is to glue wooden strips or other internal supports to the pattern. This step is necessary to prevent the pattern from floating during vibration compaction, but it can also be a major source of distortion if not performed with care. In our original operation, we used a manually positioned wooden grid on the flange, which was both time-consuming and inaccurate. The gluing pressure could easily bend the flange. We designed a mandatory calibration fixture specifically for this gear shell.
The fixture is made of steel and has a pocket that exactly matches the outer profile of the flange. The pocket also contains a locating boss that fits into the recess on the back side of the flange, thus referencing the pattern correctly. Once the pattern is placed in the pocket, a 15-mm-thick ring-shaped clamping plate is lowered onto the front side of the flange. The ring plate presses the flange uniformly against a precision-ground reference surface, ensuring that the flange is perfectly flat. In this clamped position, the operator glues the wooden support strips inside the pattern. For the cylindrical interior of the shell, we designed sector-shaped internal supports that are inserted through the flange opening and then expanded to press lightly against the interior surface, maintaining the circular shape without creating concentrated force. After the glue has solidified, the ring plate is removed and the pattern is lifted out of the fixture.
This calibration fixture offers multiple benefits. First, it directly corrects and prevents warpage of the flange during assembly. Second, it eliminates the messy and inaccurate grid support system on the flange, reducing material waste and cleaning work. Third, it allows a flow-line assembly operation, in which one worker places the pattern, a second applies the glue, and a third removes the completed assembly. The fixture is an excellent example of how simple tooling can convert a delicate manual operation into a controlled, repeatable process.
3.5 Coating performance, selection, and application
Coating is a vital part of lost foam castings. It serves as a barrier between the molten metal and the sand, controls the escape of gases generated by the decomposing foam, and provides mechanical support to the foam pattern. The coating must possess at least seven key properties: room-temperature and high-temperature strength, coating ability (including leveling and thixotropy), permeability, refractoriness, suspension, defoaming, and odor. No coating can be perfect in every category, so the priorities must be set according to the application. For an easily distorted thin-wall part, the first priority must be strength, especially room-temperature strength, because the coating acts as a reinforcing shell around the foam pattern. The second priority is permeability, because excessive permeability loss from a thick coating can cause carbon defects and cold laps.
We tested nearly ten different commercial coatings. Our evaluation program included measurements of coating strength and permeability. The strength was assessed by a simple bending test on coated foam bars, while permeability was measured by the standard air-flow method through a dried coating disk. The selected coating exhibited a room-temperature strength of at least 2.0 MPa and a permeability of more than 30 m³·m⁻²·kPa⁻¹·s⁻¹, which were considered satisfactory. The coating slurry was applied by dipping. To avoid human-induced deformation during dipping, we trained the operators to hold the pattern at designated, stiff locations, and to lower it into the slurry with a slow, steady motion. The buoyancy of the coating slurry and the flow resistance can otherwise bend the thin flange.
We also developed a zoned coating thickness strategy, as shown in Table 4. The entire pattern is first coated with two layers to a total thickness of 0.8–1.5 mm. After the second coat, the critical flange area receives a third coat, increasing its thickness to 2.0–2.5 mm. The extra coating layer locally enhances the bending stiffness of the flange. Recalling that the bending stiffness of a composite plate scales with the cube of the effective thickness, increasing the local coating thickness from about 1 mm to 2.5 mm on a foam wall of 7 mm increases the local stiffness by a factor of approximately:
$$\frac{\left(h + 2.5\right)^3}{\left(h + 1.0\right)^3} = \frac{9.5^3}{8.0^3} \approx 1.67$$
This means a 67% increase in local bending rigidity due to the extra coating layer, which substantially helps the pattern resist deformation during vibratory compaction.
| Zone of the pattern | Number of dip coats | Coated thickness (mm) | Main purpose |
|---|---|---|---|
| All general surfaces | 2 | 0.8–1.5 | Sufficient strength and permeability |
| Critical flange area | 3 | 2.0–2.5 | Extra stiffness against compaction forces |
After coating, the mass of the coating layer is much greater than the mass of the foam pattern. If the coated pattern is placed on a flat table with no contoured support, it will sag plastically under its own weight. We measured that improper placement could introduce up to 0.8 mm of distortion. We therefore designed a dedicated support rack with individual cradles that matched the outside shape of the coated pattern, including the flange and the cylindrical body. Drying of the coated pattern was also performed on this rack, which allowed uniform airflow and prevented deformation. With this rack, the coating-induced distortion was eliminated.
3.6 Sand box modification and vibratory compaction control
The vibratory compaction table is the core equipment in a lost foam casting line. Our table is a suspended type, model SYZ-04, consisting of a base, eight air springs, a worktable, and two vibration motors with a power of 1.5 kW each. The motors are mounted on both sides of the table to generate vertical vibration. During compaction, the sand box is lifted by the air springs and then drops onto conical bumpers, producing a vertical impact. Random horizontal vibrations are also generated by the collision of the three conical supports on the table with the three matching recesses under the sand box. This combination provides a three-dimensional compaction effect.
The effectiveness of vibration is strongly dependent on the frequency. The relationship among vibration acceleration \(a\), frequency \(f\), and amplitude \(A\) is given by:
$$a = \frac{(2\pi f)^2 A}{g}$$
where \(g\) is the gravitational acceleration. This equation shows that for a fixed acceleration, a higher frequency leads to a smaller amplitude, which is why lost foam compaction tables generally adopt low amplitude and high frequency. Through our experiments with this gear shell, we established a preferred frequency range of 38–60 Hz and an amplitude range of 0.3–0.6 mm. This regime achieves fast sand flow and good compaction without crushing the foam pattern.
Despite the correct frequency and amplitude, we still observed inconsistent compaction behavior. We measured the acceleration and amplitude at different points on the same sand box using commercial accelerometers. The results revealed a wide scatter, with acceleration values varying from less than 1g to more than 2g. We also measured the same point on different sand boxes and found similar variation. This inconsistency was traced to the sand boxes themselves. Dimensional inspection showed that some sand boxes had a maximum deformation of 5 mm across their length, meaning they were not flat enough to provide uniform support and not stiff enough to transmit vibration evenly. The distorted sand boxes caused irregular sand density, which in turn exerted non-uniform lateral forces on the foam pattern and increased distortion.
We therefore reinforced all sand boxes by welding additional stiffening ribs, machining the top and bottom flanges, and ensuring the dimensional tolerance was within ±1 mm. After this modification, the acceleration distribution became much more uniform. Table 5 summarizes the measured acceleration and amplitude ranges before and after reinforcement.
| Condition | North-side acceleration range (g) | South-side acceleration range (g) | Amplitude range (mm) |
|---|---|---|---|
| Before reinforcement | 1.04–2.01 | 0.95–1.76 | 0.47–0.76 |
| After reinforcement | 1.20–1.50 | 1.15–1.55 | 0.40–0.55 |
With more uniform vibration, we could safely lower the compaction energy. We reduced the eccentric distance of the vibration motors from 110 mm to 90 mm, which lowered the exciting force. We also optimized the sand filling method and the number of filling layers so that each layer was thinner and more uniform. The total compaction time was thereby reduced from 55 seconds to 33 seconds. These changes kept the sand density high while significantly reducing the deformation caused by mechanical agitation. The compaction results are presented in Table 6.
| Parameter | Before | After | Effect on distortion |
|---|---|---|---|
| Motor eccentric distance (mm) | 110 | 90 | Lower excitation force |
| Total compaction time (s) | 55 | 33 | Less time for force accumulation |
| Sand filling layers | 3 | 5 | More uniform support |
| Acceleration variation on sand box | 0.95–2.01 g | 1.15–1.55 g | More even sand density |
It is important to emphasize that sand box maintenance should never be neglected. A slightly warped sand box may not seem significant, but in lost foam castings it can be the hidden cause of many quality problems, including distortion, sand erosion, and even metal penetration.
3.7 Negative-pressure pouring conditions
We also examined whether the negative-pressure holding time after pouring influences distortion. The vacuum is usually maintained until the casting has solidified sufficiently; however, if the casting is still partially liquid or semi-solid and the vacuum is released too early, it might allow mold wall movement and distortion. We tested five different holding times after complete mold filling: 0 s, 60 s, 120 s, 180 s, and 300 s. For each group, we measured the distortion scrap rate and the maximum distortion. The results are given in Table 7.
| Holding time (s) | Distortion ratio (%) | Maximum flange distortion (mm) |
|---|---|---|
| 0 | 2.1 | 2.3 |
| 60 | 2.0 | 2.2 |
| 120 | 2.2 | 2.4 |
| 180 | 1.9 | 2.1 |
| 300 | 2.0 | 2.2 |
We found no statistically significant effect of the holding time on distortion. The distortion ratio and the maximum distortion were essentially the same within the experimental scatter. This indicates that, for thin-wall iron castings under normal lost foam conditions, the thermal stress generated during solidification and cooling dominates the dimensioning behavior, and the vacuum holding time is not a critical factor. Therefore, we retained a standard holding time of 120 seconds purely for operational convenience, without any additional distortion concern.
4. Results and Discussion
After implementing all the measures described above, the production of the cylindrical gear shell became stable. Data collected over a three-month period showed that the distortion-related scrap rate dropped from more than 30% to less than 0.5%. The total scrap rate, which includes all defect types such as shrinkage, slag, and dimensional variations, fell to below 5%. Table 8 provides a qualitative summary of the relative contribution of each improvement to the reduction of distortion scrap.
| Improvement measure | Approximate relative reduction in distortion scrap |
|---|---|
| Redesigned mold with integral flange | 25% |
| Optimized bead density (23 g/L) | 10% |
| Free drying without constraints | 5% |
| Calibration fixture and internal supports during assembly | 30% |
| Zoned coating with extra thickness on flange | 15% |
| Sand box reinforcement and reduced compaction energy | 15% |
These contributions are not additive in a simple way because some measures also interact. For instance, the calibration fixture only works well after the mold has been redesigned to provide a uniform flange shape. The coating reinforcement is more effective after the bead density has been optimized, because the coating adheres to a stable foam substrate. Nevertheless, the overall trend is clear: each measure played a necessary role in the final success.
We also observed an interesting phenomenon: after the distortion problem was solved, the average machinability of the flange surface improved significantly. The reason is that the previous warped surfaces sometimes created hard spots due to incomplete solidification or uneven cooling. With a flat flange, the machining process became more consistent, and tool wear was reduced. This additional benefit enhanced the overall efficiency of the finishing process.
The principles used here can be transferred to other thin-wall shell-like lost foam castings. The first step is always to maximize the stiffness of the foam pattern through mold design and bead density selection. The second step is to protect the pattern from all unnecessary forces during drying, coating, assembly, and compaction. The third step is to use tooling, such as calibration fixtures and contoured support racks, that repeatably constrain the pattern in a controlled manner. The final step is to maintain and monitor the equipment, especially the sand boxes, because their physical condition directly affects the uniformity of the compaction process.
5. Conclusions
This paper presented a comprehensive solution to the distortion problem in a thin-wall cylindrical gear shell produced by lost foam castings. The following conclusions were reached:
- The distortion of the large flange was caused by the low stiffness of the 7-mm-thick foam pattern and by cumulative forces applied during demolding, drying, assembly, coating, and vibratory compaction. No single process step alone was responsible.
- The mold parting scheme must be designed to preserve the integrity of load-bearing surfaces. Changing the parting from a line through the flange to an integral flange with core-pulled oil passages improved the pattern stiffness and reduced the distortion scrap rate by about 25%.
- For thin-wall patterns, the pre-expanded bead density should be optimized. A density of 23 g/L was found to be the best compromise between pattern rigidity and secondary expansion. A higher density of 26 g/L led to excessive and irregular distortion during drying.
- Foam patterns must not be mechanically constrained during drying. The pattern should be allowed to shrink freely in a uniform temperature field. Any contact with brackets or clamps induces non-uniform drying and increases warpage.
- A calibration fixture, which clamps the flange to a precise plane during gluing, is essential for dimensional control. It corrects existing warpage and prevents new deformation during assembly.
- The coating should combine high room-temperature strength and good permeability. Adding an extra coating layer on the critical flange increased the local bending stiffness by about 67% and significantly improved the pattern’s resistance to compaction forces.
- The sand boxes must be rigid and flat. Reinforcing the sand boxes reduced the acceleration variation across the box from a range of 0.95–2.01 g to a range of 1.15–1.55 g. This allowed a reduction in exciting force (eccentric distance from 110 to 90 mm) and compaction time (from 55 to 33 s), while still achieving uniform sand density.
- The negative-pressure holding time after pouring did not have a significant effect on distortion for this component; therefore, it is not a critical process parameter for thin-wall ductile iron lost foam castings.
Through these systematic improvements, the distortion scrap rate for the thin-wall cylindrical gear shell was reduced from over 30% to below 0.5%, and the total scrap rate fell below 5%. This demonstrates that with proper process control, lost foam castings can robustly produce thin-wall complex iron components with high dimensional accuracy and low defect rates.